
 Pizza and I go back a long way. I remember the pizza my aunt made. It was thick and chewy, baked on a rectangular sheet pan. She would cut it into what seemed like giant squares with scissors. It was lightly topped with tomatoes, cheese and the occasional anchovy. It was heaven. One can’t live in Chicago without experiencing the Pizza at Gino’s or Due’s. The buttery crust baked in a pan, with cheese on the bottom smothered in sausage and sauce is memorable. Then there were the Friday nights I spent with my own sons. The family feasting on a pizza before we gathered around the TV to watch Full House and Family Matters.
Now I have a slightly different relationship with pizza. It’s a occasional indulgence in carbs and cholesterol that satisfies like nothing else. Still there are times when assorted toppings presented on a baked crust come out of Mama D’s Kitchen.
The tale of these two pizzas starts with a bag of fresh whole wheat pizza dough from Trader Joe’s. I must say that this is the best store-bought crust I’ve ever had. It is however, a lot of dough for two people, and therein lies the birth of two pizzas.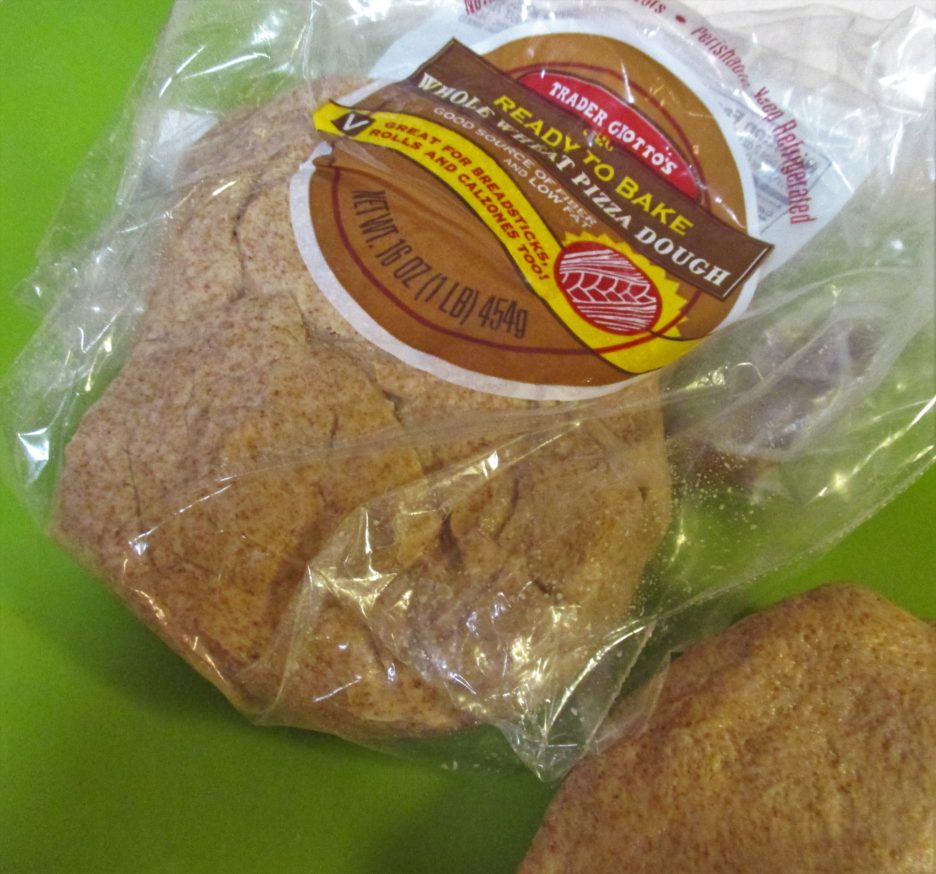
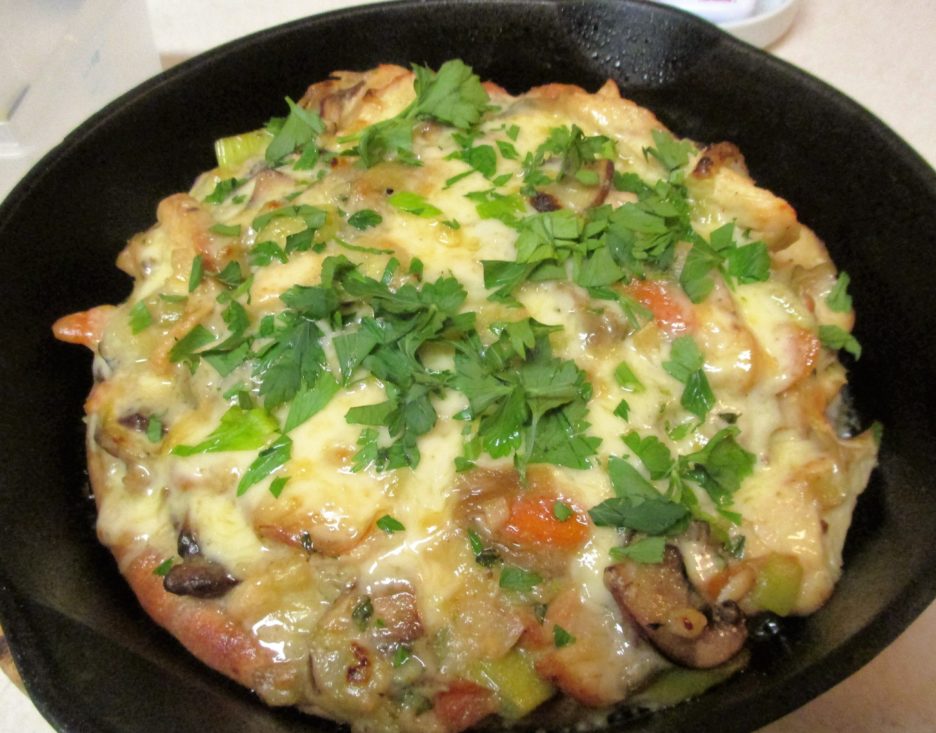
The first pizza, I’ve named Chicken Pot Pizza. It is similar to the filling that I usually make for my Chicken/Turkey Pot Pie with only a few changes (mainly less gravy). It baked in a small cast iron skillet that was the perfect size to serve 2.
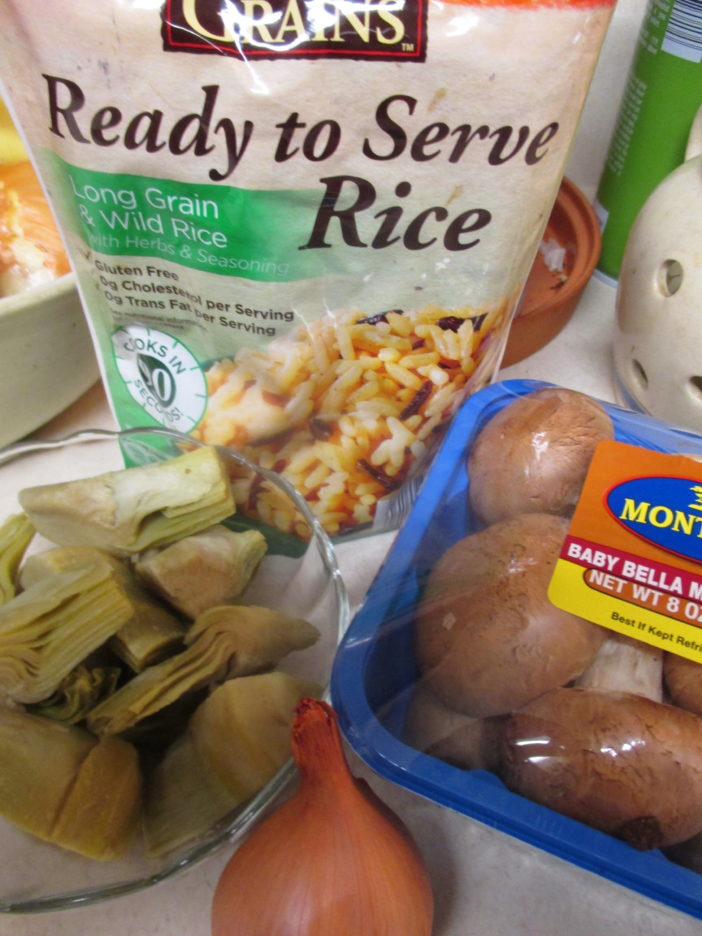
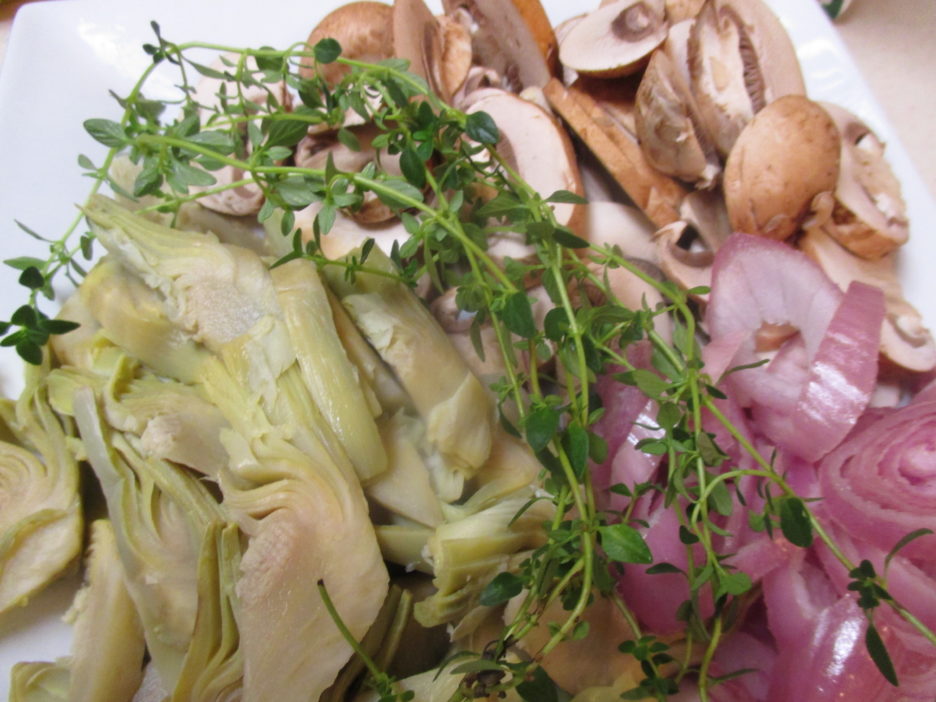
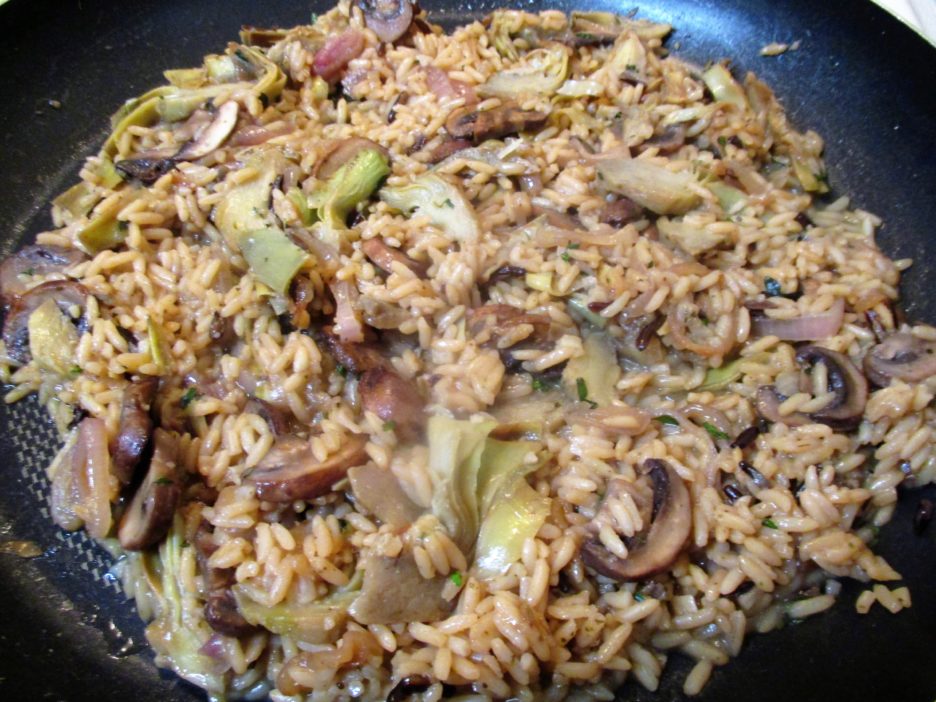
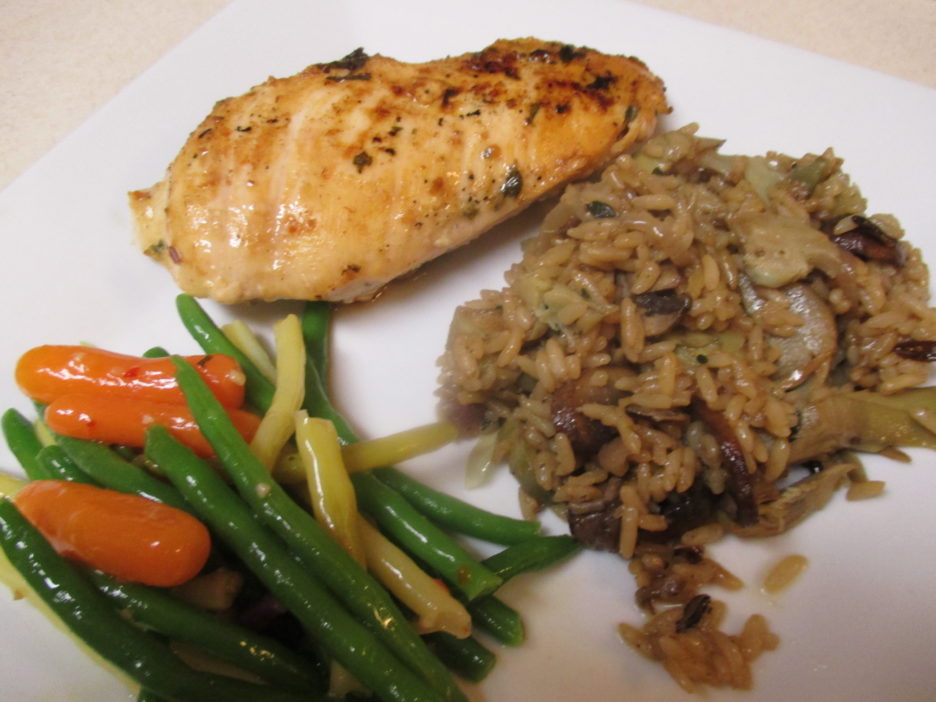
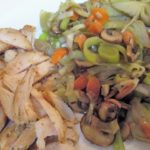 I like Leeks, Artichoke Hearts, and Crimini Mushrooms in my filling, along with a few Carrots and plenty of Thyme. I had some grilled chicken breast on hand, but you could use the rotisserie variety as well. What is pizza with out cheese. For this pie I used some Smoked Gouda, but again, use whatever you think would be wonderful. This pie stacked up a bit more like lasagna than pizza and would definitely be in the “deep dish” category.
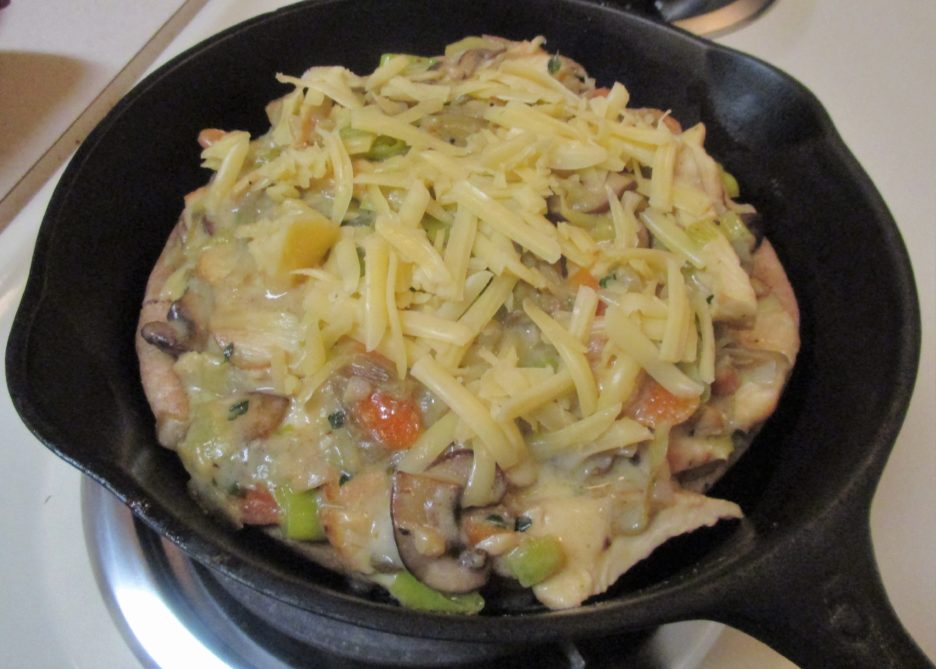
Once baked, it was a marvel of flavor and texture. This (and its inevitable variations) will become a feature in the Kitchen of Love.

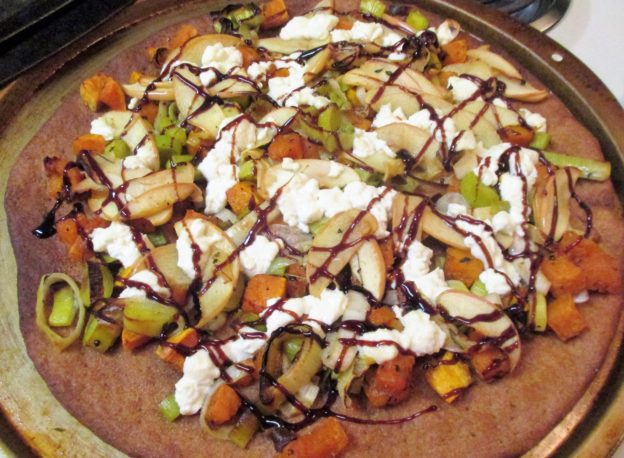
The second pizza was born of some leftover ingredients from the first pie. I already mentioned the dough I had left, but I still had another Leek that was ready to be part of something else wonderful. It joined in a perfect Autumnal match up with Butternut Squash and Gala Apples. Rosemary and Thyme provided the herbaceous background. Everything was roasted to intensify the flavors and add a bit of “fall color.”
I opted to create a “thin crust” pie this time. A bit of olive oil and pre-baking on my trusty pizza stone created a light and crispy crust. All that was needed now was the cheese factor. I used Goat Cheese that I added a bit of honey to. While the combination was far from traditional, it was extremely tasty.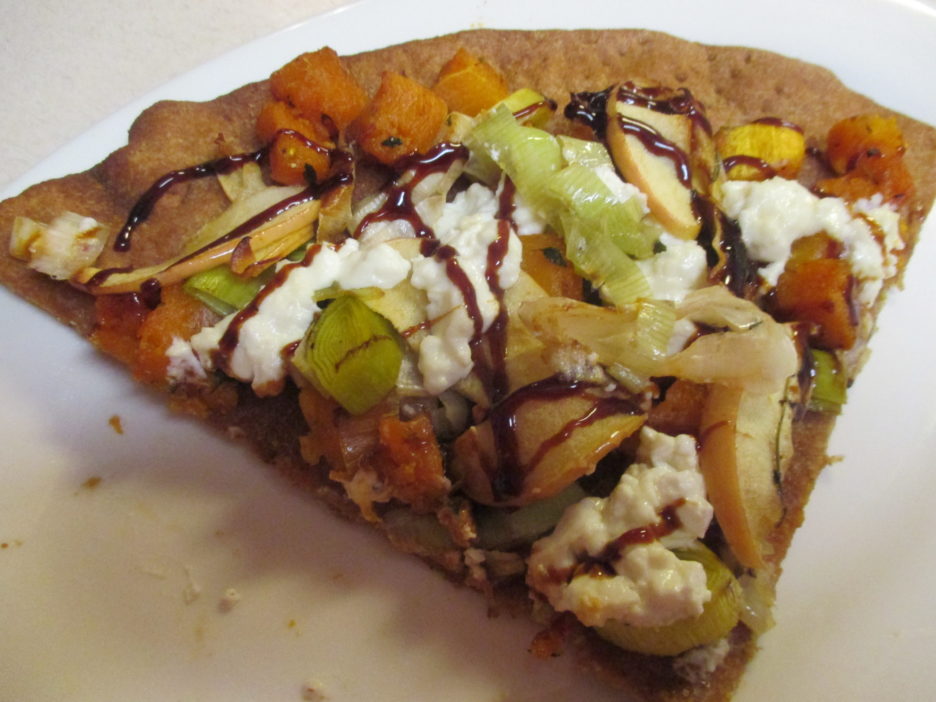

So, it took a bit of time to get this post out there. Life isn’t too complicated, it just seems to be taking more time lately. Since it’s been a while, I’ve tried to give you as much bang for the buck as I could (2 recipes and a link). I hope you try them in your own Autumn kitchen. There have been lots of wonderful things coming out of the Kitchen of Love, hopefully more of them will make it to this site soon.
Share this:


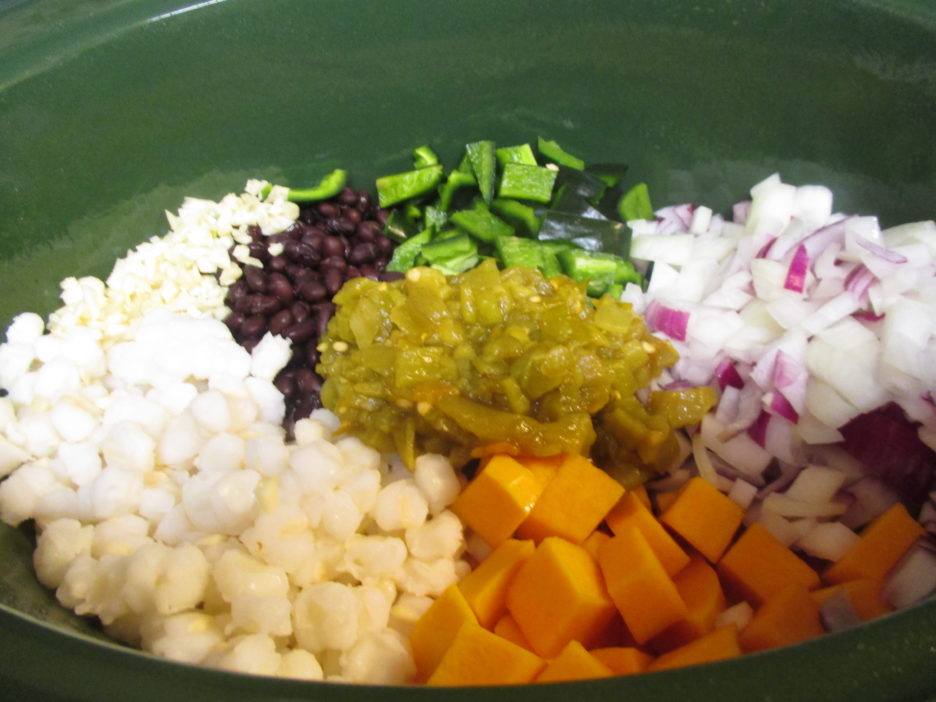
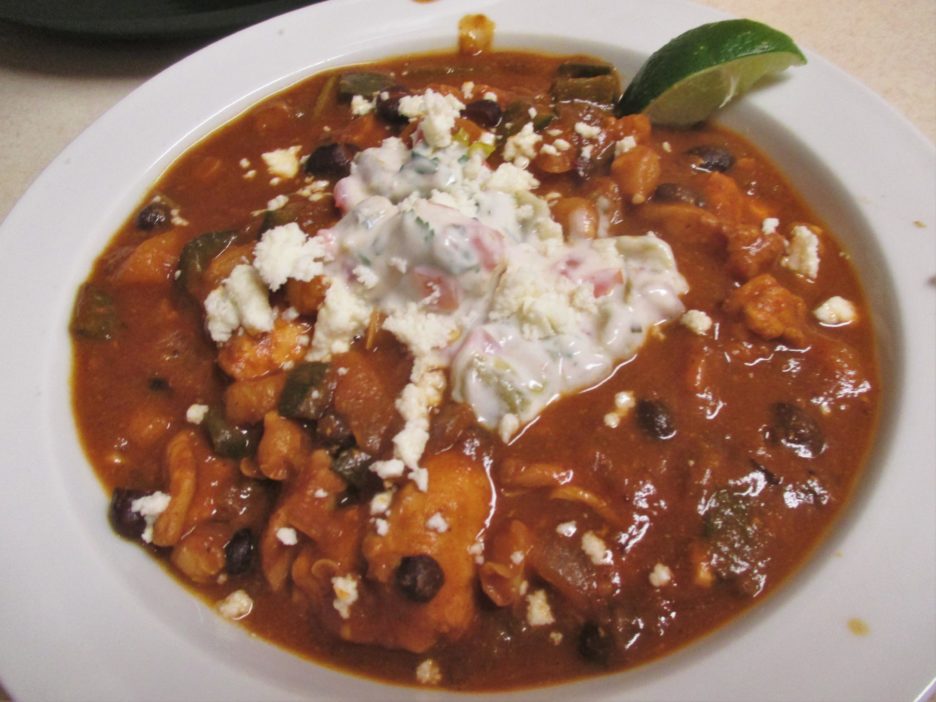
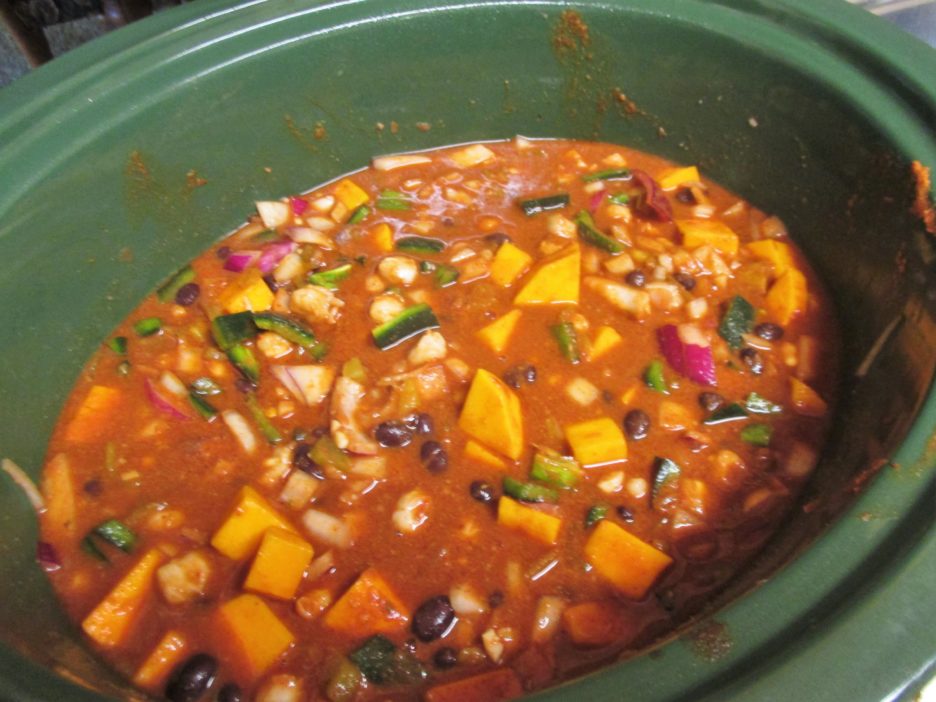 The chicken part came from a bag of scraps that was also lounging in the freezer. Any time that I buy boneless/skinless chicken parts, I save the trimmings for some future use, like chili. Waste not, want not is my motto.
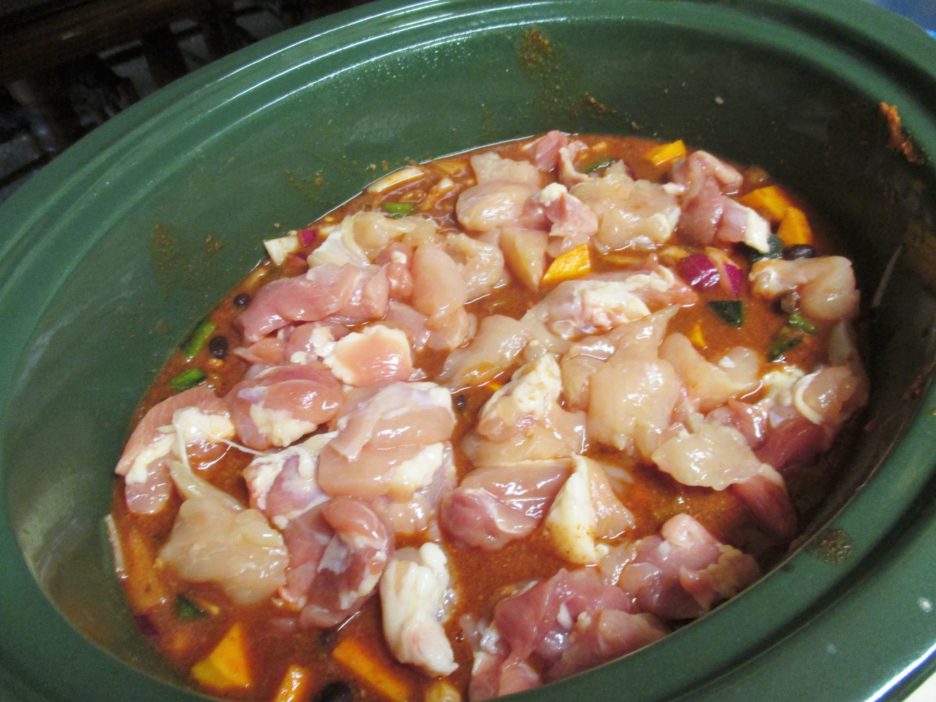


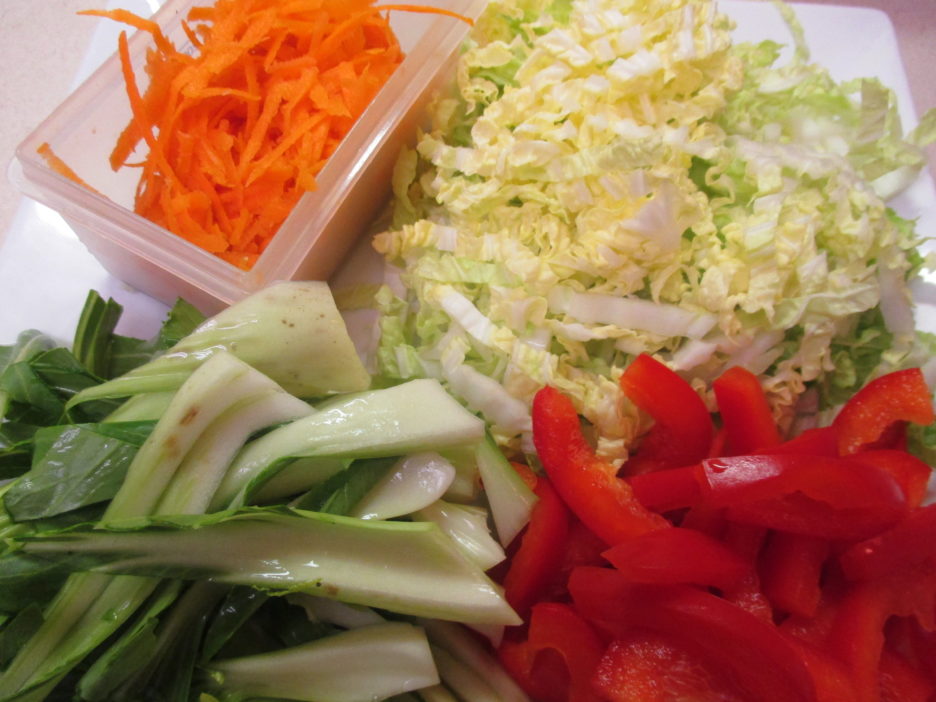
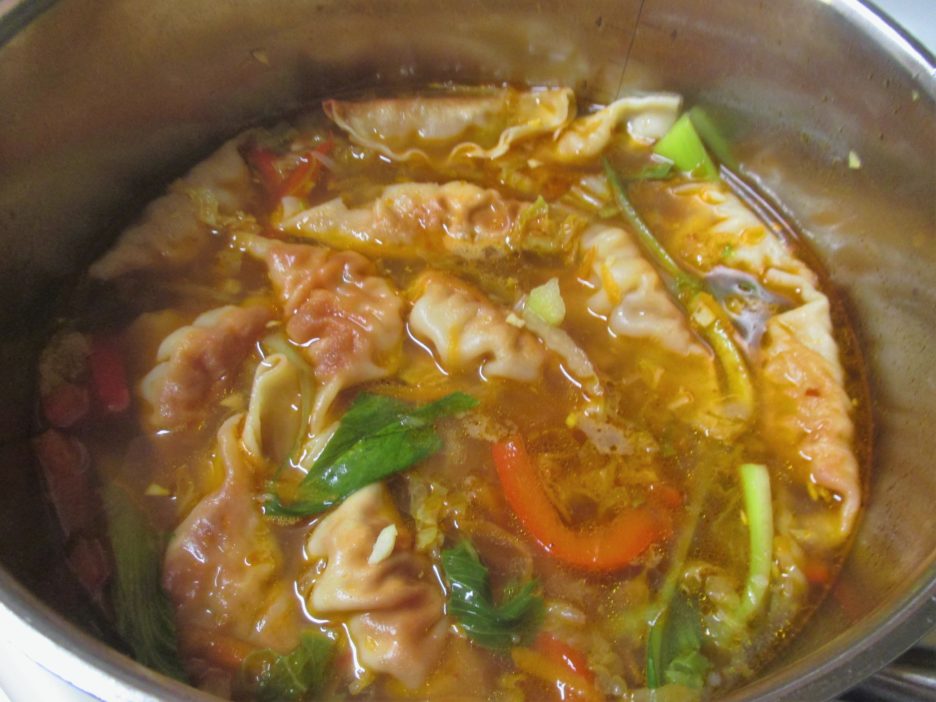
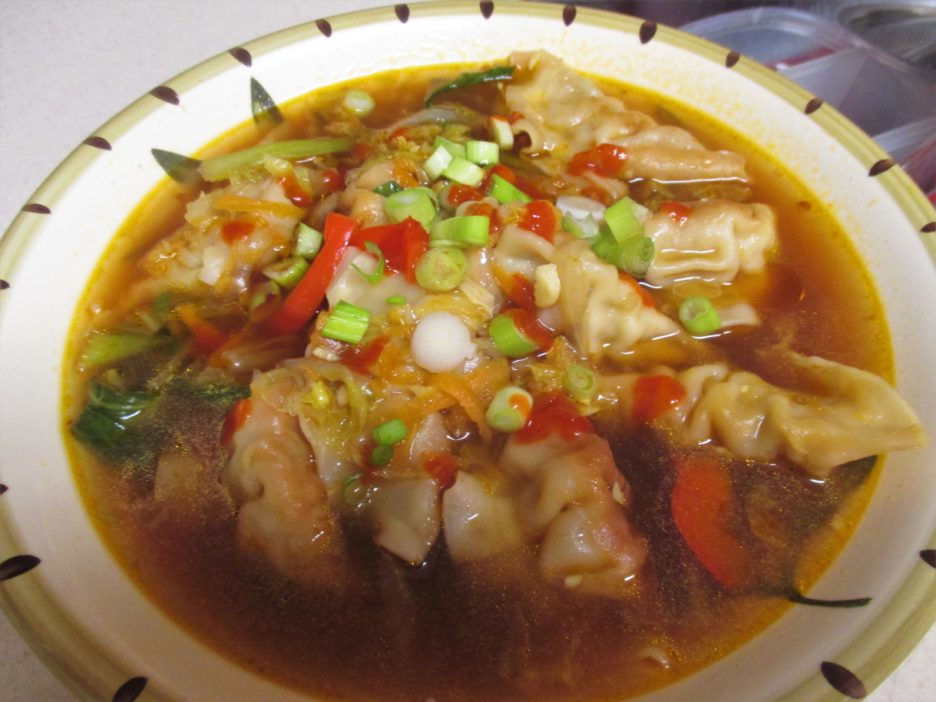
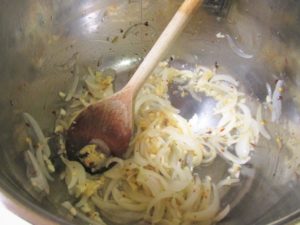 Soup. The main inspiration came from a bag of Trader Joe’s Goyza (a.k.a. Pot Stickers) that had been in the freezer for quite some time. I had seen a simple recipe for a Pot Sticker Soup and decided to take it up a few notches. Onions, garlic, ginger, and chili flakes joined forces in a bit of oil. Then I added some Red Curry Paste and a lot of homemade chicken stock. I let all of this simmer for a bit. You could leave the stock as is at this point or add some Fish Sauce for umami, Hoisin Sauce for a touch of sweetness, or some Sriracha to bring the heat. Hey. if you’re feeling randy, add them all.