Thoughts of Spring and Lemony Asparagus, Chicken, and Penne

The Midwest has seasons. Four very distinct ones to be exact. Here changes aren’t subtle, they are sudden and intense. Humidity shows up one day unannounced and it’s summer. The leaves change color seemingly overnight and it’s fall. The first frost comes out of nowhere and winter is upon us, Then one day you wake up to puddles where piles of snow used to be and it’s spring.

The Vernal Equinox is a few days away, but here, in my part of the Midwest, spring arrived last week. A week that started with down coats and scarves, ended with light sweaters. Early in the week outdoor activities involved scraping ice off windshields and brisk walks to get out of the cold. Was that Monday? By week’s end there were bicyclists peddling their spandex covered butts down the road. People were outside walking in shirtsleeves and enjoying it. Children were playing outside joyously unbundled. That’s how spring starts here and after a tough winter we all revel in it.

Everyday on the bus, I ride by fields of corn-stalk stubs that are hosting nothing but the bold Canada Geese and brave Mallards. These optimistic fowl nibble at the few corn kernels missed at harvest or bob in puddles of melted snow for some forgotten morsel. There are tastier things Spring has to offer with its own menu of foods. Eating fresh and local is now a fine art. While nothing is actually sprouting in our still slightly frozen Illinois ground, foods like strawberries, beans, and peas are being sourced closer to home. As the saying could go, it’s always spring somewhere. This is true of that iconic harbinger of spring, asparagus. DIGITAL CAMERADIGITAL CAMERA
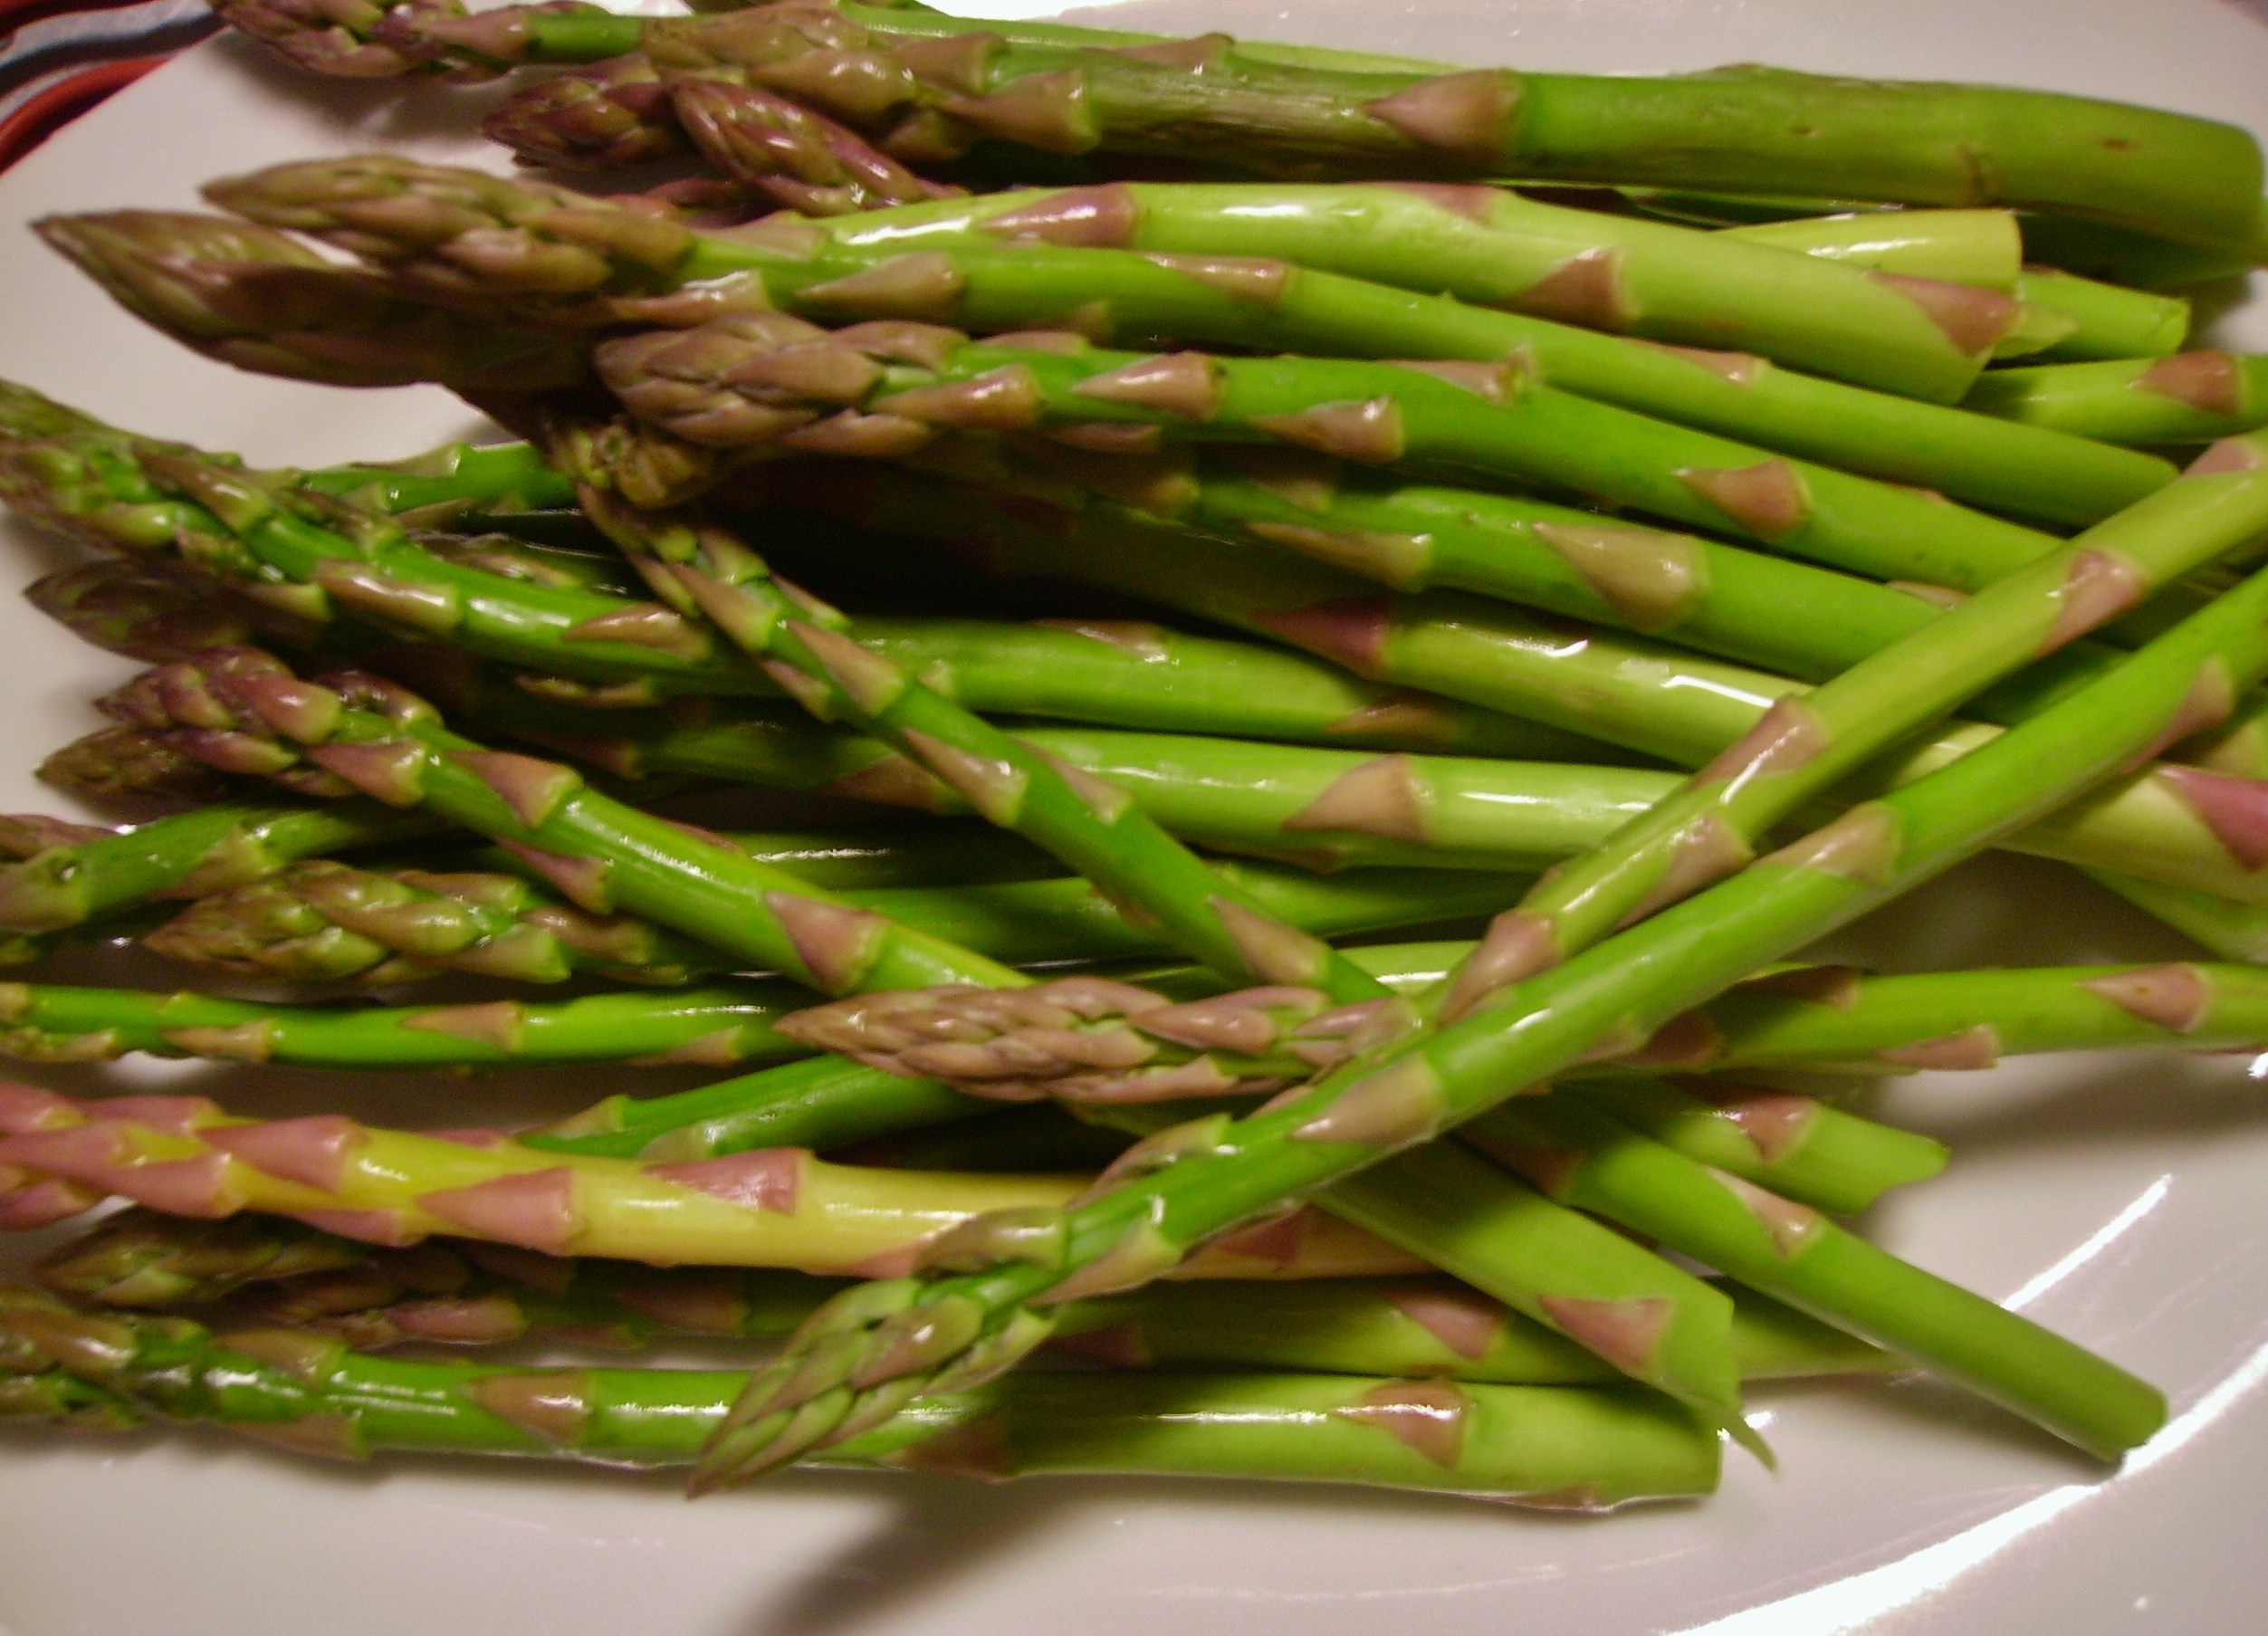
I must confess that I do eat it in the non-spring months, but it alwaysDIGITAL CAMERA 
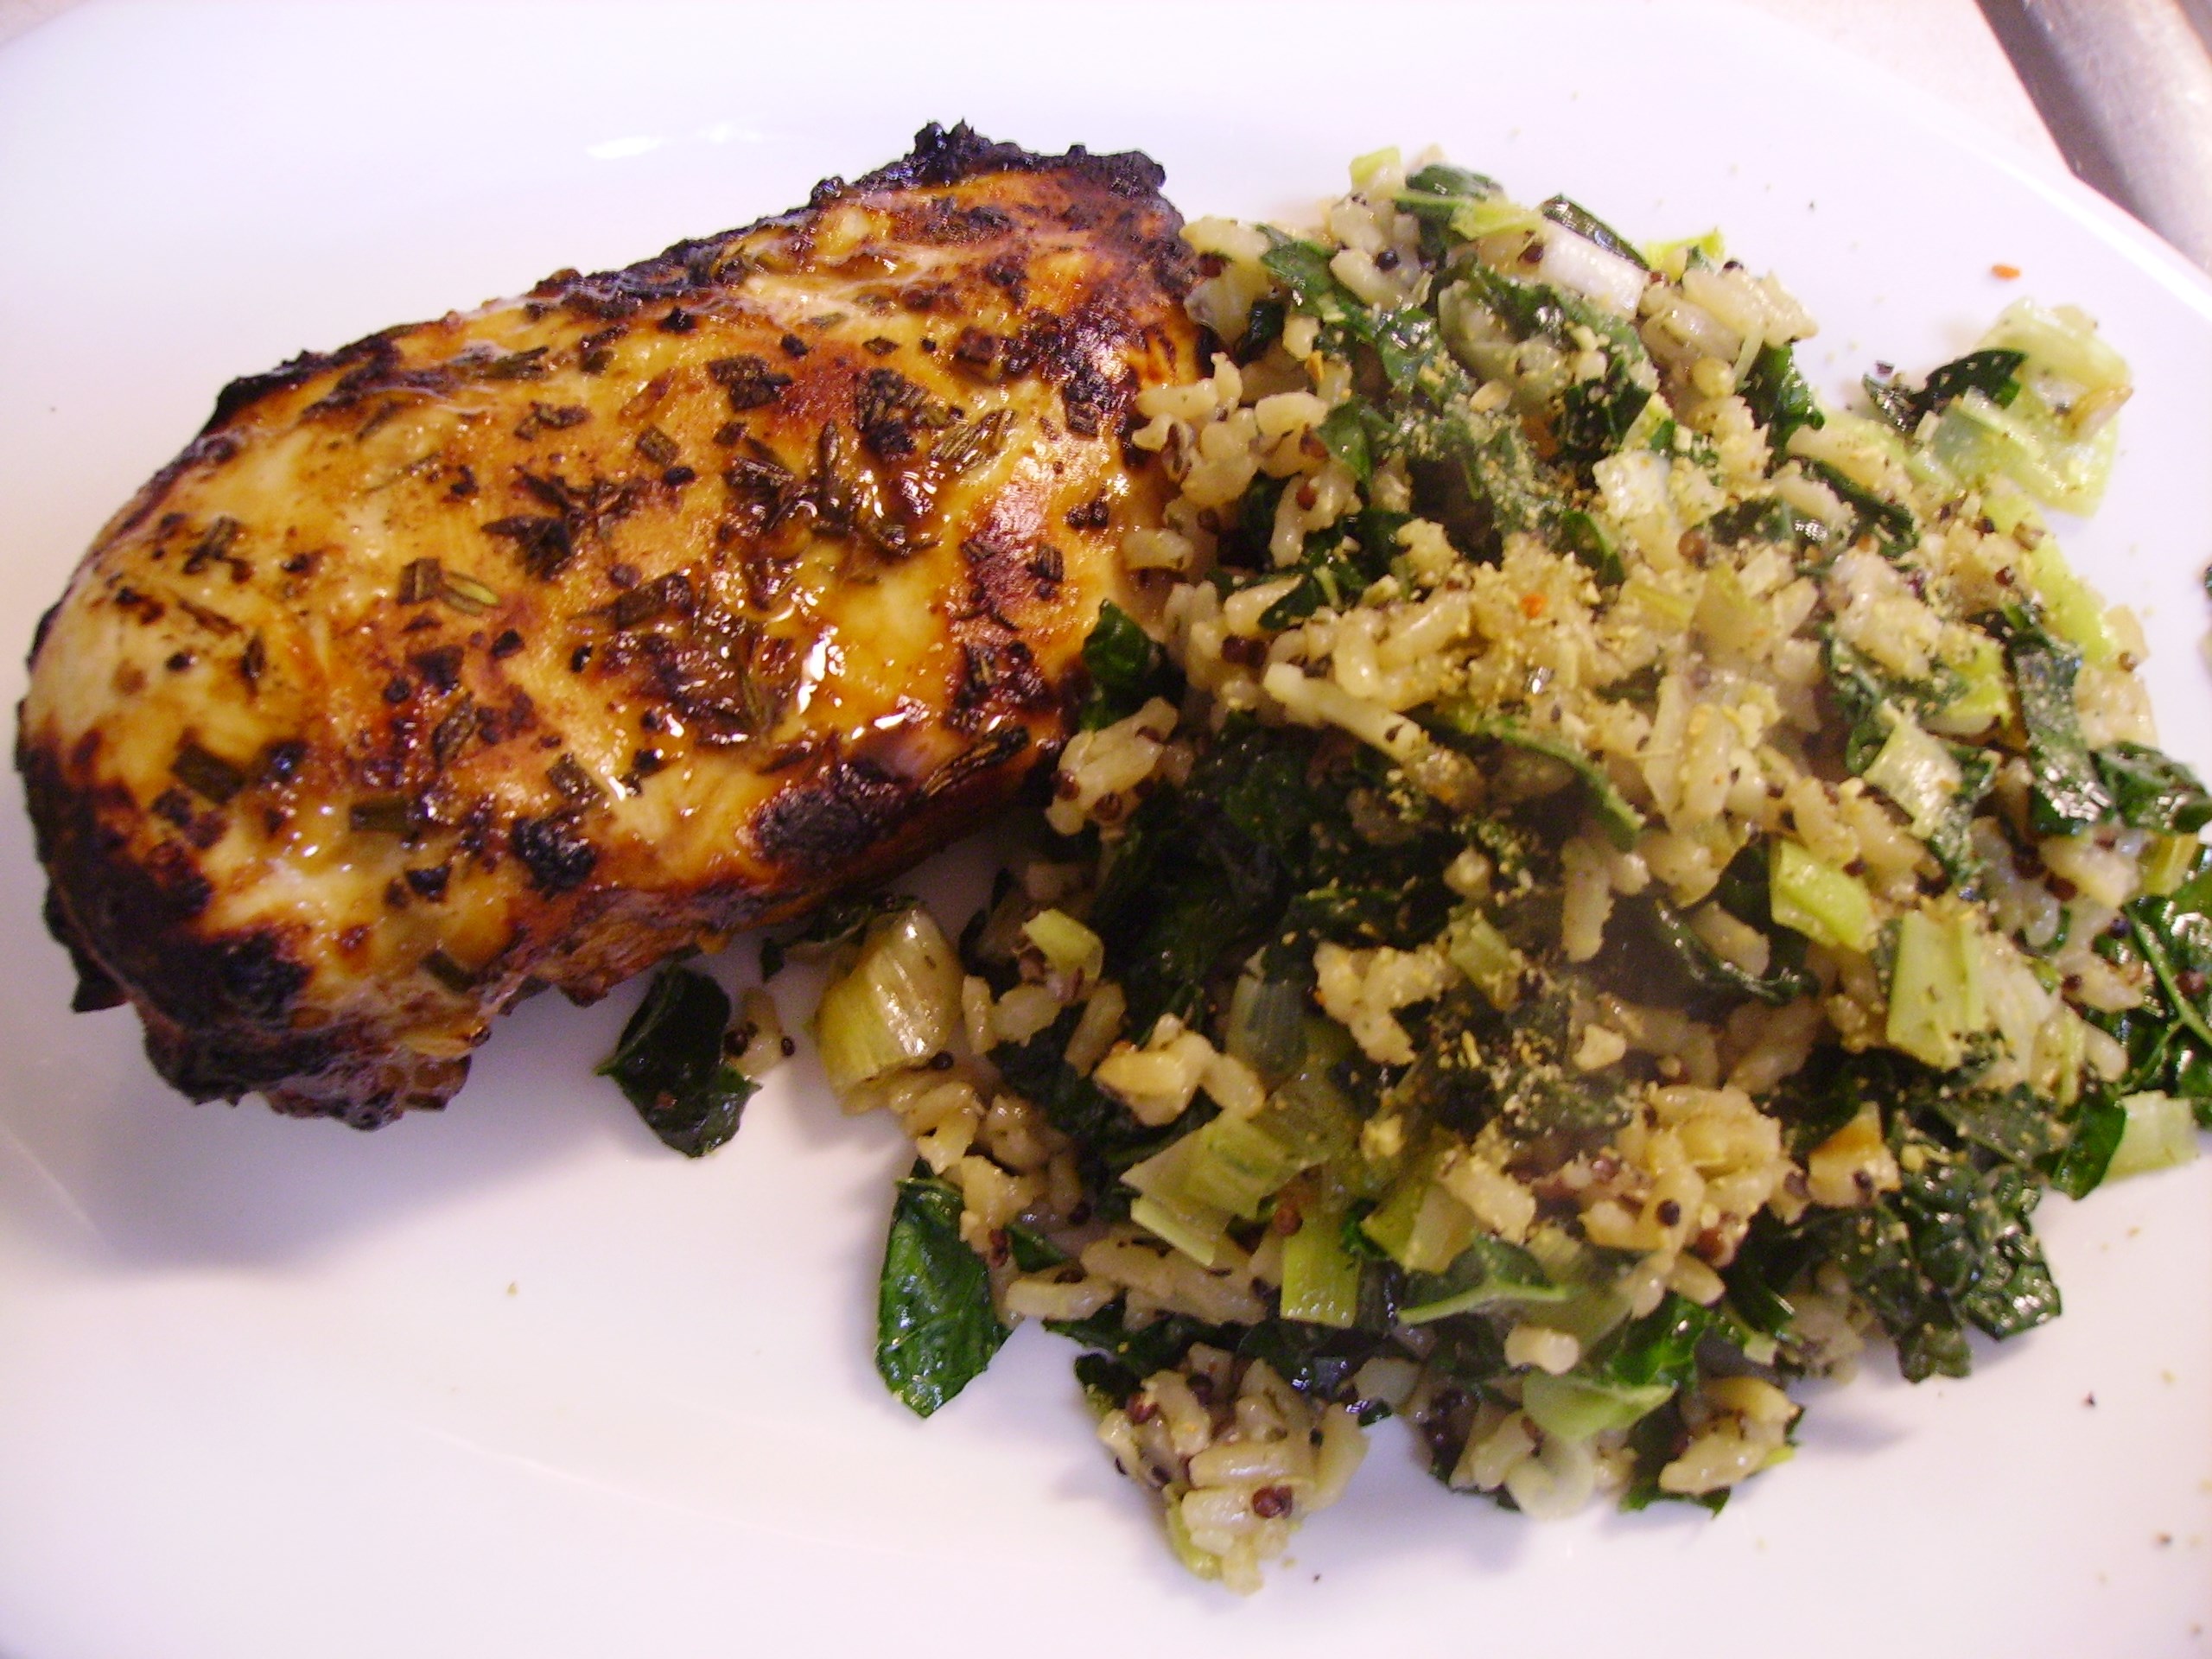
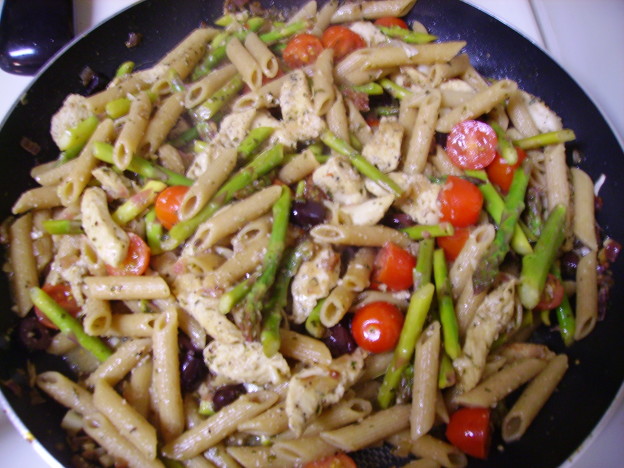
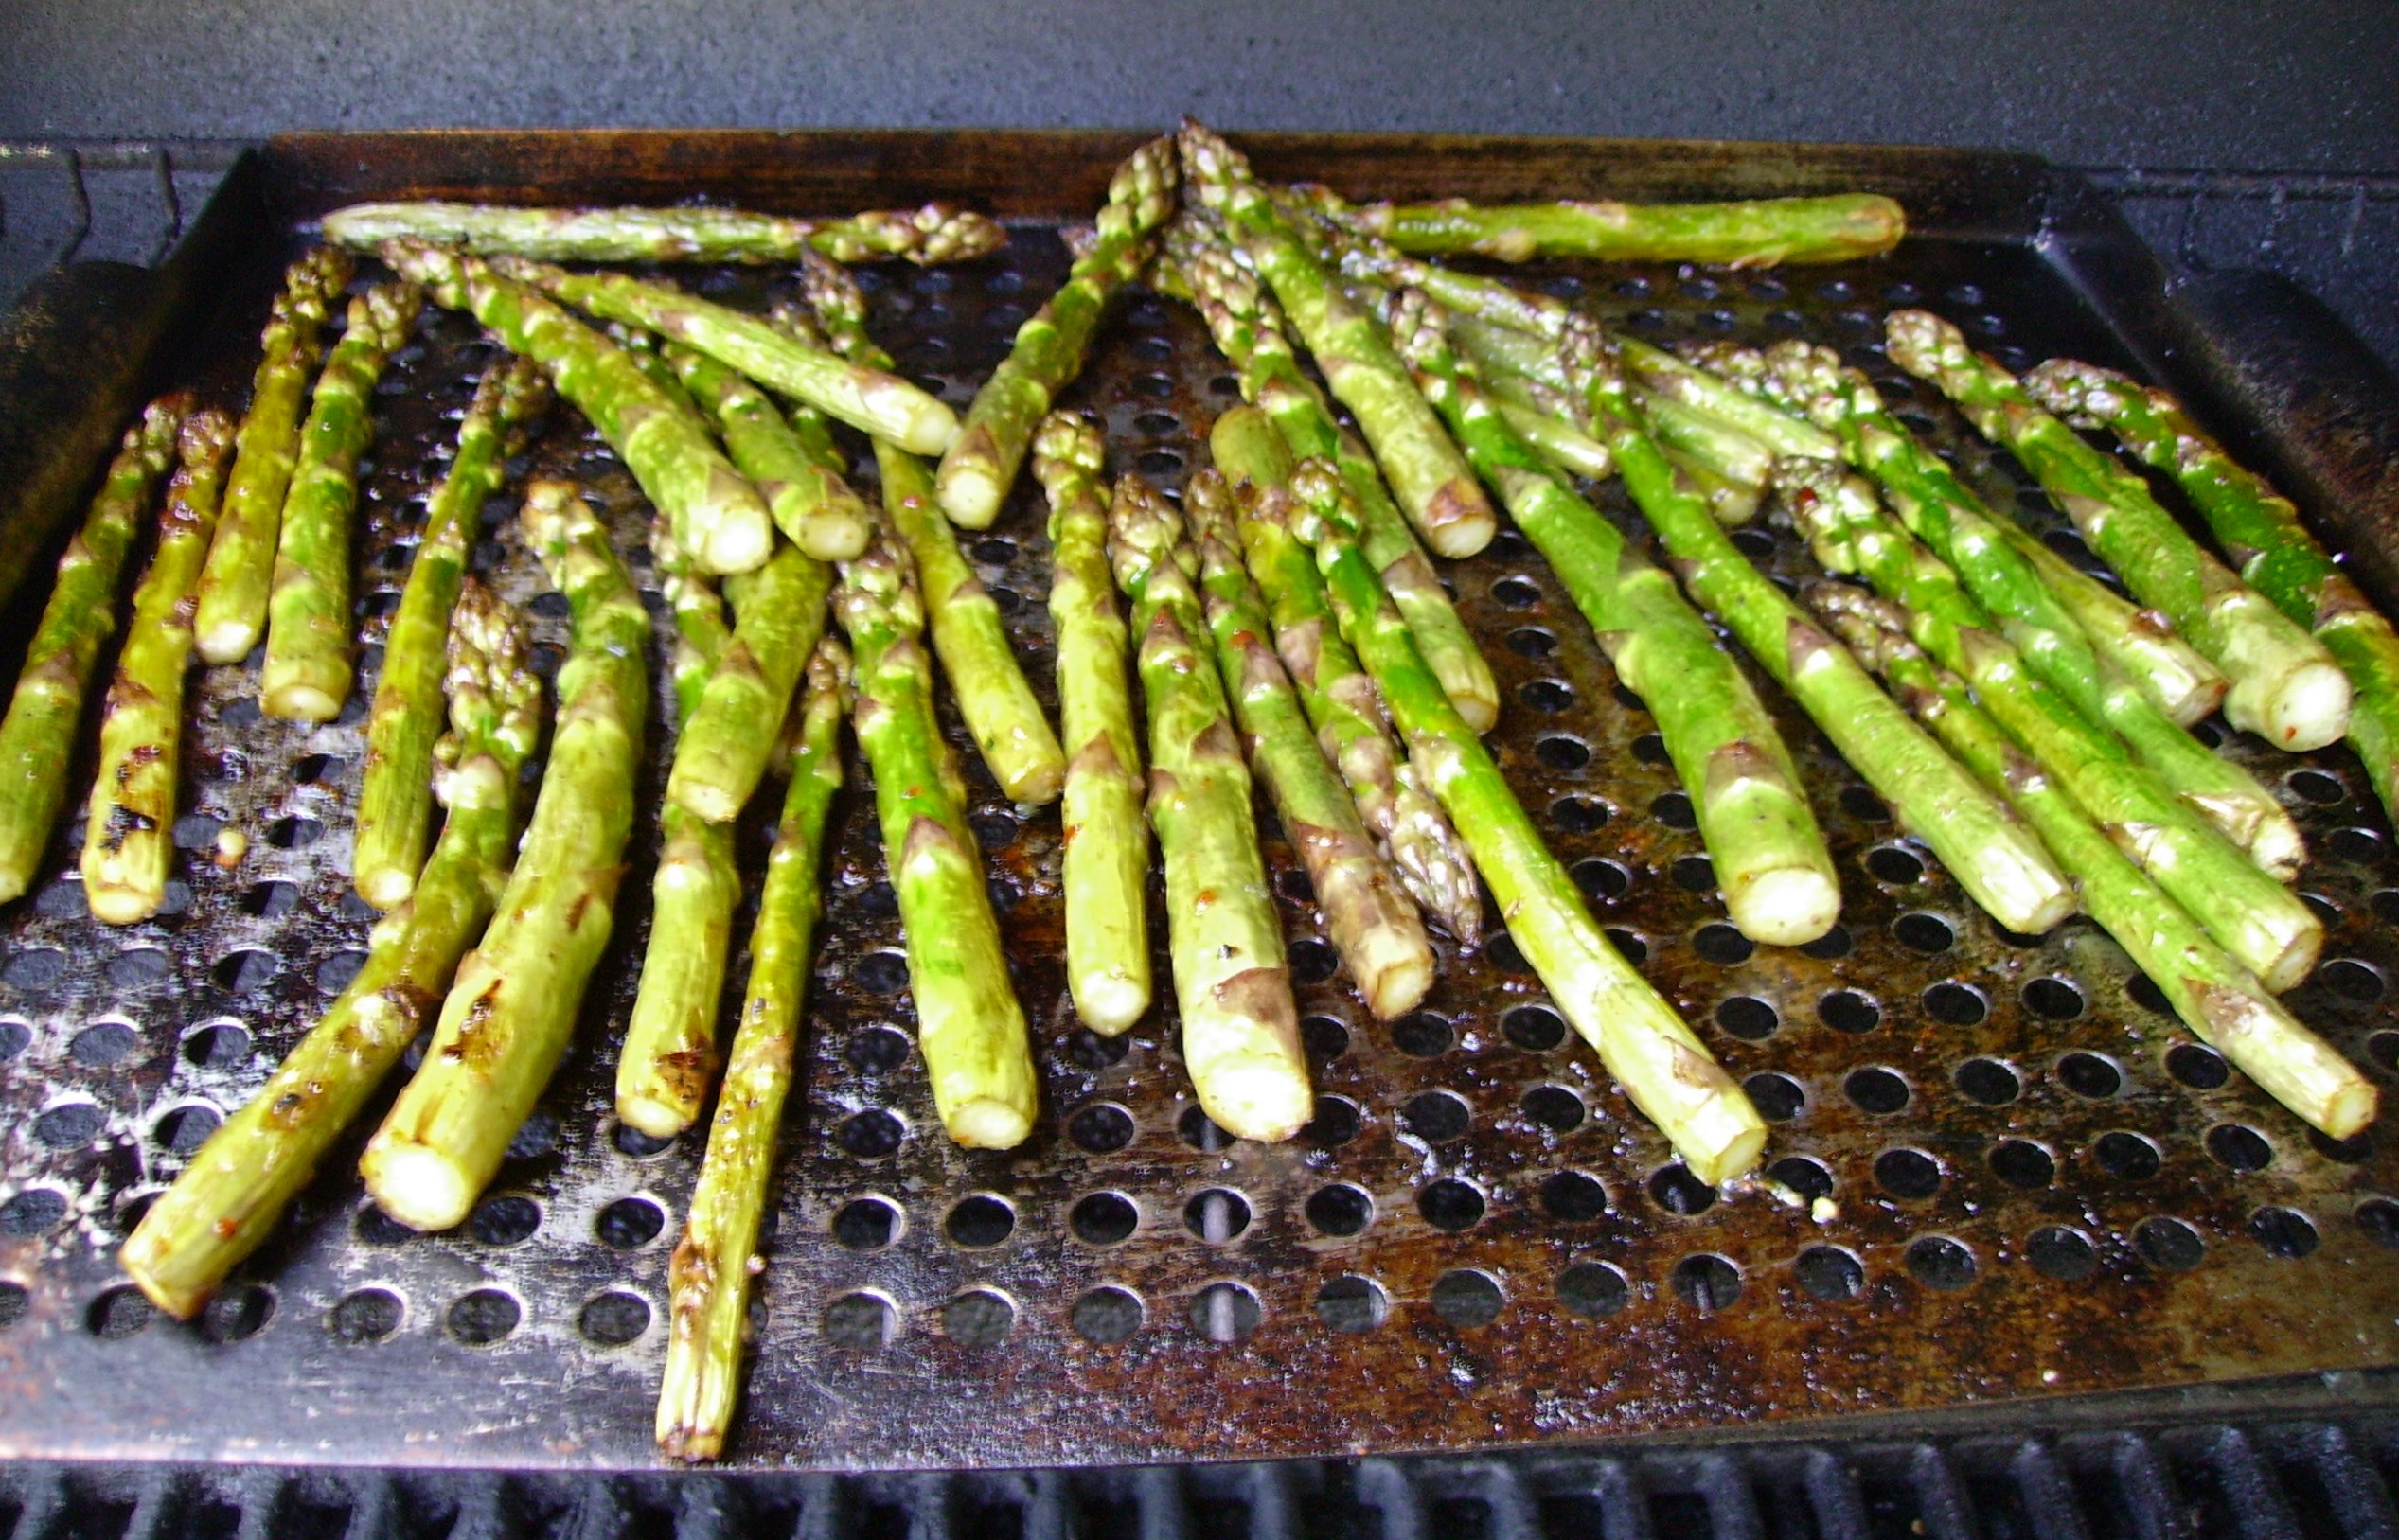
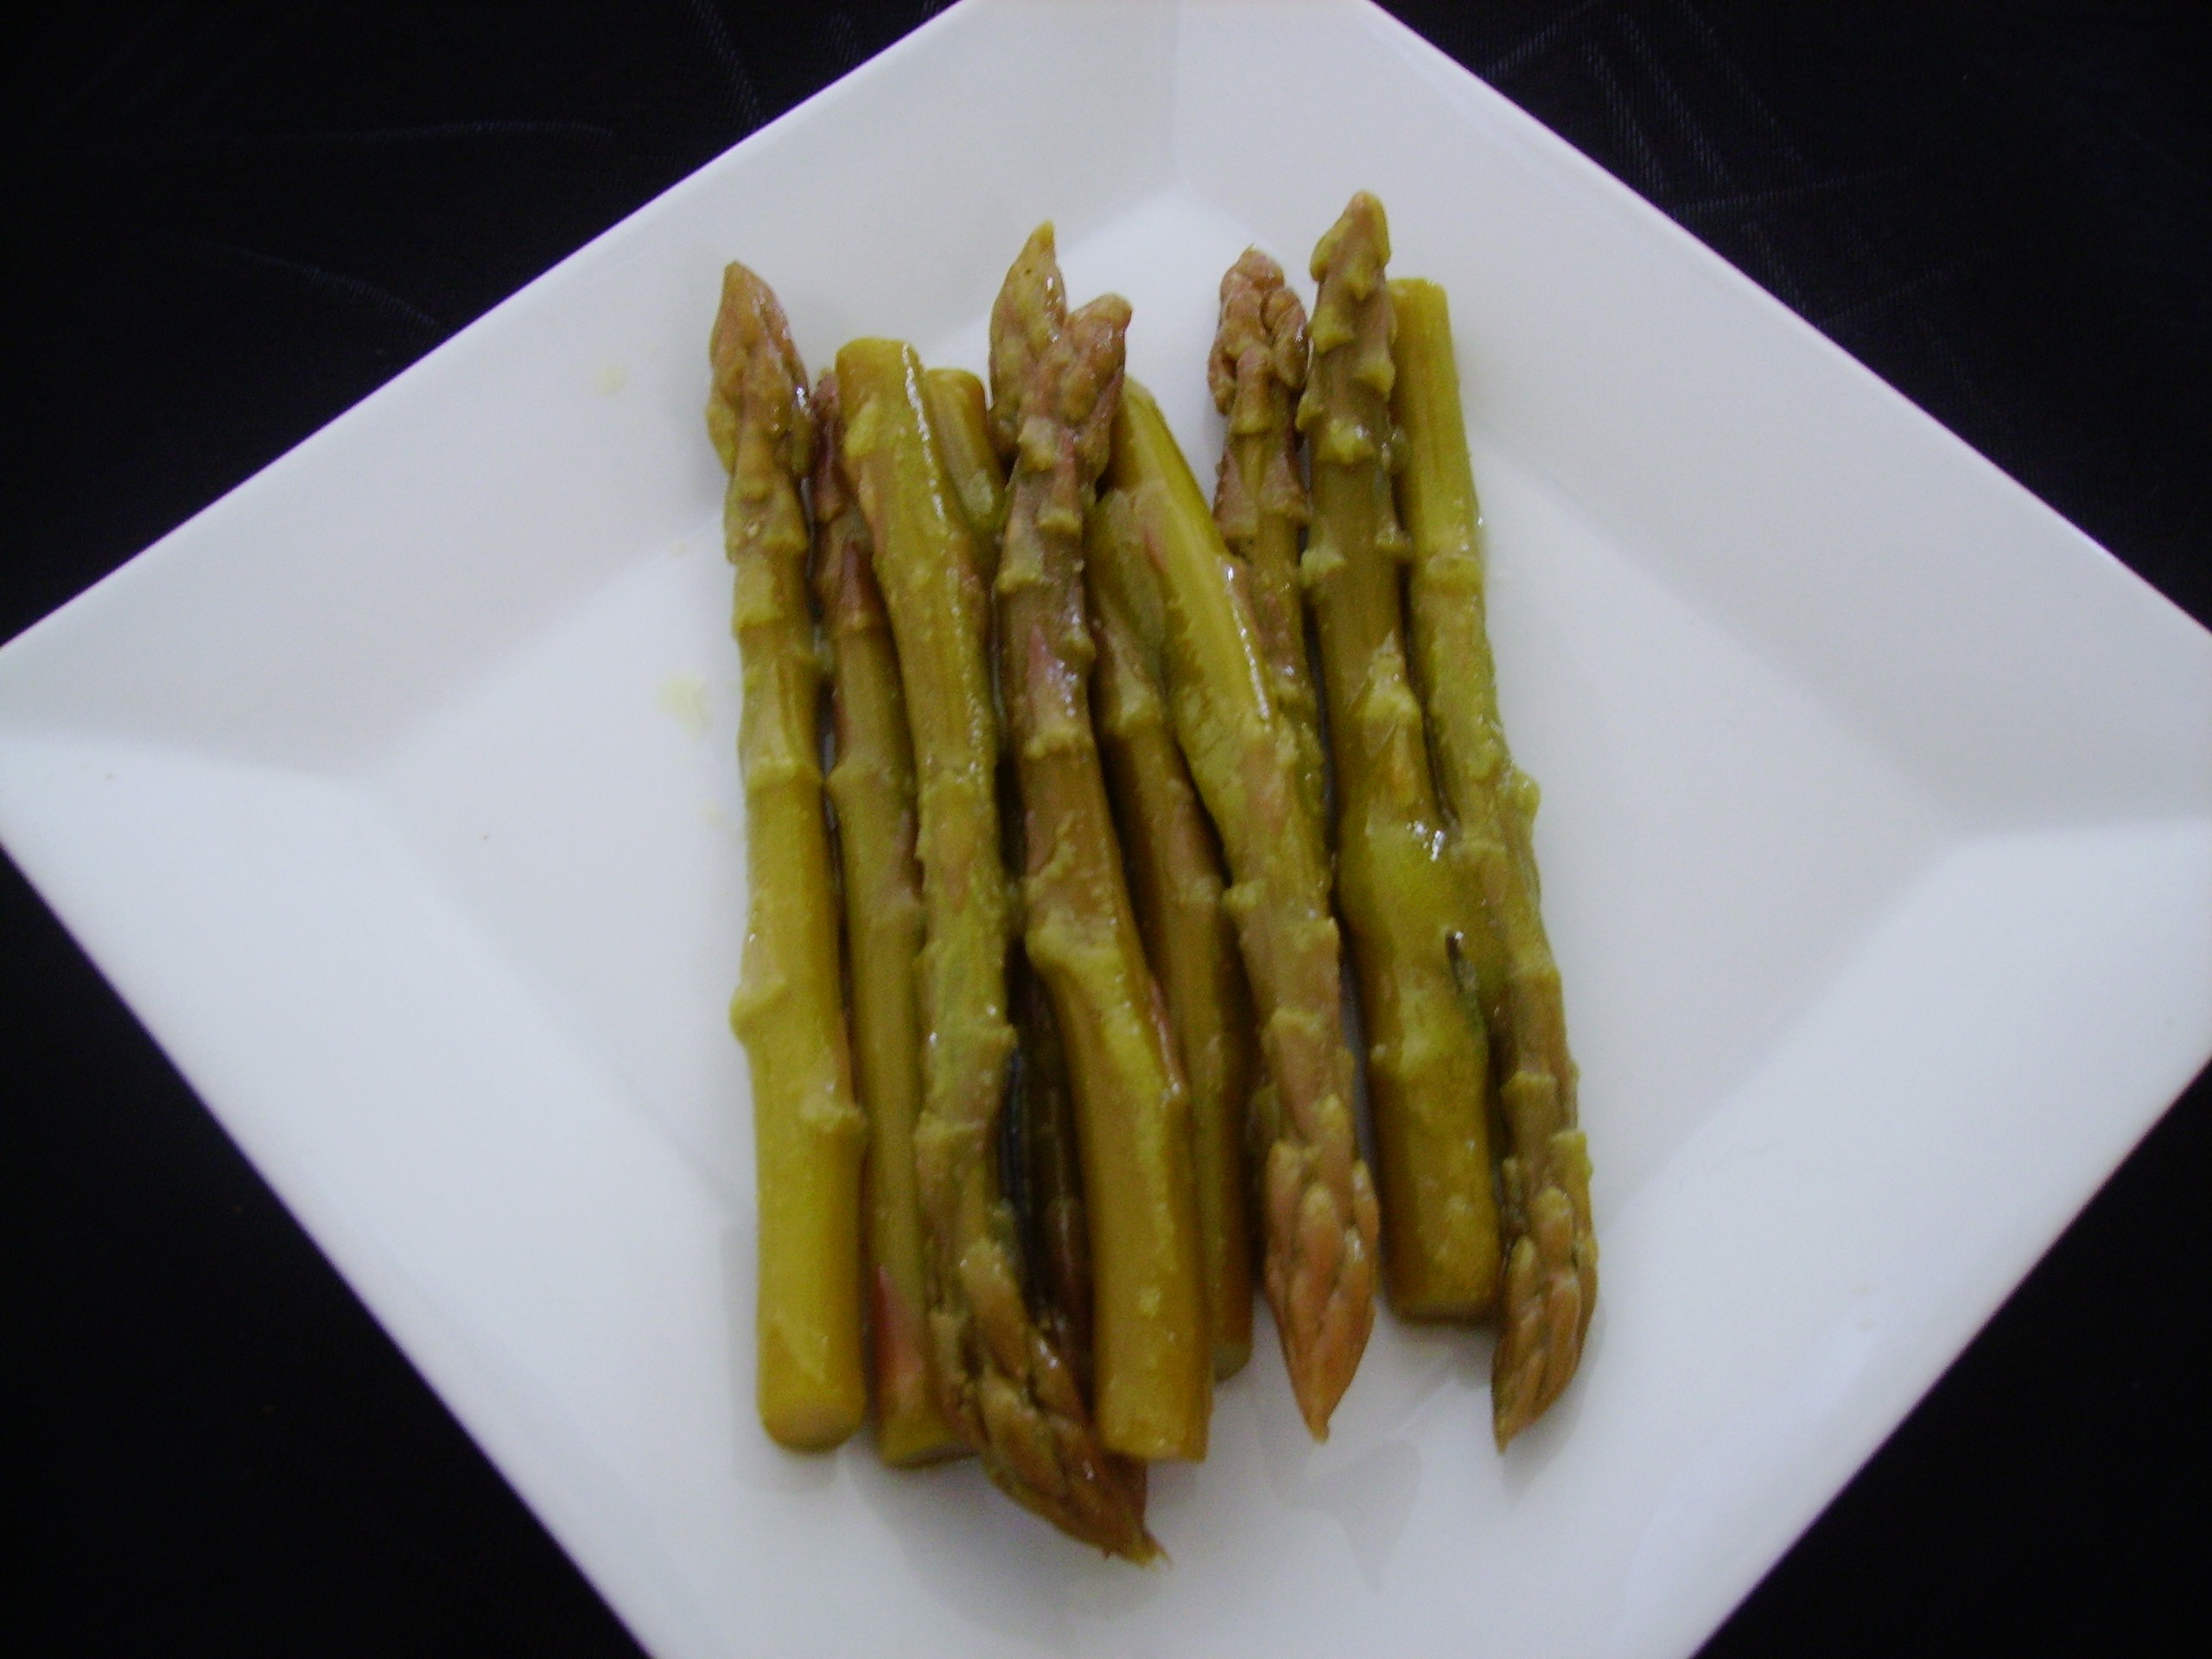
begins to taste wonderful as the air starts to warm up. It is a delicious and nutritious vegetable that lends itself to so many preparations. I’ve extolled its virtues here many times. Sharing adventures in grilling, roasting, and even pickling. I usually allow this magnificent spear to stand alone as the perfect side dish to enhance a meal, but sometimes, especially when it comes from far away, it is the perfect addition to a main dish. That’s how Lemony Asparagus with Chicken and Penne came to be.

DIGITAL CAMERALemon is a wonderful flavoring agent. It adds zing, acid and a fresh DIGITAL CAMERA
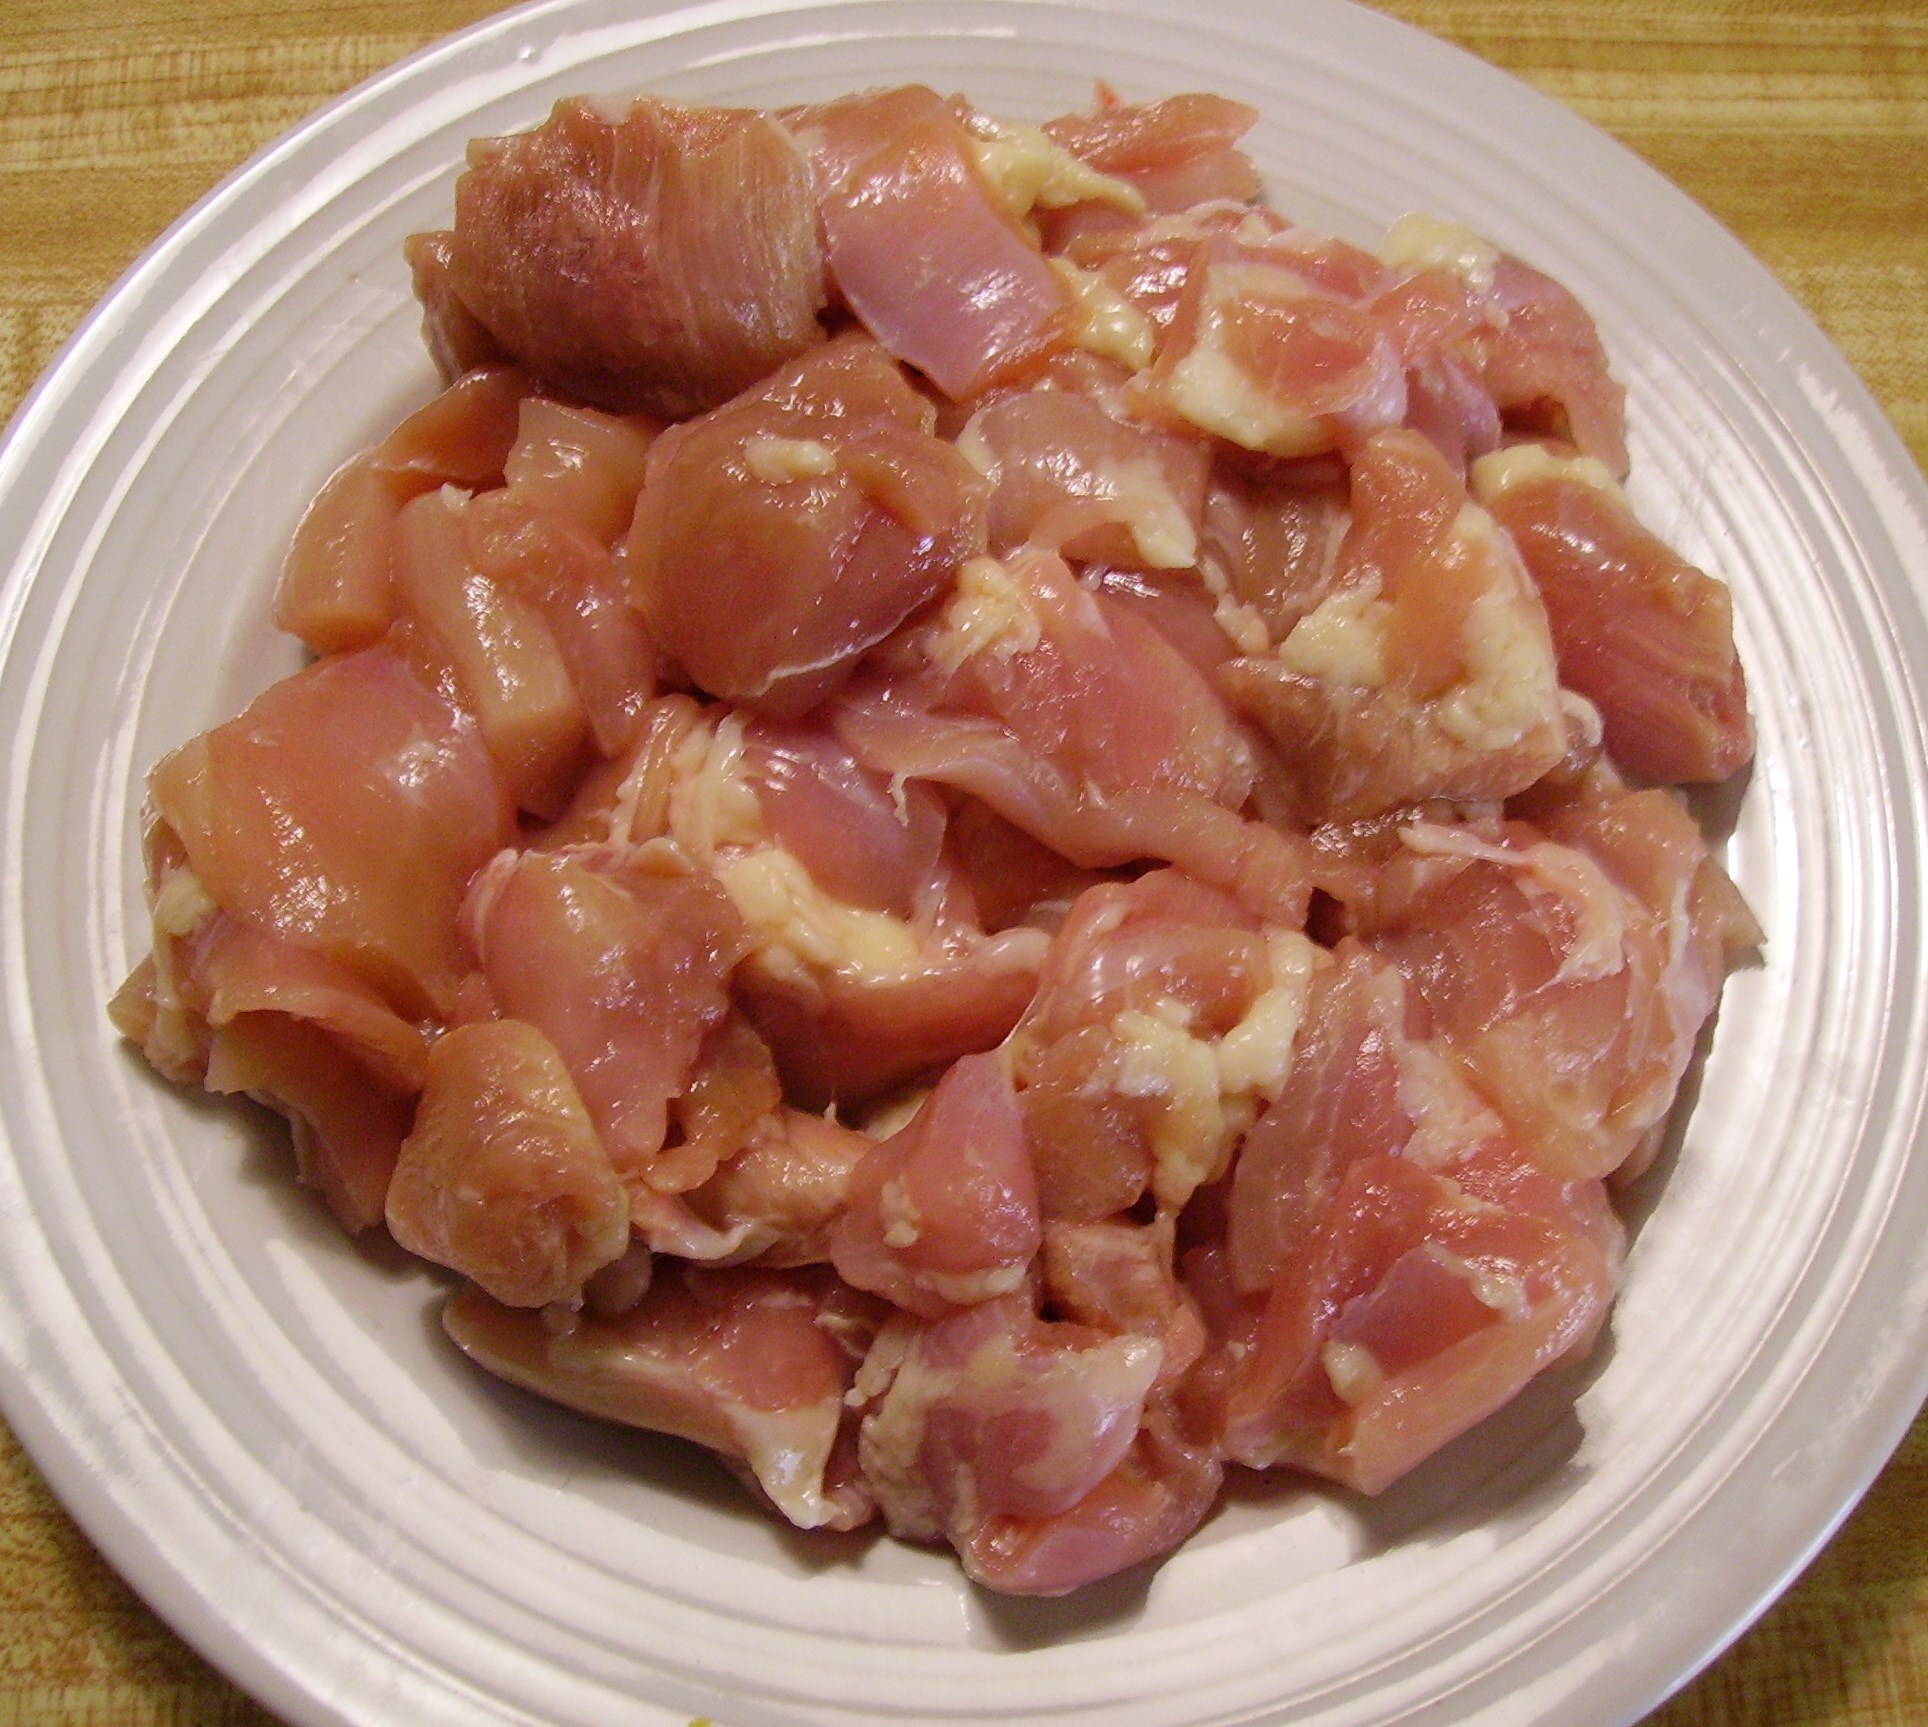
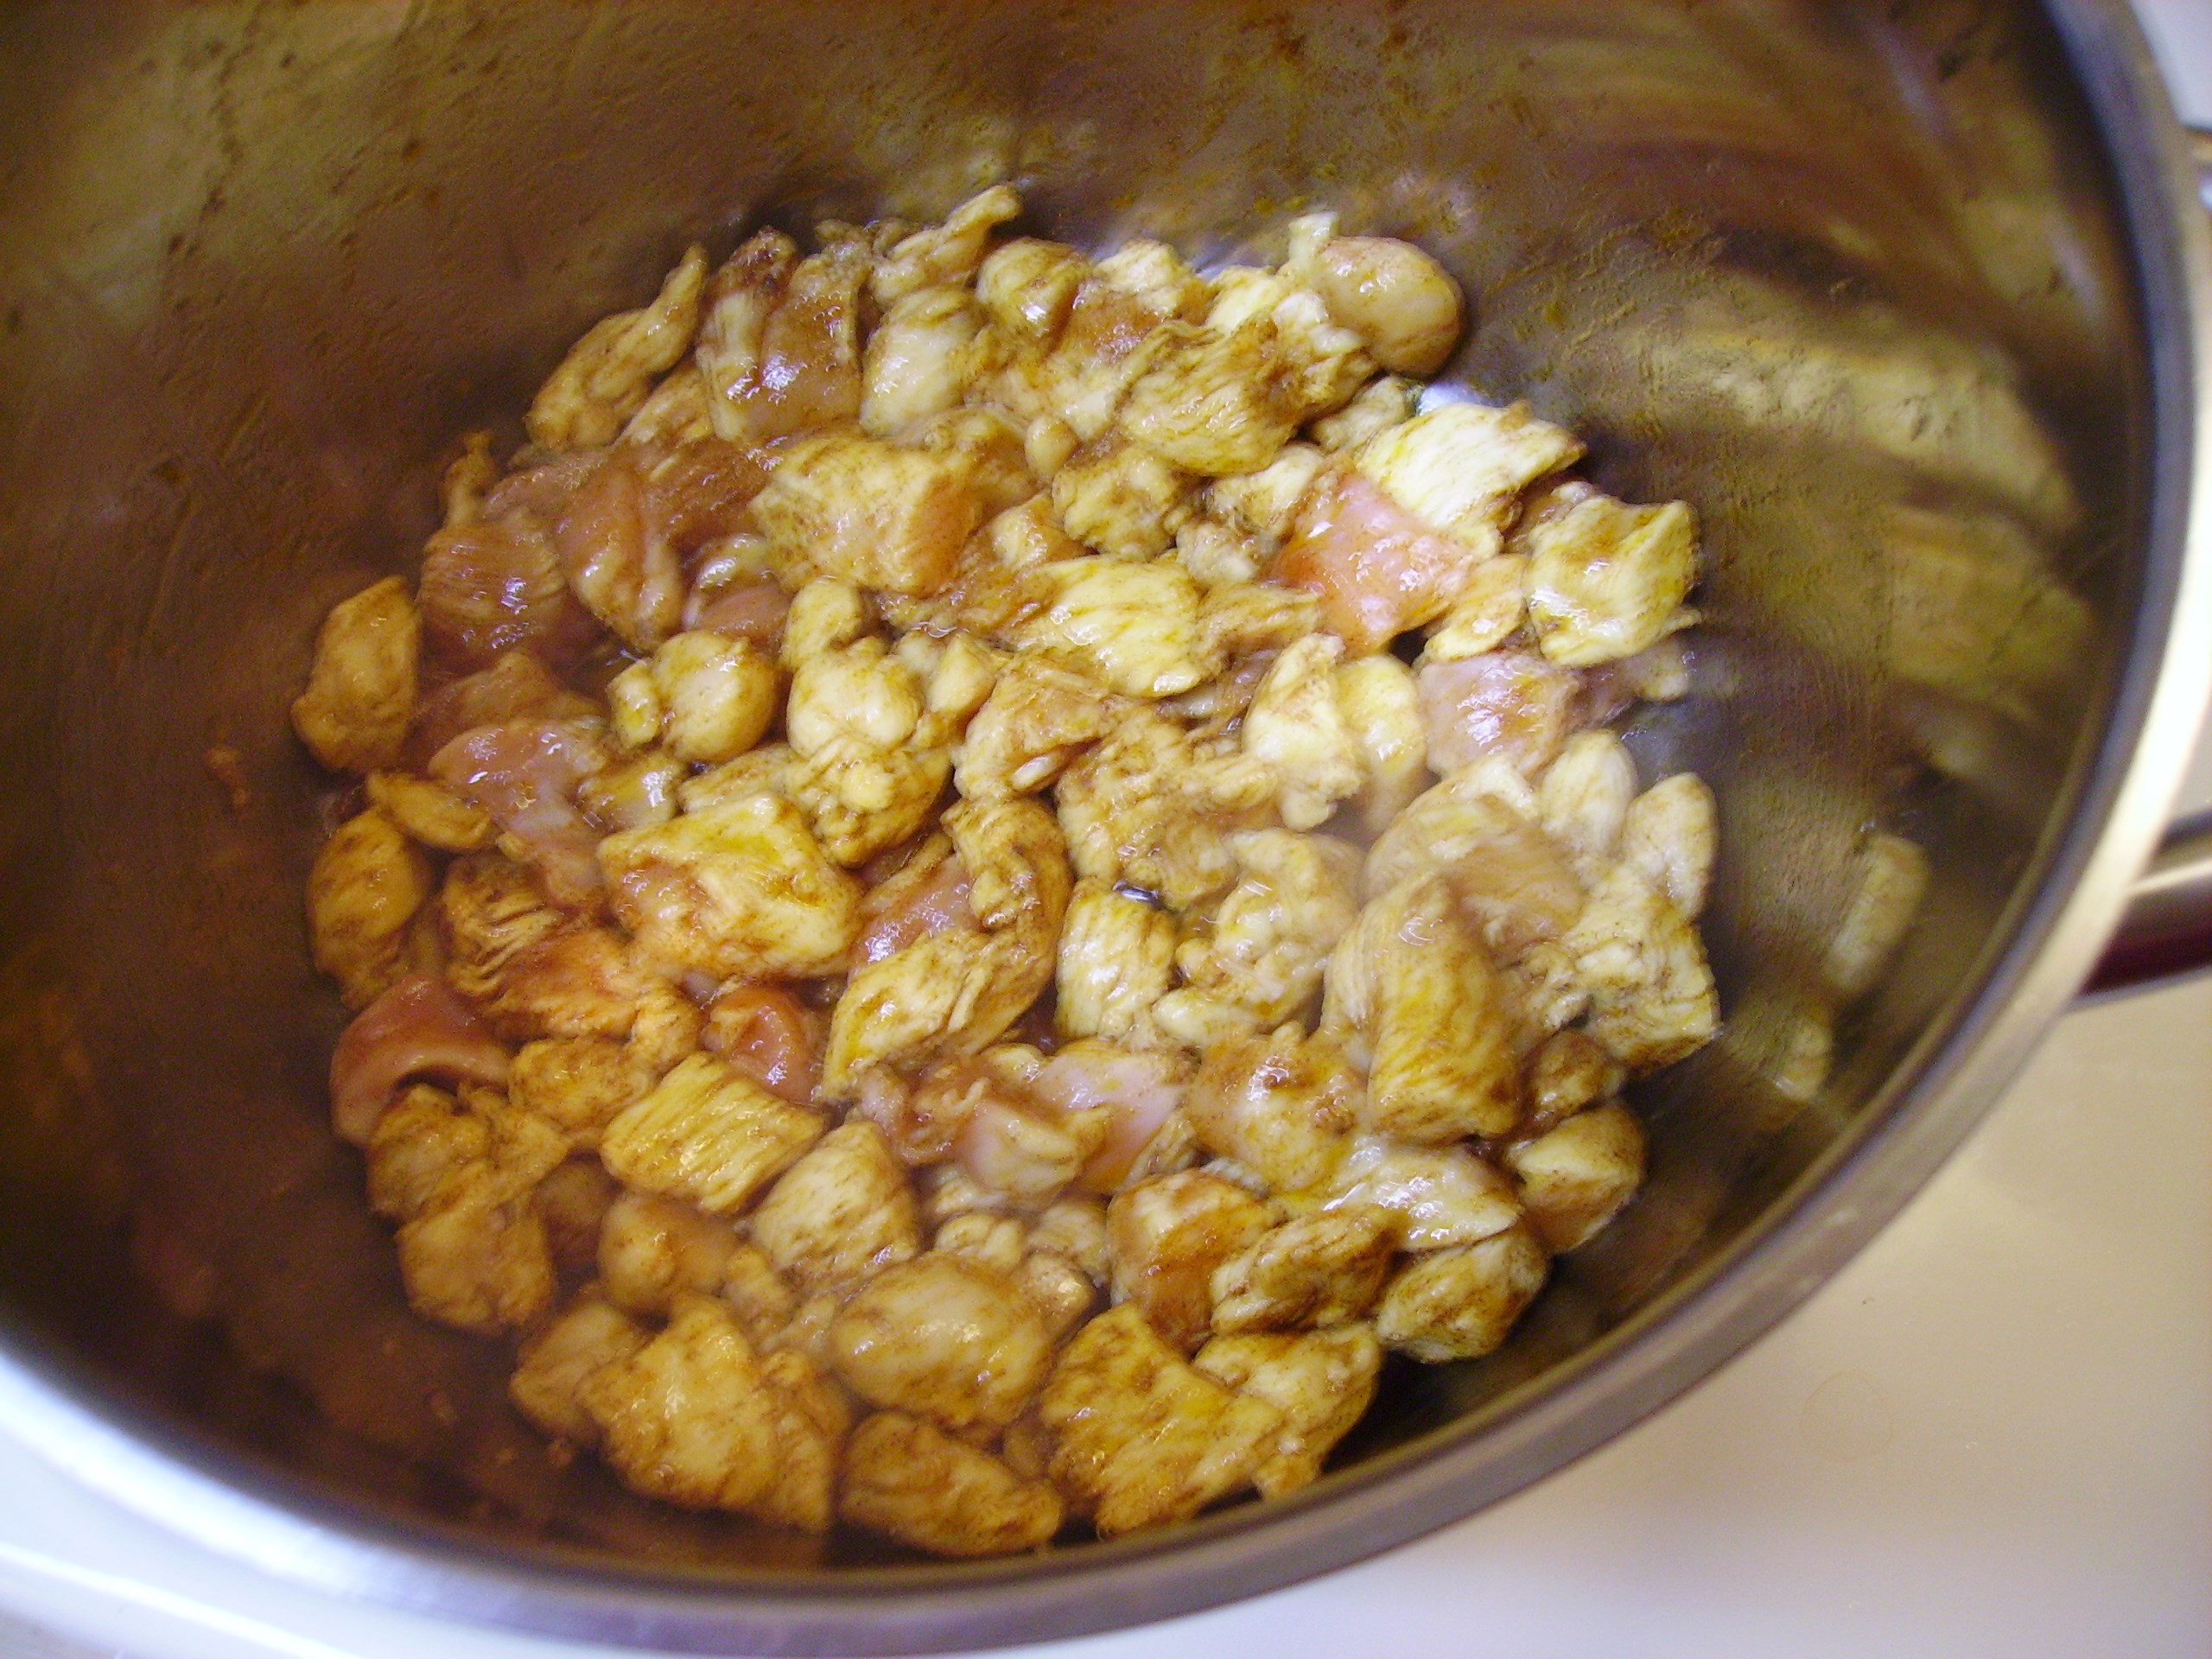
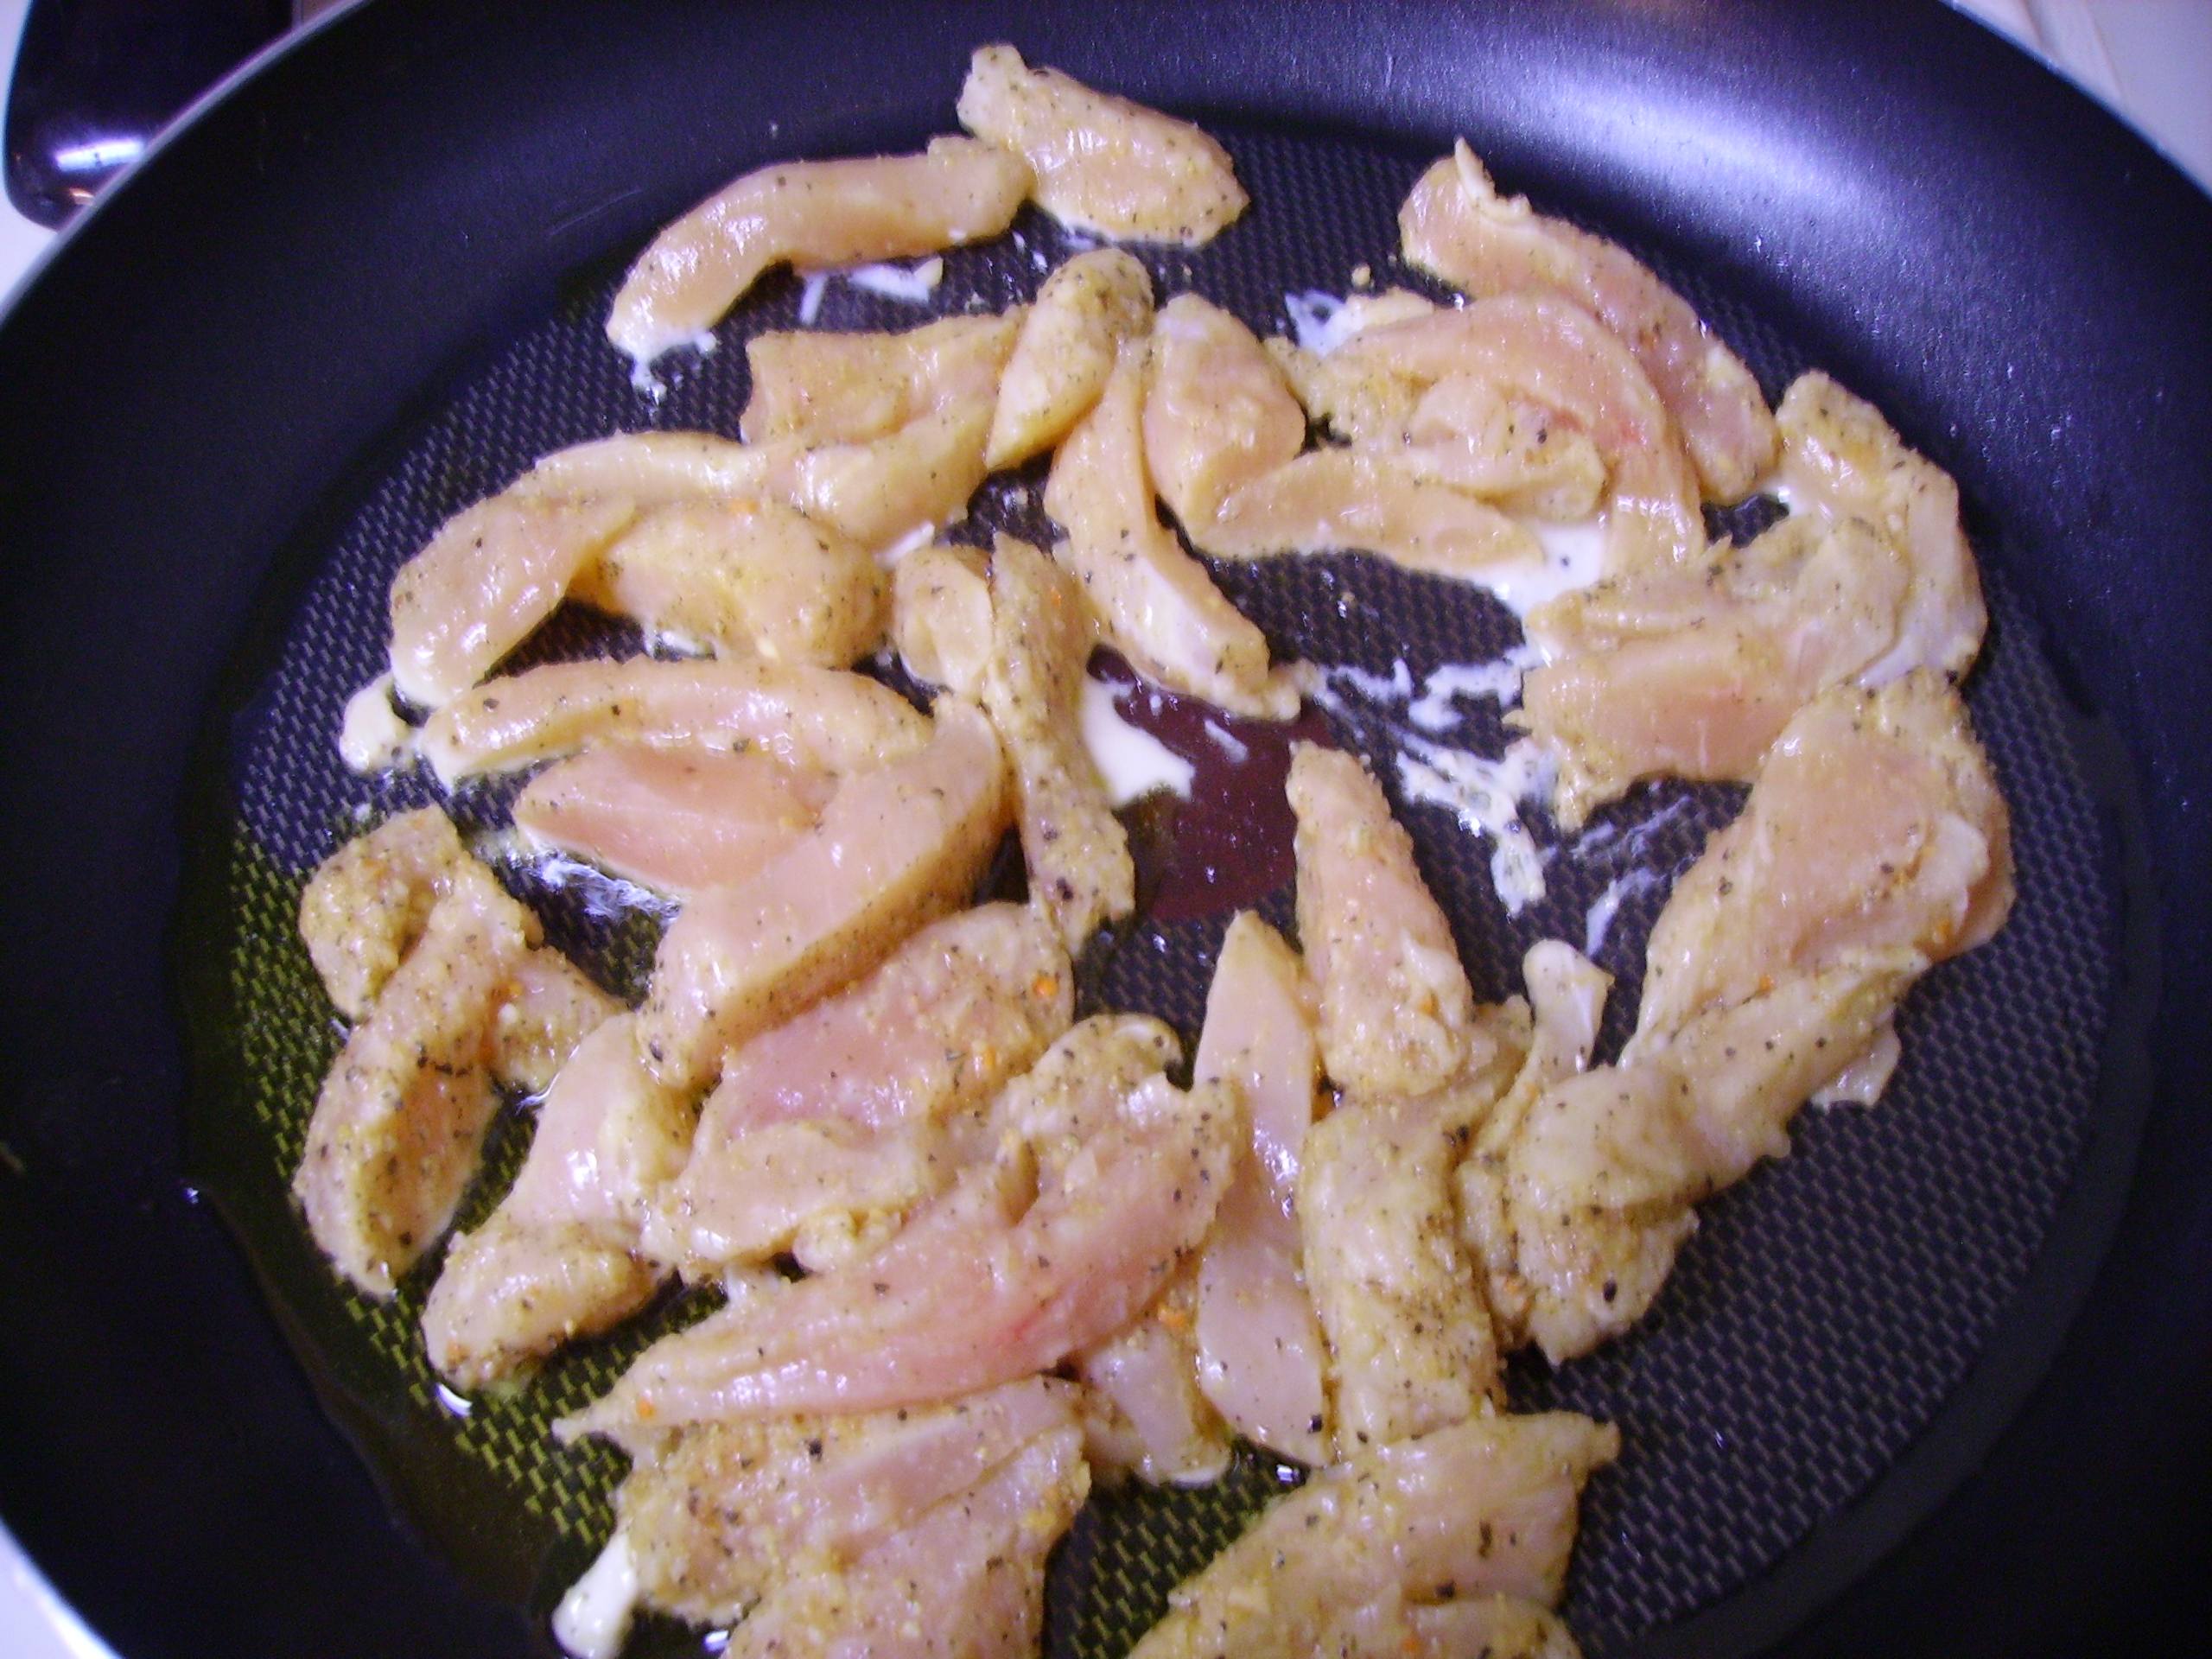
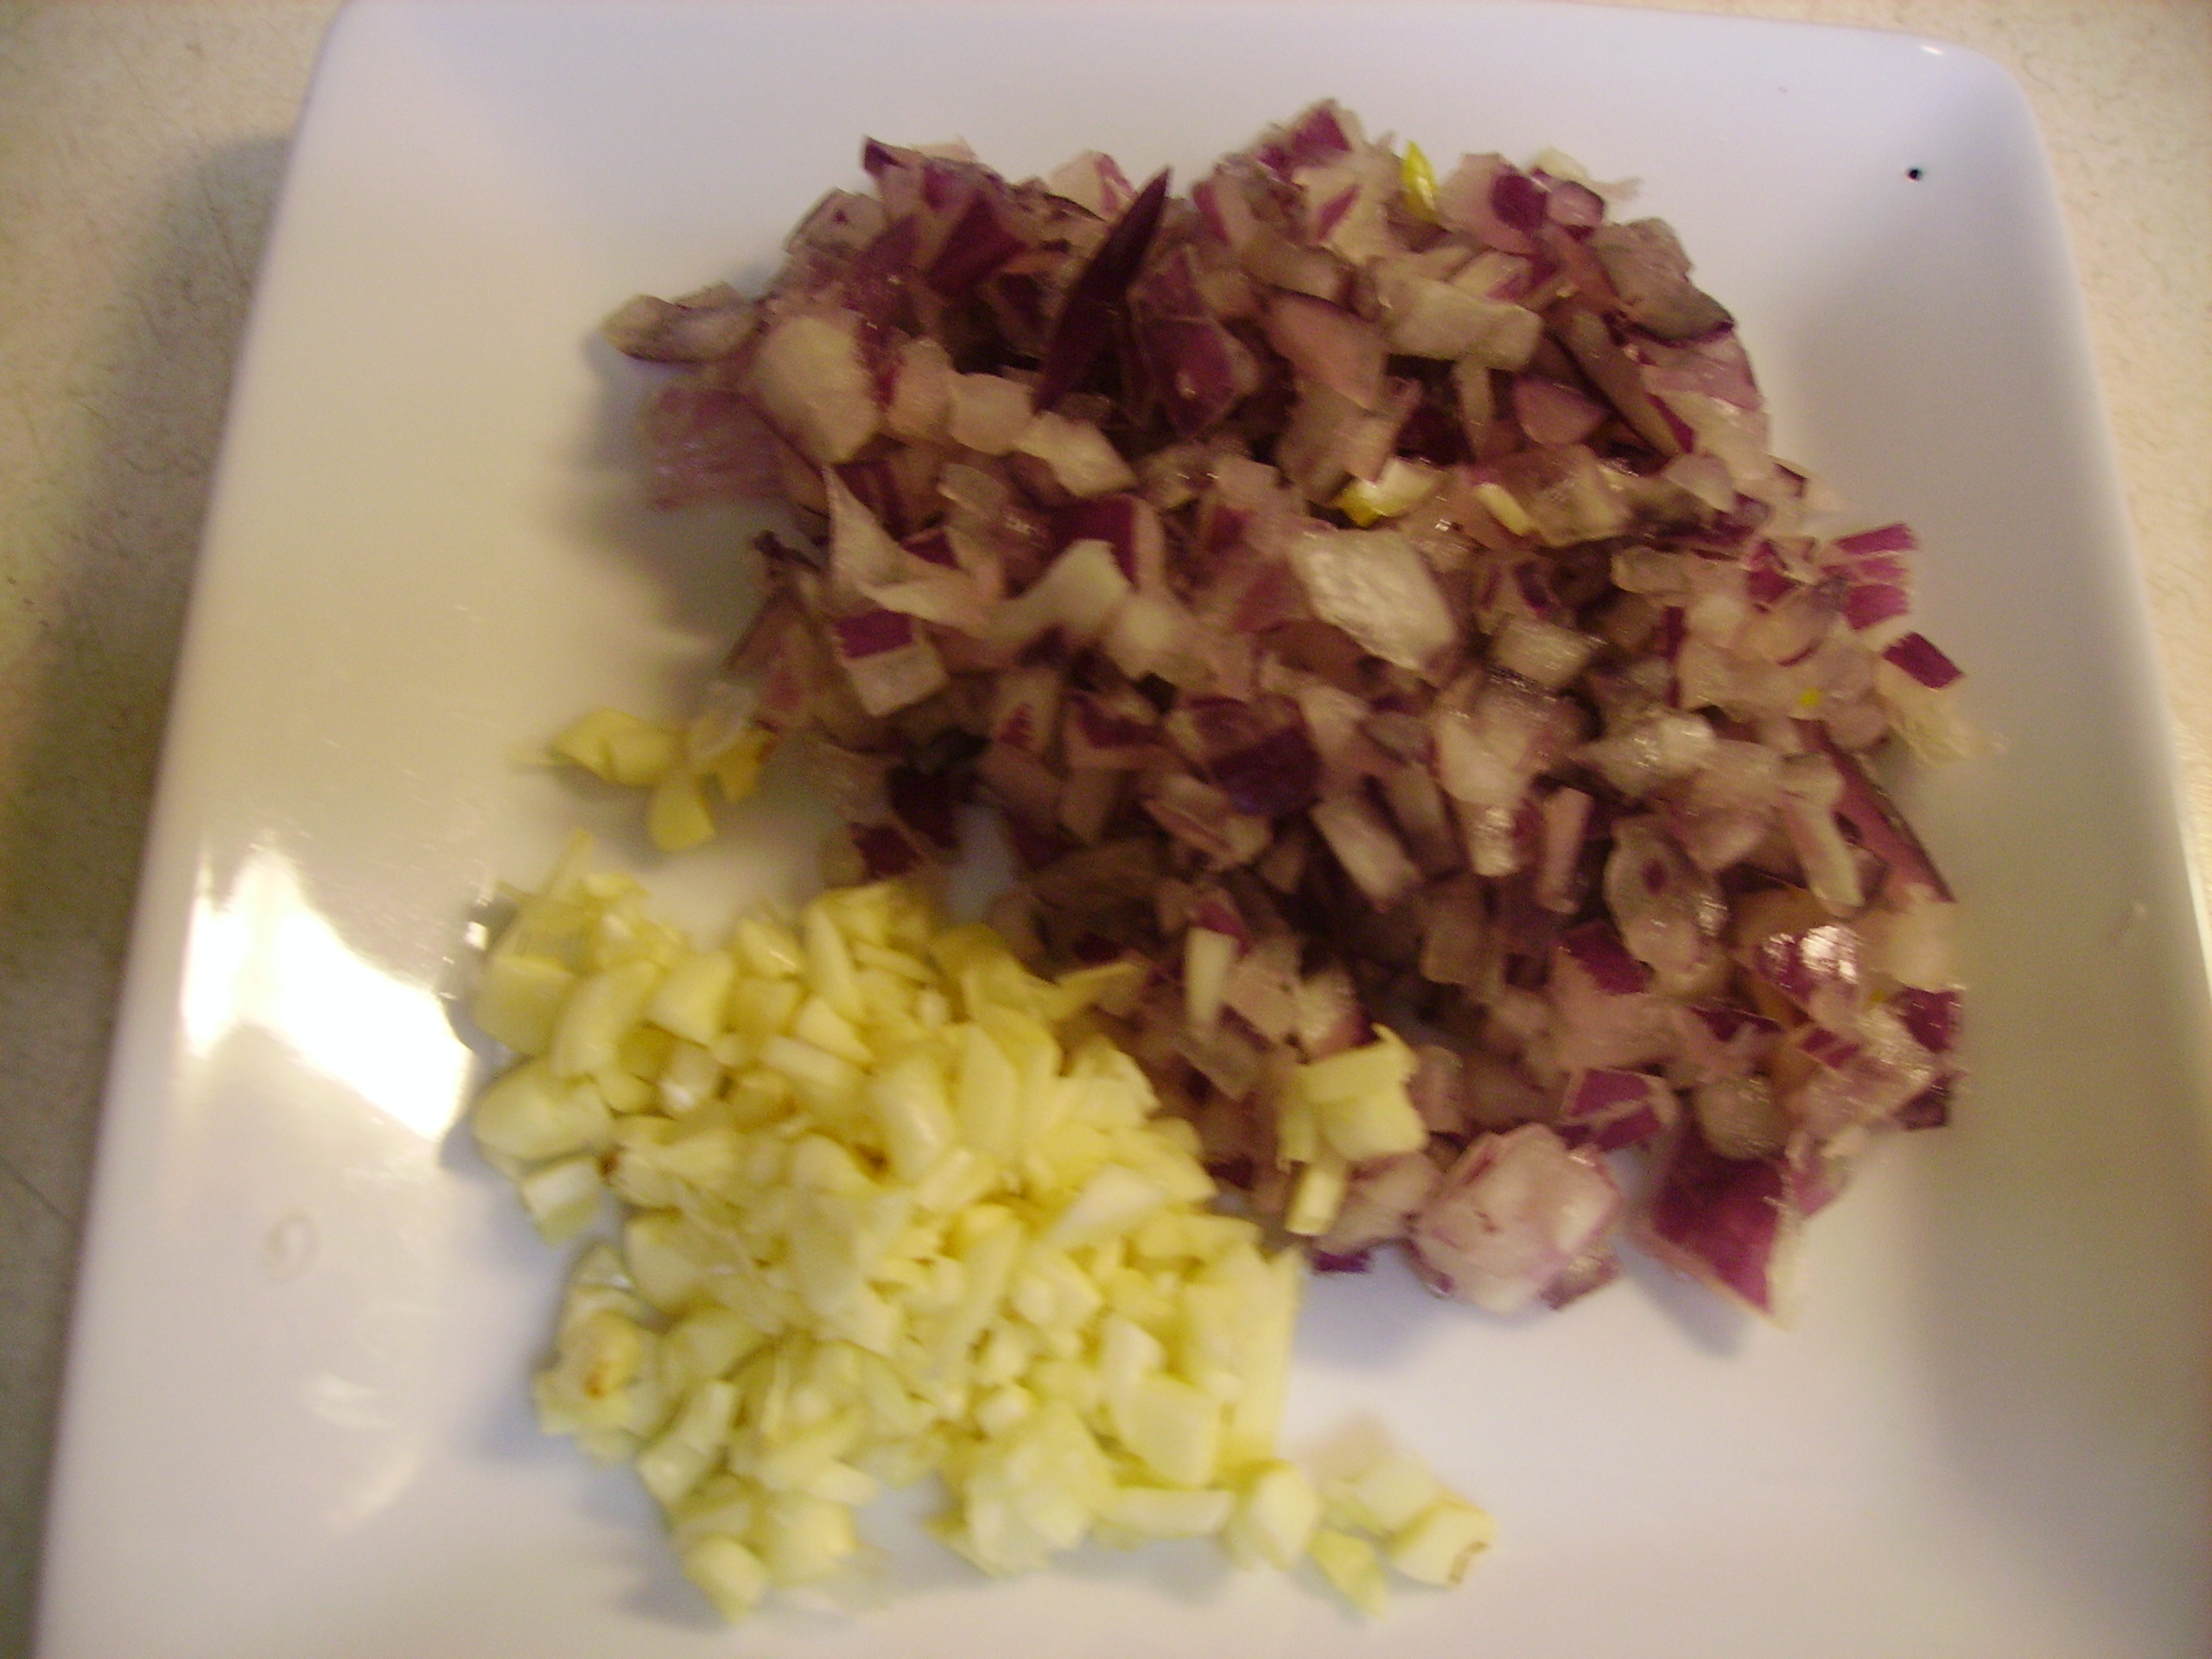
fruity taste of sunshine to everything it touches. I carried this flavor into several levels of this dish. it started with some chicken breast bits that I let chill out with some lemon pepper seasoning. This was the salt free variety so there was no danger of the chicken “cooking” before its time. A quick saute in a large fry pan and it was ready to go. It sat on the sidelines while the vegetables took over. A good amount of red onion and slightly more than a little garlic joined in. A touch of olive oil kept everything moving and when things got a little tight some chicken broth loosened it up. Finally it was time to add the asparagus and I added a lot of it. This dish is about spring after all.DIGITAL CAMERA

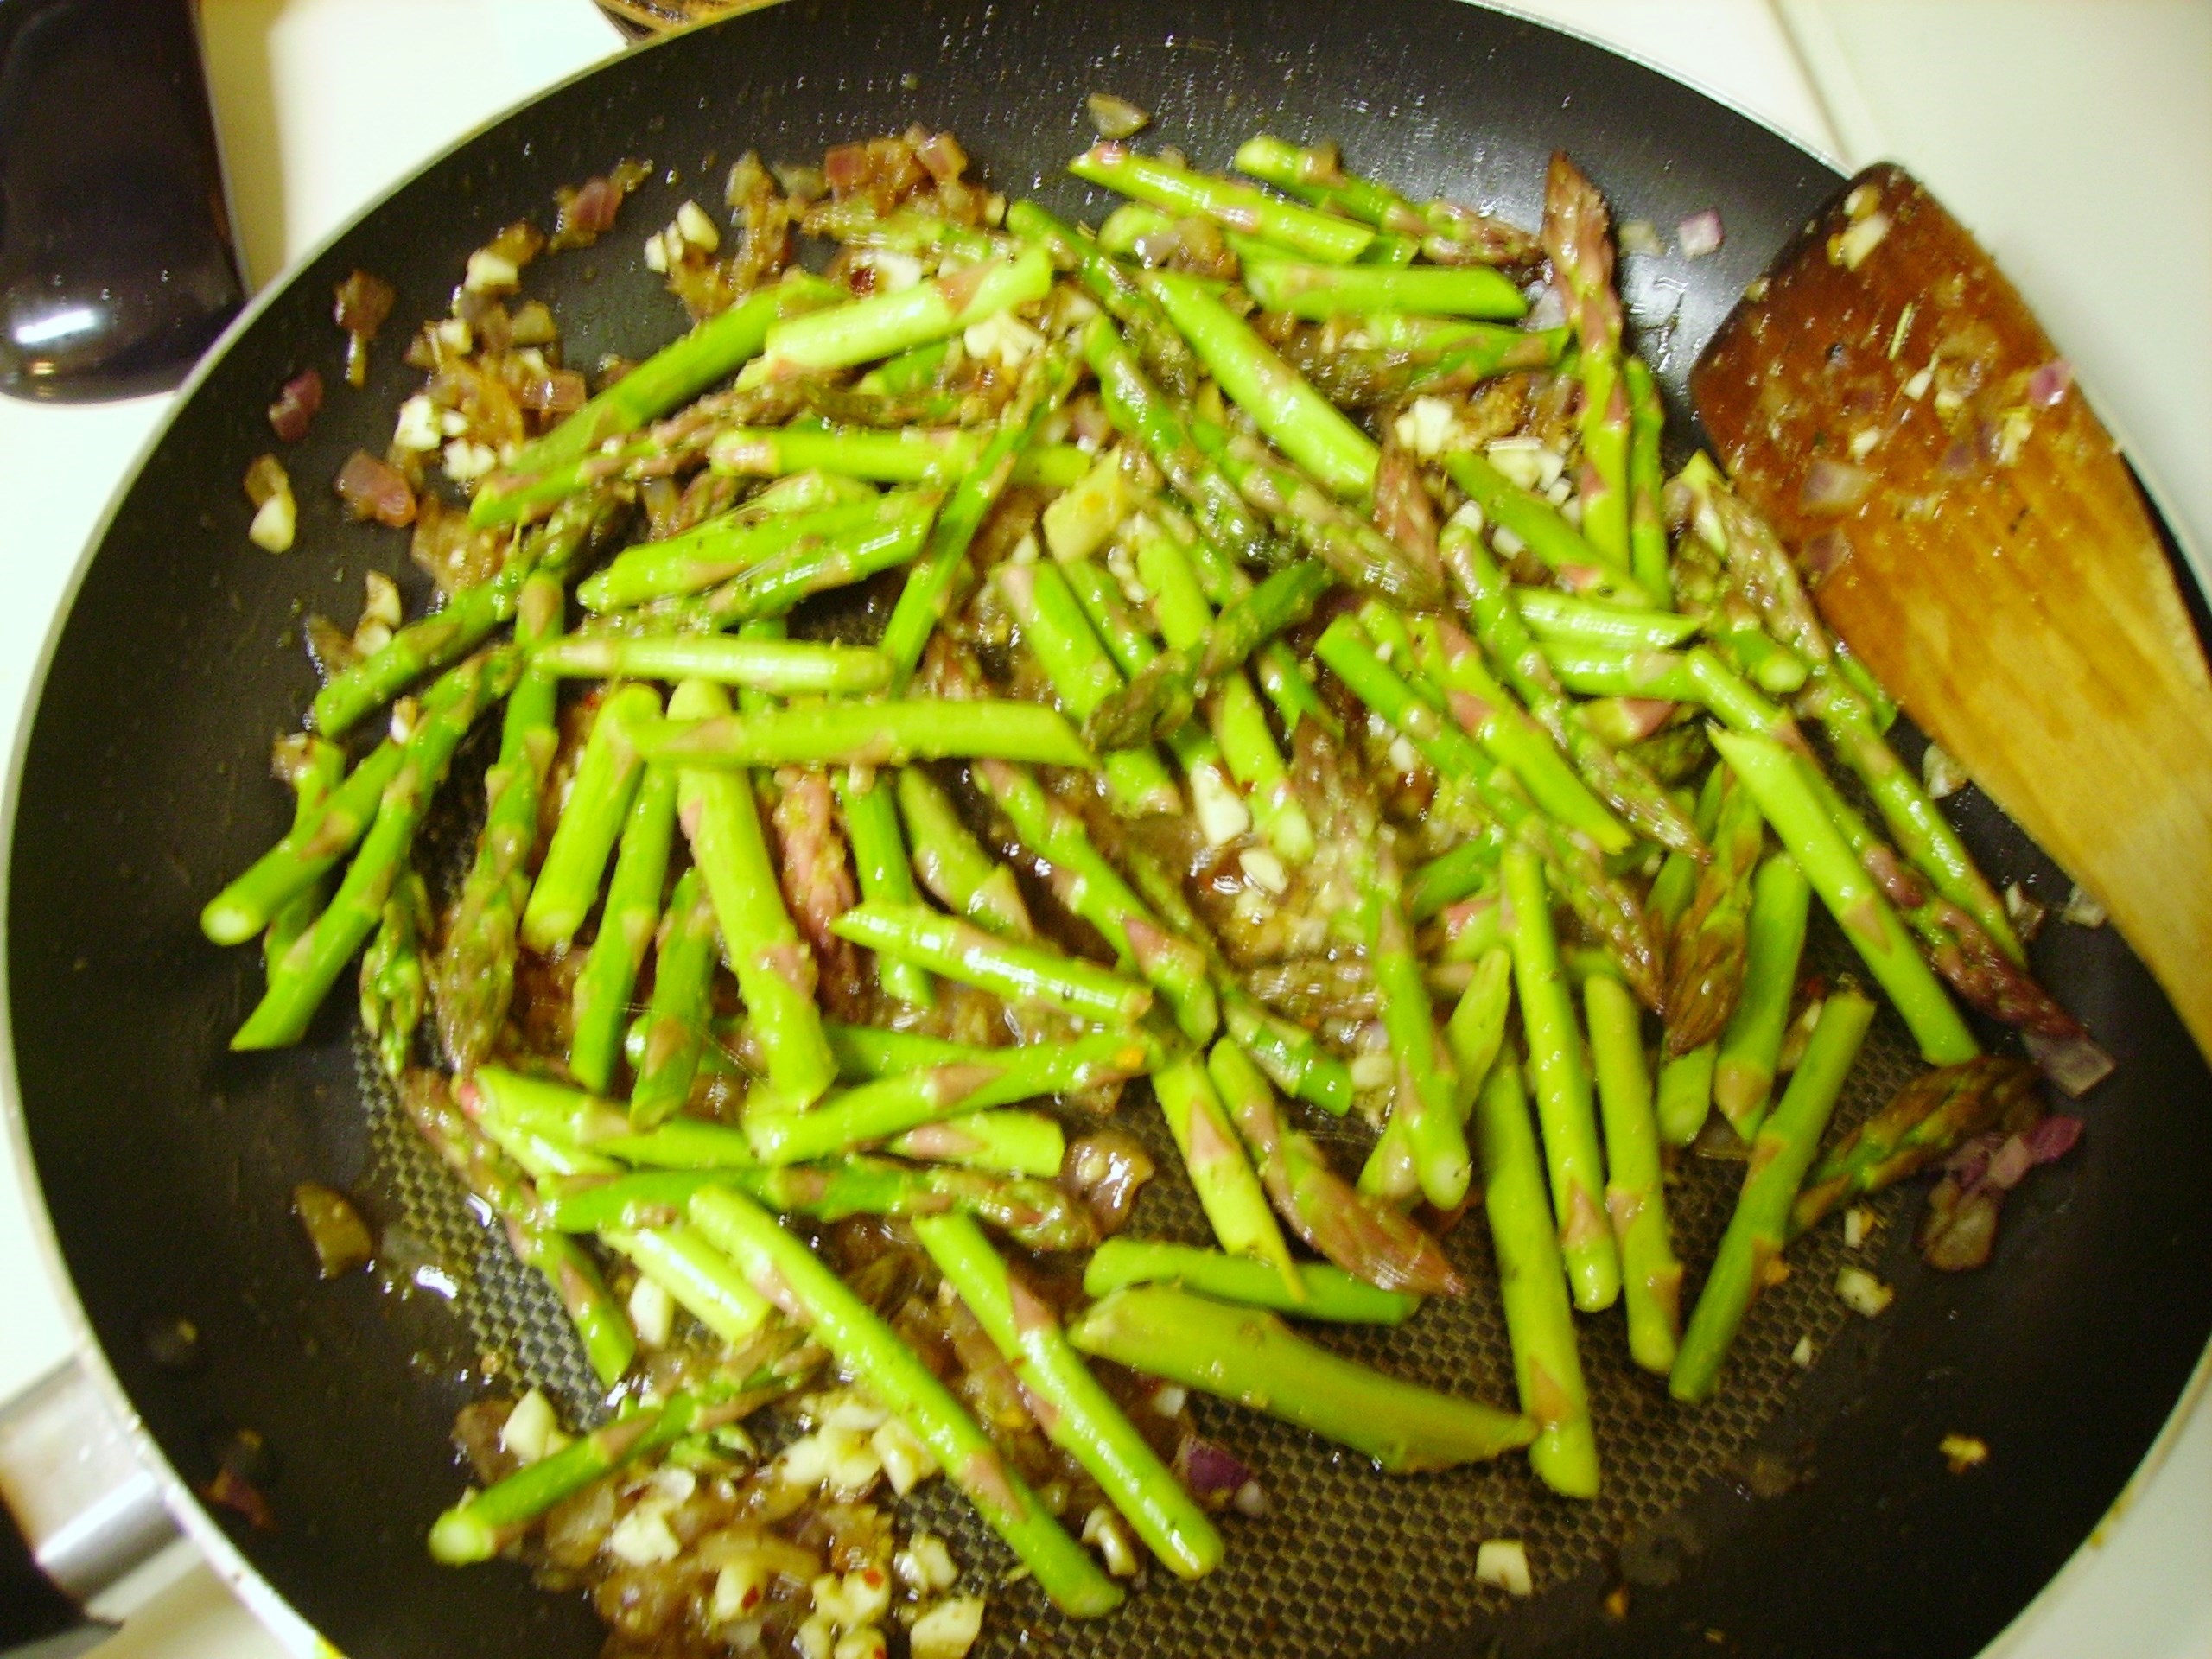
My pasta of choice was a whole grain penne and I used just over a cup of dry to serve two.DIGITAL CAMERA
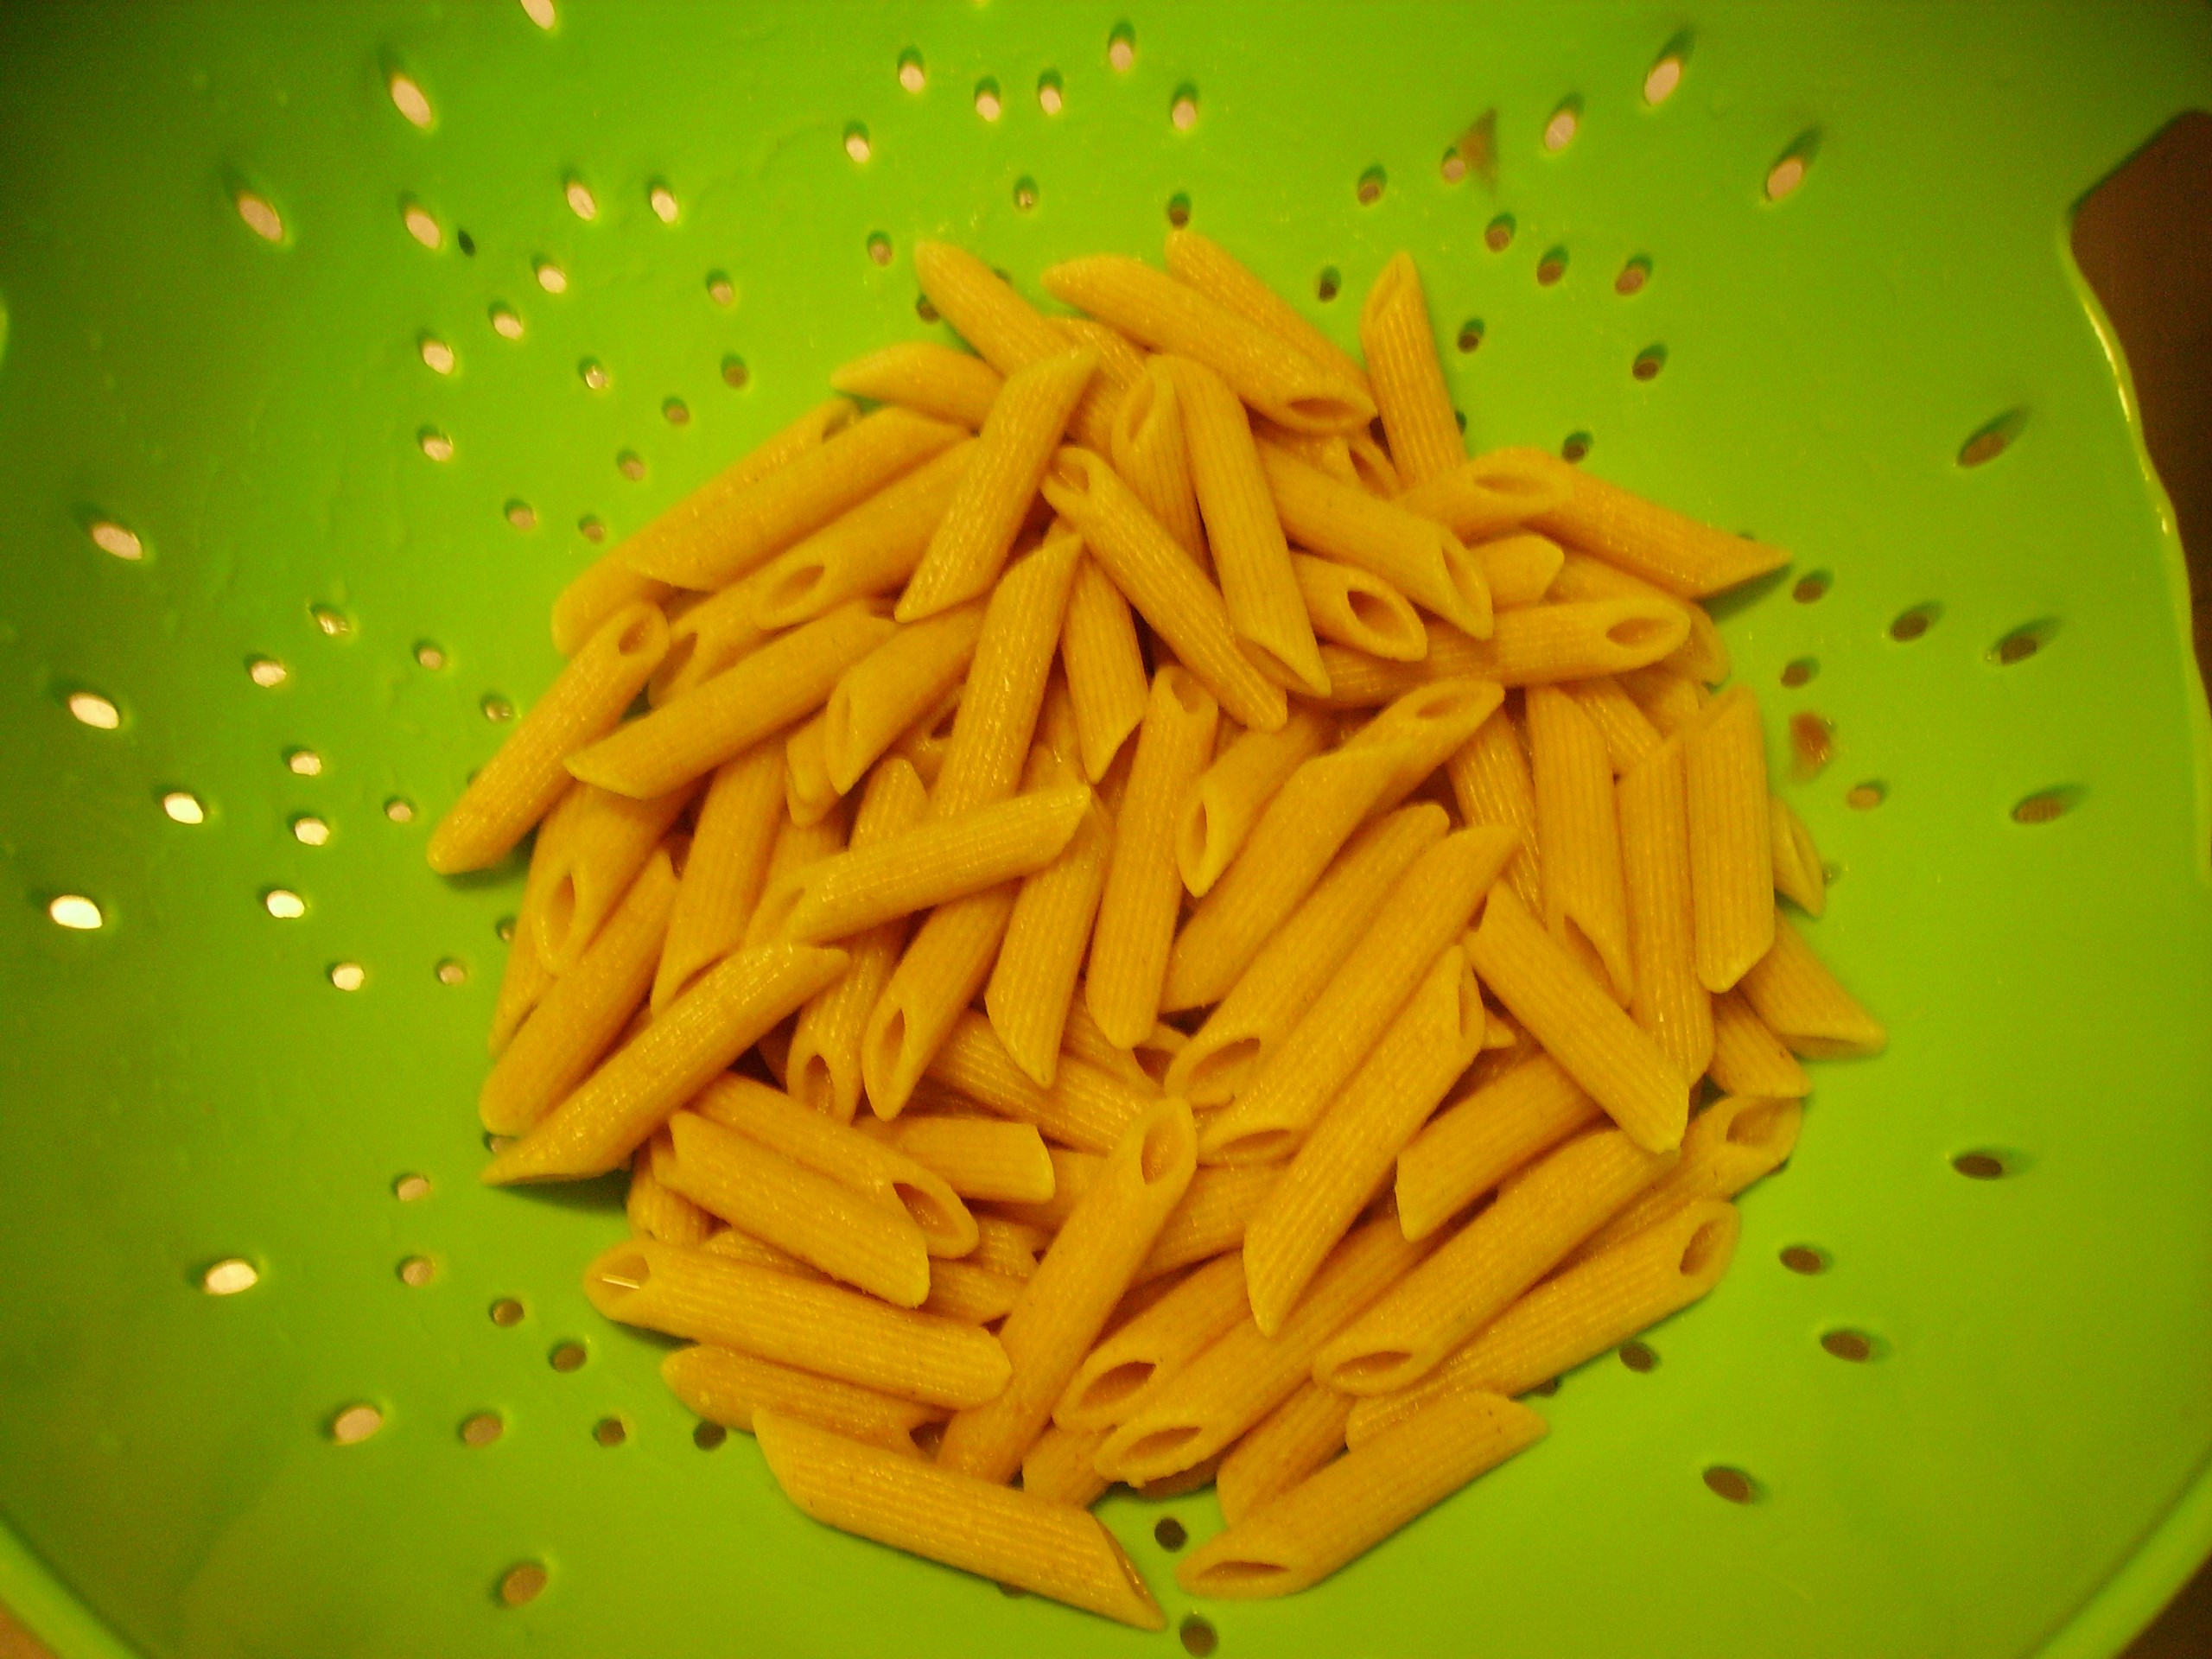
I wanted to continue on that lemony sunshine theme, so the sauce included the zest and juice of a whole lemon. The complimenting sauce flavor came from dry vermouth though chicken broth could also fill the bill.  A generous grinding of Italian Herb Seasoning (McCormick Grinder once again), some grape tomatoes, and kalamata olives rounded things out.DIGITAL CAMERA

When it was time to serve, I added a sprinkling of feta cheese. The result was a dish that felt like spring in the Mediterranean.  Lots of fresh vegetables, a little lean protein and some whole grains to tie it together made this a poster child for the diet that bears the name. Give this one a try while asparagus is having its heyday.DIGITAL CAMERA


Lemony Asparagus and Chicken with Penne
Print Recipe
Servings
2
Servings
2
Lemony Asparagus and Chicken with Penne
Print Recipe
Servings
2
Servings
2
Ingredients
Servings:
Instructions
  1. Toss the chicken with the lemon pepper seasoning. Cover and let marinate for at least 30 minutes or up to 4 hours in the refrigerator.
  2. Heat a large skillet over medium high heat. Add the olive oil and swirl to coat the bottom of the pan. Add the chicken and cook for 4 minutes or so. The chicken should be light golden. Remove the chicken from the pan and reserve. Leave the drippings in the pan.
  3. Add the onions to the pan and saute for 3 minutes or until the onions begin to become translucent. Add the garlic and cook for another minute or so.
  4. While you prepare the vegetables, cook the pasta in boiling salted water for 2 minutes less than the package directs. Drain and set aside.
  5. Add the asparagus to the pan and cook for 3 - 4 minutes. Toss frequently to insure even cooking. Add a little chicken broth if things seem dry.
  6. Add the vermouth (or broth) and the juice of the lemon to the pan. Lower the heat slightly and allow to cook for 3 minutes or so.
  7. Add the Italian seasoning and the lemon zest, stirring to combine. Return the chicken to the pan. Toss to mix evenly.
  8. Add the olives, tomatoes, and pasta to the pan and continue to cook 3 minutes or so until everything is heated through. Taste for seasoning and add salt and pepper if needed.
  9. Spoon the mixture into a serving bowl and sprinkle with the feta cheese and serve.
Share this Recipe
Powered byWP Ultimate Recipe

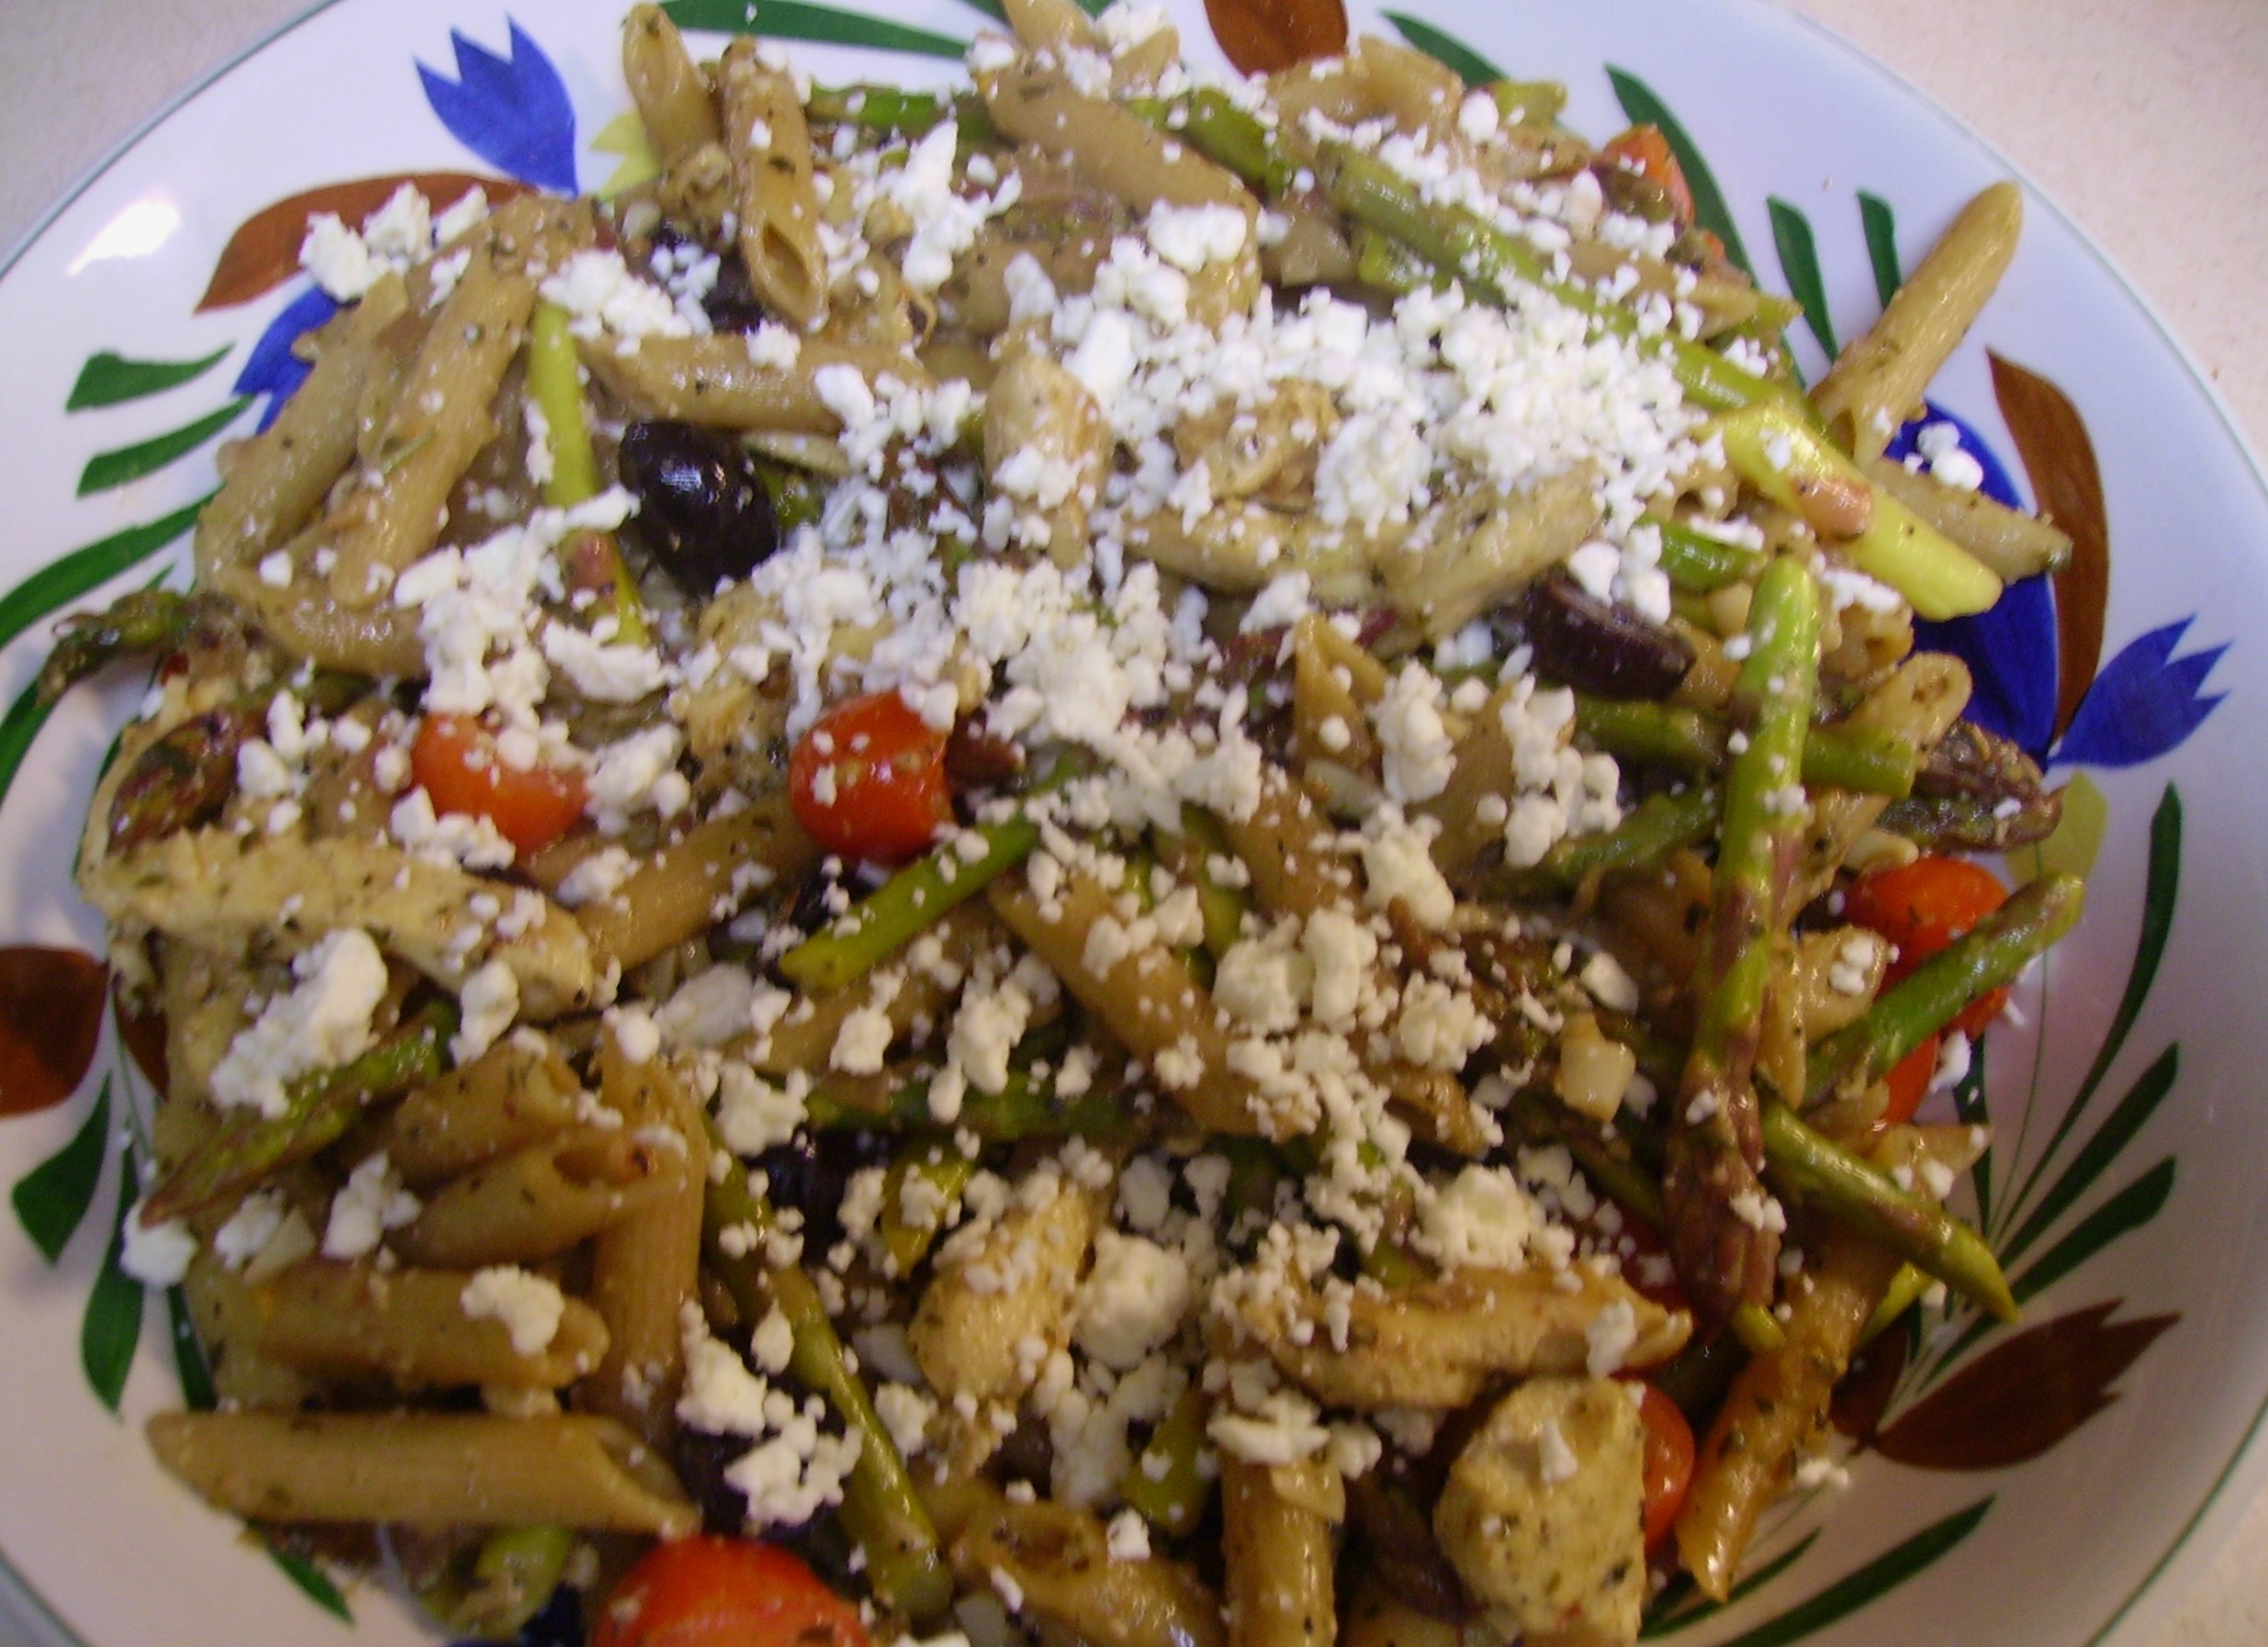
The weather is back in the 40’s this week. Nights are cool and mornings are chilly but, I believe we’ve made the leap and spring is not just around the corner but right next door.


On the Side…The Other Half of Dinner Love

Dinner is my favorite meal of the day. I love to create a plate of love for the evening meal. As you know, Mama D is a big fan of the one dish meal, be it soup, skillet, or casserole. Sometimes, well actually, quite often she enjoys a plate of food divided; that is a protein, a starch and a vegetable each standing on their own.DIGITAL CAMERA

I thought it was time to share some thoughts on and recipes for side dishes. At times side Lamb chop with Tomato and Zucchini Gratindishes take a back (or is it side?) seat to the main event. A succulent steak, beautifully sauced chicken, or a juicy piece of pork bask in the spotlight, but those dishes that sit off to the side of the plate are the compliment to the protein and very often make that protein even better.

DIGITAL CAMERAFrom a health standpoint, our plate should be half filled with vegetables, the other half shared by protein and starch, particularly whole grains. While I’m still an unapologetic carnivore, I have been trying to adjust the balance of the plates I create. I’ve been working towards putting as much creativity into the sides as I do the main.

When it comes to side dishes, I can’t help myself, sometimes I just have to put the starch and veggies together. There are plenty of one pan sides coming out of Mama D’s Kitchen.

DIGITAL CAMERAOne of my current favorites unites Brussels Spouts and Yukon Gold Potatoes. Bacon and onion hold it all together and a generous dusting of freshly cracked pepper seals the deal.DIGITAL CAMERAThick sliced bacon browns up nicely in a pan. Once the bacon and most of the drippings are removed, the onions, potatoes and Brussels sprouts jump in together until everything is tender, brown, and delicious.DIGITAL CAMERAThis side goes well with anything and is super easy to prepare. A recipe is hardly needed, but here you go.

Skillet Brussels Sprouts and Potatoes
Print Recipe
This is an easy side dish that combines a vegetable and starch in one pan. The bacon and onions make this a fabulous side dish for any protein.
Servings
4
Servings
4
Skillet Brussels Sprouts and Potatoes
Print Recipe
This is an easy side dish that combines a vegetable and starch in one pan. The bacon and onions make this a fabulous side dish for any protein.
Servings
4
Servings
4
Ingredients
Servings:
Instructions
  1. Heat a large fry pan over medium high heat. Add the bacon and cook stirring occasionally until crisp. Remove the bacon from the pan and drain on paper towels. Pour all but 1 tablespoon of the drippings out of the pan.
  2. Reduce the heat to medium. Add the potatoes, sprouts and onion to the pan. Cook, stirring occasionally until everything is tender and lightly browned. This should take about 15 -20 minutes, but let your eyes and taste be the judge.
  3. Add the freshly ground pepper and serve.
Share this Recipe
Powered byWP Ultimate Recipe

The casserole side dish is always a welcome addition to any meal. This particular one combines broccoli and cauliflower in a decadent cheese sauce.DIGITAL CAMERA How does this fit into Mama D’s healthier lifestyle? Well, as Oscar Wilde said everything in moderation including moderation. While not the lightest of dishes, I have trimmed a little fat here and there. I used an extra sharp cheddar cheese that allowed me to use only 3 ounces. A touch of blue cheese added some extra zing. DIGITAL CAMERAI did splurge on real butter, but it was only two tablespoons.  A good amount of onions caramelized in the butter before the flour was added to create a roux. I used low-fat milk in the sauce to trim a little more fat as well.DIGITAL CAMERAI blanched the cauliflower and broccoli to shorten the cooking time.

DIGITAL CAMERA I like the vegetables to be a little softer in this type of casserole, but if you want a little extra crunch skip this step.

I used whole wheat Panko crumbs, a small nod to health, but throw me a bone here.

DIGITAL CAMERAPanko is very crisp already so I only added a bit of butter along with some smoked paprika. Before it went into the oven I gave it a good dose of olive oil cooking spray.DIGITAL CAMERA The crust had the crunch of something made with a lot more fat.DIGITAL CAMERA

This casserole will easily serve six people as a small serving is almost as satisfying as a large one especially when it is paired with wonderful roast meat or poultry of your choice.

Broccoli and Cauliflower Au Gratin
Print Recipe
Servings
6
Servings
6
Broccoli and Cauliflower Au Gratin
Print Recipe
Servings
6
Servings
6
Ingredients
Servings:
Instructions
  1. To blanch the vegetables: Bring a large pot of water to a vigorous boil. Add the broccoli and cauliflower. Cook for 2 minutes (for the broccoli) and 3 minutes (for the cauliflower).
  2. Remove from the pot with a slotted spoon and immediately put them in a bowl of ice water. When cool drain completely and place in a gratin dish that has been coated with olive oil cooking spray.
  3. In a medium saucepan melt 2 tablespoons of the butter over medium heat. Add the onions and cook until they are golden brown, stirring occasionally.
  4. Add the flour and cook and stir for several minutes. Slowly pour in the milk stirring constantly to prevent lumps.
  5. Slowly bring the mixture to a boil. Continue cooking and stirring until the sauce has thickened. Stir in the mustard.
  6. Remove the pan from the heat and stir in the cheddar and blue cheese. Once the cheeses have melted, pour the sauce over the vegetables. Stir gently to coat everything evenly.
  7. Melt the remaining butter in a small pan. Add the Panko crumbs and smoked paprika and toss until the crumbs are coated.
  8. Sprinkle the crumbs over the casserole. Spray the top of the casserole liberally with olive oil cooking spray. Bake in a 375 degree oven until the vegetables are tender, the top is golden, and the sauce is bubbly. This should take 30 to 40 minutes.
  9. Remove from the oven and allow to cool for 10 - 15 minutes before serving.
Share this Recipe
Powered byWP Ultimate Recipe

I believe that sides make the meal. It’s that little extra dose of love that elevates the meal to something special.


A Cozy Nest and a Pot of Something Wonderful (Chicken & Poblano Chili)

Winter is here. There is snow on the ground and ice on the streets. It’s the time of the year when those of us who live in the Midwest turn our thoughts to curling up on the couch with a good book and a loving partner. Weekends at home give us time to fall in love with our new surroundings. The small apartment that seemed almost claustrophobic is becoming a cozy nest  as we add a picture here and a shelf there. Slowly the treasures we kept are finding new places and as I look around from my place on that couch it looks like home.

Nothing makes a cozy nest smell better than a big pot of something wonderful simmering on the stove. If you’ve been following along with my adventures, you know that soups (click here for some of my favorites), stews, and chili come out of my kitchen regularly. On a recent cold and snowy weekend I made some chili that was the perfect accompaniment to quality time spent inside.

i-peppers-anchochiliI started with some dried chilies, Ancho and Guajillo to be exact.guajillo chili Anchos begin their life as Poblano chilies. These are quite mild and became the repeating theme in this dish. Guajillo start out as Mirasol peppers. These are smokey and sweet with just a touch of heat. This wrinkled and leathery duo were the base for my chili. Before they could become the deep red sauce that held the other ingredients together they had to toast and soak, then whirl in the blender to finally be strained through a sieve. The beautiful sauce only needed a touch of agave and a pinch of salt to become the perfect base.DIGITAL CAMERAPoblano peppers made several more appearances. Fresh peppers were roasted and left raw as well for a wider flavor profile. I also used Ancho Chili Powder along with the essential heavy dose of Cumin.

I used “chicken bits” for the main protein. This is what I call the trimmings from chicken thighs and breasts that I accumulate in the freezer and save for just his kind of occasion.DIGITAL CAMERAI used a bit of bacon as I do in most chili that I make. Chopped finely and cooked off in the pot, it got things rolling. I drained the grease, but left the brown bits. I added a little olive oil and added the chicken to brown slightly.DIGITAL CAMERAThere had to be plenty of yellow onion and garlic along with the poblanos and jalapenos. Ground cumin and ancho chili powder cooked along with the veggies to deepen their flavor. The browned chicken and reserved bacon went back into the pot. I added a little chicken stock and more than a little hoppy beer to kick things up just a little. I added a can of fire roasted tomatoes that I had partially drained as well.

Everything simmered for a good 45 minutes, then I added a can of pinto beans that were drained and rinsed. Another 15 – 20 minutes and it was ready to eat…but not really.DIGITAL CAMERA The flavor was good, but as with many soups it’s even better in a day or two. So it camped out in the refrigerator for two days. There’s a double bonus here. It tasted great and was as easy to get on the table as heating it up and spooning it into bowls. I topped it with a little smoked gouda cheese. DIGITAL CAMERAThe smokiness of the cheese complimented the smokey undertones of the chili. It takes a bit of time to make this. The recipe is long, but it is fairly easy. It’s the perfect way to spend a Saturday afternoon and the resulting pot of wonderful is worth the effort.

Chicken and Poblano Chili
Print Recipe
This takes time, but it is worth the effort. Use different chilies to adjust the heat. It would be great with pork and black beans or what ever ingredients you love.
Servings
4
Servings
4
Chicken and Poblano Chili
Print Recipe
This takes time, but it is worth the effort. Use different chilies to adjust the heat. It would be great with pork and black beans or what ever ingredients you love.
Servings
4
Servings
4
Ingredients
Sauce
Chili
Servings:
Instructions
To Make The Sauce
  1. Use kitchen shears to cut open the peppers. Remove the stem and the seeds. Place the peppers in a large roasting pan. Place in a 300 degree oven and roast for a few minutes. This is to warm the peppers slightly and begin to release their oils.
  2. Heat the water to a simmer. Remove the pan from the heat and add the chilies. To keep the chilies submerged in the water, place another pot into the chili pot and weight it down. Allow the chilies to soak for at least 20 minutes.
  3. Check to see if the chilies are soft. If they aren't let them soak a few more minutes. Once they are soft, remove them to a strainer and allow to cool.
  4. Working in batches, blend or process the chilies with fresh water. (1 cup chilies to 2 cups water) the mixture should be fairly smooth, but there will be bits of skin.
  5. When all of the chilies have been processed, pour the mixture through a fine sieve. Use a spoon to press as much of the liquid chili through the sieve. Discard the pulp in the sieve.
  6. Add a pinch of salt and a bit of agave syrup to taste. This makes a good 4 cups of sauce. Use in the chili recipe. Freeze the extra.
Chili
  1. Heat a large soup pot over medium high heat. Add the chopped bacon and cook until the bacon is browned. Remove the bacon and drain on a paper towel. Pour off the drippings, leaving any browned bits. Add the olive oil to the pot.
  2. Add the chicken bits to the pan and cook until lightly browned. Cook in batches if necessary. Remove the chicken with a slotted spoon and set aside. Leave the drippings in the pan. Work on roasting the poblano peppers while the chicken cooks.
  3. Use a broiler to roast 2 of the Poblano peppers. Place the peppers on the broiler rack and position the rack about 3 inches from the heat source. Broil turning frequently until the peppers are blistered and blackened all over. This may take up to 10 minutes depending on your broiler
  4. Place the roasted peppers in a bowl and cover tightly with plastic wrap. Allow to sit for 5 - 8 minutes. The skin should come off easily. Remove the stems and seeds and chop and set aside
  5. Chop the remaining poblano pepper and add it along with the onions, garlic, and jalapeno to the soup pot. Cook for about 5 minutes until the peppers and onion are softened and the garlic is fragrant.
  6. Add the cumin and chili powder to the pan and cook for 3 minutes more. Return the chicken and bacon to the pot and stir to combine. Add the beer to the pot stirring to loosen any brown bits. Cook for a minute or so.
  7. Add the chili sauce, drained tomatoes, roasted poblanos, and the chicken stock. Bring just to a boil. Reduce the heat to low and simmer for 45 minutes.
  8. Add the pinto beans and continue to cook 15 minutes more. This can be served immediately, but it is better after a day or two in the refrigerator.
Share this Recipe
Powered byWP Ultimate Recipe

I added a salad of grape tomatoes, cilantro, and avocado that was lightly dressed with a lime vinaigrette. Warm corn tortillas rounded out the meal.DIGITAL CAMERA

Winter is sure to hang around for at least another month or two. Take the time to make your own pot of wonderful.