Chili When It’s Chilly; Winter in the Kitchen of Love

Other than my 20 year escape to California, I’m a Midwesterner born and raised. I know what winter is about in this neck of the woods, and my sturdy Italian-American stature makes me physically suited to it, but baby it’s cold outside… and snowy, too. When the temperature doesn’t register in real numbers, it’s time to crank up the love and the stove in Mama D’s Kitchen.DIGITAL CAMERA

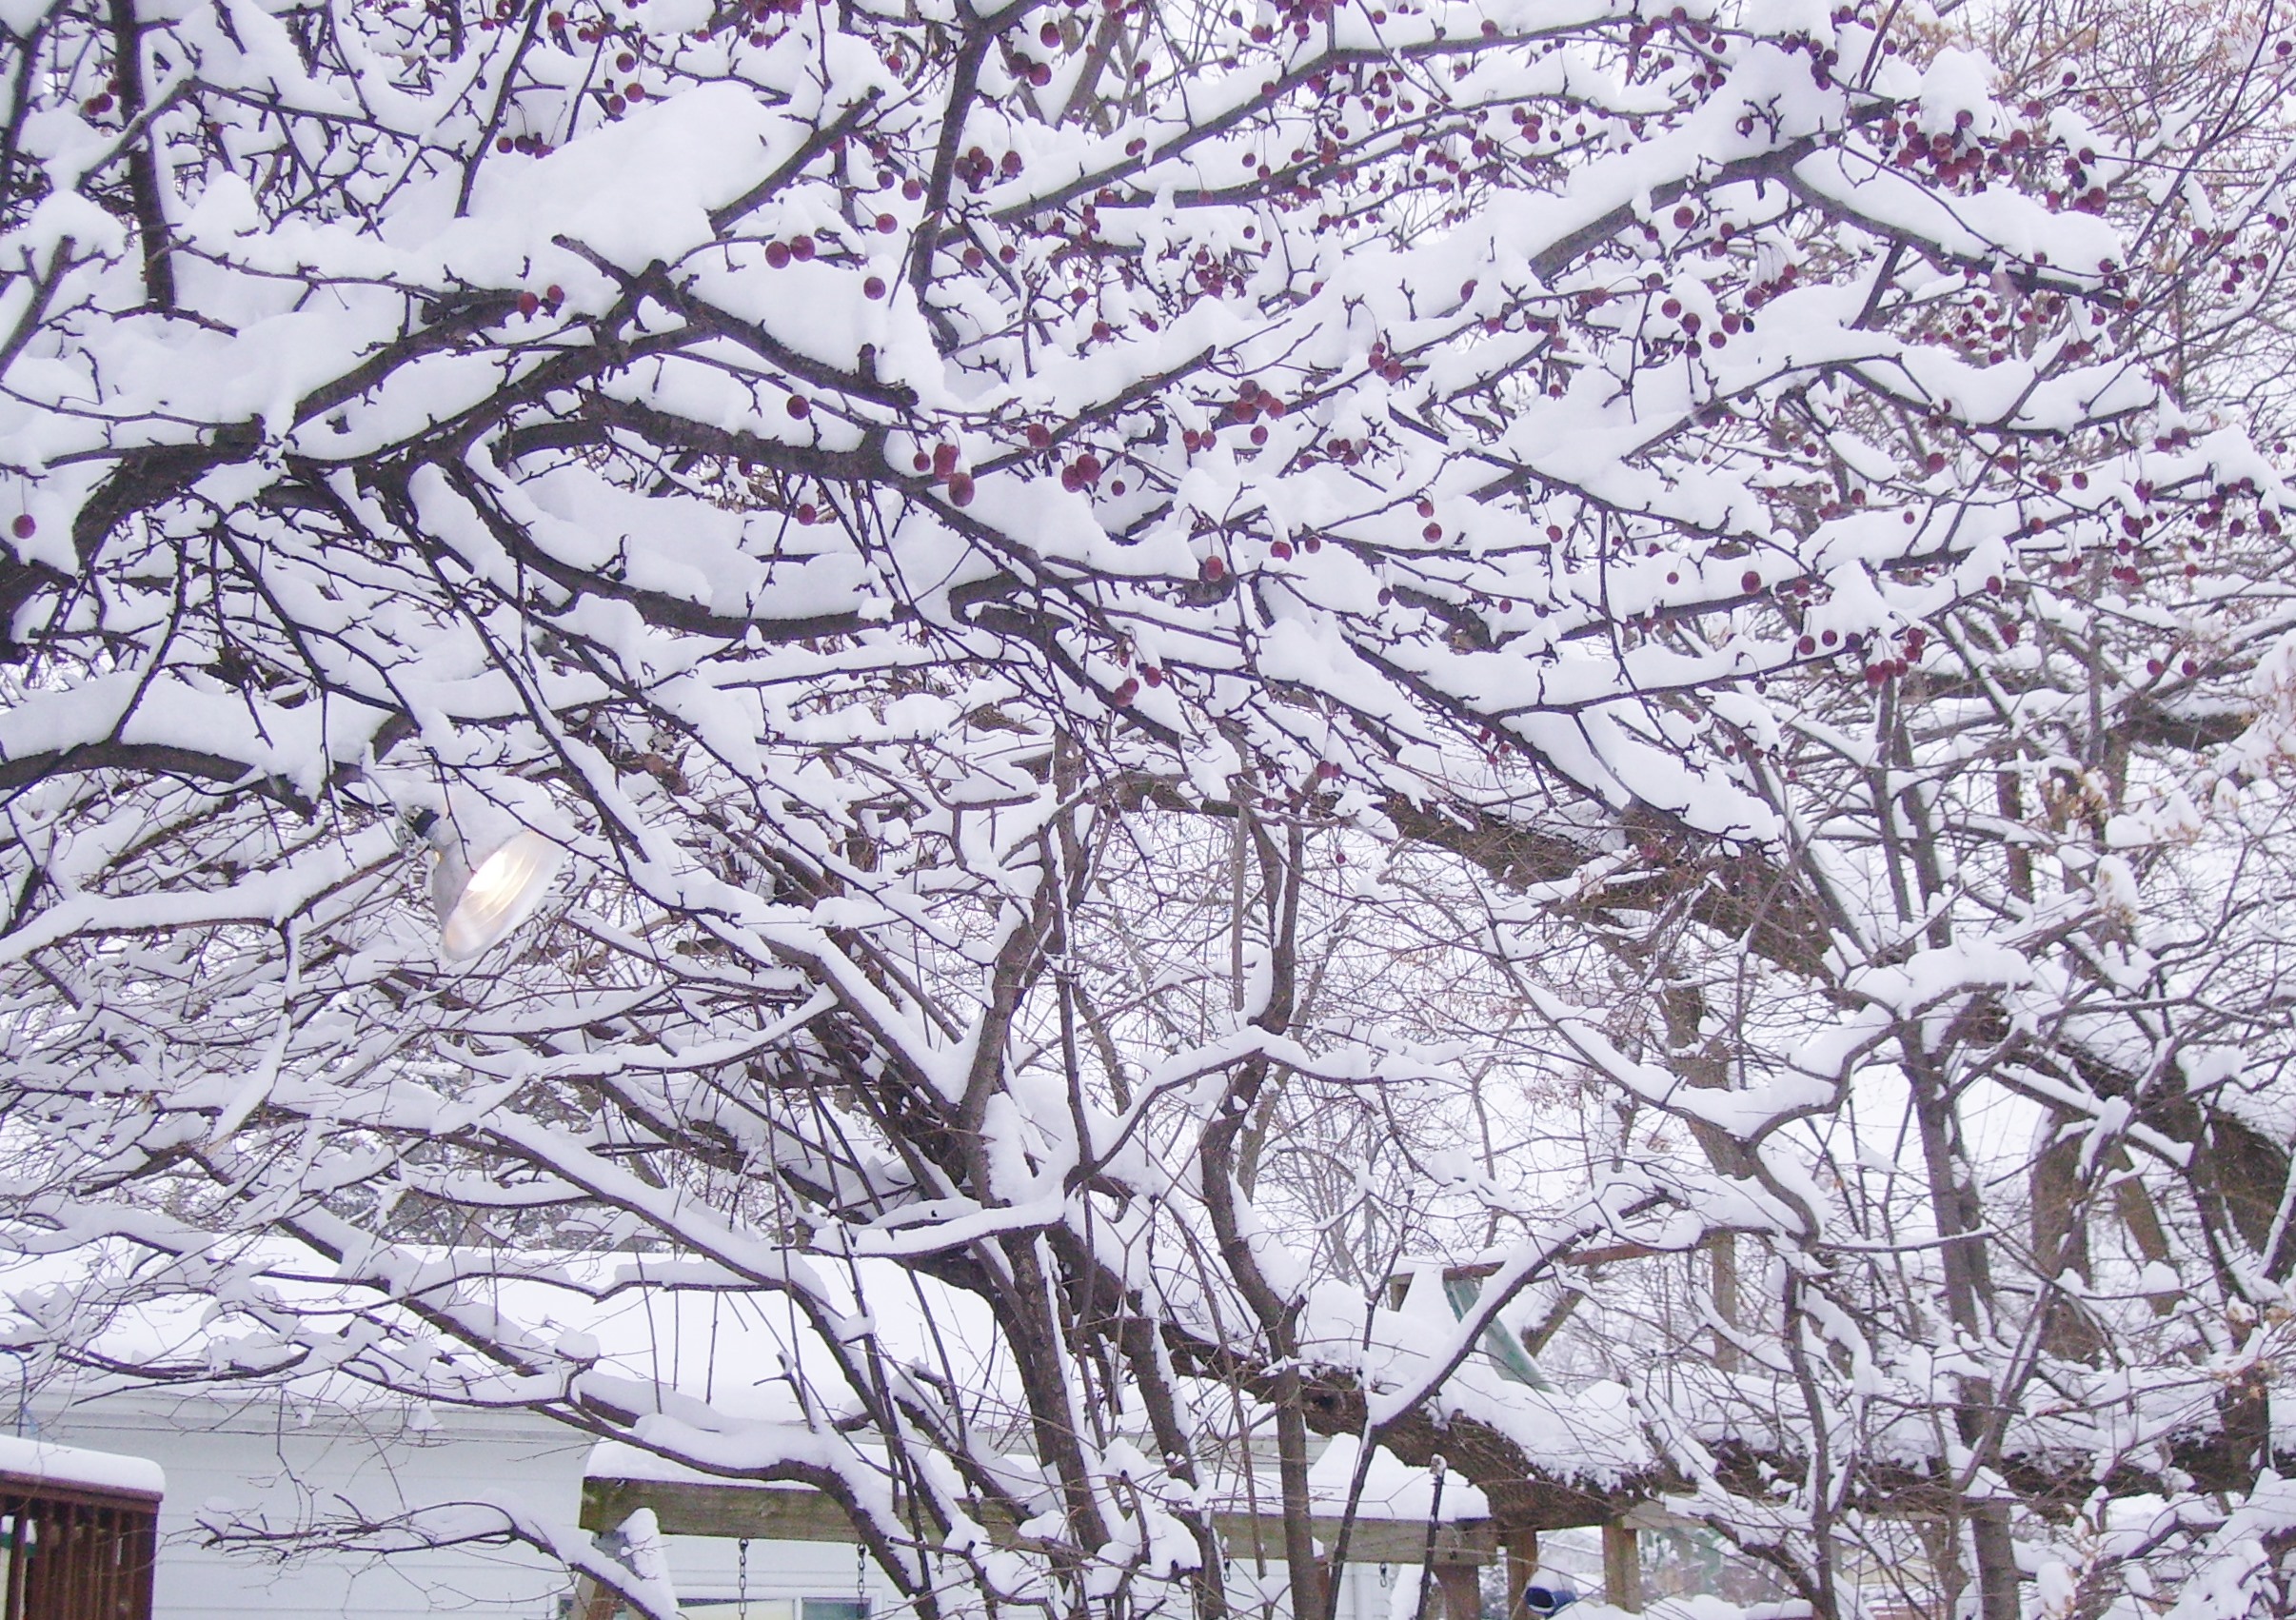
Among other things, Chili is a great winter warmer. There are many types of chili and when you factor in the variations on the types, you could make a pot of chili every day of winter for the next ten years or so. Mama D has lots of  “Pot of Love” recipes, but Chili is what she’s been craving. I have two favorites. One is ready in about thirty minutes, the other takes quite a bit longer, but they are both delicious and slightly outside the chili box (bowl).

Having made chili many different ways over the years, I somehow knew it wasn’t true Mexican cuisine. It originated in Texas and by some accounts is the state food. While other cities like Cincinnati and Spingfield have there own interpretations, Chili hails from Texas. To learn more about the Chili Story check out  this website History of Chili.IMG_0541-5

White Chili is theoretically not chili as the actual chili content is limited to some fresh or canned chilies and a little chili powder. This “chili” has been very popular in recent years. I think the fact that the “carne” is usually “pollo” may have something to do with it. Also it is  somewhat lighter in body and heat which makes it favored by the masses. Wherever it came from, it’s here to stay and I’m glad. DIGITAL CAMERA

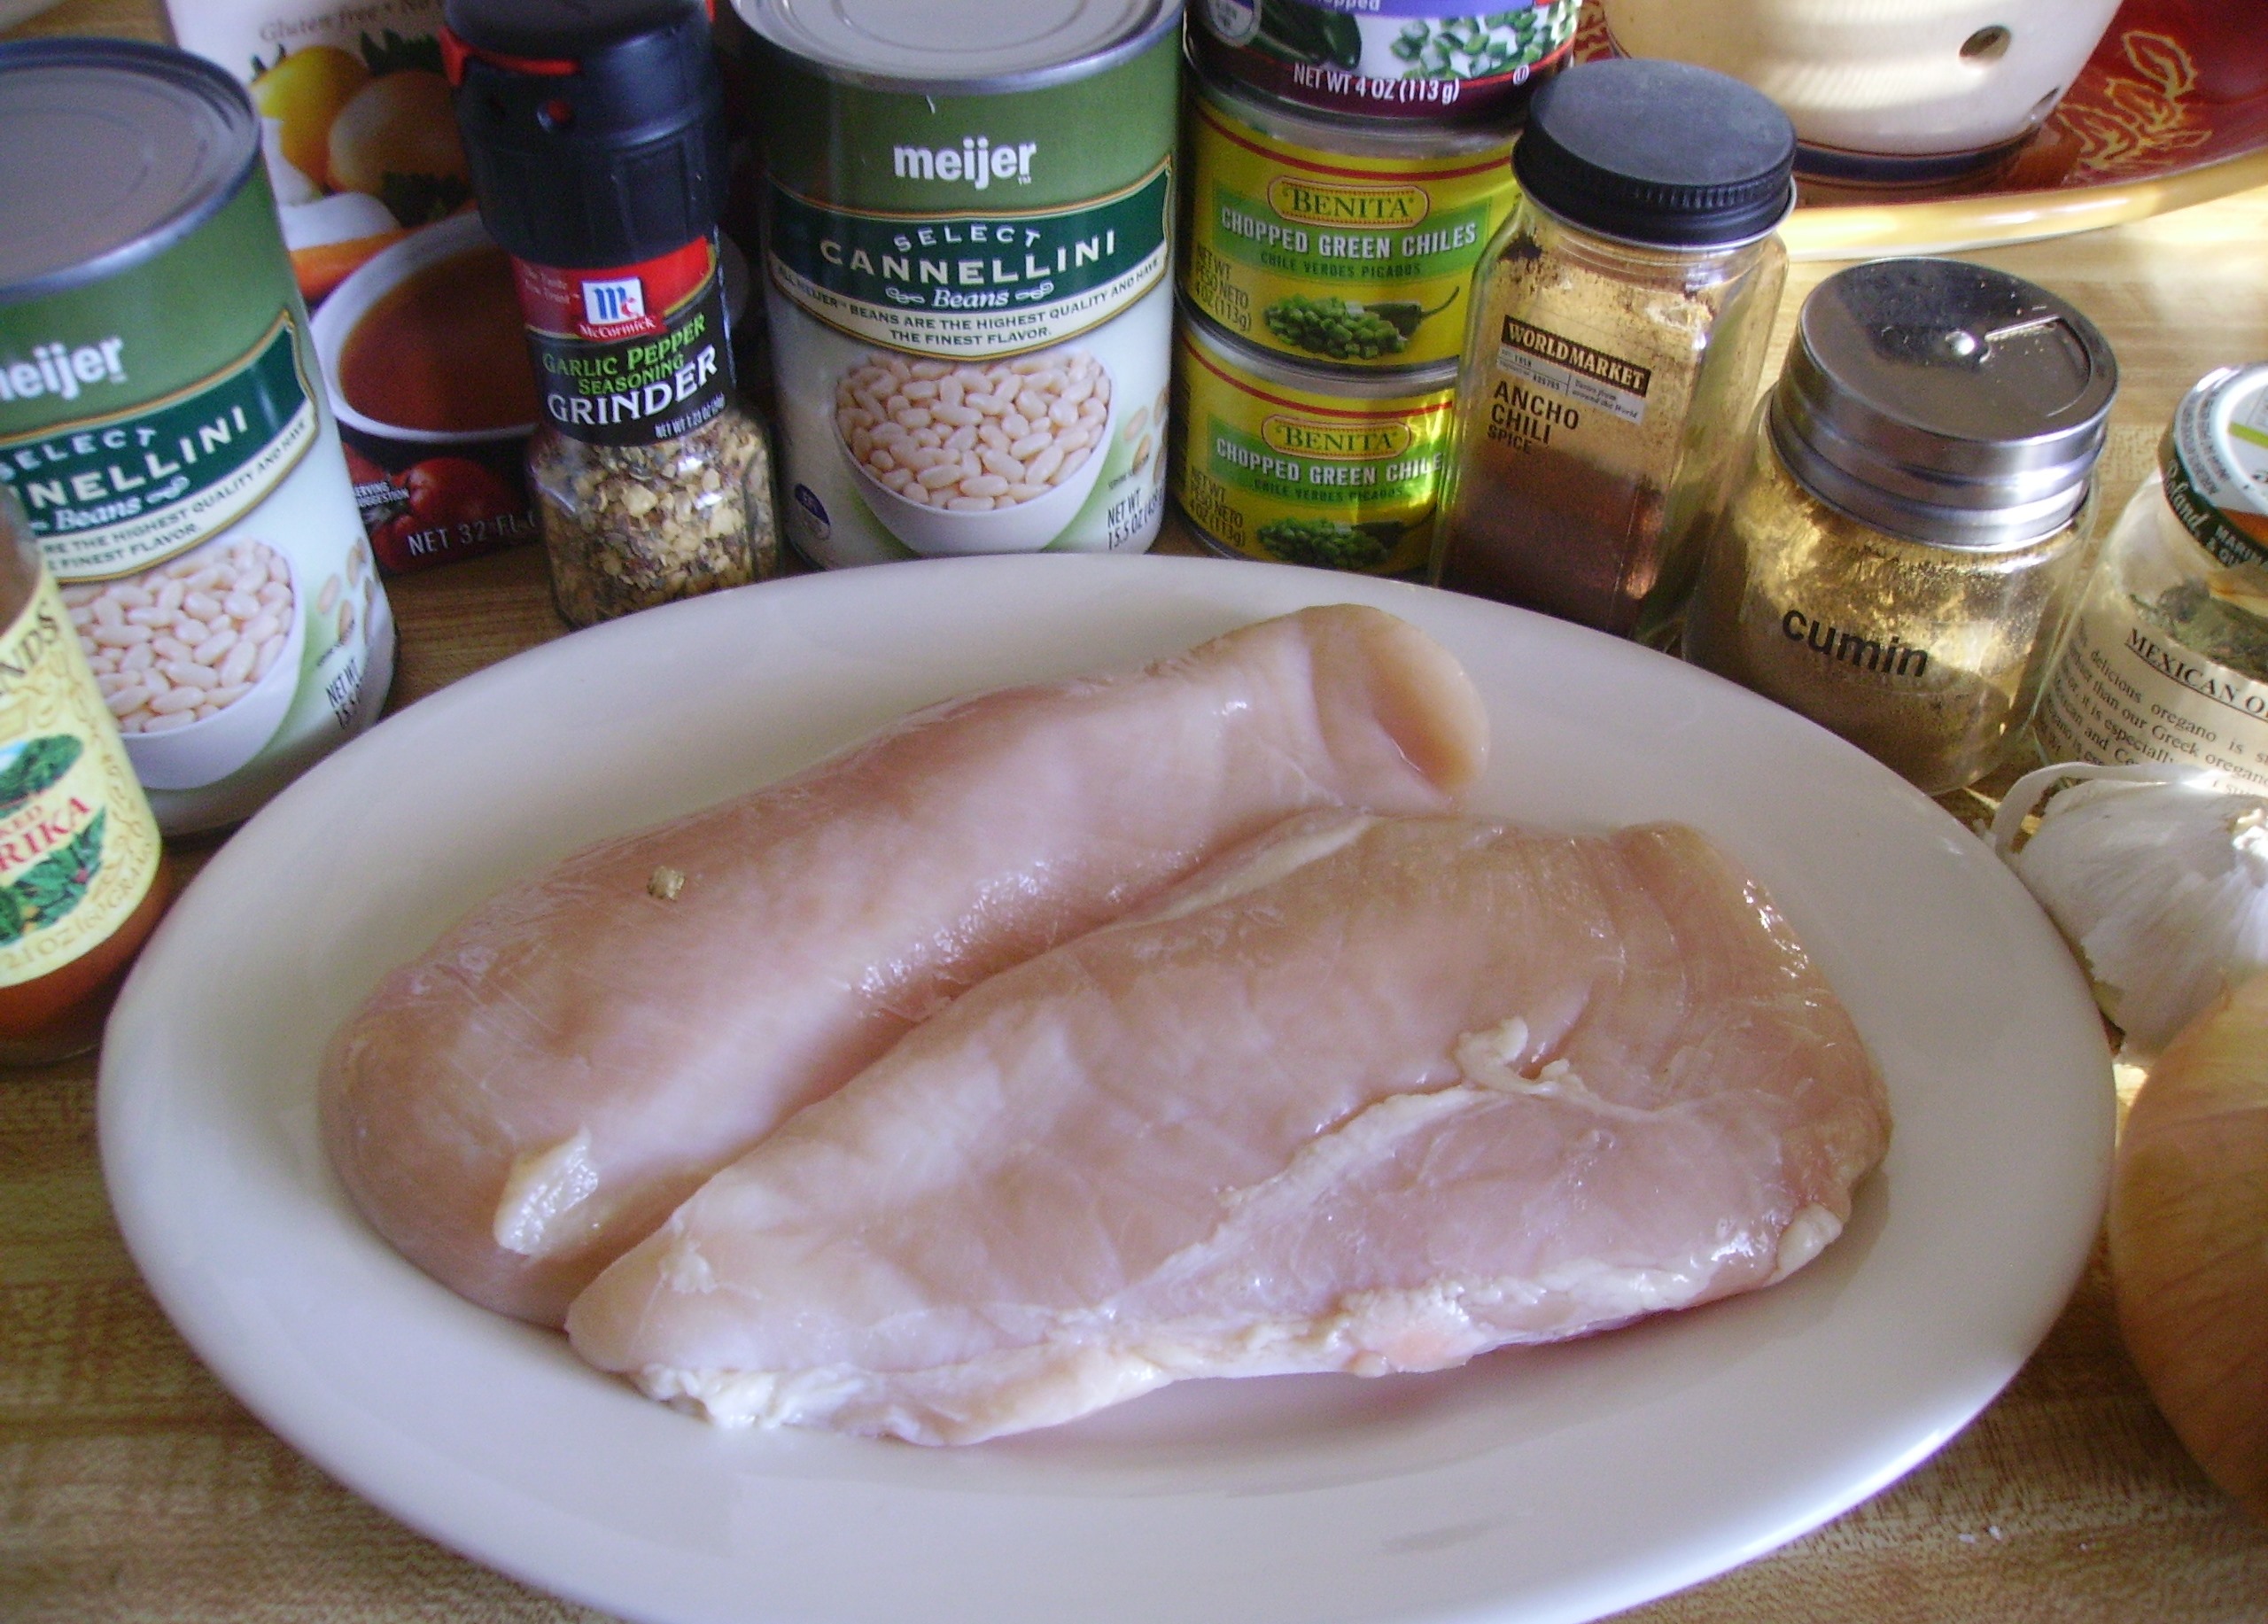
This recipe is based on several different recipes that I combined and then there’s that Mama D love… It can usually be made just by raiding your pantry, A good thing when going outside is hazardous to your health. 


White Chicken Chili
Print Recipe
Quick, easy, and not too spicy
Servings
4
Servings
4
White Chicken Chili
Print Recipe
Quick, easy, and not too spicy
Servings
4
Servings
4
Ingredients
Servings:
Instructions
  1. Heat a soup pot over medium high heat. Add 1 tablespoon olive oil and let it get hot. Add the bacon and chicken Sprinkle with the garlic & pepper seasoning and cook, stirring occasionally until the bacon and chicken are lightly browned, about 7 minutes. Remove from pot with a slotted spoon and drain on paper towels. Remove the drippings in the pan, but leave the brown bits
  2. Add the remaining tablespoon of olive oil to the pan. Add the onions and cook until they are translucent 5 minutes or so. Add the drained chilies and the garlic and continue to cook for another 3 or 4 minutes.
  3. Heat poblanos under the broiler until well browned on all sides. Place charred peppers in a bowl and cover with plastic wrap. Allow to rest for 10 minutes or so. Remove the skin, stems and seeds and chop into small pieces. Add to pot with the canned chilis.
  4. Add the herbs and spices and cook for an additional minute or two. Add about 1/2 cup of the stock and stir to deglaze the pot. Return the bacon and chicken to the pot and add the rest of the stock and bring to a boil. Lower the heat and simmer 15 minutes.
  5. Add the drained beans and cook until heated through. If the chili seems a little thin, mix the masa harina with a little of the chili liquid and stir back into the pot. Simmer until the chili thickens slightly and everything is happily hot. Serve topped with the cheese and tortilla chips.
  6. To make Tortilla Chips: Heat oven to 350 degrees. Spray a large cookie sheet with olive oil cooking spray. Tear or cut 3-4 tortillas of your choice into strips. Lay in a single layer on the cooking sheet and spray with the olive oil cooking spray. Sprinkle lightly with coarse salt. Bake 10 - 12 minutes, turning half way through. The chips should be golden brown and crisp.
Share this Recipe
Powered byWP Ultimate Recipe

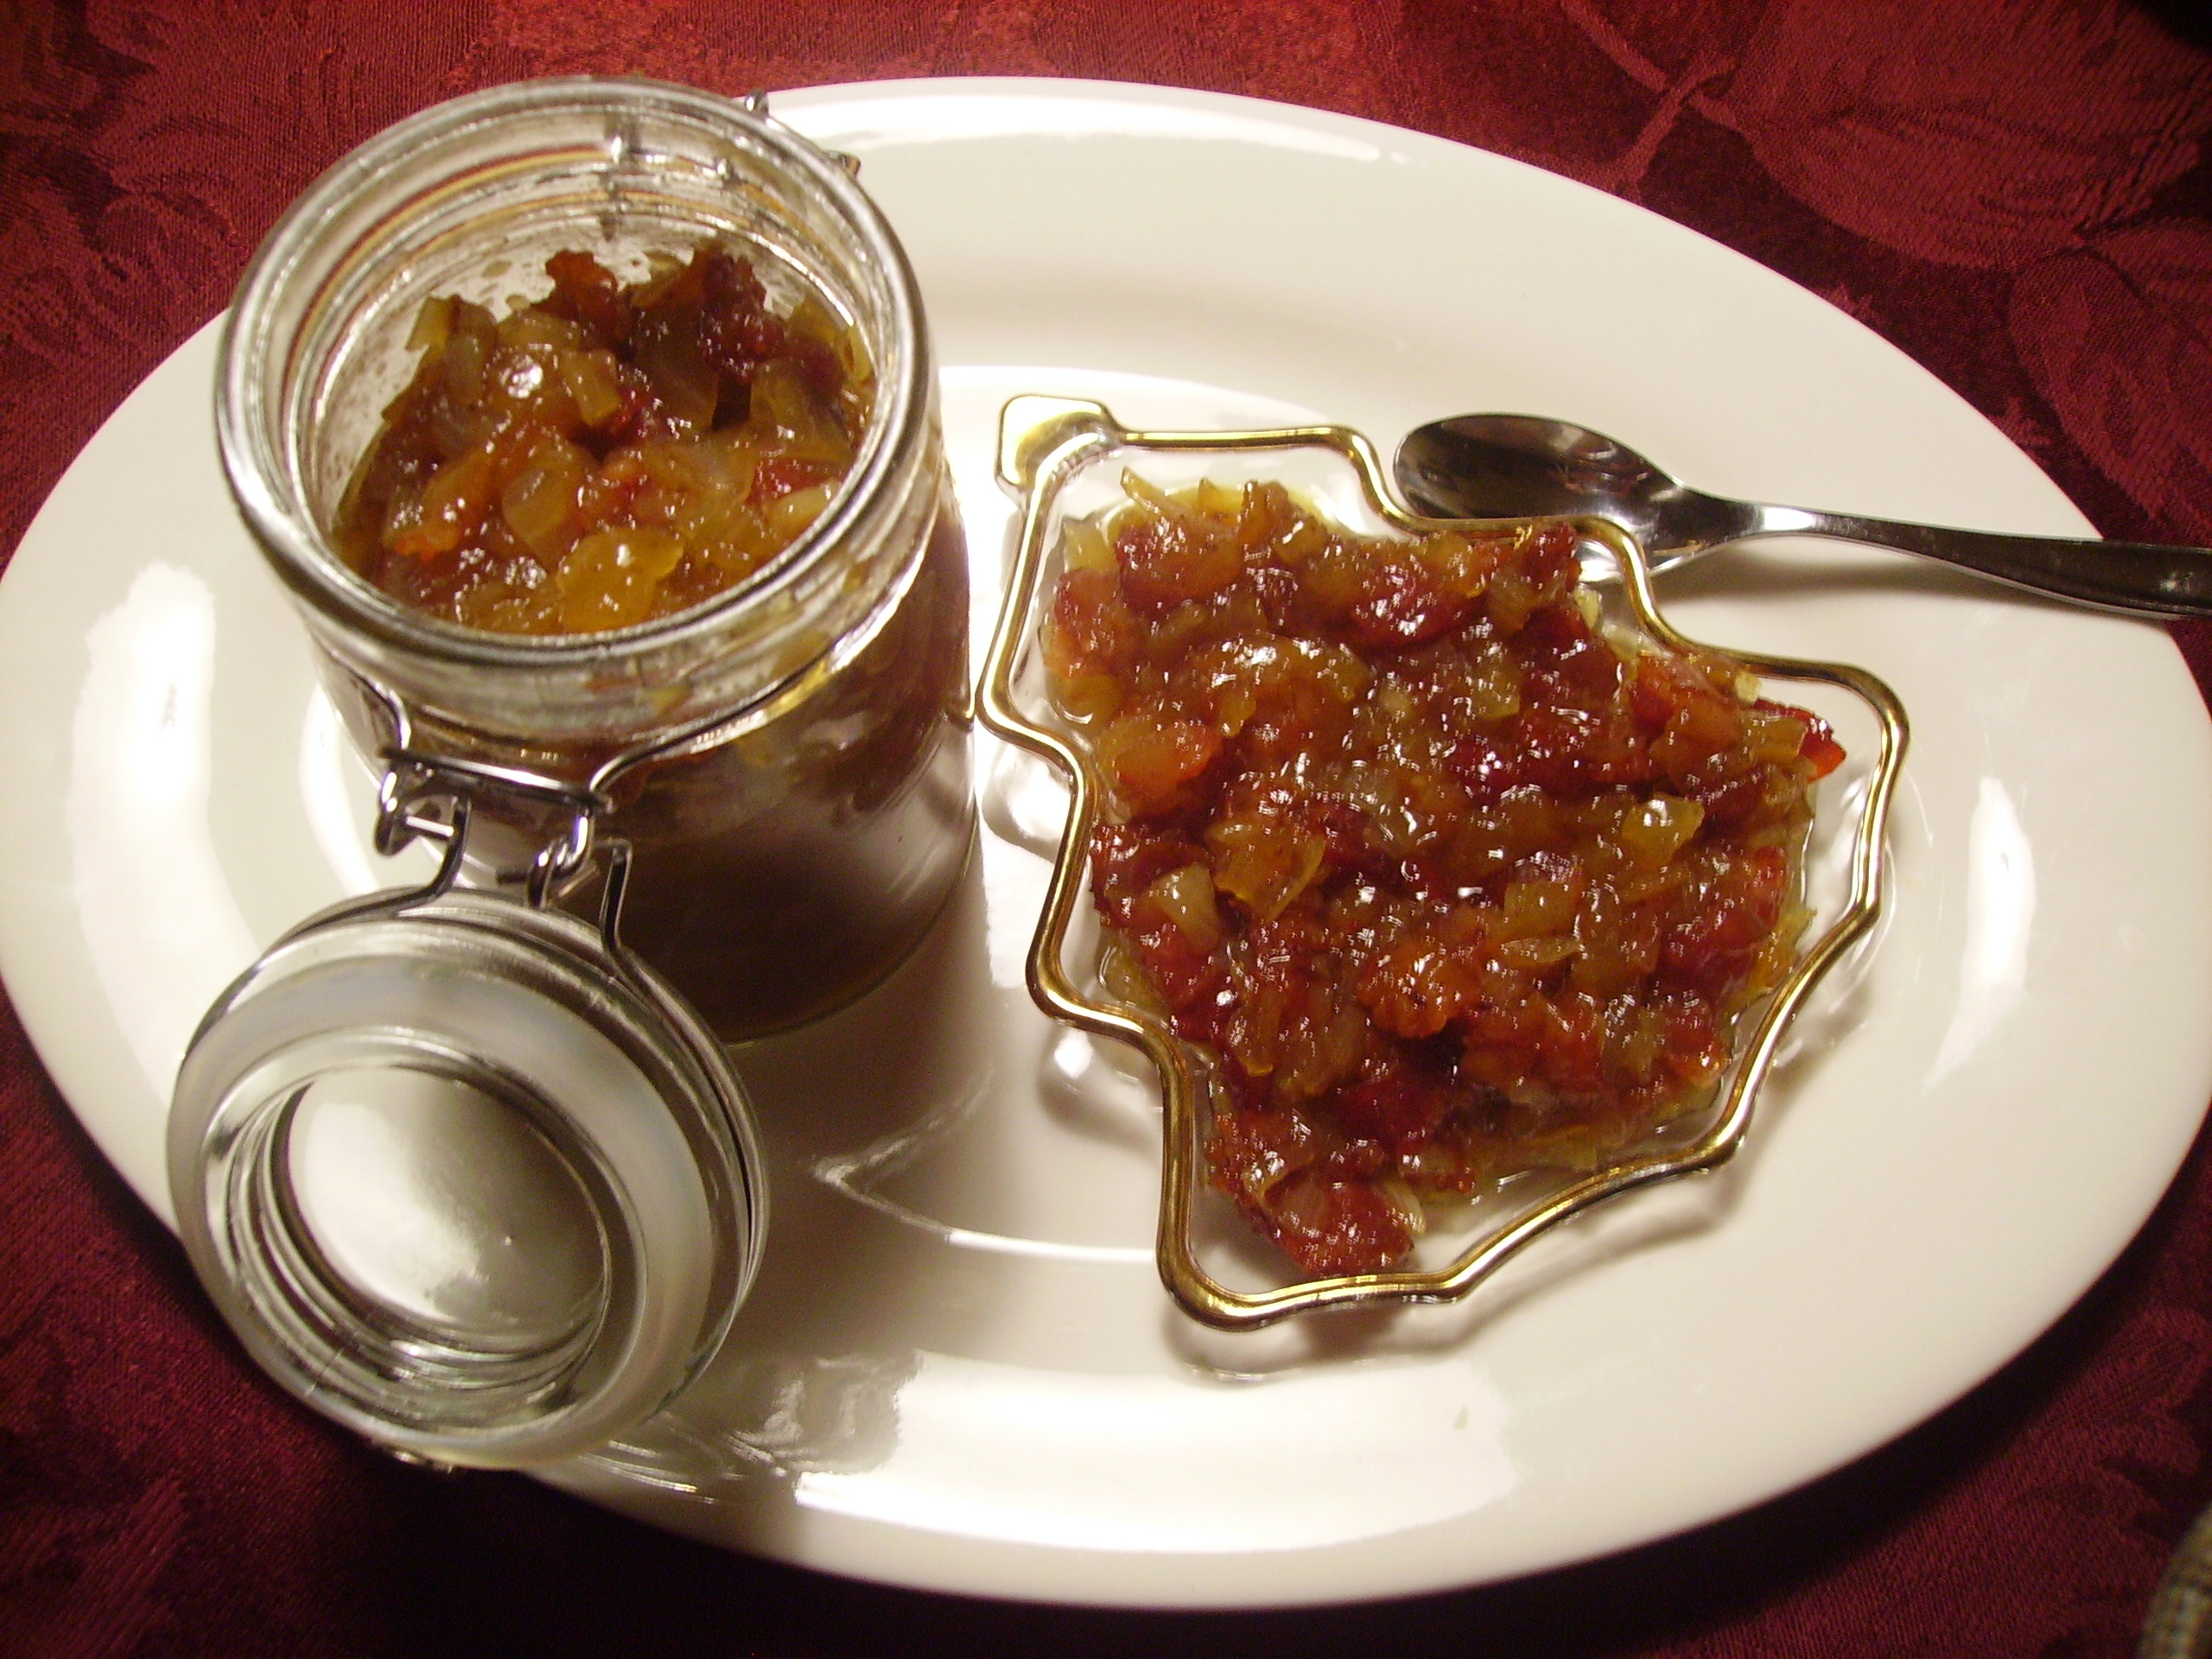
The next Chili recipe blends tradition, a small dose of healthy and just pinch of quirky; Chicken/Turkey Mole Chili at your service. This chili has no beans. There is a raging debate about “with or without beans”. I like it both ways and I think there is room in the chili world for all variations. The base of chili is another debate. Tomato sauce, chili powder and red kidney beans ruled the 50’s and 60’s. DIGITAL CAMERA 
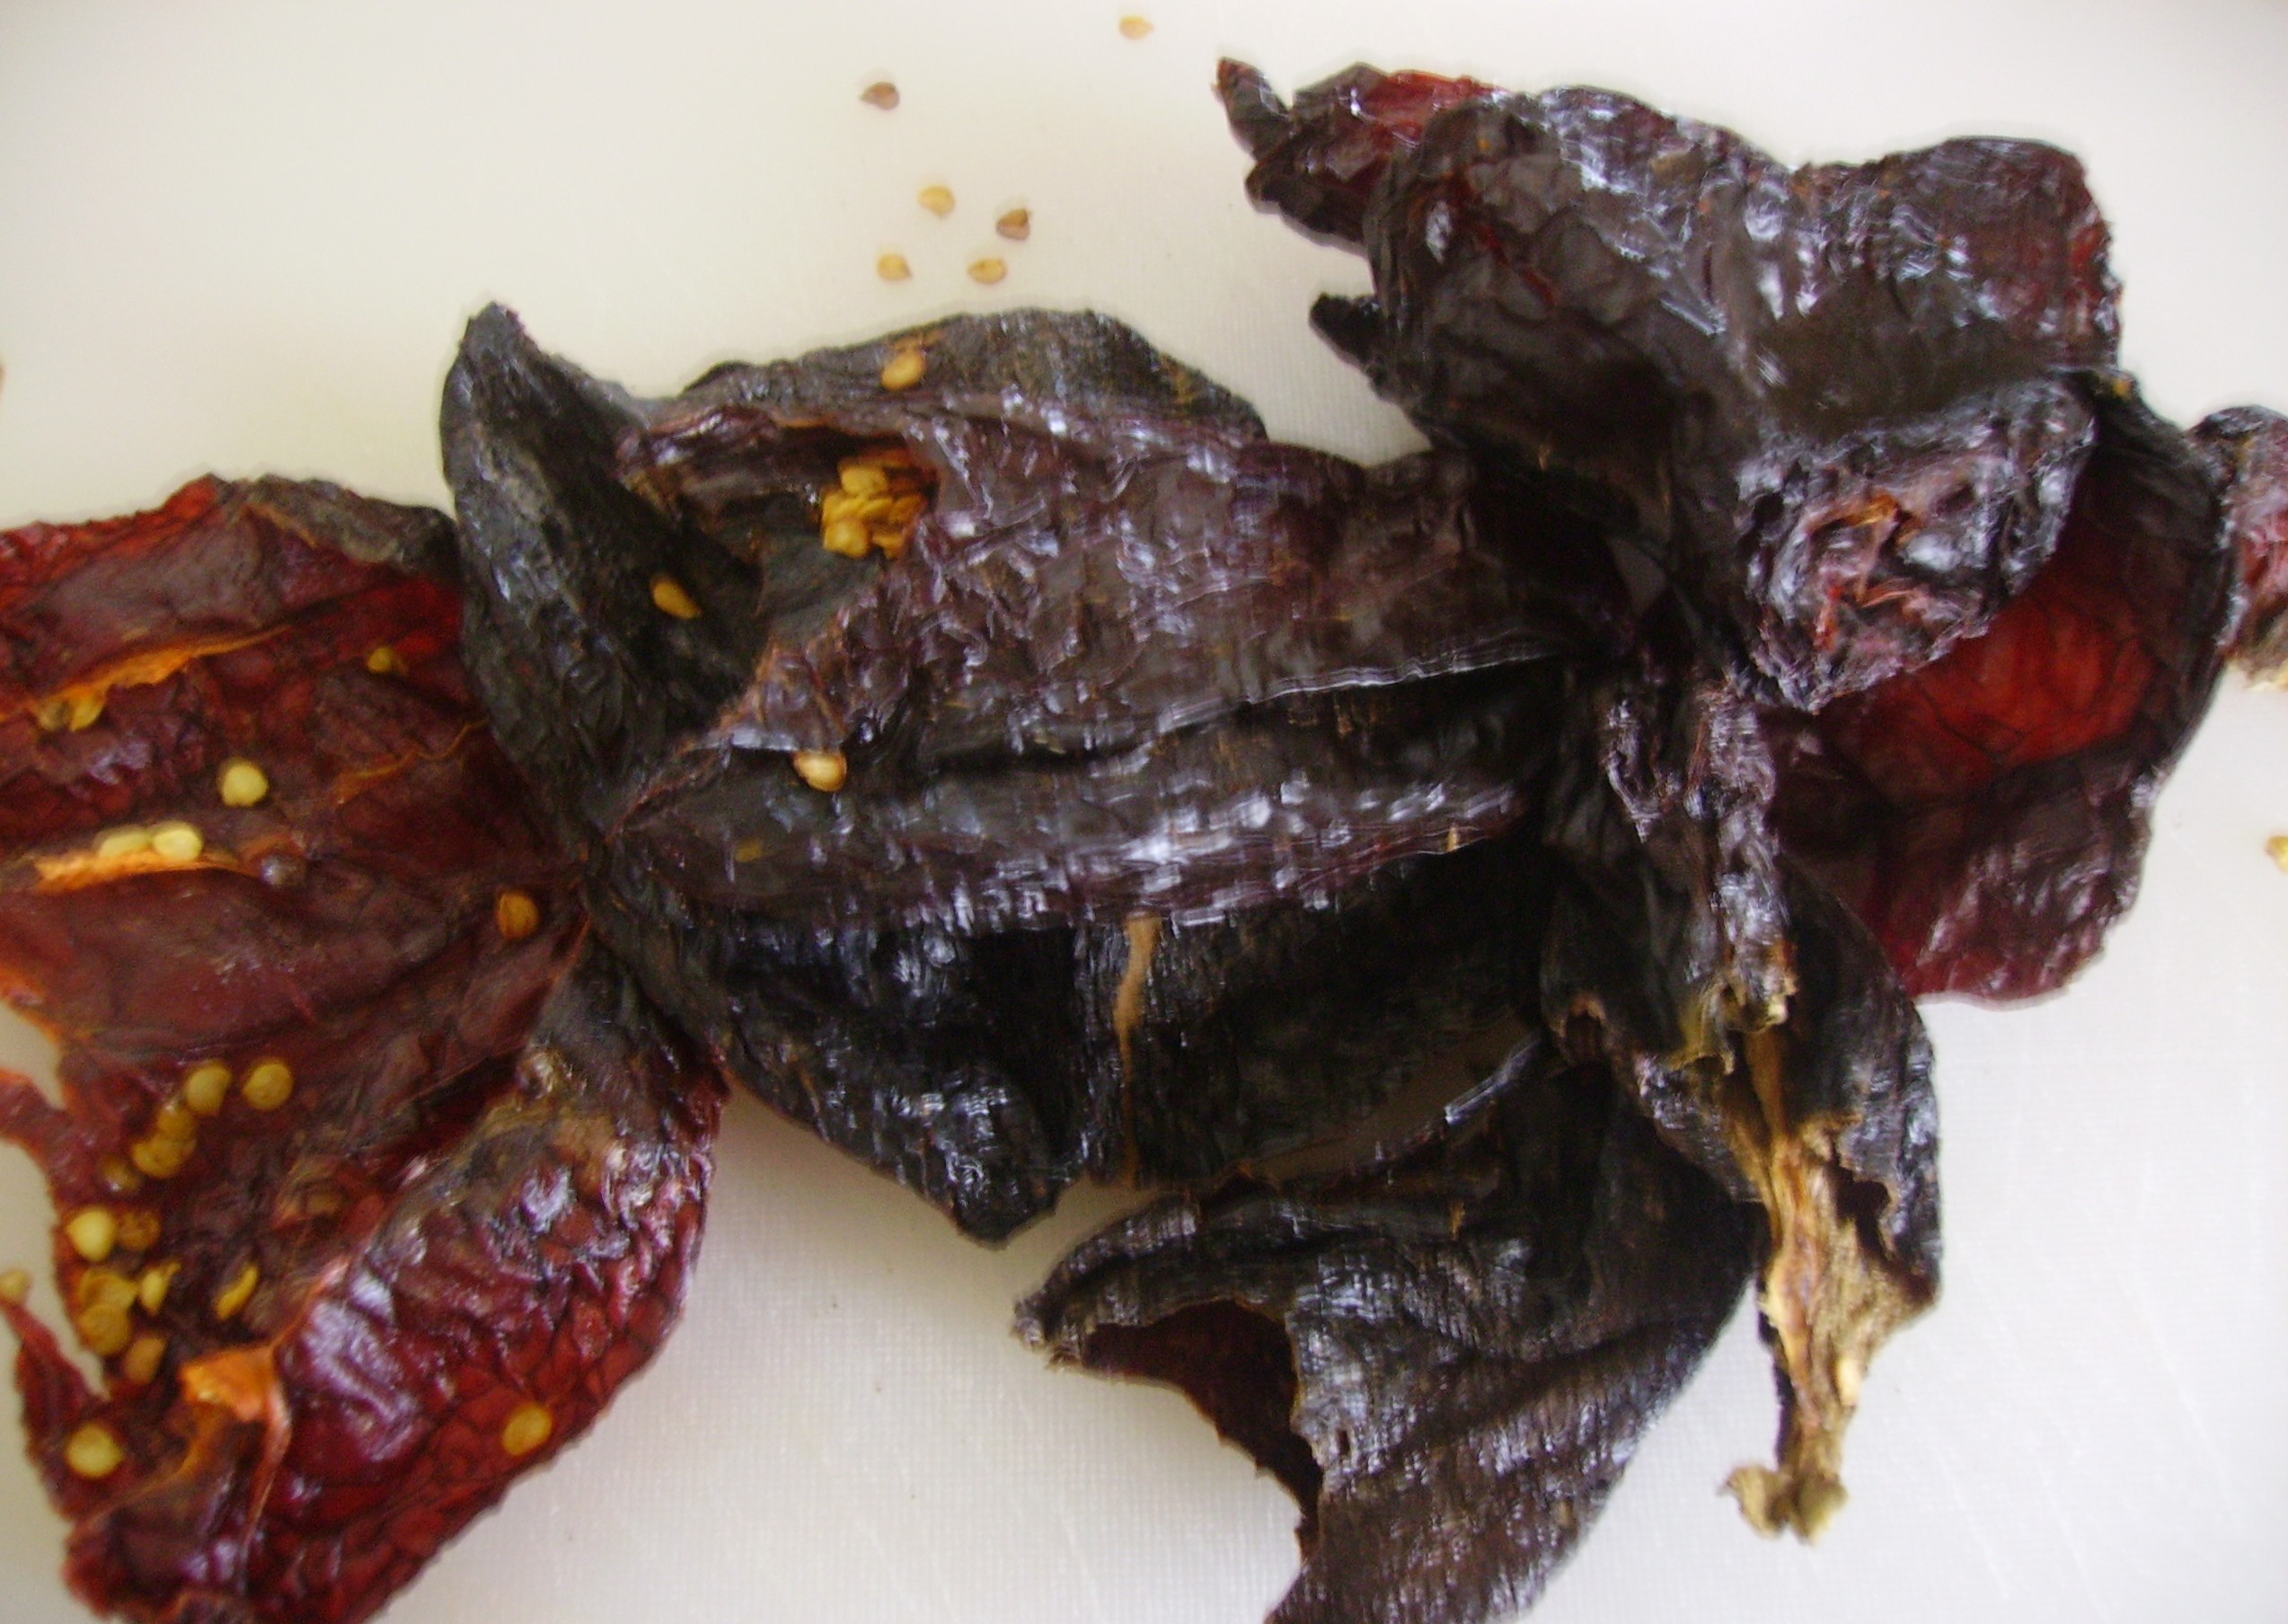
A more interesting sauce base is made from dried chilies. This takes some time and DIGITAL CAMERA
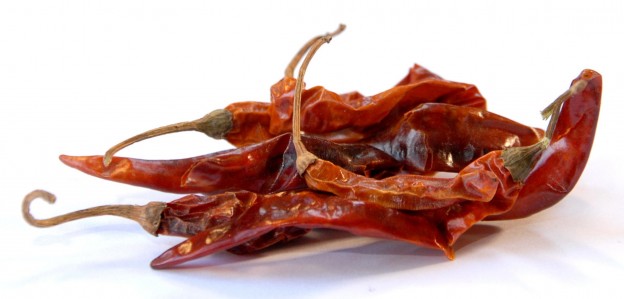
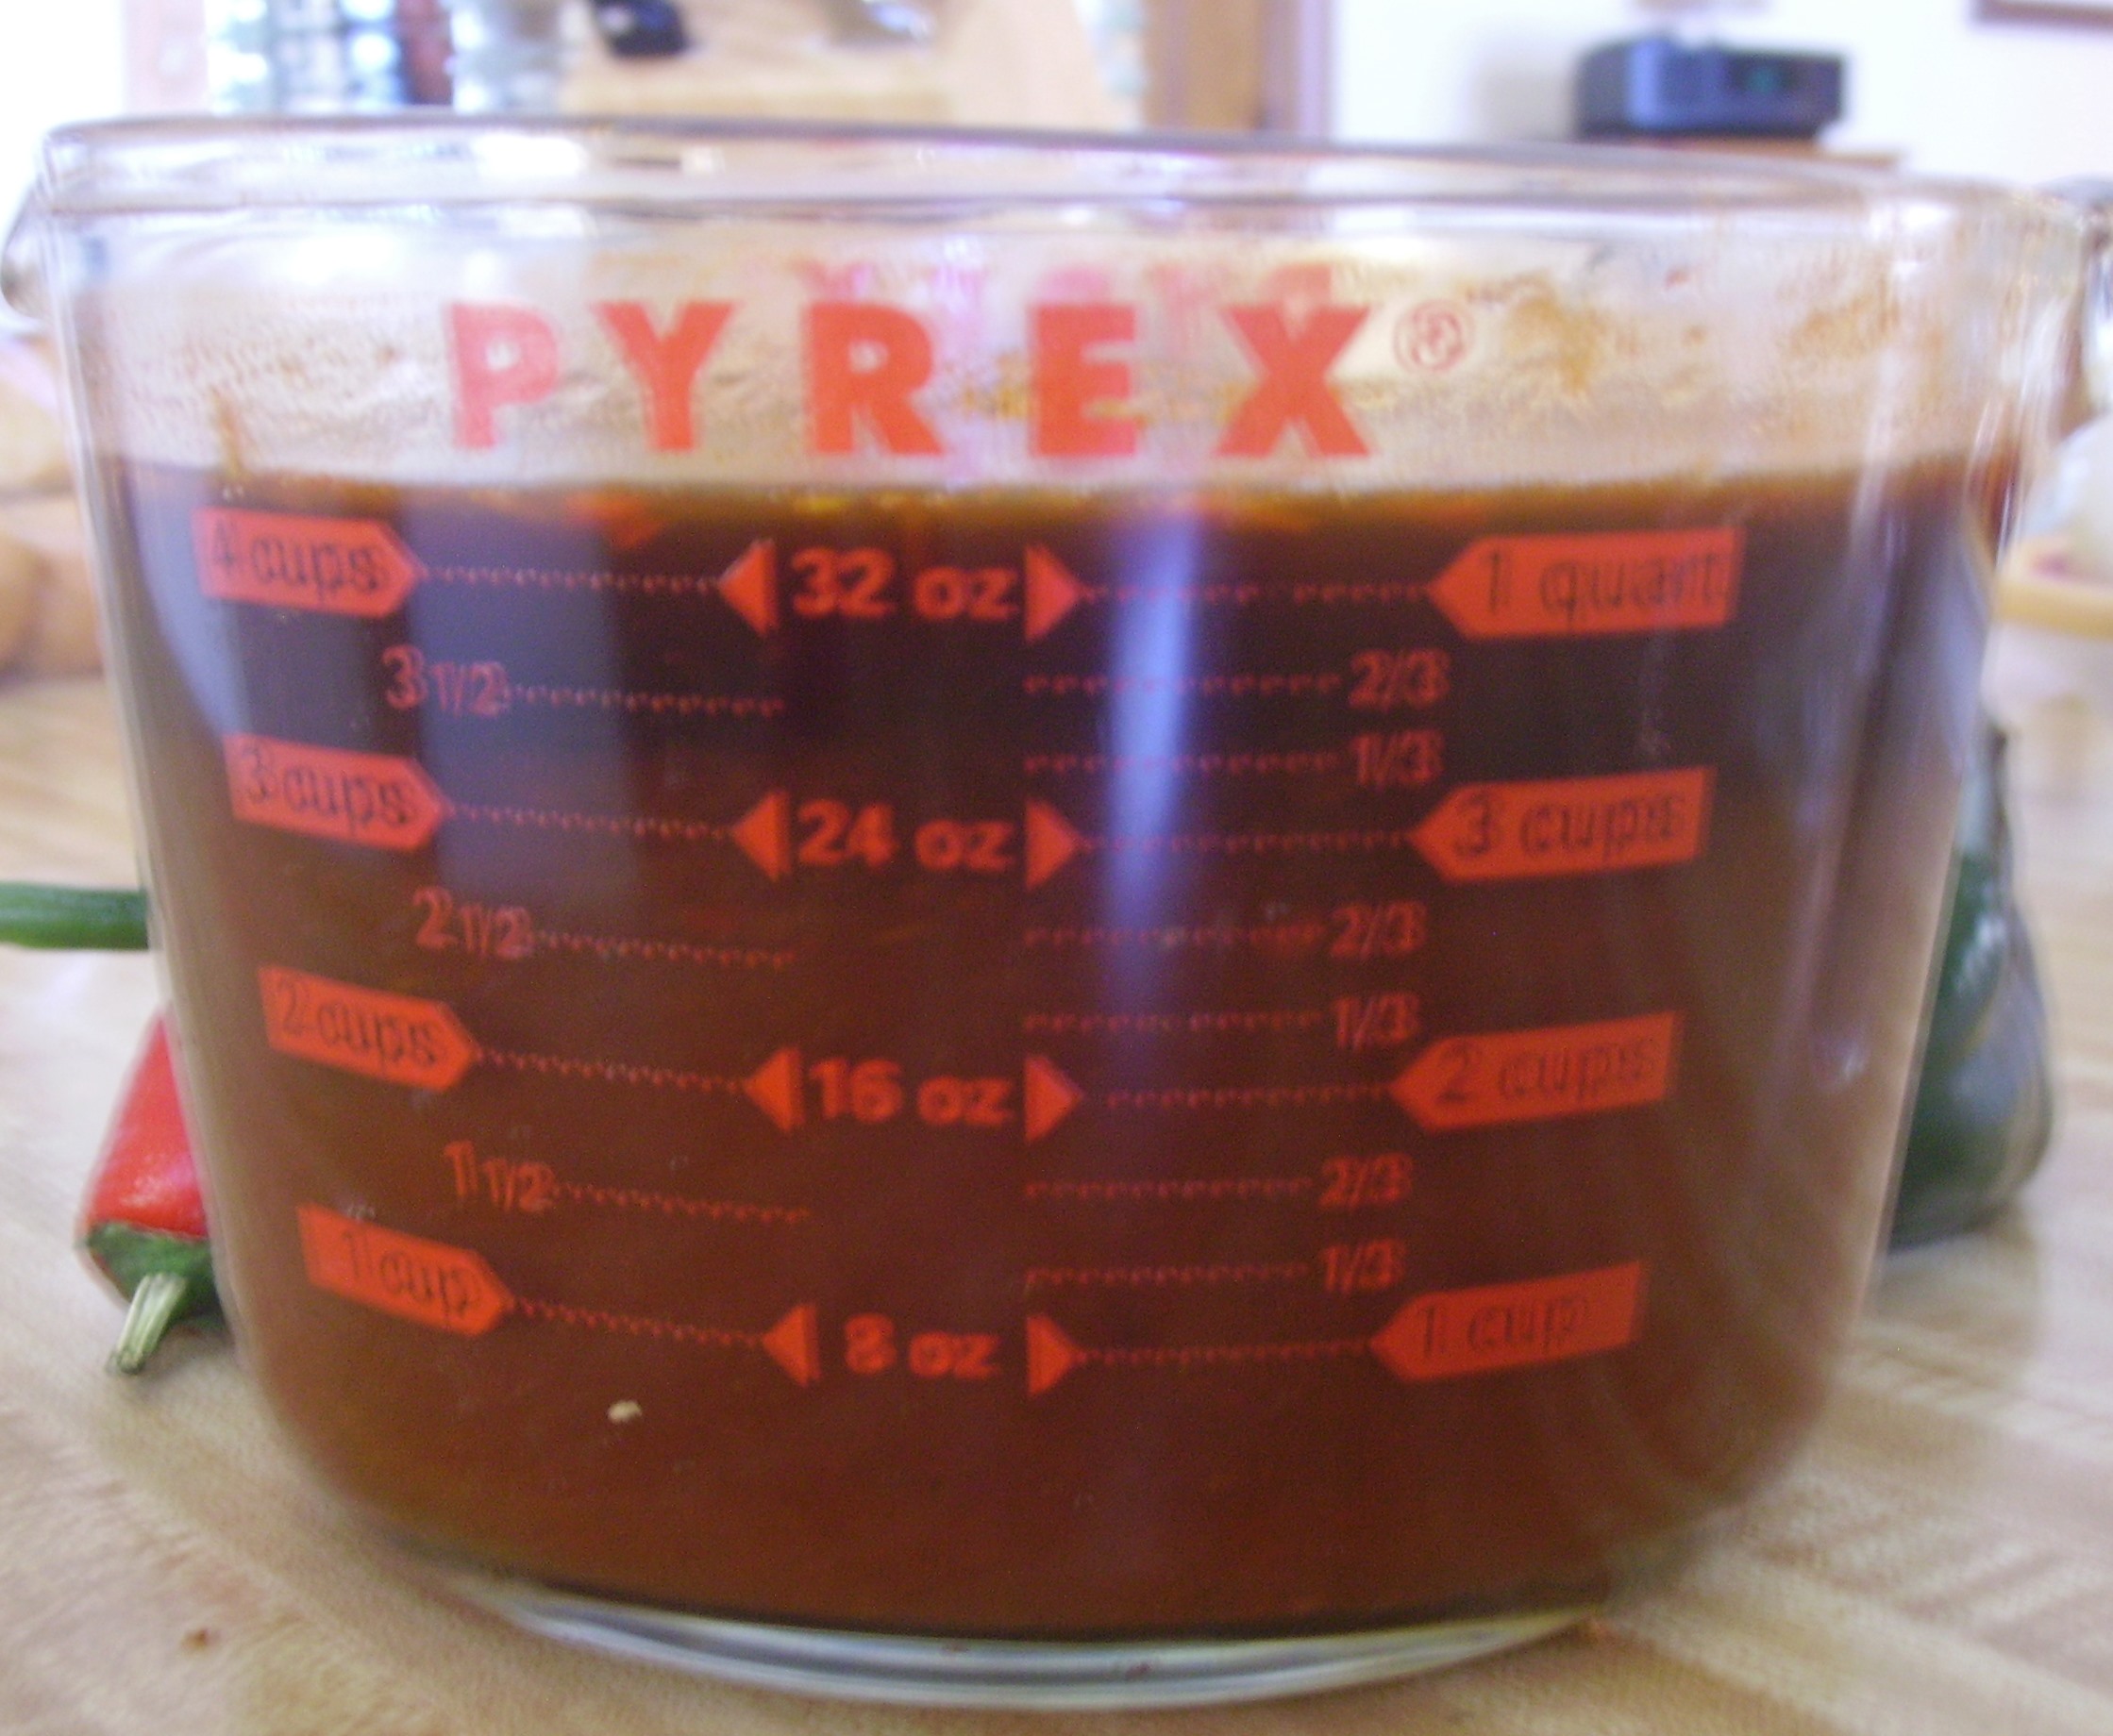
makes a bit of a mess, but I think it is worth it. You are creating Chili Stock. Dried chilies (available DIGITAL CAMERA
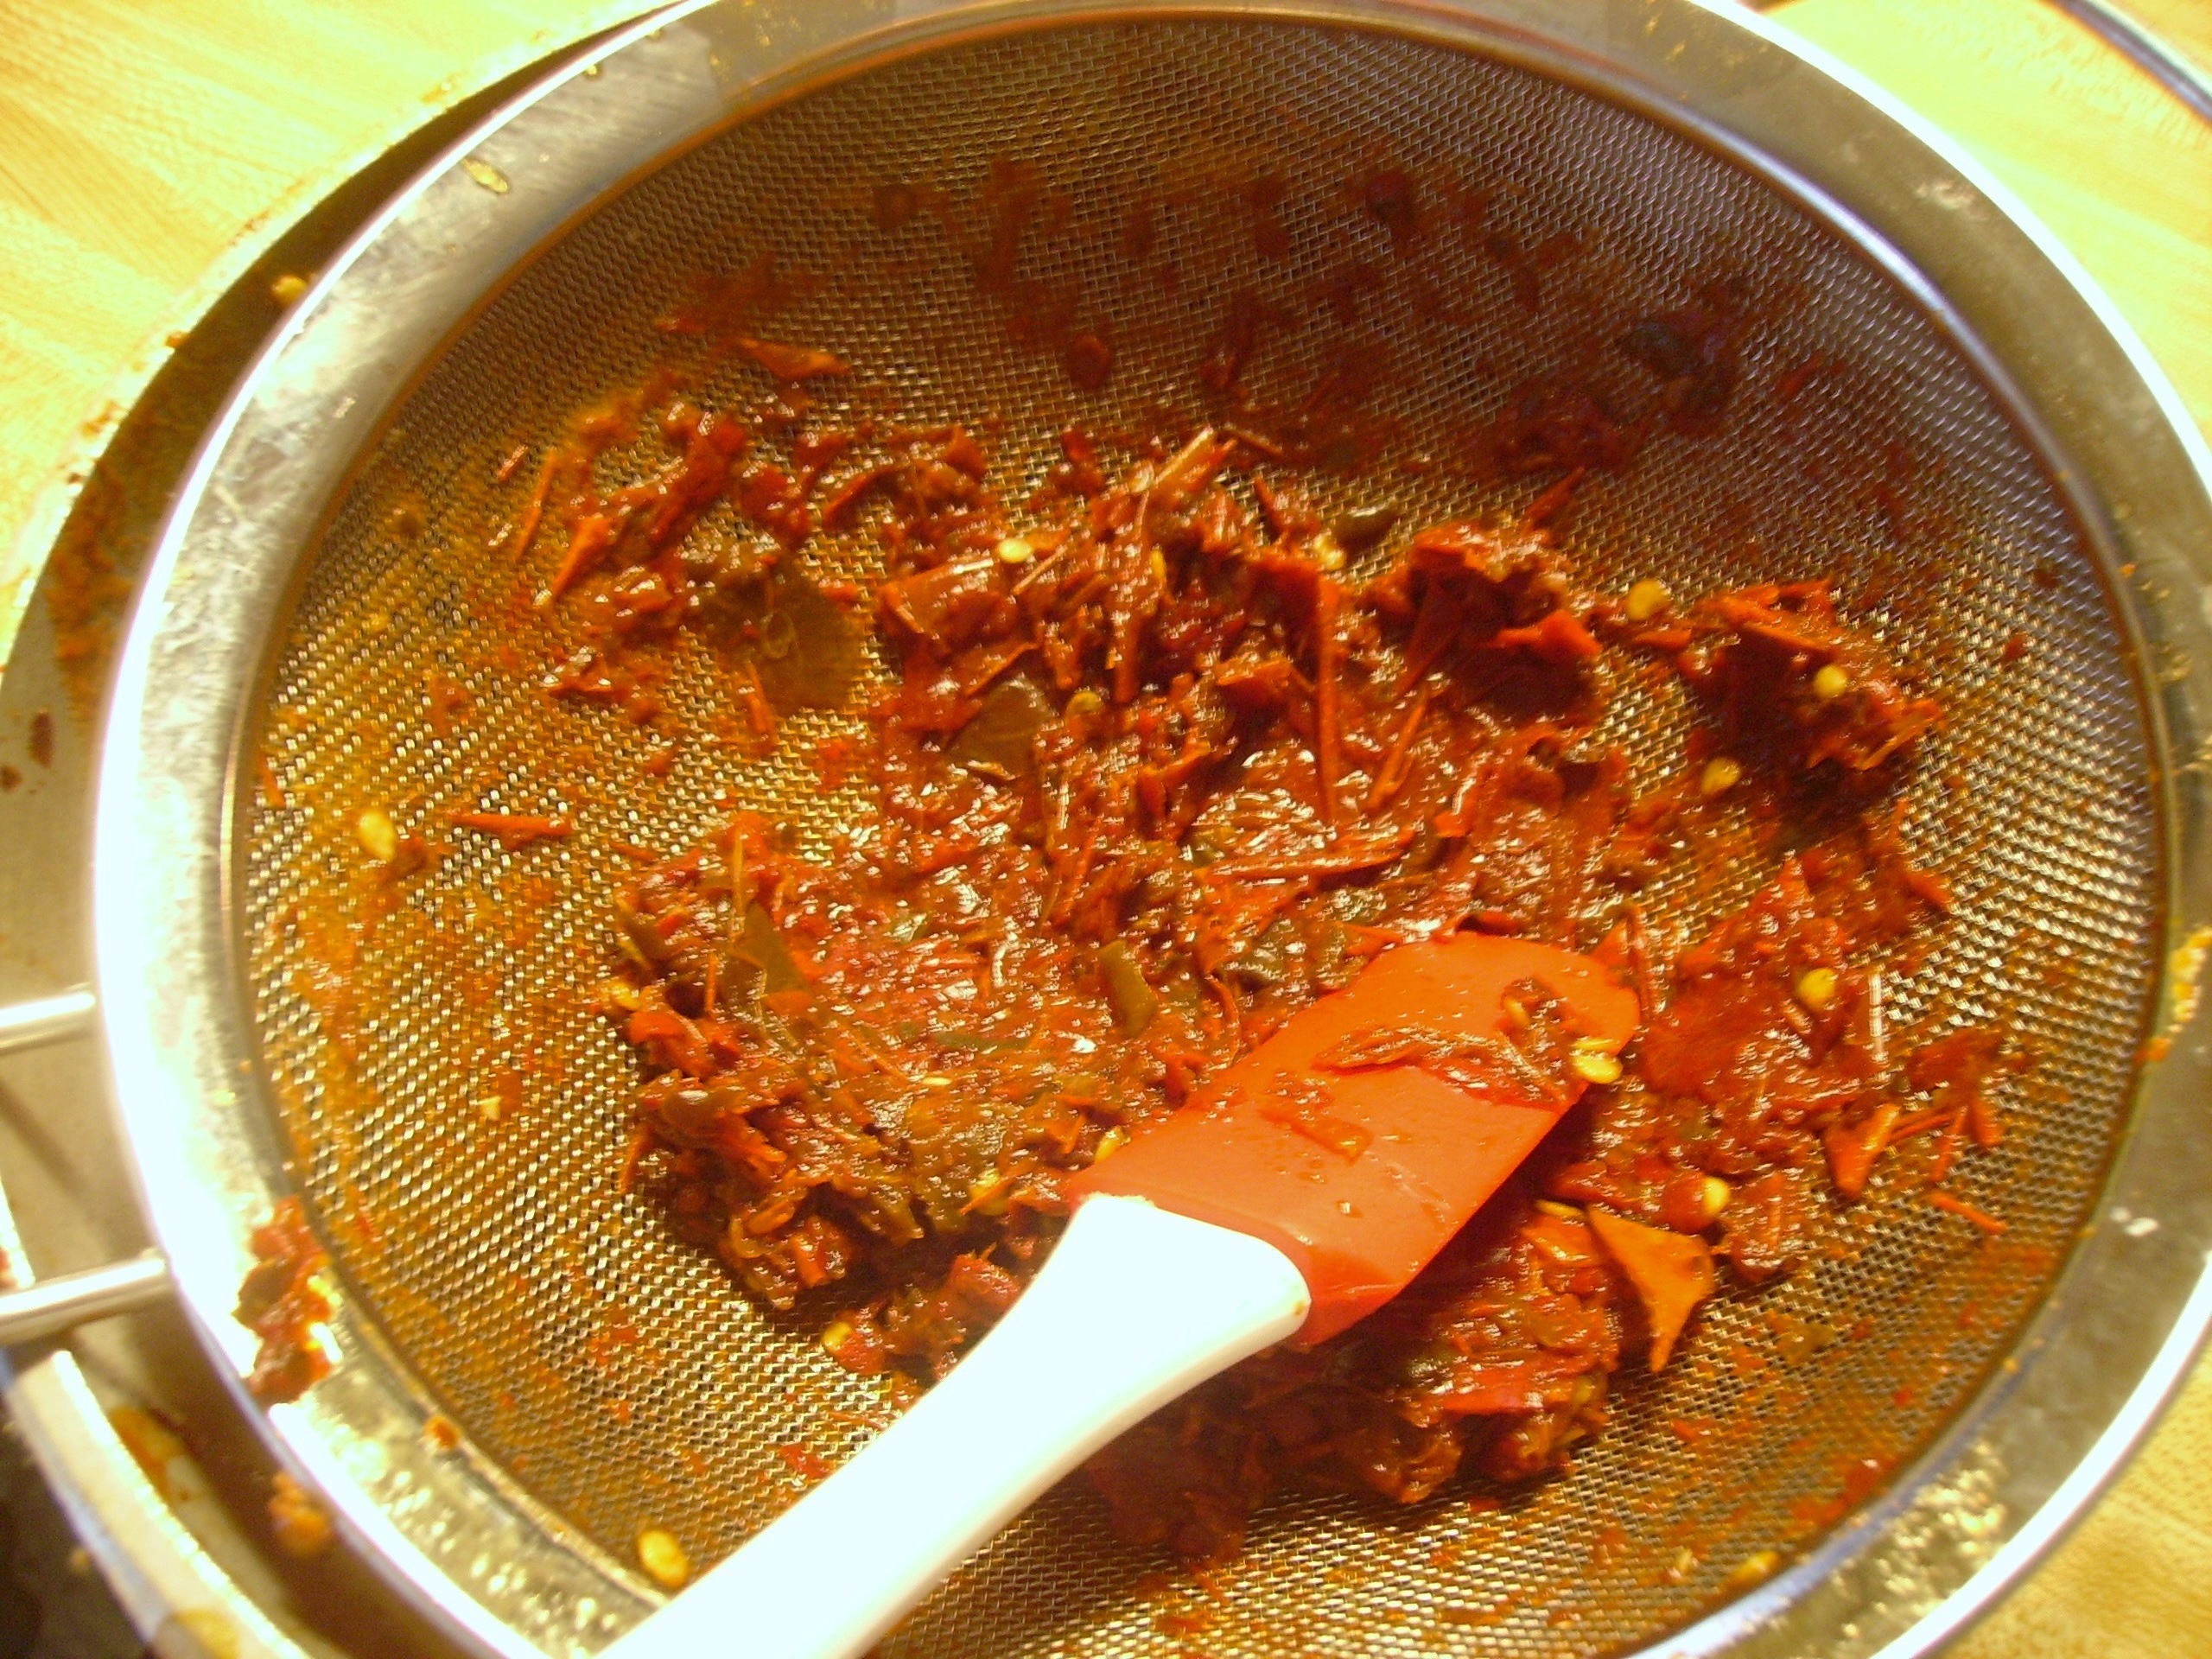
in most large markets) are simmered in stock until soft. These get a whirl in the processor or emmersion blender and then are strained to get rid of the skin. The result is a rich dark liquid that will become the foundation of this chili.

This Chili also uses fresh chilies specifically, Jalepeno and Poblano . DIGITAL CAMERA
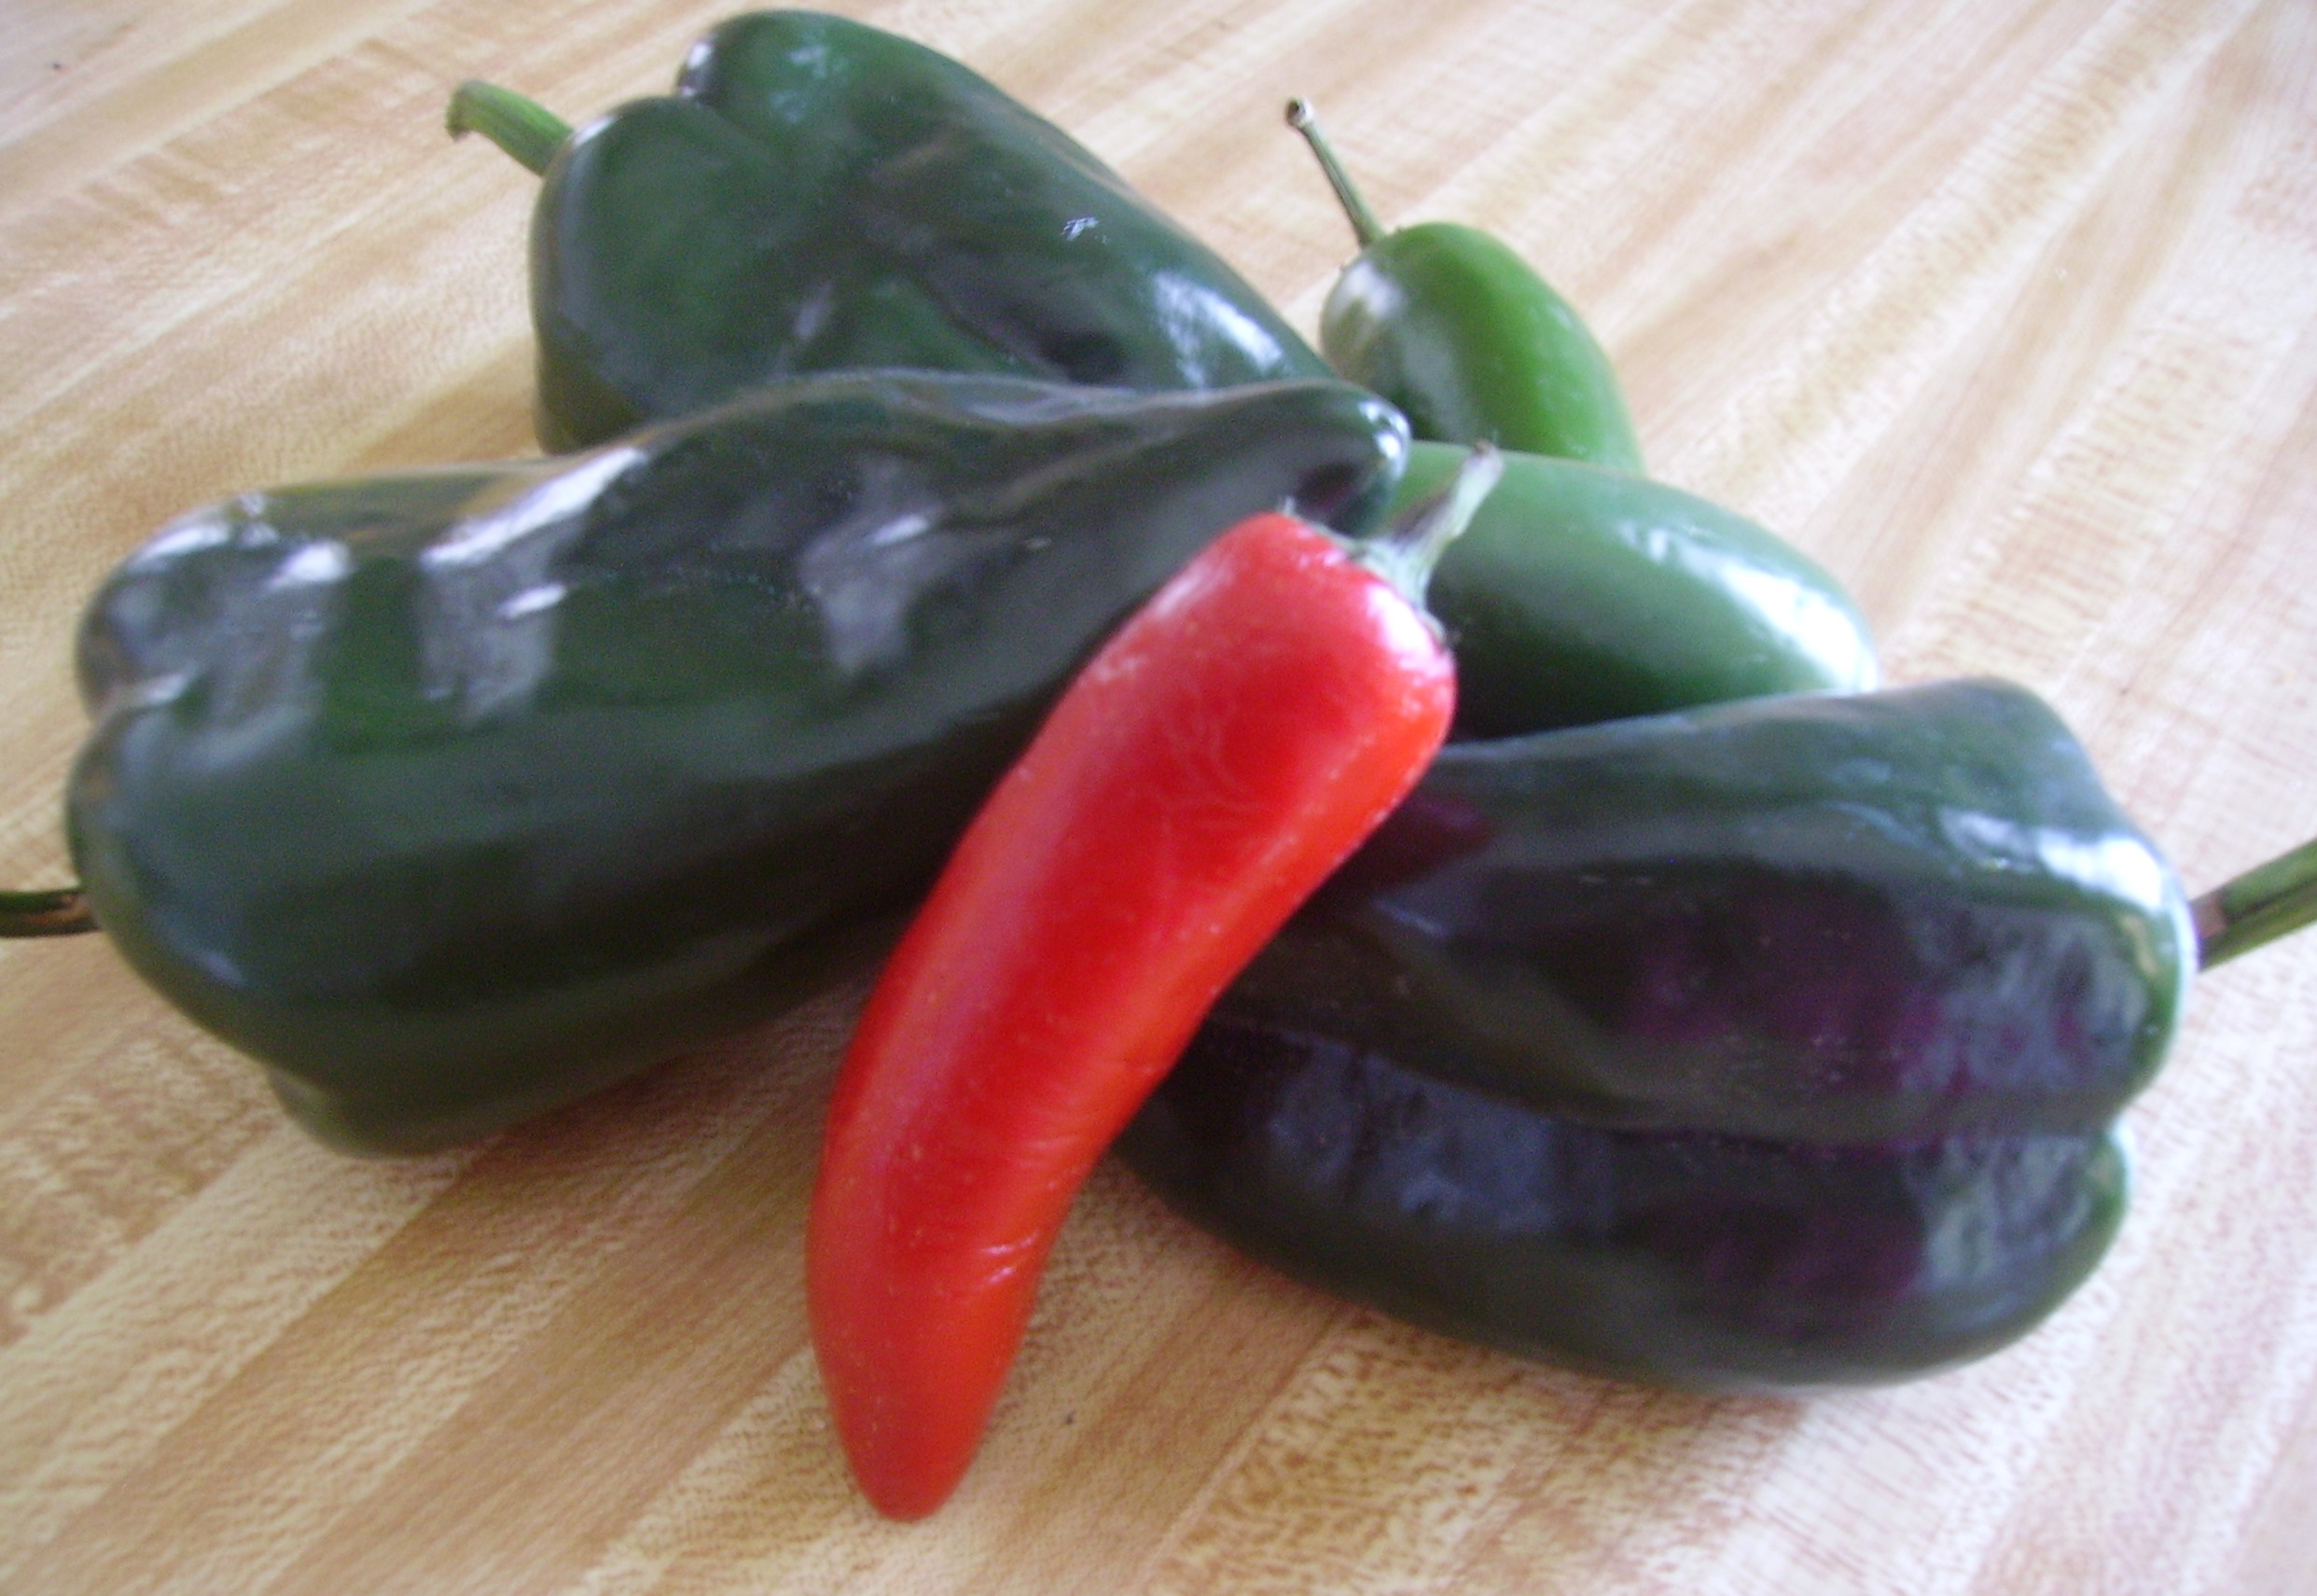
The Jalepeno goes in raw, with the other aromatics.  The poblanos go in “roasted”. Roasting DIGITAL CAMERAgives a smoky flavor and also removes the skin which can getDIGITAL CAMERA 
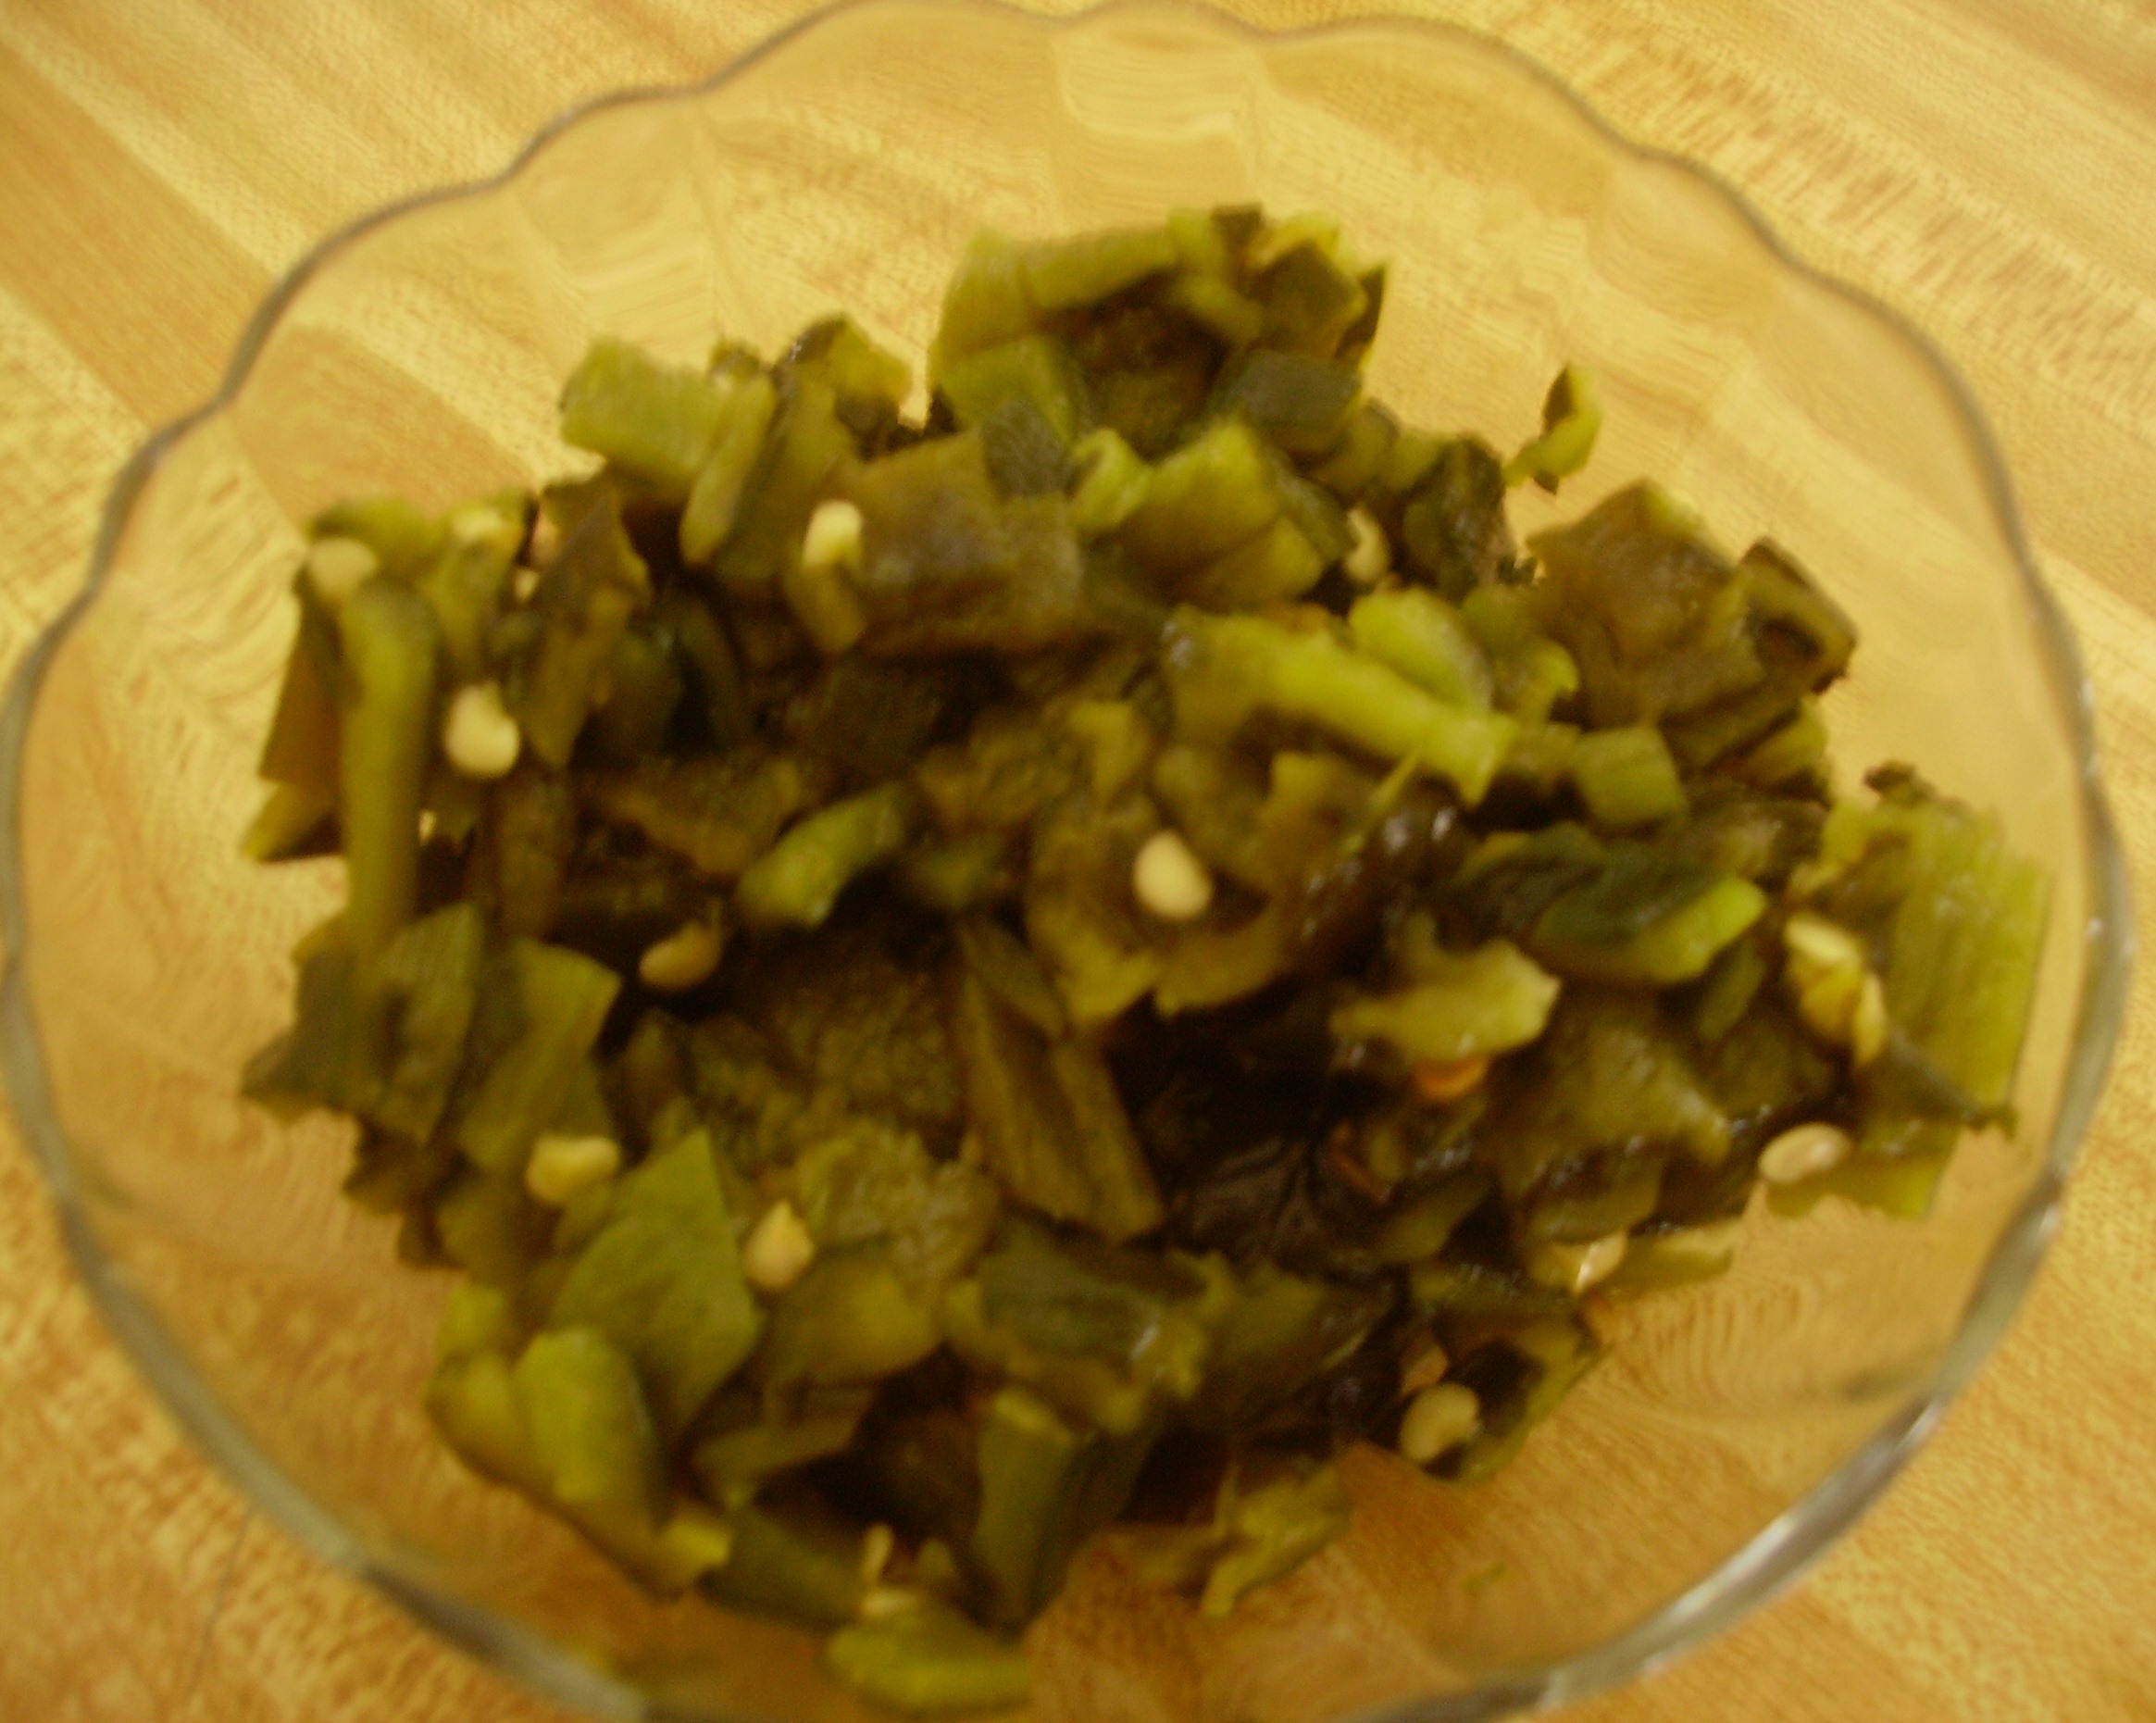
unpleasant when cooked. There are several ways to roast a chili; over a fire (or the stove burner); on a grill;  or my favorite and I think the safest, under the broiler.  Broiling takes the shiny deep green peppers to a paler, slimier pepper in about 15 minutes. Once they are stemmed and seeded they can be chopped and added to the chili pot. See the recipe for complete directions on roasting and peeling chilies.

 Mole is a classic Mexican sauce. There are easily as many mole recipes as there are chili recipes. Fruits, nuts, spices, and yes, chocolate have all made an appearance in Mole recipes.  This recipe uses two types of chocolate; unsweetened cocoa and Mexican Chocolate.

DIGITAL CAMERA
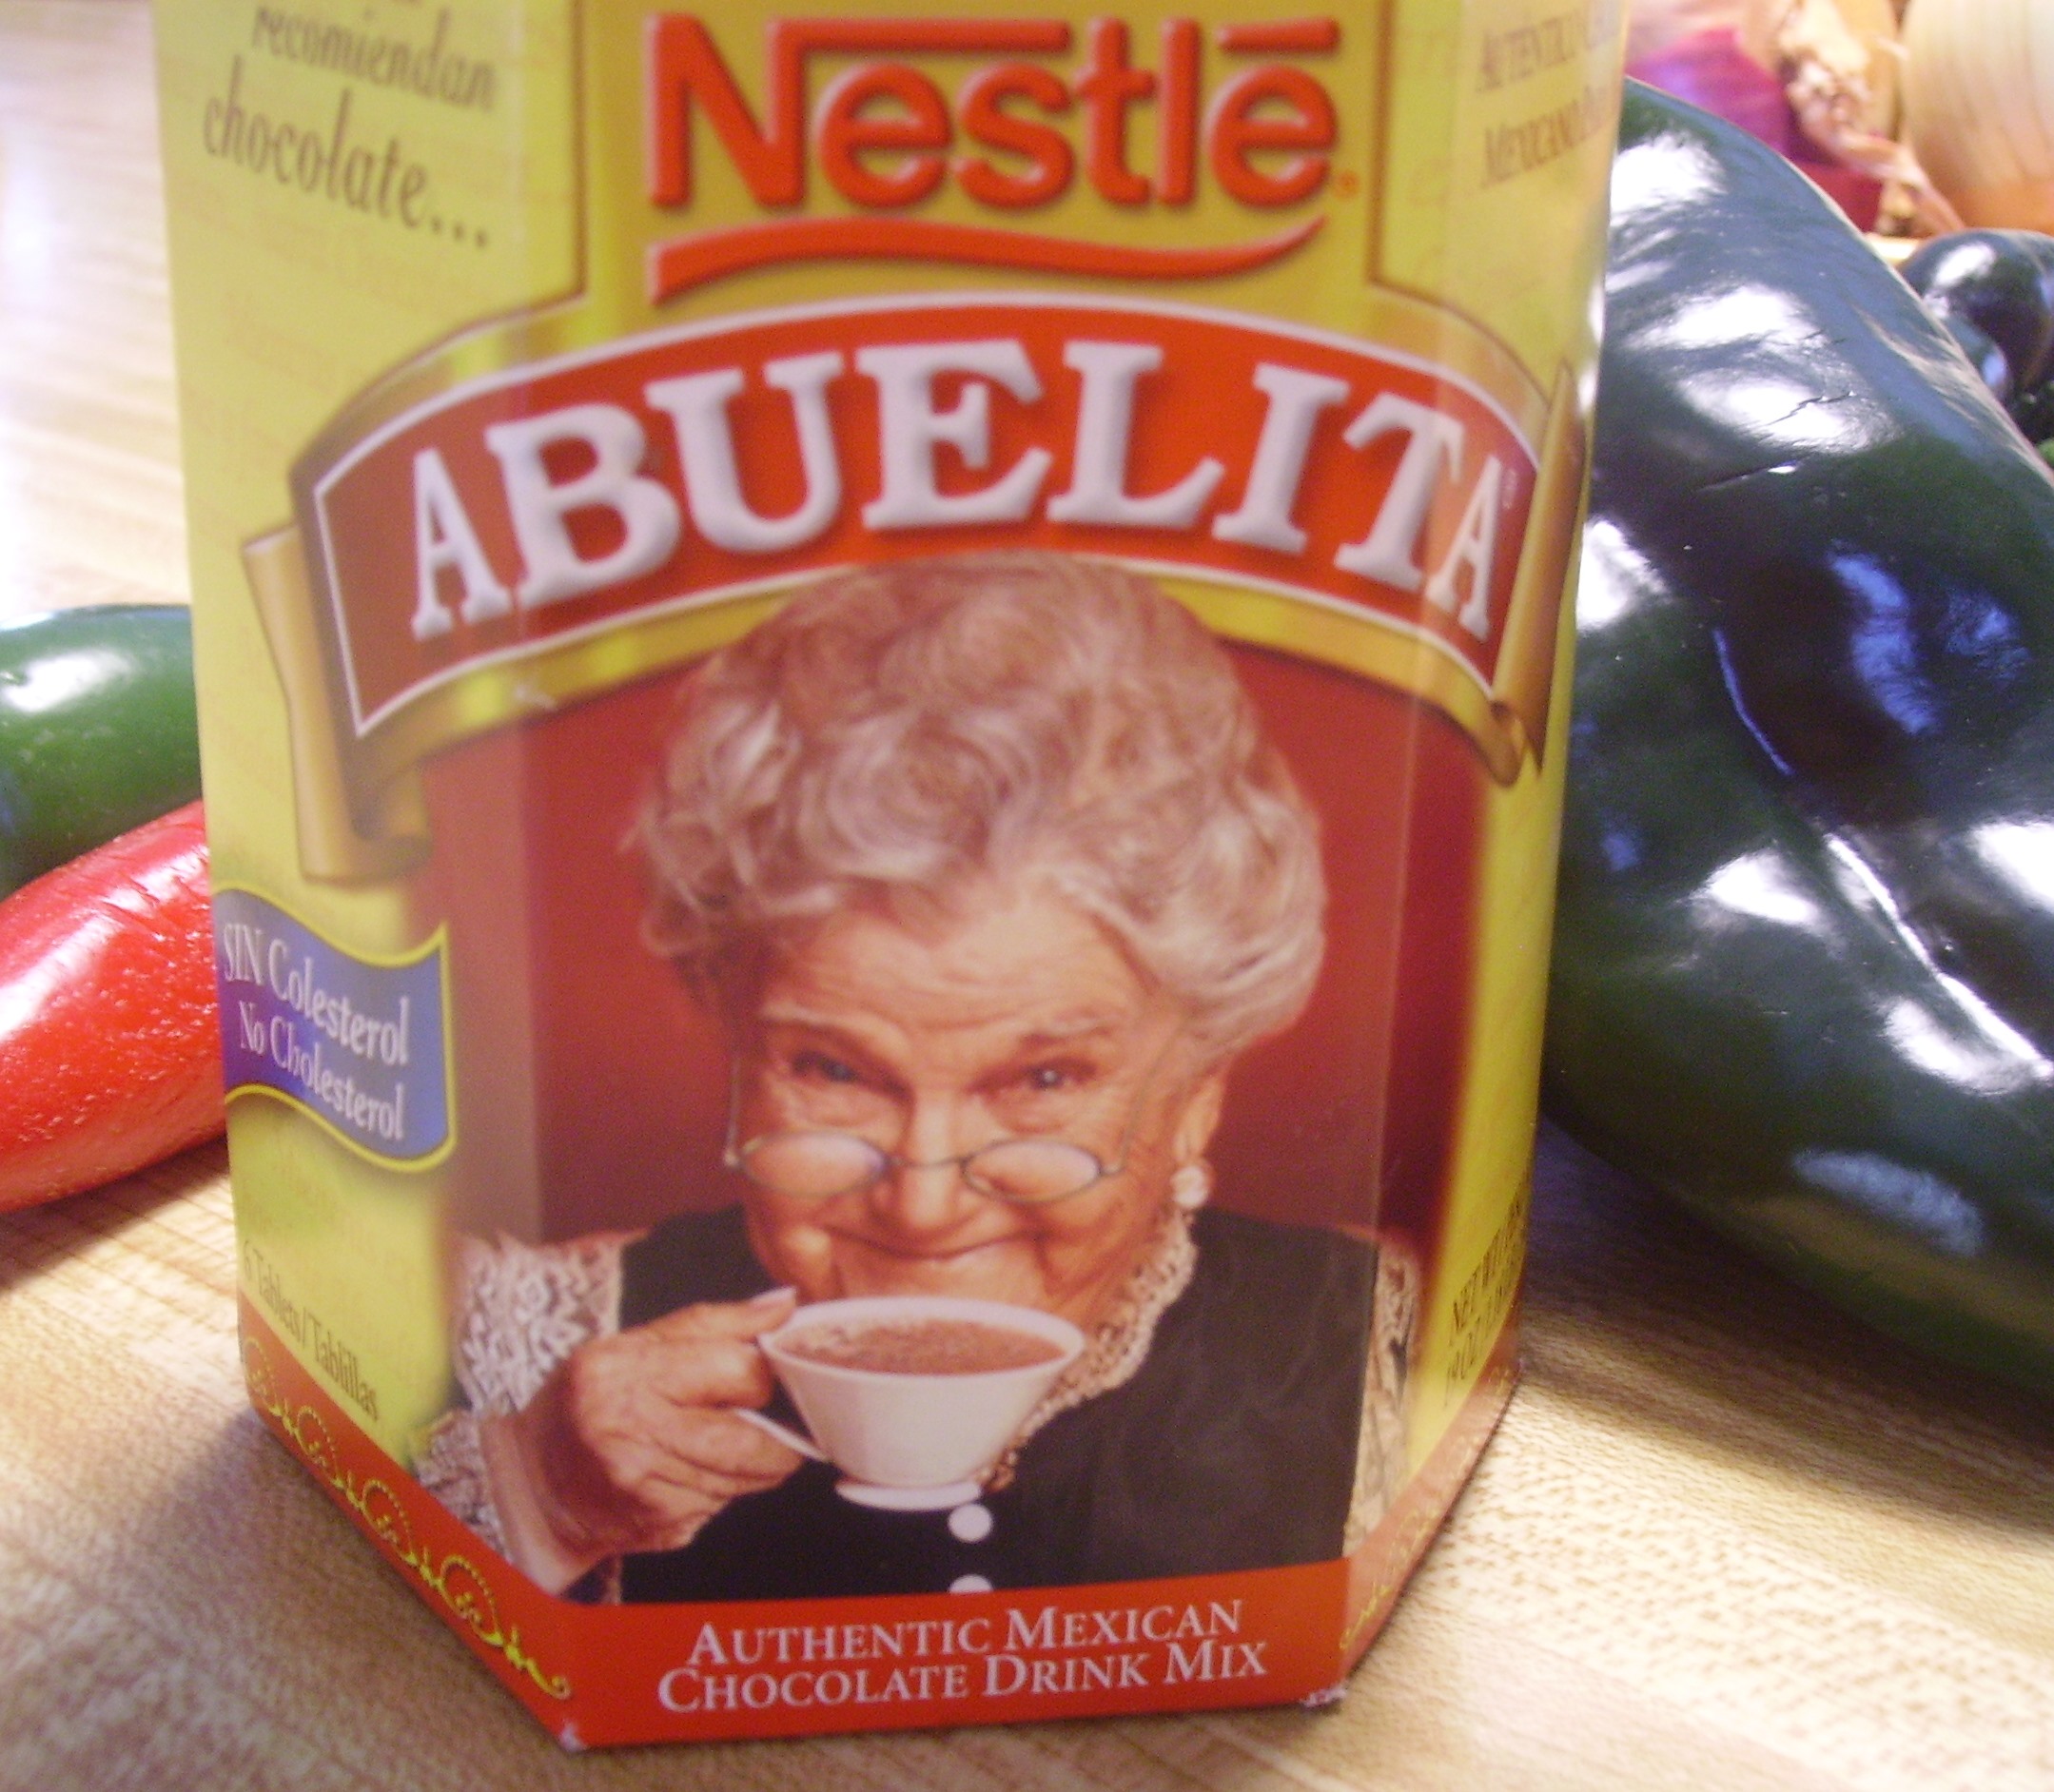
The chocolate I use is Abuelita, now made by Nestle. This is traditionally used for quick Mexican Hot Chocolate since the sugar, chocolate, and spices are already in it, and those same ingredients make it a great addition to this chili.

Chicken (or Turkey) Mole Chili
Print Recipe
This chili has the chocolaty, spicy flavors of Mole and the intense flavor of a chili based sauce. Make it a day ahead for maximum flavor.
Servings
6
Servings
6
Chicken (or Turkey) Mole Chili
Print Recipe
This chili has the chocolaty, spicy flavors of Mole and the intense flavor of a chili based sauce. Make it a day ahead for maximum flavor.
Servings
6
Servings
6
Ingredients
Servings:
Instructions
  1. Remove stems and seeds from the chilies. Place in a large saucepan with the stock. Bring this to a boil, reduce the heat, and simmer for 20 to 30 minutes. The chilies should be very soft. Let the mixture cool slightly. Put the chilies in a food processor. Process until it is a somewhat smooth. Press through a sieve to remove the skin and strain into a glass container.
  2. To roast Poblano Chilies: Place chilies on an oiled broiler tray and broil a few inches from heat. Turn until all sides are evenly charred and the skin is beginning to blister. This will take 5-10 minutes depending on the heat of the broiler. Remove the chilies to a heatproof bowl or plate and cover tightly with plastic wrap. Let sit for 5 minutes or until the skin peels off easily. Remove stems and seeds and chop in 1/2 inch dice.
  3. Heat the oil in a soup pot over medium heat. Add the bacon and cook until it is well browned. Add the chicken (turkey) and cook over high heat until it is browned, about 8 minutes.
  4. Lower the heat to medium, and add the onion, garlic, and jalepeno to the pan and cook until they are softened, 5 minutes or so. Stir in the tomato paste and cook for a minute or two.
  5. Pour in the chili stock, tomatoes and all of the seasonings, except the Mexican chocolate. Simmer 20 -30 minutes to allow the flavors to blend and get well acquainted with each other.
  6. Add the chopped chocolate and stir until it is melted. Adjust the seasonings and serve. Pass Shredded cheese, sour cream, cilantro or minced red onions if desired.
Share this Recipe
Powered byWP Ultimate Recipe

The thermometer is still registering unreal numbers. The heat hasn’t shut off for more than 30 seconds in two days. I have not stuck my nose or any other body part out of the house since yesterday morning, but I have my chili and my footies so life is good.

Love, Mama D

Baked Ham with a Glaze of Love A New Years Tradition

For as long as I can remember, ham has been the dinner of choice on New Years Day. From my childhood when the ham often came out of a can(!!?!!), to my first adventures with a bone in ham, the thing that I remember the most is the glaze. I find it kind of odd because I don’t have much of a sweet tooth and I prefer sweet things as dessert not main dishes. but a sweet and sticky glaze thickly coating the fat layer of a ham is pure pleasure to me.

Back in the 50’s, canned hams were the modern thing. They carved easily into perfect pink file6291252090276rectangles. They opened with a “key” that rolled around the edge of the can making a ribbon of metal that could slice off a finger it you weren’t paying attention. Once you removed the gelatin slime it was ready to be covered with glaze. This was a necessity because naked it was frighteningly unappetizing.

My mothers glazing process was simple. First she would score the surface in a diamond pattern. Then a clove was placed in each cut intersection. She then made a paste of dark brown sugar and yellow mustard and slathered it all over the ham until it dripped down the sides and created a sticky brown oval/rectangular mass. Occasionally there would be cherries or pineapple slices added before it went into the oven to heat for several hours. The ham emerged from the oven looking much like it did when it in, except it smelled sweet and smoky, and the glaze had melted into a shiny brown cloak.

file0001795692878 (1)I loved it. I didn’t know anything else existed. I honestly didn’t know there was anything different until I got married. My mother-in-law made a bone in smoked ham the first time I went to her house for Christmas. The cloves, sugar and mustard were there, but so was a tremendous amount of flavor. It had a different texture, color and to my delight, a thick succulent layer of fat that melted into the glaze to form “ham candy”.

Let’s zoom ahead to the present. Ham’s have come a long way. The varieties available are DIGITAL CAMERAendless. There’s even something called turkey ham that has no resemblance to either turkey or ham.  The bone in ham with only it’s natural juices and the convenience of spiral slicing is my favorite. These are available everywhere from every producer, but I’ve taken a shine to Aldi’s Hickory Smoked Spiral Sliced Ham. It is juicy and tender with a mild sweetness and saltiness. It virtually slices itself and it’s very inexpensive. It comes with a packet of glazing ingredients that I have occasionally used, but I prefer to start from scratch.

DIGITAL CAMERAA glaze needs to be thick enough to well, glaze the ham. It is by nature sweet so it should have a generous amount of brown sugar. Because nothing goes with sweet better on ham than something sharp there should always be mustard of one kind or another. Liquor just makes it better and the flavorings are up to you. You can go spicy, sweet or smoky, even crank up the heat with a chili powder. This recipe is all approximate. Whatever you use, do simmer it for a bit. This allows the flavors to blend, the mixture to thicken and the booze to settle down. Make sure the ham is in the pan cut side down, if not for the whole heating, at least for the glazing.

Ham Glaze (A Formula of Sorts)
Print Recipe
Every ham needs a coat of glaze to bring out it's flavors. This recipe is just a guideline. Glaze is after all a very personal thing. Brown sugar and simmering are the only rules.
Ham Glaze (A Formula of Sorts)
Print Recipe
Every ham needs a coat of glaze to bring out it's flavors. This recipe is just a guideline. Glaze is after all a very personal thing. Brown sugar and simmering are the only rules.
Ingredients
Servings:
Instructions
  1. Put the ingredients you have chosen for your glaze in a small heavy bottom pan. Stir the ingredients together and heat to just boiling over medium heat, stirring frequently.
  2. Reduce the heat to low simmer and cook for 10 minutes or however long it takes for the glaze to reduce and slightly thicken
  3. When your ham is about 20 minutes from being completely heated, remove it from the ovenand raise the heat to 375 degrees. Make sure it is in the pan cut side down and pour about 1/3 of the glaze over the ham. Return to the oven for 5 minutes or so.
  4. Repeat the process of poring on the glaze and returning to the oven two more times. Remove the ham from the oven and let sit for 10 minutes before moving it to a cutting board. Slice the ham and drizzle with some of the pan drippings and serve.
Share this Recipe
Powered byWP Ultimate Recipe

Love, Mama D

What Can Mama D Do With Butternut Squash?

Butternut Squash is delicious, nutritious, and versatile. It’s in its heyday in fall and winter, so the time for Butternut Squash adventures is now. I must confess, I’m fairly new to the winter squash scene. It’s only been in Mama D’s Kitchen for about 5 years (except for Spaghetti Squash which has been in the kitchen for decades). It’s time to make up for lost time.

PICT04771.jpgPICT04771.jpgDIGITAL CAMERA

I’ve been using this oddly (?) shaped squash quite often and it always surprises me with its adaptability. It also has certain affinities with other foods. It stands up to all kinds of onions. From leeks to shallots and every type in between, squash takes them on and still keeps its identity.  Bacon seems to have been put on earth, for among other things to compliment squash. Something in the smokiness of the bacon goes well with the sweet earthiness of the squash. Besides that, “ Mama D do love her bacon”.

Many people are fond of the sweet notes of squash and expand on them. Personally, I like to keep the sugar sweetness in dessert and let the squash display its innate sweetness in the main part of the meal.

Without further ado, allow me to introduce you to Mama D’s Butternut Squash & Apple Soup. This recipe was born in a cooking class I took several years ago. It’s gotten some Mama D lovin’ and has become what I like to call ” Autumn in a Bowl.”

Butternut Squash and Apple Soup
Print Recipe
Autumn in bowl.
Servings
6
Servings
6
Butternut Squash and Apple Soup
Print Recipe
Autumn in bowl.
Servings
6
Servings
6
Ingredients
Servings:
Instructions
  1. Cook bacon in large soup pot until crisp. Remove the bacon drain on paper towels. Pour all the drippings into a heat proof container. Return 2 tablespoons of the drippings to the soup pot and add the onion. Sweat for 3 or 4 minutes, until the onions begin to soften.
  2. Raise the heat to medium high and add the squash and apples. Cook, stirring occasionally until everything is slightly browned. Add the apple juice and stir to de-glaze the pan. Add the stock and bring to a boil. Reduce the heat to simmer, add the sage and cook, covered 30 minutes or until the squash is soft. remove from heat and puree with an immersion blender.
  3. While soup is simmering, heat a tablespoon of the bacon drippings in a small fry pan. Add the shallots and cook until carmelized, 15 minutes or so. Set aside for garnishing the soup.
  4. Return the pot of soup to the stove and simmer over low heat for a few minutes. Add the cream and heat gently until everything is steamy. Add salt and pepper to taste. If soup is too thick, add a little more stock or cider. If Soup is too thin, add 2-3 tablespoons of potato flakes. Heat until any additions come up to temperature.
  5. Ladle soup into bowls. Top each bowl with some of the bacon and shallots and sprinkle with the pepitas.
Share this Recipe
Powered byWP Ultimate Recipe

Butternut Squash makes a wonderful side dish. Roasting seems to bring out the nutty flavor and provides enough of a reason to coat it ever so lightly in olive oil. While olive oil is the healthier alternative, I’ve come up with a recipe that uses bacon drippings as the lubricant (so to speak). It also repeats some of the same flavors found in the above soup. What can possibly be wrong with bacon, shallots and sage? Nothing, I say!!


Butternut Squash Smash with Bacon and Shallots
Print Recipe
A hearty side dish that can hold its own with meat or fowl.
Servings
6
Servings
6
Butternut Squash Smash with Bacon and Shallots
Print Recipe
A hearty side dish that can hold its own with meat or fowl.
Servings
6
Servings
6
Ingredients
Servings:
Instructions
  1. Heat oven to 400 degrees. While the oven heats, cook the bacon in a large skillet until brown and crispy. Remove and drain on paper towels. Remove drippings from the pan and reserve 2 tablespoons. The rest can be discarded. Keep the skillet, as is, to use later.
  2. Line a large baking sheet with foil and spray with cooking spray. Lay the thyme and sage on the baking sheet to make an aromatic bed for the squash. Lightly brush the cut edges of the squash with 1 tablespoon of the bacon drippings and lay cut side down on top of the herbs. Bake for 20 minutes. Turn the squash and bake for 15 minutes more or so.it should be quite soft.
  3. Remove the squash from the oven and let it cool for 15 minutes or until it can be handled, Make sure to save the herbs. Scoop the squash from the skin and place in a large bowl. Throw the skin away. Mash the squash until "smooth-ish."
  4. Heat the remaining bacon drippings and the butter in the reserved skillet. When it is hot, add the shallots and cook for a few minutes until softened and just beginning to brown. Add the mashed squash and the warm half & half to the skillet. Stir to combine (if things seem too thick add a little more half & half).
  5. Crumble the herbs, (leave the stems out of it) and add to the pan. Stir all but 2 tablespoons of the bacon into the mixture. Heat gently until everything is hot and happy. Season with salt and pepper to taste. Garnish with the remaining bacon. Serve with pride.
Share this Recipe
Powered byWP Ultimate Recipe

This is a wonderful accompaniment to pork, be it chops, tenderloin or roast. It also compliments any poultry dish you may be serving.

I love visiting other food blog sites. One of my favorites is Proud Italian Cook.  Marie has lots of wonderful recipes. I took some inspiration from her Polenta and Squash dish and came up with Chicken and Squash Risotto. It started with Butternut Squash roasted with leeks and garlic.DIGITAL CAMERA

I made risotto using red onions, chicken stock and some leftover roast chicken. The squash and leek mixture joined in the fun.

011


The result was a comfort food that satisfied the need for the creamy, slightly chewy and savory flavor that is risotto.

Butternut Squash and Chicken Risotto
Print Recipe
This recipe uses a roasted squash, leek, and garlic mixture. You will have enough for this recipe and at least another of your choosing. This will also freeze well if you want to share your squash love at a later time.
Servings
4
Servings
4
Butternut Squash and Chicken Risotto
Print Recipe
This recipe uses a roasted squash, leek, and garlic mixture. You will have enough for this recipe and at least another of your choosing. This will also freeze well if you want to share your squash love at a later time.
Servings
4
Servings
4
Ingredients
Servings:
Instructions
  1. Heat oven to 375 degrees. Line a large baking sheet with foil and spray with cooking spray. Combine the squash, leeks, garlic, and olive oil in a large bowl.Spread the mixture on the baking sheet in a single layer. Bake 20-25 minutes, stirring half way though. The squash should be soft and lightly browned. Set aside.
  2. Heat a deep skillet over medium heat. Add the butter and allow it to melt. Add the red onion and cook stirring occasionally until translucent. Add the rice, tossing to coat well. Cook the rice until it is becoming translucent about 7-10 minutes. Add the white wine to the pan and continue to cook until it has evaporated (this will also de-glaze the pan).
  3. Using a ladle, add approximately 1/2 cup of the hot stock to the pan. Cook and stir until the stock has been absorbed into the rice. Continue to add stock, stirring and cooking until each addition is absorbed. This is probably a good time to pour a glass of wine, it's going to take awhile. You are looking for rice with a creamy texture but grains with a little bite.
  4. Add the chicken and squash to the pan. Add more stock as needed to keep the creamy texture of the rice. Heat until everything is steaming. Add about half of the cheese and stir until it melts. Taste the dish and add salt and pepper if needed. Serve in shallow bowls. Pass the rest of the cheese at the table.
Share this Recipe
Powered byWP Ultimate Recipe

So the answer to the question in the title is, “A lot”. These recipes just scratch the surface of Butternut Squash. There are lots of other squash varieties out there as well and without too much adjustment, they can be substituted in any of these recipes. If you haven’t cooked these odd-shaped, nutrient dense vegetables, give it a try. There’s plenty of squash love to go around.

Happy New Year, Mama D

Holiday Recipes Borrowed with Love by Mama D

012It took a village to create Mama D’s Twelve Days of Christmas Goodies. Besides my personal recipes, I shared links to some recipes that were created by wonderful chefs and cooks. I thought it would be nice to gather the recipes together in one post. I’ve also provided a link to each recipe. Just click on the goody name and you should be taken to the recipe. Now, without further ado, kudos to the following folks.

Jeff Mauro has a sandwich show on the Food Network. This recipe shows that he’s pretty creative with baking as well. Spumoni is an iconic Italian ice cream, often made to replicate the colors of the Italian flag. The pistachios and dried cherries give the essence of Spumoni flavors. The recipe yields 14 very large cookies, but I opted for a smaller size and wound up with 3-1/2 dozen.

DIGITAL CAMERA

Italian Spumoni Cookies 

Everybody gets a little help from Betty once in a while. These Thumbprint Cookies start with a sugar cookie mix from Betty Crocker. Don’t cast dispersions at the use of a convenience product. They are quite good and do save a little time and perhaps a little money. I used raspberry jam, but any flavor would work. I made a small and a large version and used white and semi-sweet chocolate for the drizzle.

DIGITAL CAMERA

Raspberry Thumbprint Cookies

Ina Garten is one of those celebrity chefs that you just have to love. Her recipes combine ease and elegance. This is her glazed nut recipe and it’s by far the best I’ve ever had. The rich combination of nuts (almonds, cashews, pecans, and walnuts) is glazed with a maple and orange juice driven glaze that packs some heat with chipotle powder. I would re-name these Heroin Nuts because they are truly addictive.

021

Chipotle and Rosemary Roasted Nuts

Here’s another recipe that proves that Christmas Goodies don’t have to be cookies. Chex mix gets it’s Southern on, ya’ll.  The traditional mix is combined with pecans and bacon. They’re roasted in a glaze of brown sugar and bourbon. This starts with packaged Chex Mix. I prefer to remove the rye toast rounds because I don’t like how they taste sweetened, but they can be left in and the result is still great.


DIGITAL CAMERA

Kentucky Bourbon Bacon Chex Mix

“No Bake Treats” are often time savers. The Food Network put together a mini cookbook of 50  treats that don’t require an oven. This is a variation on two of the toffee bars that were included in the booklet. The base is tea biscuits, the toffee is, well toffee, and the semi-sweet chocolate and pecans are the icing on the toffee. This is a recipe that can be riffed on almost infinitely. I did one with Club Crackers as the base, the toffee and coarse sea salt. If you’re a fan of that salty sweet thing, give it a try. 

DIGITAL CAMERA

 Pecan and Chocolate Toffee

Bacon is something Mama D really loves. This recipe provides a healthy(?) dose of bacon love. Crisp bacon and carmelized onions are simmered in an orange juice and maple syrup bath. If you love Bacon Jam you’ll like this lighter cousin. I’ve tried it on a turkey sandwich and it was delicious, but it would also be wonderful on your Christmas morning pancakes.The recipe came from the Cooking Club of America Magazine. It’s a magazine that features great recipes and lots of useful information on cooking techniques.

DIGITAL CAMERA

Maple Bacon Marmalade

 As I sit here on this early Christmas afternoon, the joy of the season and the promise of the future dance through my head. The holidays take me back to my childhood with recipes I made with my mother. The present brings new traditions with Christmas morning at my Son’s home. The future, I know, will be filled with more adventures as I cook with love and continue to write my next chapter.                

Merry Christmas, Mama D


From Mama D’s Kitchen with Love

Ive always been the spirit of Christmas Love in my family. One of the ways I share my holiday love is through baking. Until this year, baking happened almost exclusively in December, but as my cooking adventures grew, so did the baking. Which means that this year, December’s baking is on steroids.

I decided to share some of my favorite Christmas Goody recipes on Face Book. I called it Mama D’s Twelve Days of Christmas Goodies. The recipes are a mix of originals that I’ve created or have been inspired to create and recipes I’ve “borrowed” from other people/places/websites. I wanted to share these recipes with my blog followers who might not follow me on F.B. The following are my original and “inspired by” recipes. Hope there’s something that tickles you fancy.

This tasty salt is wonderful on any kind of beef. It can also be used in place of regular salt in any recipe to give it that earthy flavor.

Porcini and Rosemary Salt
Print Recipe
This is a perfect seasoning for steak, but it is wonderful on eggs, in soups, or anywhere you want a subtle mushroom flavor. This is a lovely Hostess gift, but save some for yourself.
Porcini and Rosemary Salt
Print Recipe
This is a perfect seasoning for steak, but it is wonderful on eggs, in soups, or anywhere you want a subtle mushroom flavor. This is a lovely Hostess gift, but save some for yourself.
Ingredients
Servings: Cups
Instructions
  1. Put all ingredients in the bowl of a processor. Pulse until everything is ground. This will take a bit of time. The porcini will not completely grind so the end product will have small bits of mushroom, which makes it even more delicious. Store in airtight containers.
Share this Recipe
Powered byWP Ultimate Recipe


These are my favorite biscotti. They are tender yet crisp. You don’t need coffee or wine for dunking, but they are awesome dunked.

Anise Almond Biscotti
Print Recipe
My favorite biscotti recipe! Hope you'll love it, too.
Servings
8 dozen
Servings
8 dozen
Anise Almond Biscotti
Print Recipe
My favorite biscotti recipe! Hope you'll love it, too.
Servings
8 dozen
Servings
8 dozen
Ingredients
Servings: dozen
Instructions
  1. Beat butter and sugar until well incorporated using an electric mixer. Add the eggs and beat until light and fluffy. Add the flavorings and the anise seeds and mix until well combined. Add the almonds and mix until combined. This is easier than adding the almonds after the flour.
  2. Whisk flour baking powder and salt together to aerate and blend. Slowly mix flour mixture into the wet mixture. You will have to add the last flour and mix by hand. Gather dough together and turn onto a lightly floured board, pat into a flat round.
  3. Divide the dough into six equal pieces. Pat and roll each piece into a log 12 - 14 inches long. Flatten the log to 1/2 inch thick and 2 inches wide. At this point they are ready to bake. If you want you to bake them later, wrap each log in plastic wrap and store in the refrigerator for up to 5 days. Let logs come to room temperature before you bake them.
  4. When you are ready to bake, heat the oven to 350 degrees. Place no more than 2 logs on each greased or parchment lined baking sheet. Bake one sheet at a time for 15 - 20 minutes.Remove from oven let cool several minutes until easily handled. Carefully move each log to a cutting board. Using a serrated knife, cut logs crosswise into 3/4 inch slices.
  5. Lay cut side down back on the baking sheet. Return to oven and bake 15 - 20 minutes more, turning the cookies after after 8 - 10 minutes to toast other side.
  6. Place the cookies on a rack to cool. Store airtight. These will keep for about a week. They can be frozen for a month or so.
Share this Recipe
Powered byWP Ultimate Recipe


All the good things in Fruitcake in 3 bites or less.

Fruitcake Cookies with Mini Chocolate Chips
Print Recipe
Fruitcake in a cookie with the added yumminess of chocolate chips. These cookies are chewy with fruit and nuts in every bite, oh, and did I mention the chocolate?.
Servings
6 Dozen
Servings
6 Dozen
Fruitcake Cookies with Mini Chocolate Chips
Print Recipe
Fruitcake in a cookie with the added yumminess of chocolate chips. These cookies are chewy with fruit and nuts in every bite, oh, and did I mention the chocolate?.
Servings
6 Dozen
Servings
6 Dozen
Ingredients
Servings: Dozen
Instructions
  1. Heat oven to 325 degrees. Whisk flour, soda, salt, and spices together in a medium bowl.
  2. Beat butter and sugars until fluffy. Add the eggs and extracts and continue to beat until well combined. Mix in the flour. Add the cherries, nuts, and candied fruit. Continue to mix until all the frui, nuts, and chocolate are evenly dstributed.
  3. Use a small cookie scoop to arrange dough on parchment lined baking sheets about 2 inches apart. Bake until edges are just beginning to brown, approximately 12 minutes. Let set on baking sheets for 1 minute before removing to racks to cool.
  4. Store airtight for up to 1 week.
Share this Recipe
Powered byWP Ultimate Recipe


These chocolate mint cookies look a little like “slush balls”.

Chocolate Mint Snowballs
Print Recipe
Minty, chocolatey, crackle top cookies.
Servings
3 Dozen
Servings
3 Dozen
Chocolate Mint Snowballs
Print Recipe
Minty, chocolatey, crackle top cookies.
Servings
3 Dozen
Servings
3 Dozen
Ingredients
Servings: Dozen
Instructions
  1. Whisk flour, baking powder, and salt. in a small bowl. Melt one cup of the mint chips over hot water, stirring occasionally.
  2. Beat butter and sugar in a medium bowl until fluffy. Add the melted chips and vanilla. Stir to combine. beat in the eggs then beat in the flour. Stir in the rest of the mint chips. Gather dough into a ball, wrap in plastic , and chill until very firm.
  3. Preheat oven to 350 degrees. Shape the dough into 1 inch balls. Roll thickly in confectioners sugar. Place approximately 2 inches apart on parchment lined cookie sheet.
  4. Bake 10 - 12 minutes until the tops appear cracked. Let sit on cookie sheet for 5 minutes, then move to wire racks to cool completely. Store airtight up to one week.
Share this Recipe
Powered byWP Ultimate Recipe


These are possibly the original Toll House Cookie. This is the recipe my mother used.

Toll House Cookies
Print Recipe
Servings
6 Dozen
Servings
6 Dozen
Toll House Cookies
Print Recipe
Servings
6 Dozen
Servings
6 Dozen
Ingredients
Servings: Dozen
Instructions
  1. Heat oven to 350 degrees. Cream butter and sugars together until light and fluffy. Add the eggs and vanilla and beat to combine well.
  2. Dissolve the baking soda in the hot water. Add to egg and sugar mixture and mix. Add the flour and stir until well combined.Stir in the nuts and chocolate chips until evenly combined.
  3. Using a small cookie scoop, place dough on parchment lined baking sheets. about 2 inches apart. Bake for 10 - 12 minutes. Allow to cool on pan for 5 minutes. Transfer to a wire rack to cool completely. Store airtight for up to 1 week.
Share this Recipe
Powered byWP Ultimate Recipe


This is a moist and not too sweet quick bread. Use any apple that you like.

Apple Cranberry Bread
Print Recipe
This loaf is moist and delicious. If you use mini loaf pans you'll get six or so.
Servings
1 Loaf
Servings
1 Loaf
Apple Cranberry Bread
Print Recipe
This loaf is moist and delicious. If you use mini loaf pans you'll get six or so.
Servings
1 Loaf
Servings
1 Loaf
Ingredients
Servings: Loaf
Instructions
  1. Heat oven to 350 degrees. Spray one 9X5 or six Mini Loaf Pans with cooking spray. Mix the flour, cinnamon, baking powder & soda, and salt in a large bowl.
  2. Put the sugar, oil, sour cream, and eggs in a medium bowl. Mix at high speed of mixer for 2 minutes until the mixture is smooth and creamy.
  3. Pour the egg mixture into the flour mixture and stir until just moistened.. Stir in apples. Drain the cranberries and add them to the batter stirring them in gently.
  4. Pour into prepared pan(s). Bake approximately 60 minutes for large pan or approximately 30 minutes for minis. A toothpick should come out clean but moist. Cool in pan on a wire rack for 10 minutes. Remove from pan and cool completely.
  5. Store in plastic zip lock bags in refrierator for up to 5 days. The loaves can be frozen in freezer bags for up to one month.
Share this Recipe
Powered byWP Ultimate Recipe


There are six recipes that I “borrowed” and I’ll be sharing them in my next post.

I hope your holidays are joyous and full of love….Mama D