 Pizza and I go back a long way. I remember the pizza my aunt made. It was thick and chewy, baked on a rectangular sheet pan. She would cut it into what seemed like giant squares with scissors. It was lightly topped with tomatoes, cheese and the occasional anchovy. It was heaven. One can’t live in Chicago without experiencing the Pizza at Gino’s or Due’s. The buttery crust baked in a pan, with cheese on the bottom smothered in sausage and sauce is memorable. Then there were the Friday nights I spent with my own sons. The family feasting on a pizza before we gathered around the TV to watch Full House and Family Matters.
Now I have a slightly different relationship with pizza. It’s a occasional indulgence in carbs and cholesterol that satisfies like nothing else. Still there are times when assorted toppings presented on a baked crust come out of Mama D’s Kitchen.
The tale of these two pizzas starts with a bag of fresh whole wheat pizza dough from Trader Joe’s. I must say that this is the best store-bought crust I’ve ever had. It is however, a lot of dough for two people, and therein lies the birth of two pizzas.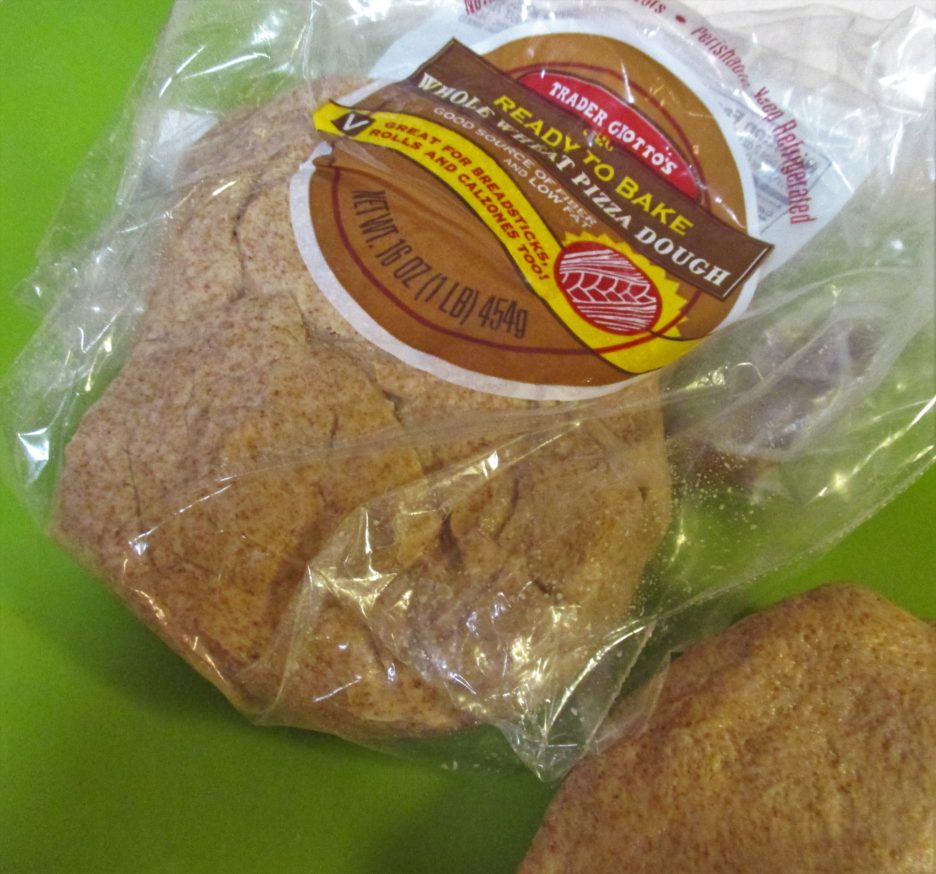
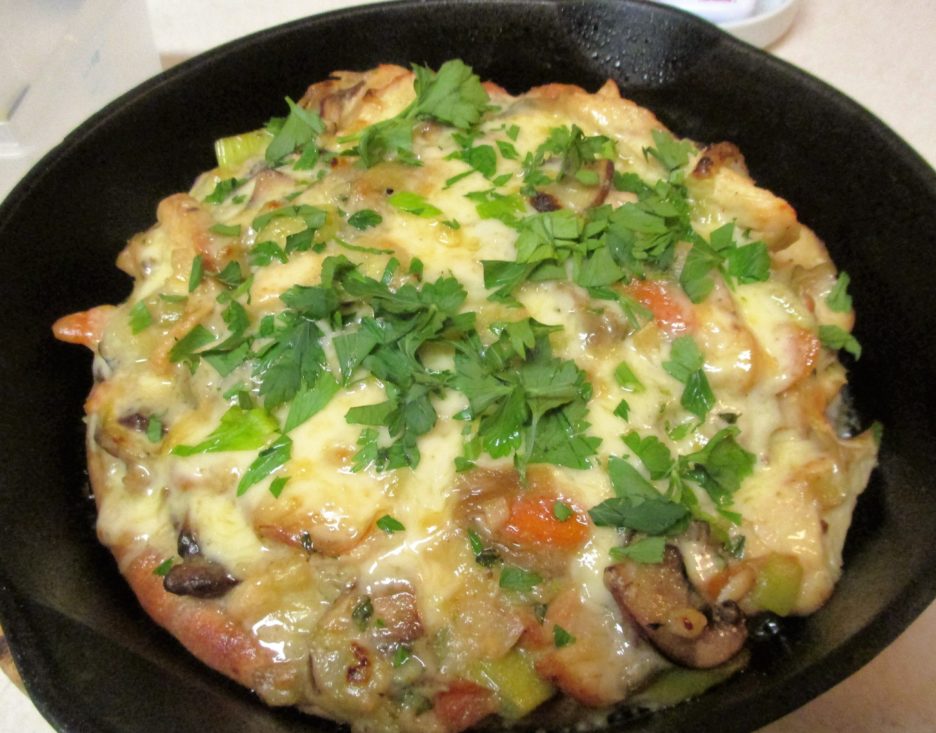
The first pizza, I’ve named Chicken Pot Pizza. It is similar to the filling that I usually make for my Chicken/Turkey Pot Pie with only a few changes (mainly less gravy). It baked in a small cast iron skillet that was the perfect size to serve 2.
 I like Leeks, Artichoke Hearts, and Crimini Mushrooms in my filling, along with a few Carrots and plenty of Thyme. I had some grilled chicken breast on hand, but you could use the rotisserie variety as well. What is pizza with out cheese. For this pie I used some Smoked Gouda, but again, use whatever you think would be wonderful. This pie stacked up a bit more like lasagna than pizza and would definitely be in the “deep dish” category.
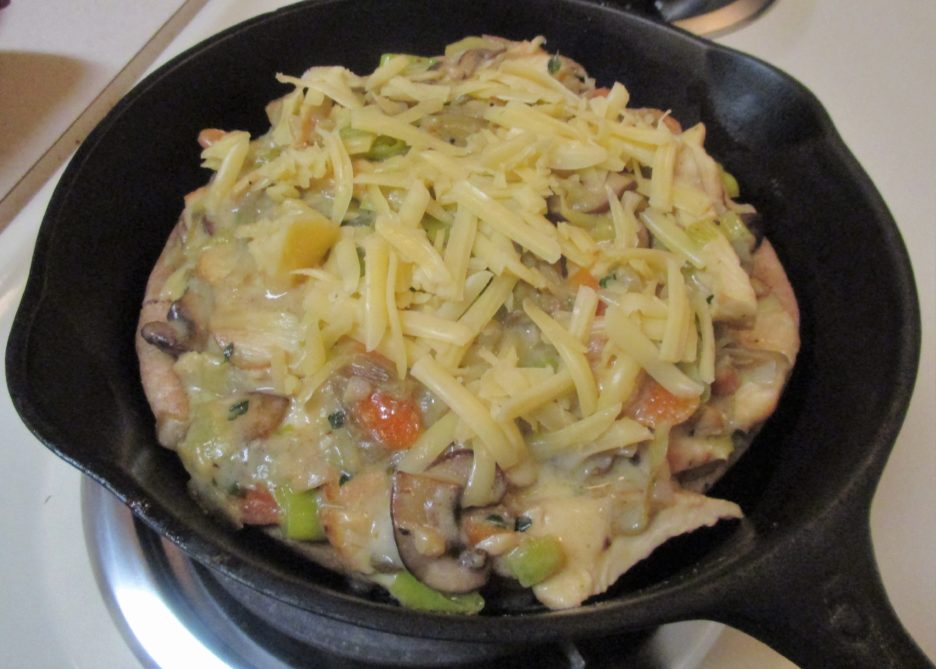
Once baked, it was a marvel of flavor and texture. This (and its inevitable variations) will become a feature in the Kitchen of Love.
Instructions
Place a 8" cast iron skillet in the oven. Heat the oven to 450 degrees. Leave the skillet in the oven while you prepare the filling.
Heat a medium skillet over medium high heat. Add the olive oil and swirl to coat the bottom of the skillet.
Add the vegetables to the pan and cook until they are soft and fragrant. This should take 7 -8 minutes or so. Remove the vegetables from the pan and set aside.
Melt the butter in the same skillet. Add the flour and cook and stir for several minutes to create a smooth roux.
Add the milk and stock and whisk constantly. Add the thyme leaves and bring to a boil. Reduce the heat and simmer until the sauce has thickened, stirring often.
Add the reserved vegetables and the chicken to the pan and continue to cook until everything is nice and thick.
Flatten the pizza dough out to a circle slightly larger than the bottom of the cast iron skillet.
Remove the cast iron skillet from the oven and carefully fit the crust into the bottom of the skillet. Return the skillet to the oven to bake the crust slightly. (4-5 minutes )
Remove the skillet from the oven and layer the grated cheese and chicken/vegetable mixture on the crust. Starting and ending with cheese.
Bake 10 -15 minutes or until the cheese has melted and everything is bubbly. Let sit for 10 minutes before serving. Sprinkle with parsley and cut into wedges.
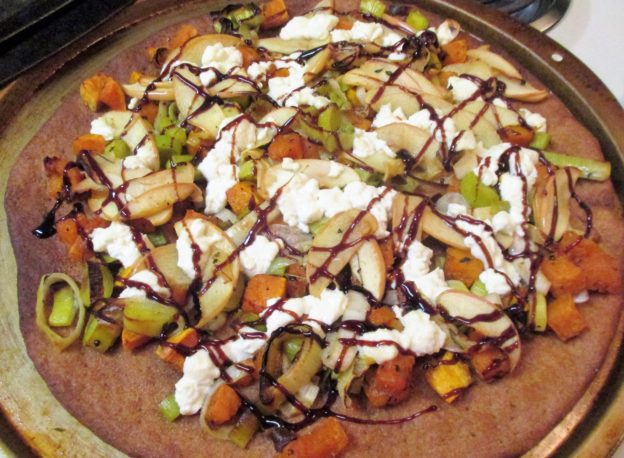
The second pizza was born of some leftover ingredients from the first pie. I already mentioned the dough I had left, but I still had another Leek that was ready to be part of something else wonderful. It joined in a perfect Autumnal match up with Butternut Squash and Gala Apples. Rosemary and Thyme provided the herbaceous background. Everything was roasted to intensify the flavors and add a bit of “fall color.”
I opted to create a “thin crust” pie this time. A bit of olive oil and pre-baking on my trusty pizza stone created a light and crispy crust. All that was needed now was the cheese factor. I used Goat Cheese that I added a bit of honey to. While the combination was far from traditional, it was extremely tasty.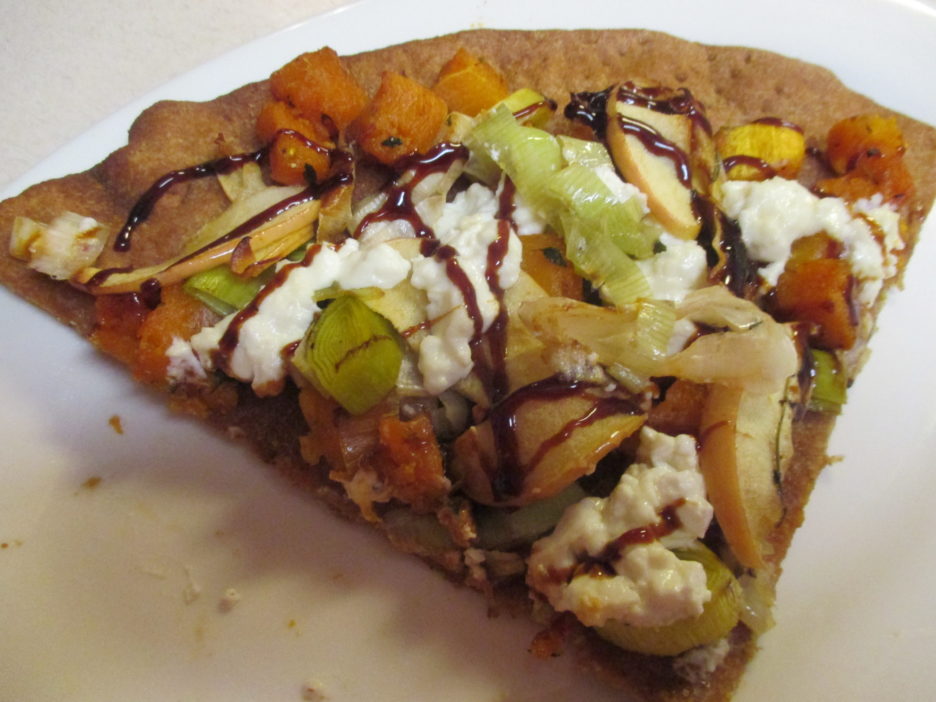
Butternut Squash, Leek, and Apple Pizza
|
|
|
Butternut Squash, Leek, and Apple Pizza
|
Instructions
Combine the squash, leek and apple slices in a large bowl. Drizzle with the olive oil and toss until everything is nicely coated.
Spread the mixture in a single layer on two rimmed baking sheets that have been lined with parchment paper. Place the herb sprigs on top of each pan.
Roast in a preheated 375 degree oven for 15 - 20 minutes or until everything is tender and beginning to turn golden.
Raise oven heat to 425 degrees. If you are using a pizza stone, place it in the center of the oven.
Stretch and roll the crust into a circle slightly larger than your pizza pan. Spray the pan generously with the non-stick spray.
Place the crust on the prepared pan and gently stretch into shape. Pierce the crust all over with a fork and bake in the oven (on the pizza stone if you are using it) for 6-8 minutes.
Allow the goat cheese to soften slightly. Fold the honey into the cheese.
Remove the crust from the oven. Top with the vegetable and apple mixture. Drop the cheese by teaspoonfuls evenly over the vegetables.
Return to the oven and bake 6 - 8 minutes until the cheese is melted and lightly golden. Drizzle with balsamic glaze and serve cut in wedges.
So, it took a bit of time to get this post out there. Life isn’t too complicated, it just seems to be taking more time lately. Since it’s been a while, I’ve tried to give you as much bang for the buck as I could (2 recipes and a link). I hope you try them in your own Autumn kitchen. There have been lots of wonderful things coming out of the Kitchen of Love, hopefully more of them will make it to this site soon.


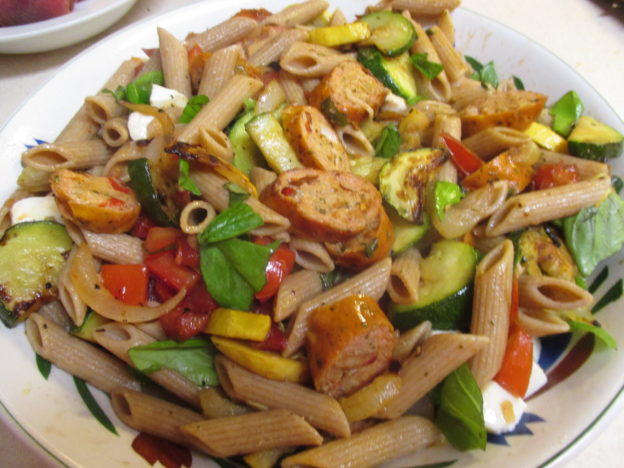

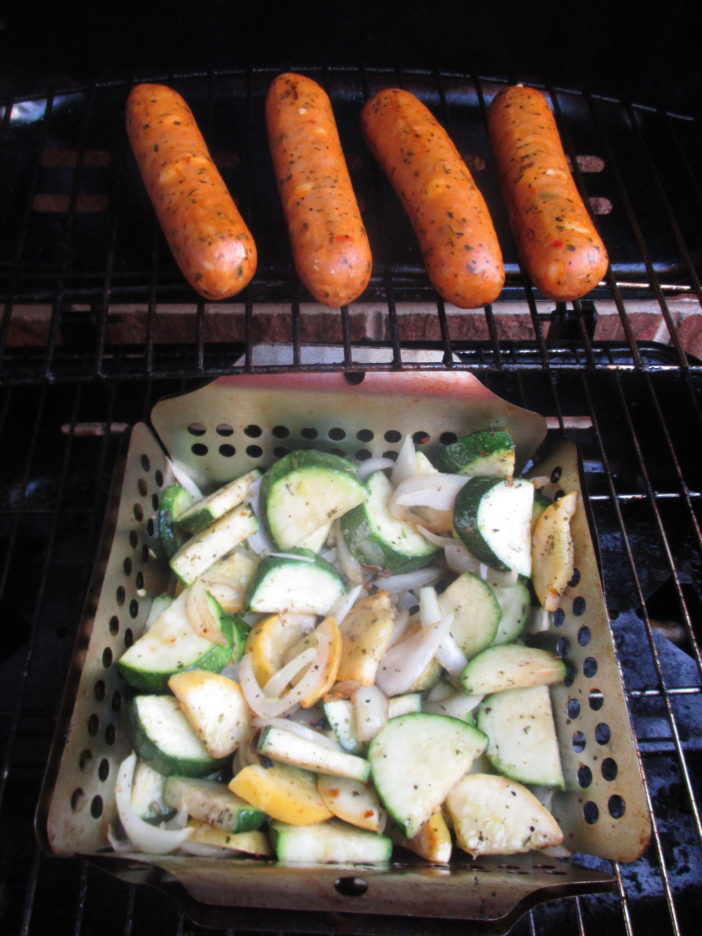


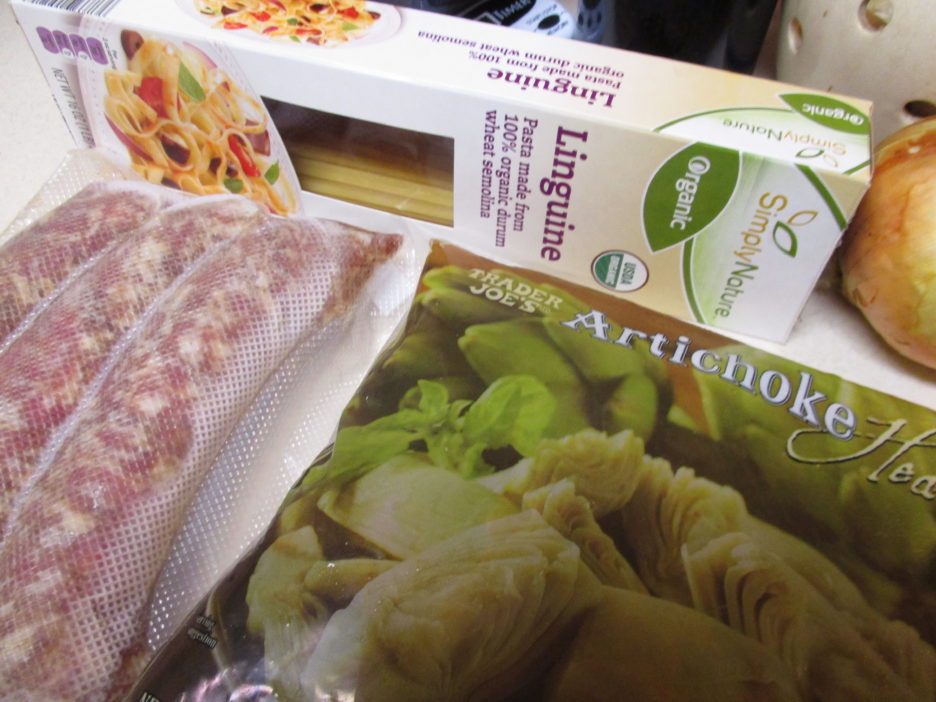
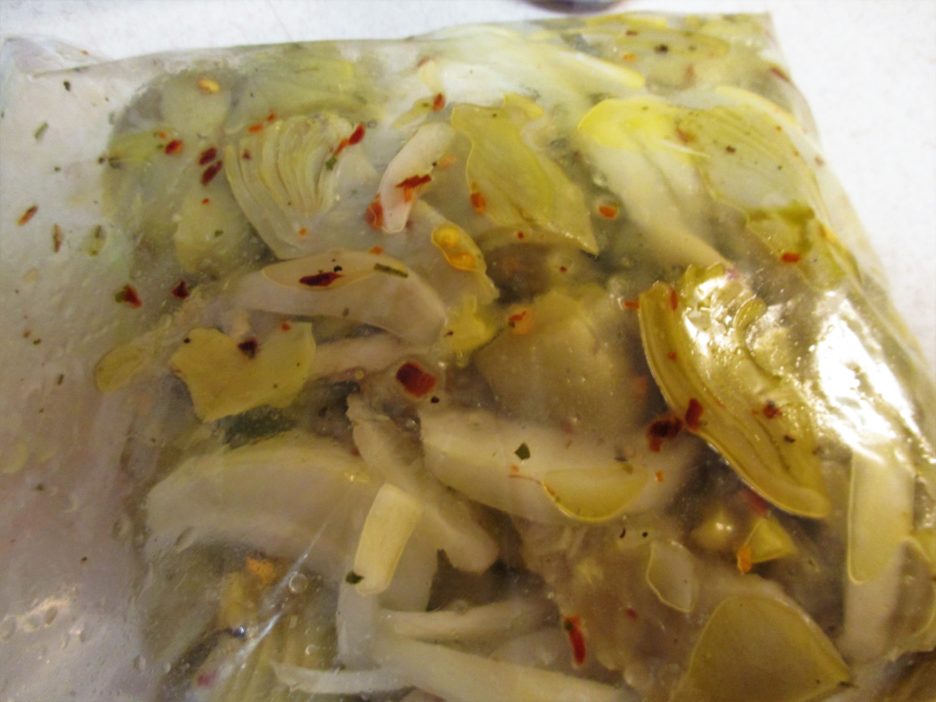
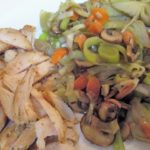
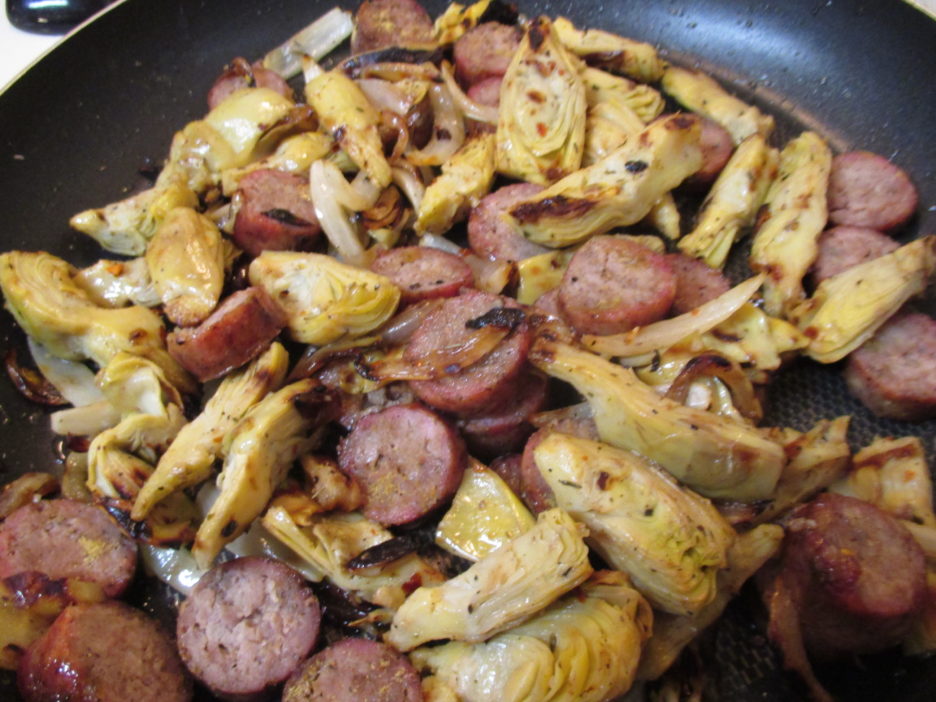
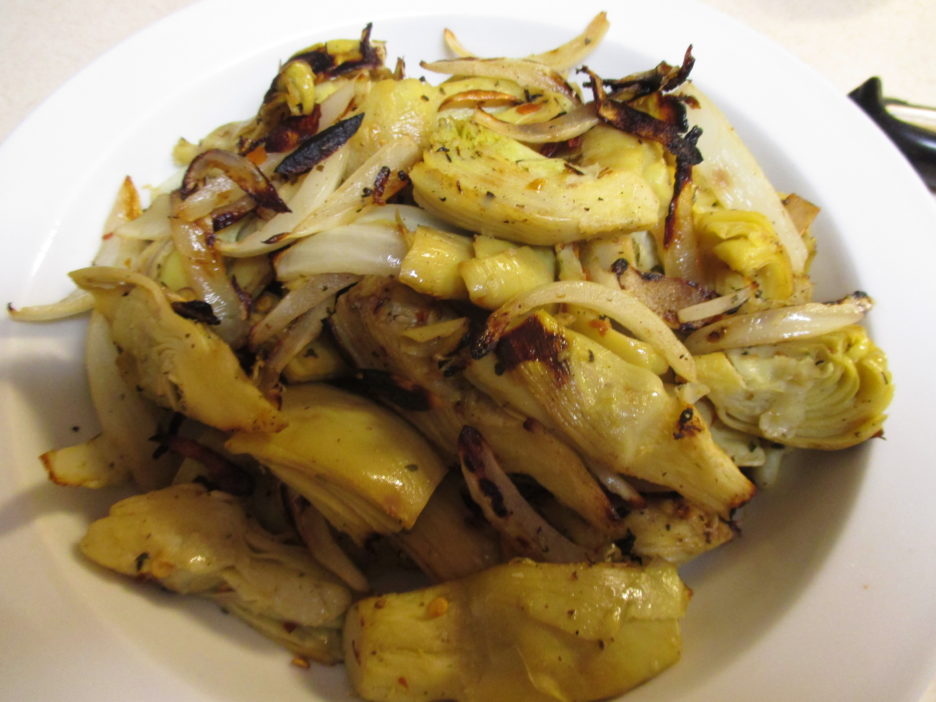 My marinated artichokes became something magical in the grill basket. Lightly charred and completely recognizable they waited for their moment of glory. The sausage also came to life on the grill. They had just the right balance of fat to stay plump and juicy without the aid of a fire extinguisher. Sometimes there is no substitute for quality.
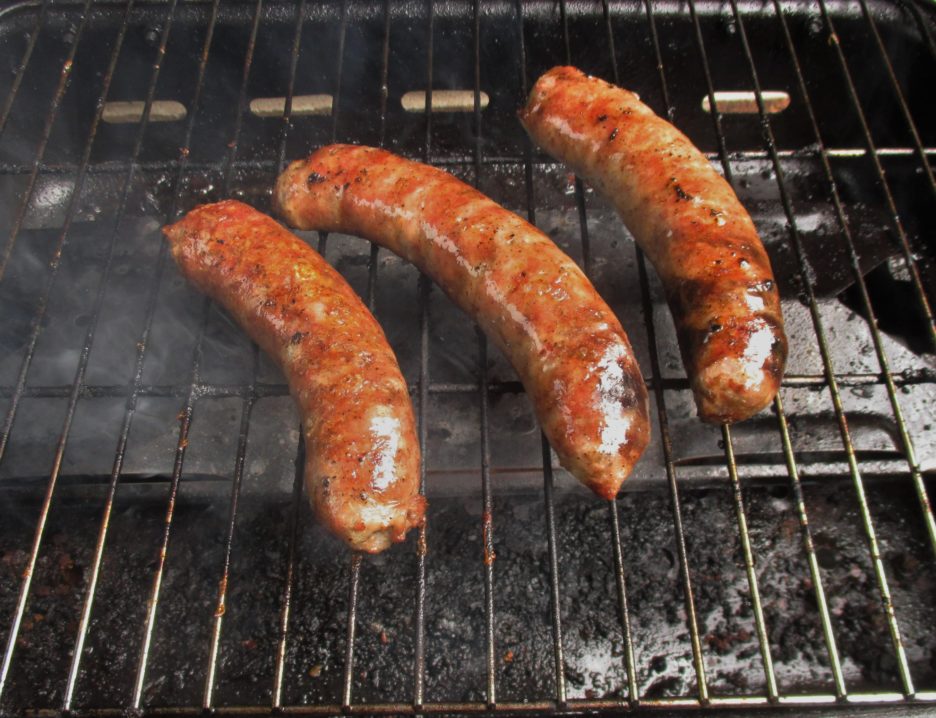
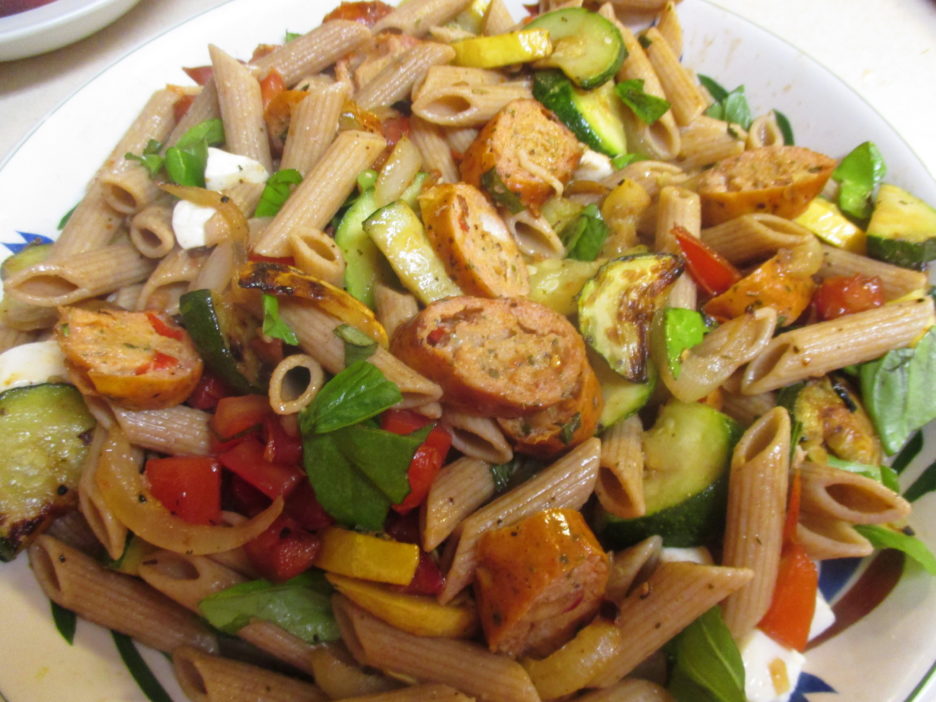
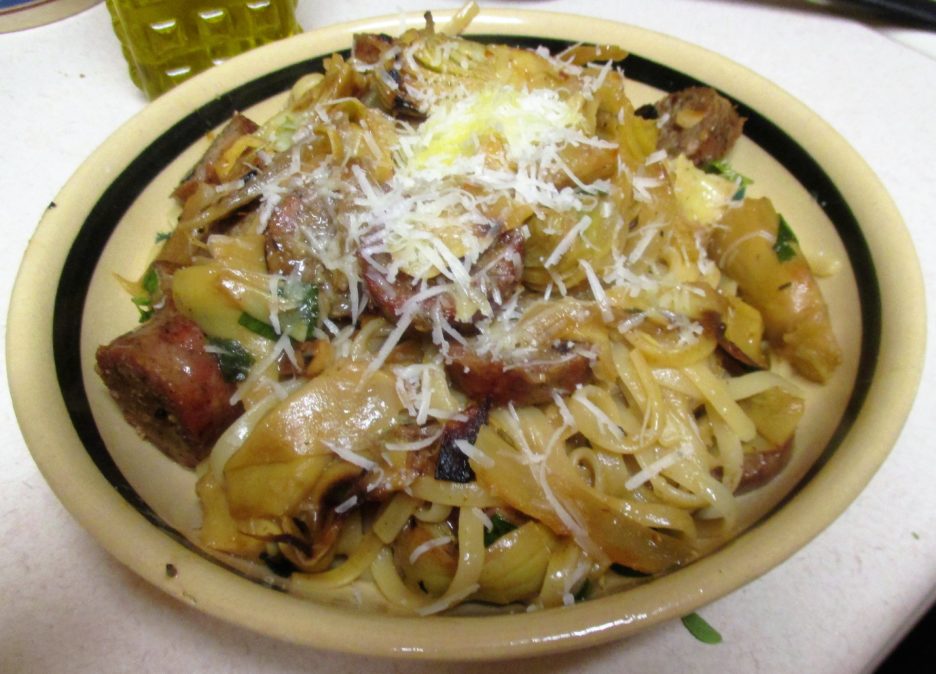
 All that was left to do was add the pasta and some torn fresh basil. Moments later it was ready to grace our bowls.
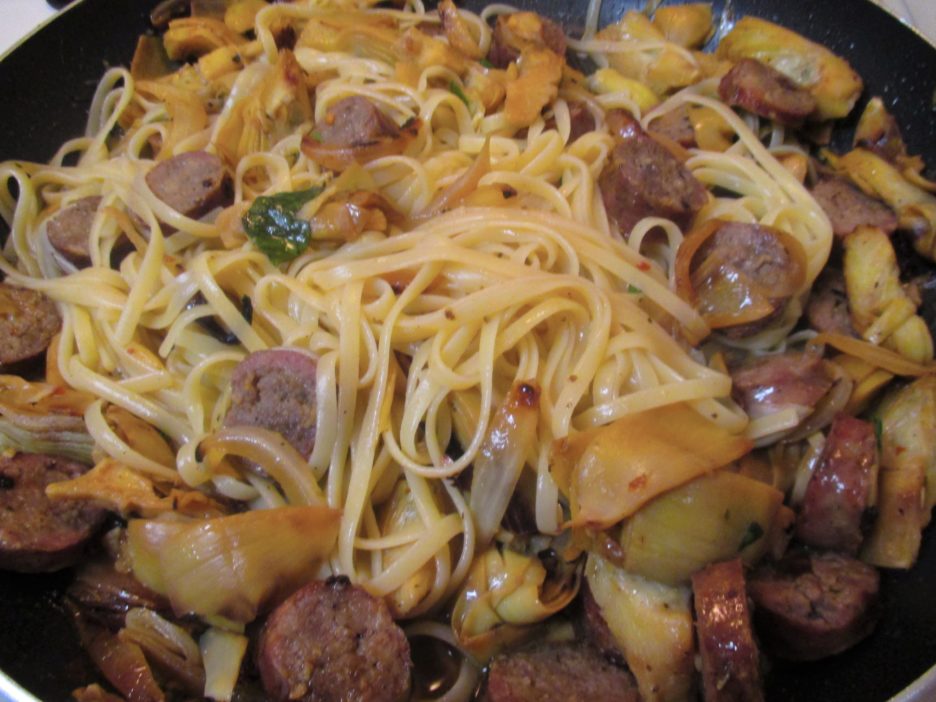


 As with any good fritatta, it is at its best when layers of flavor come together. Mama D’s Trinity (Garlic-Onions-Olive Oil) was joined by the chopped jalapeno. They cooked to golden loveliness before I added the zucchini.
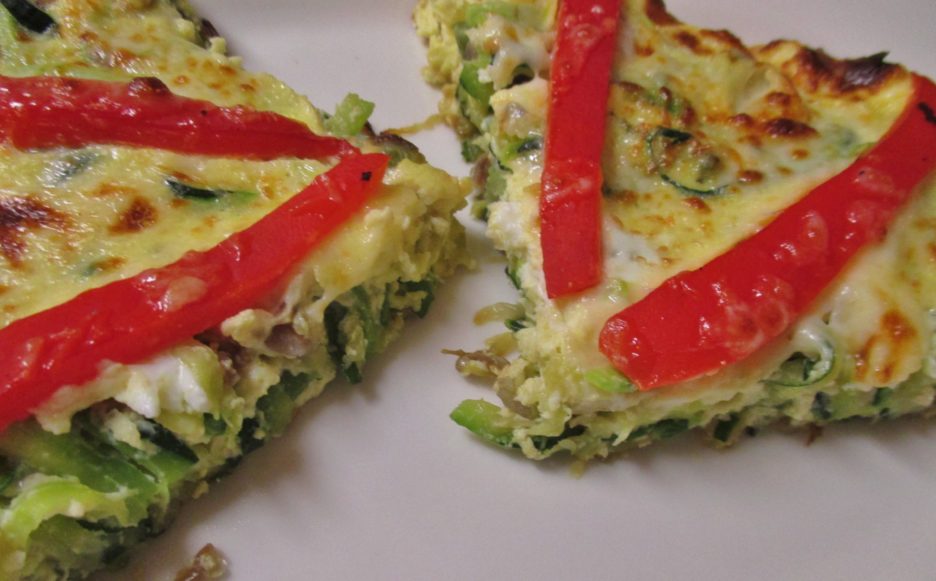
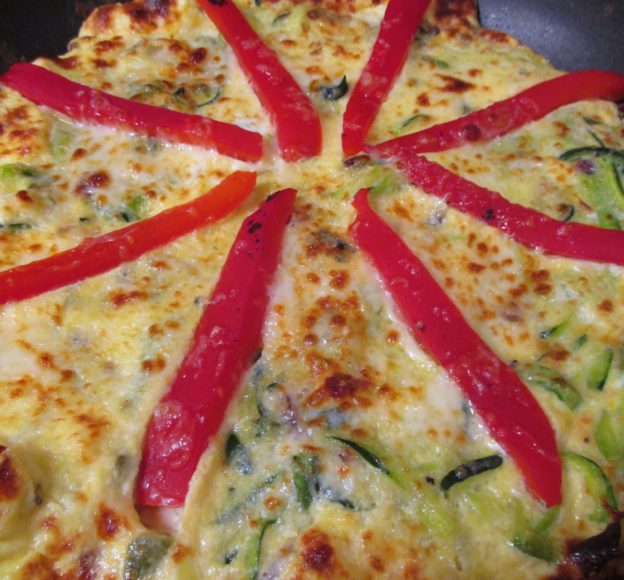
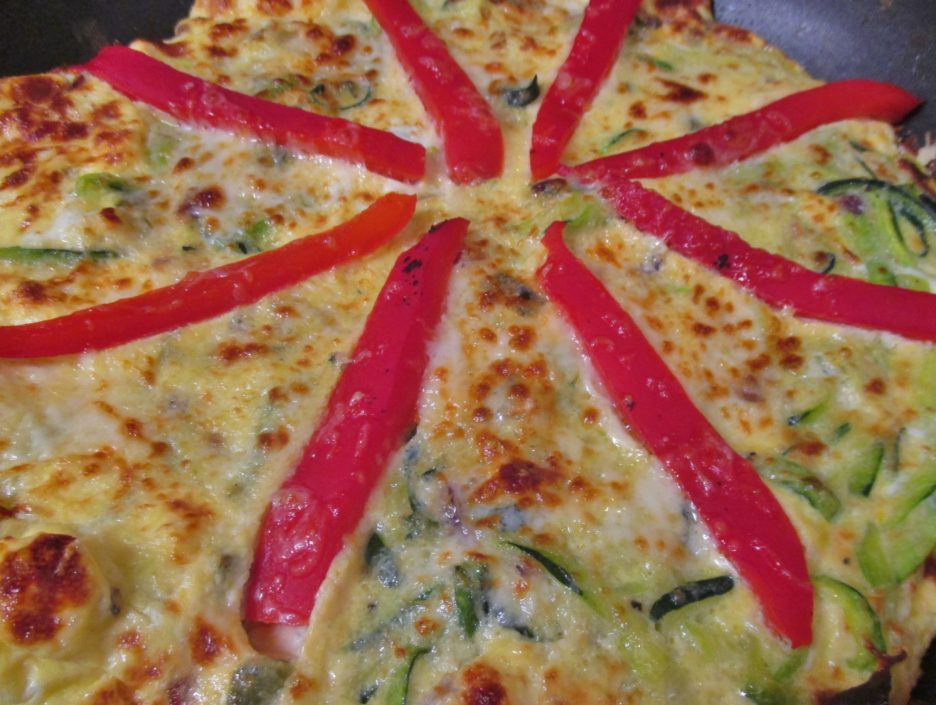
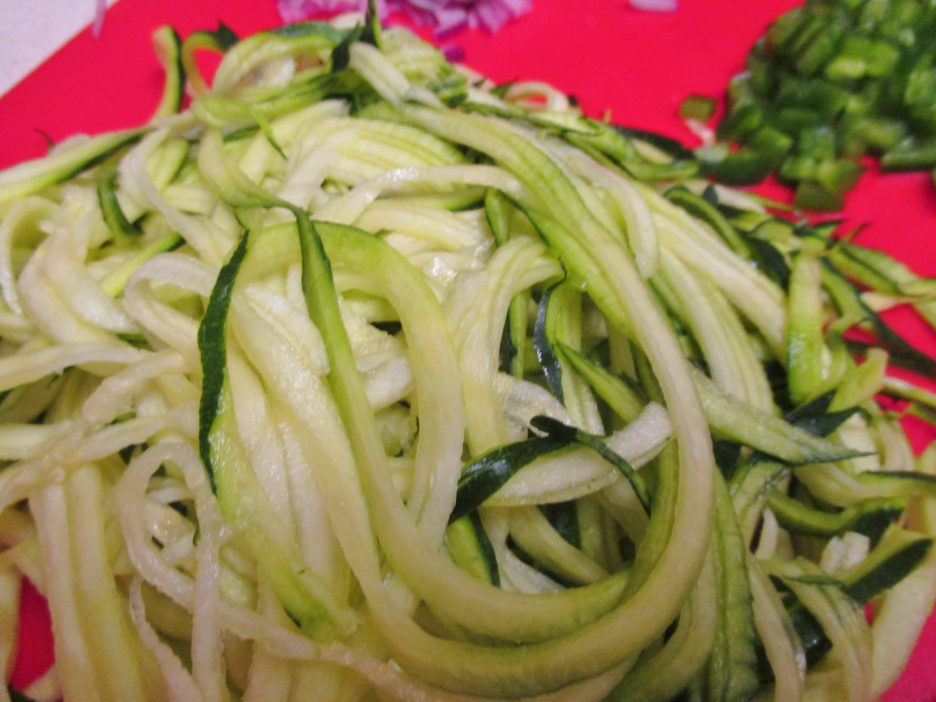
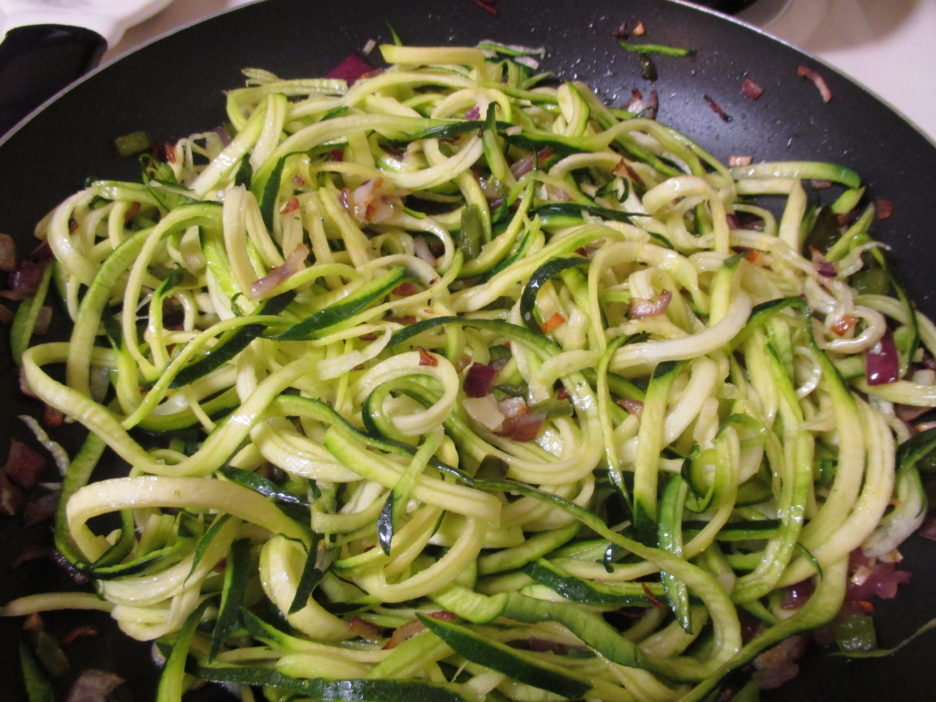 The zucchini took mere minutes to cook to “al dente” creating a bed of veggie delight ready for their egg bath. The eggs were gently cooked to the point of almost being set. everyone has their own technique for cooking a frittata. I’m of the shake, lift, and be patient school. All of this paid off, and the eggs cooked to almost set perfection. As a crowning touch, I added some shredded mozzarella and roasted red pepper strips before dispatching it to the broiler.
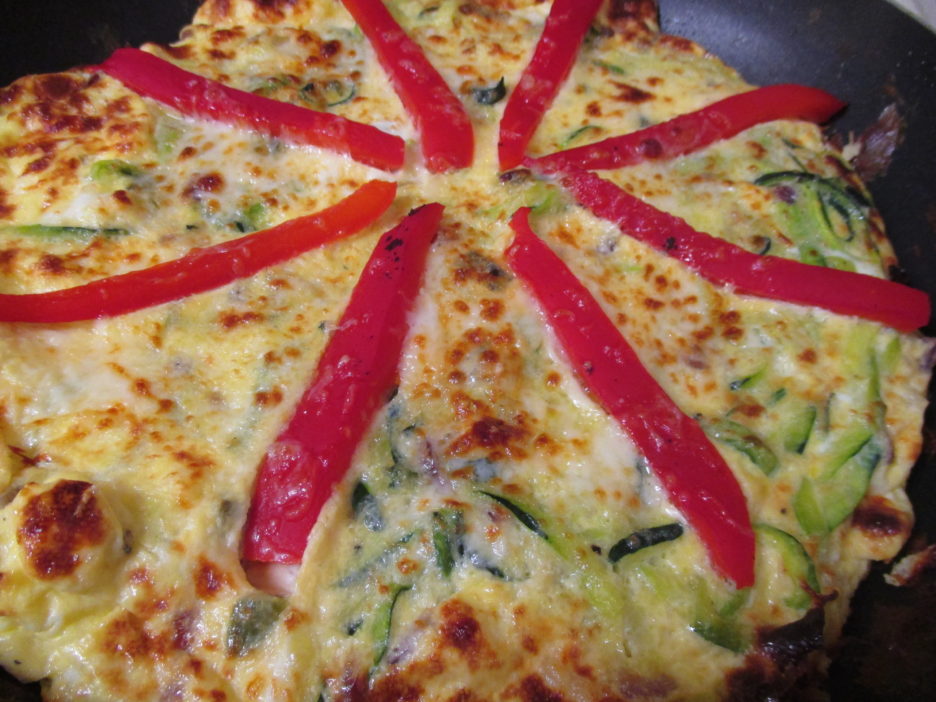 The magic happened and the frittata came out golden and bubbly. This was the perfect size for two (we’re talking Mama D size servings here), but it could easily serve three or maybe four if you added some crusty bread, a nice salad and a killer dessert.