The weather has been beautiful; sunny, warm, with low humidity and occasional rain that really hasn’t interfered with anything but has done wonders for the plants. The grill has been working overtime and I couldn’t be happier about it. In fact, grilled items were part of every dinner this last week. That’s not to say I fired it up everyday, but I did use it for some “light once cook twice…or more” prep.
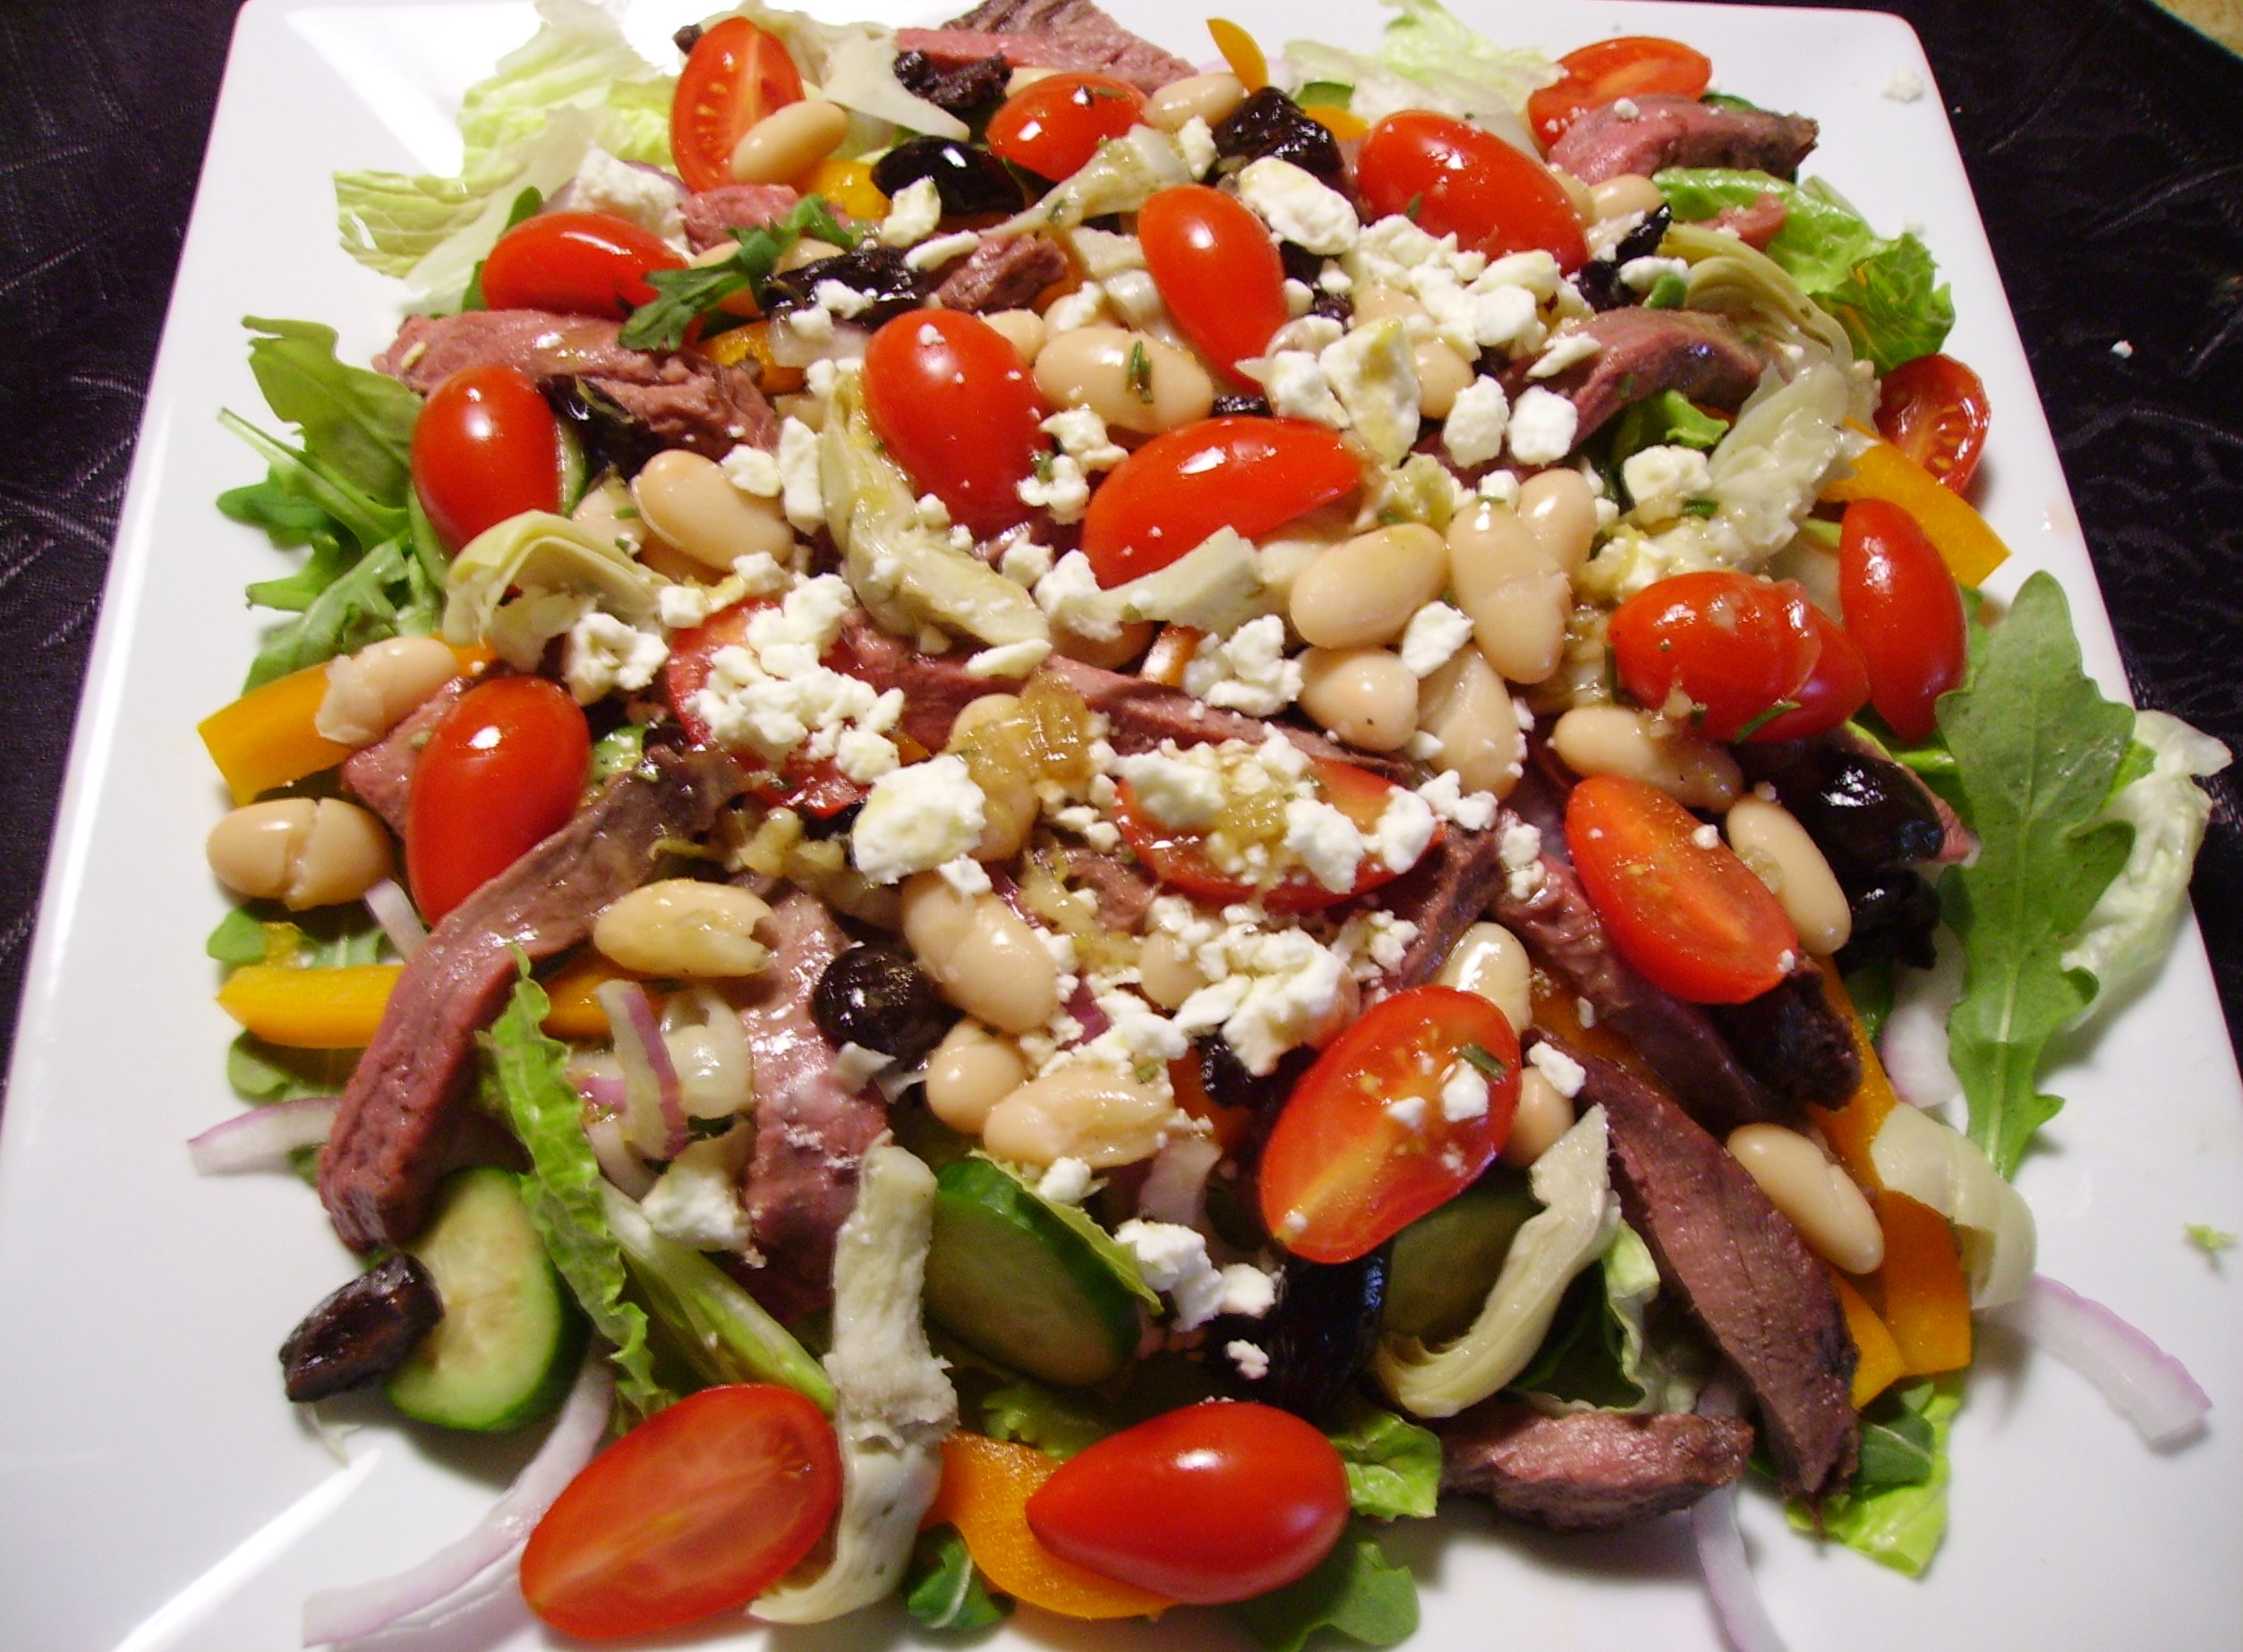
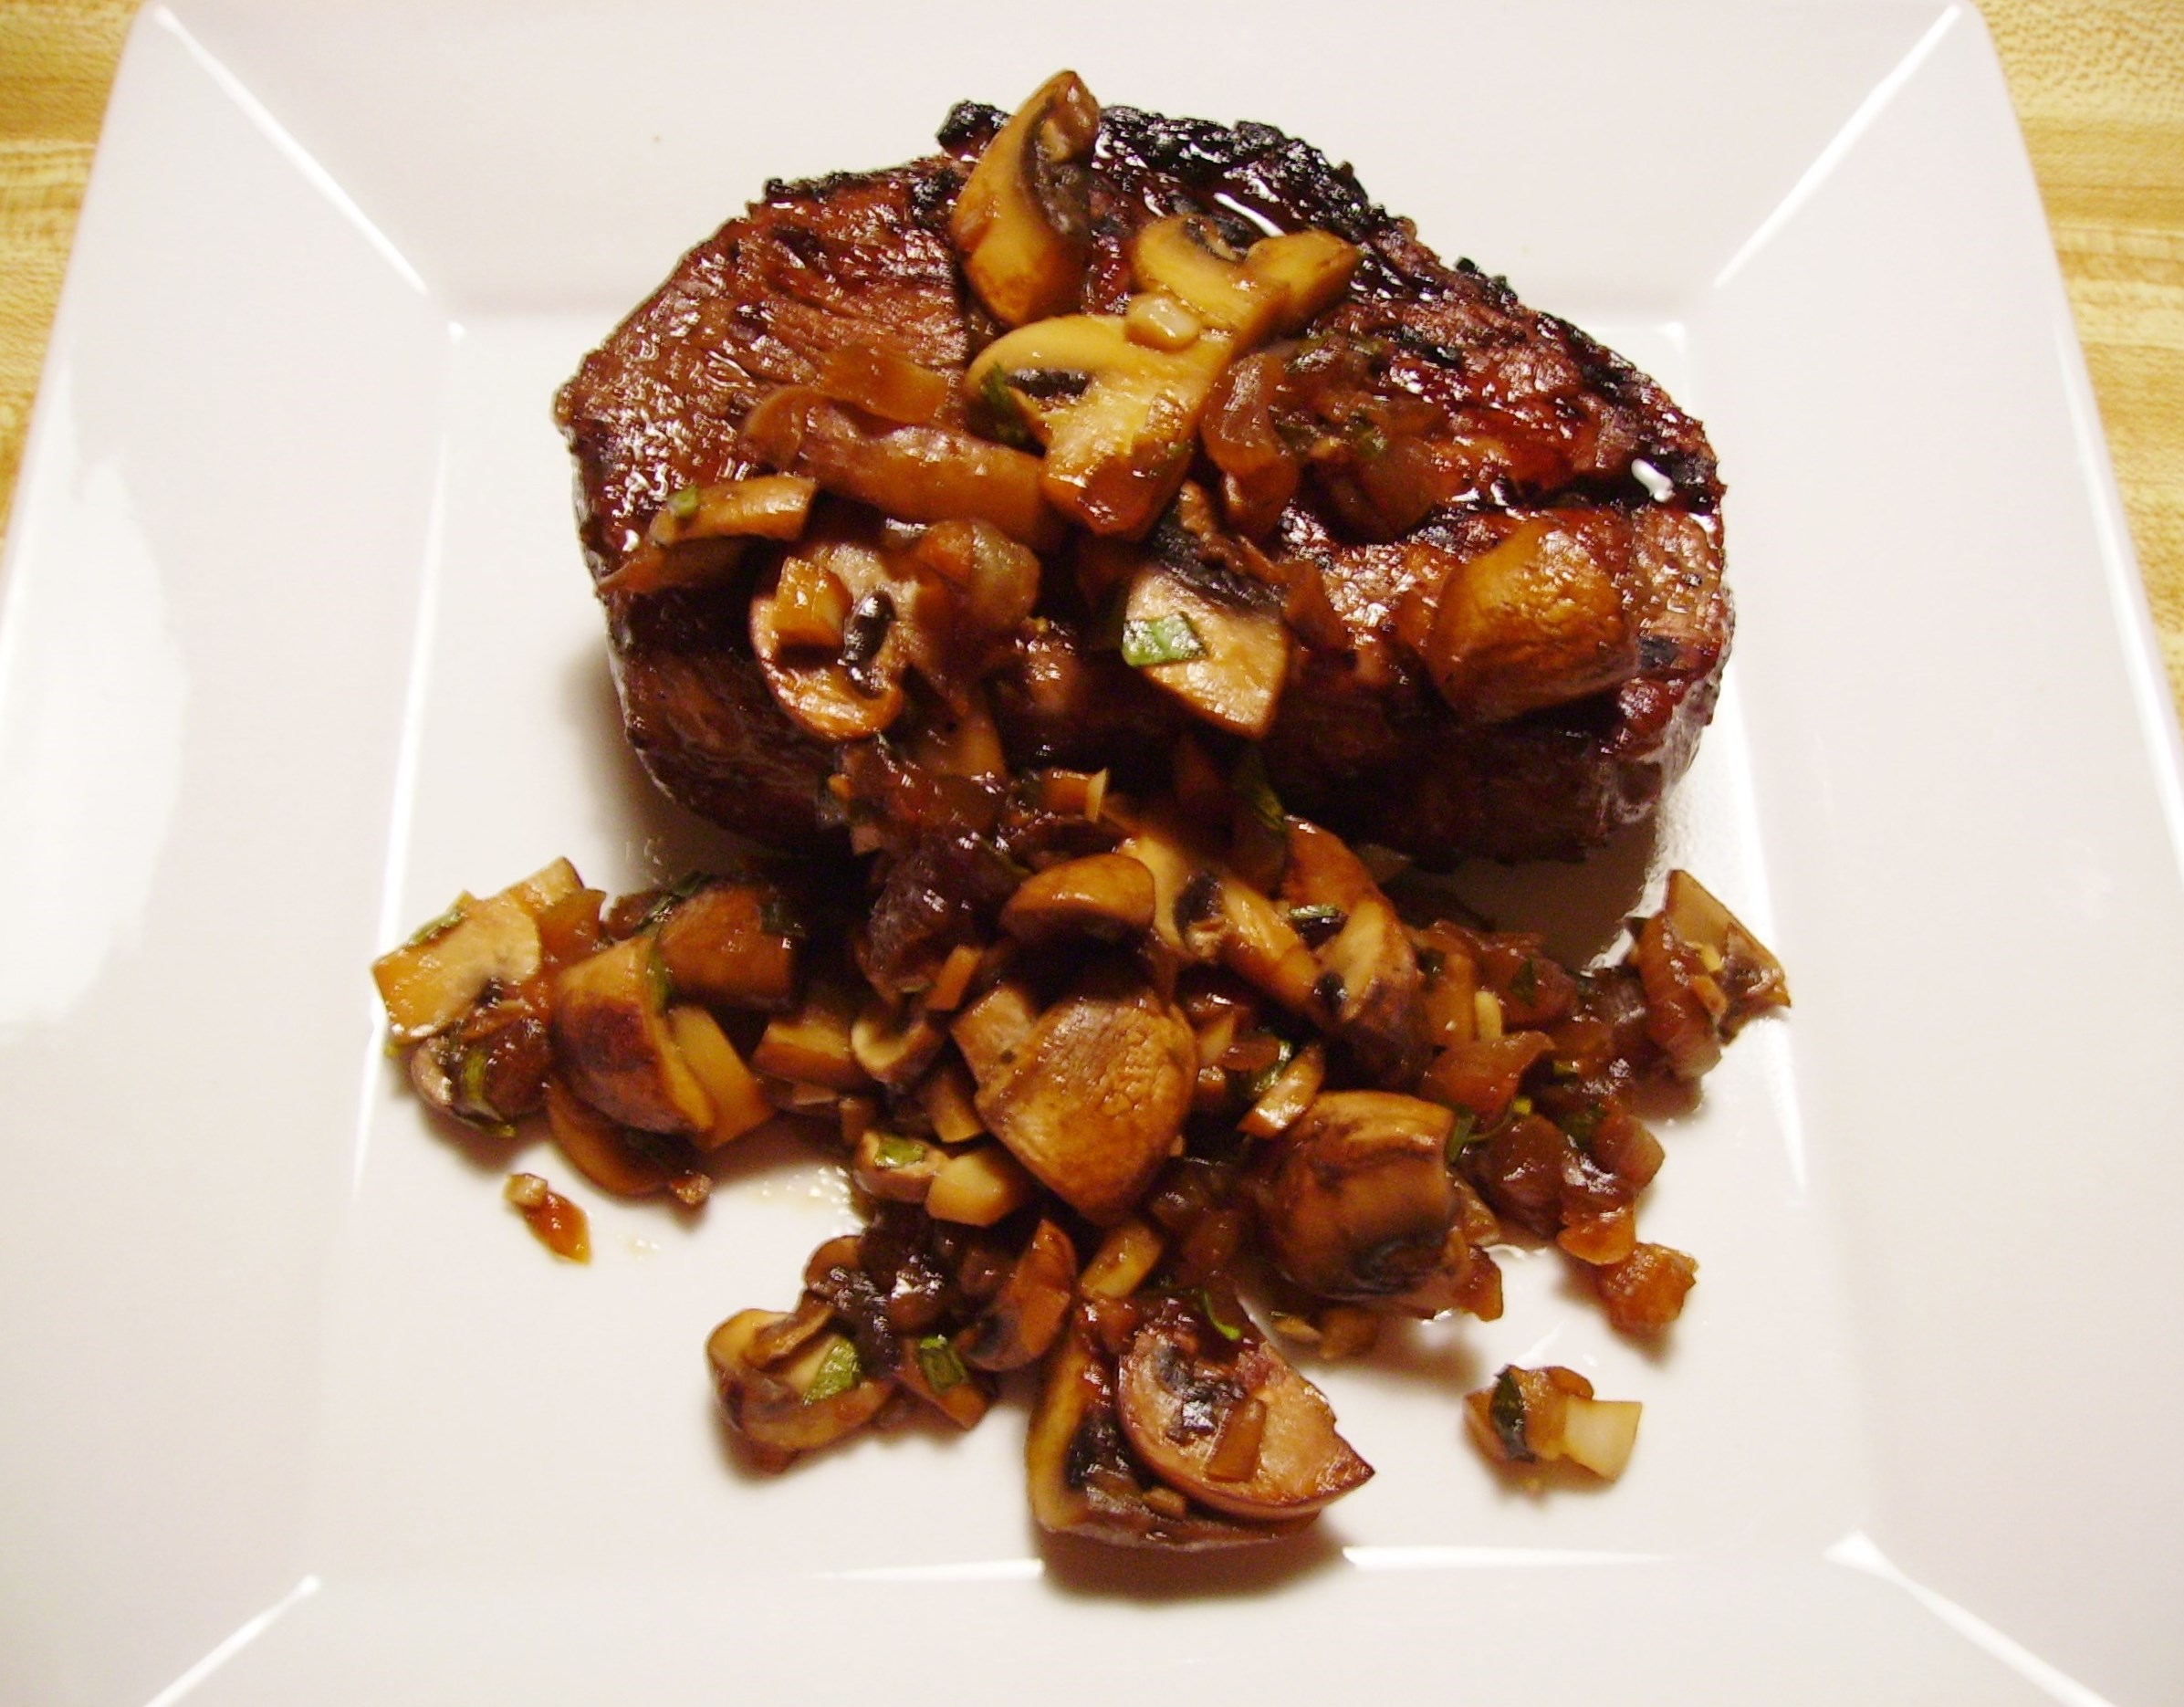
First up was steak. The nice thing about cooking for two with an eye on health is that a little over a half pound of Petite Sirloin doesn’t break the bank, especially when it is on sale. It’s lean and tender and loves the grill.
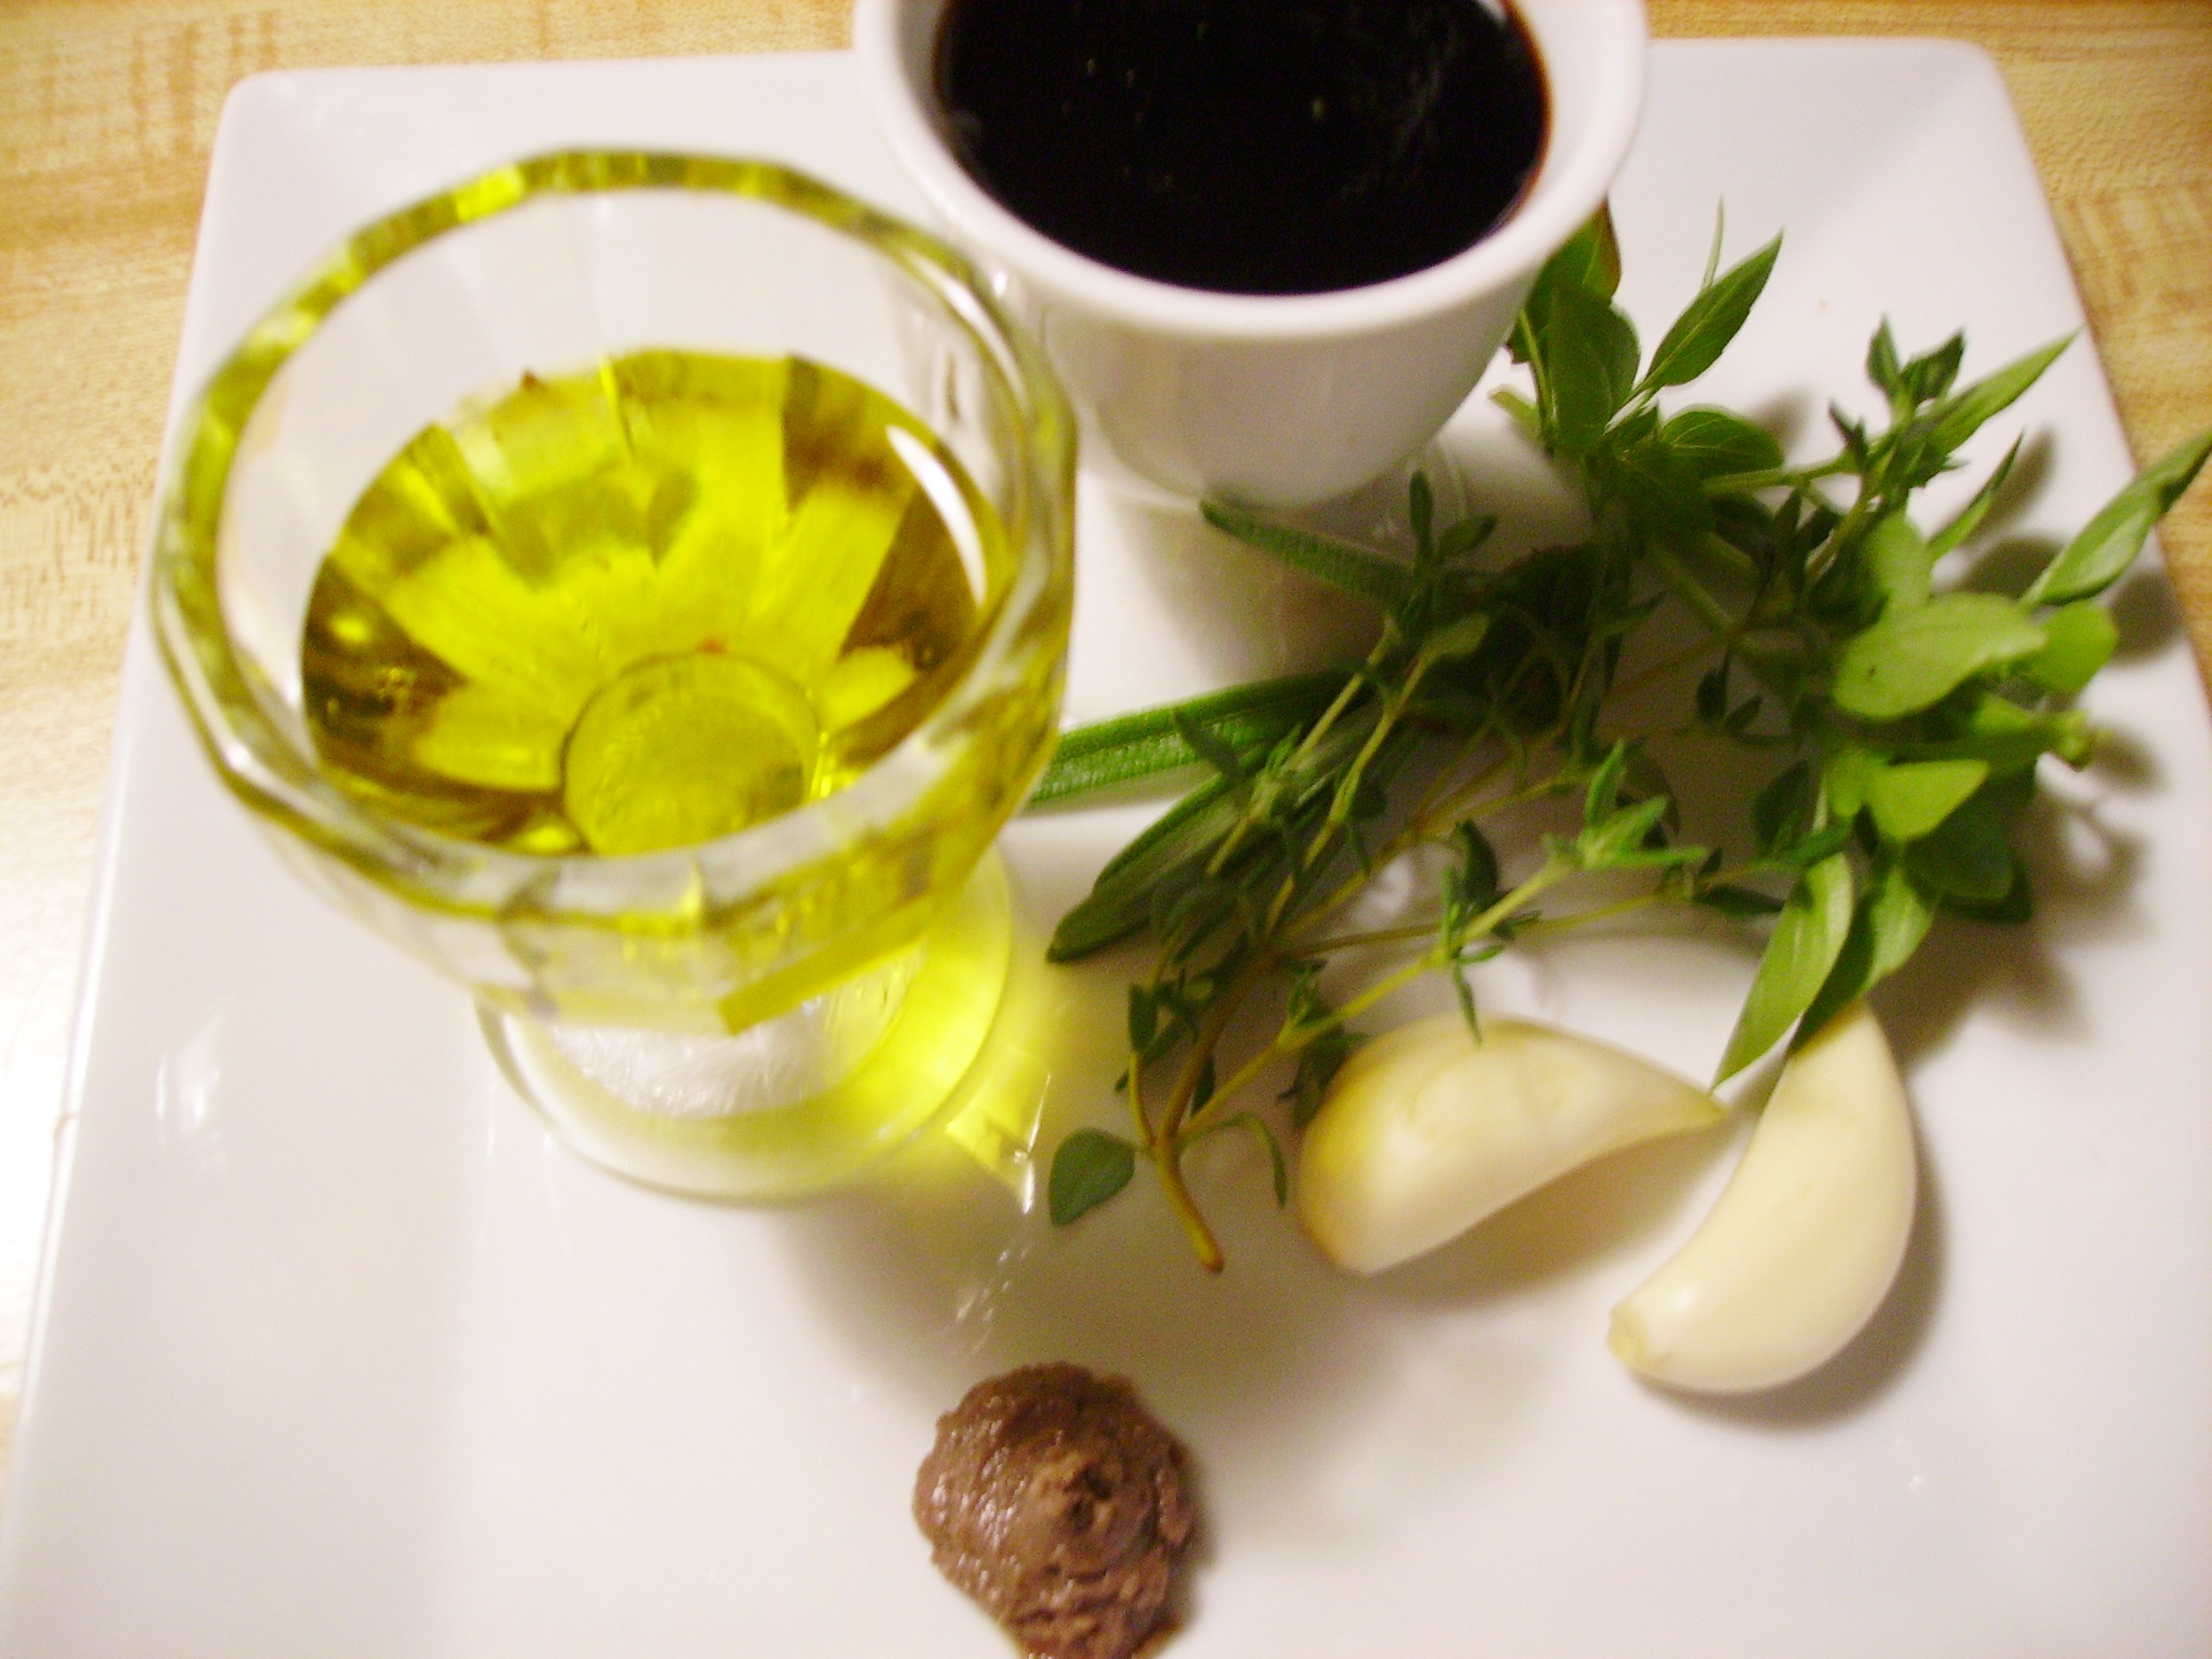
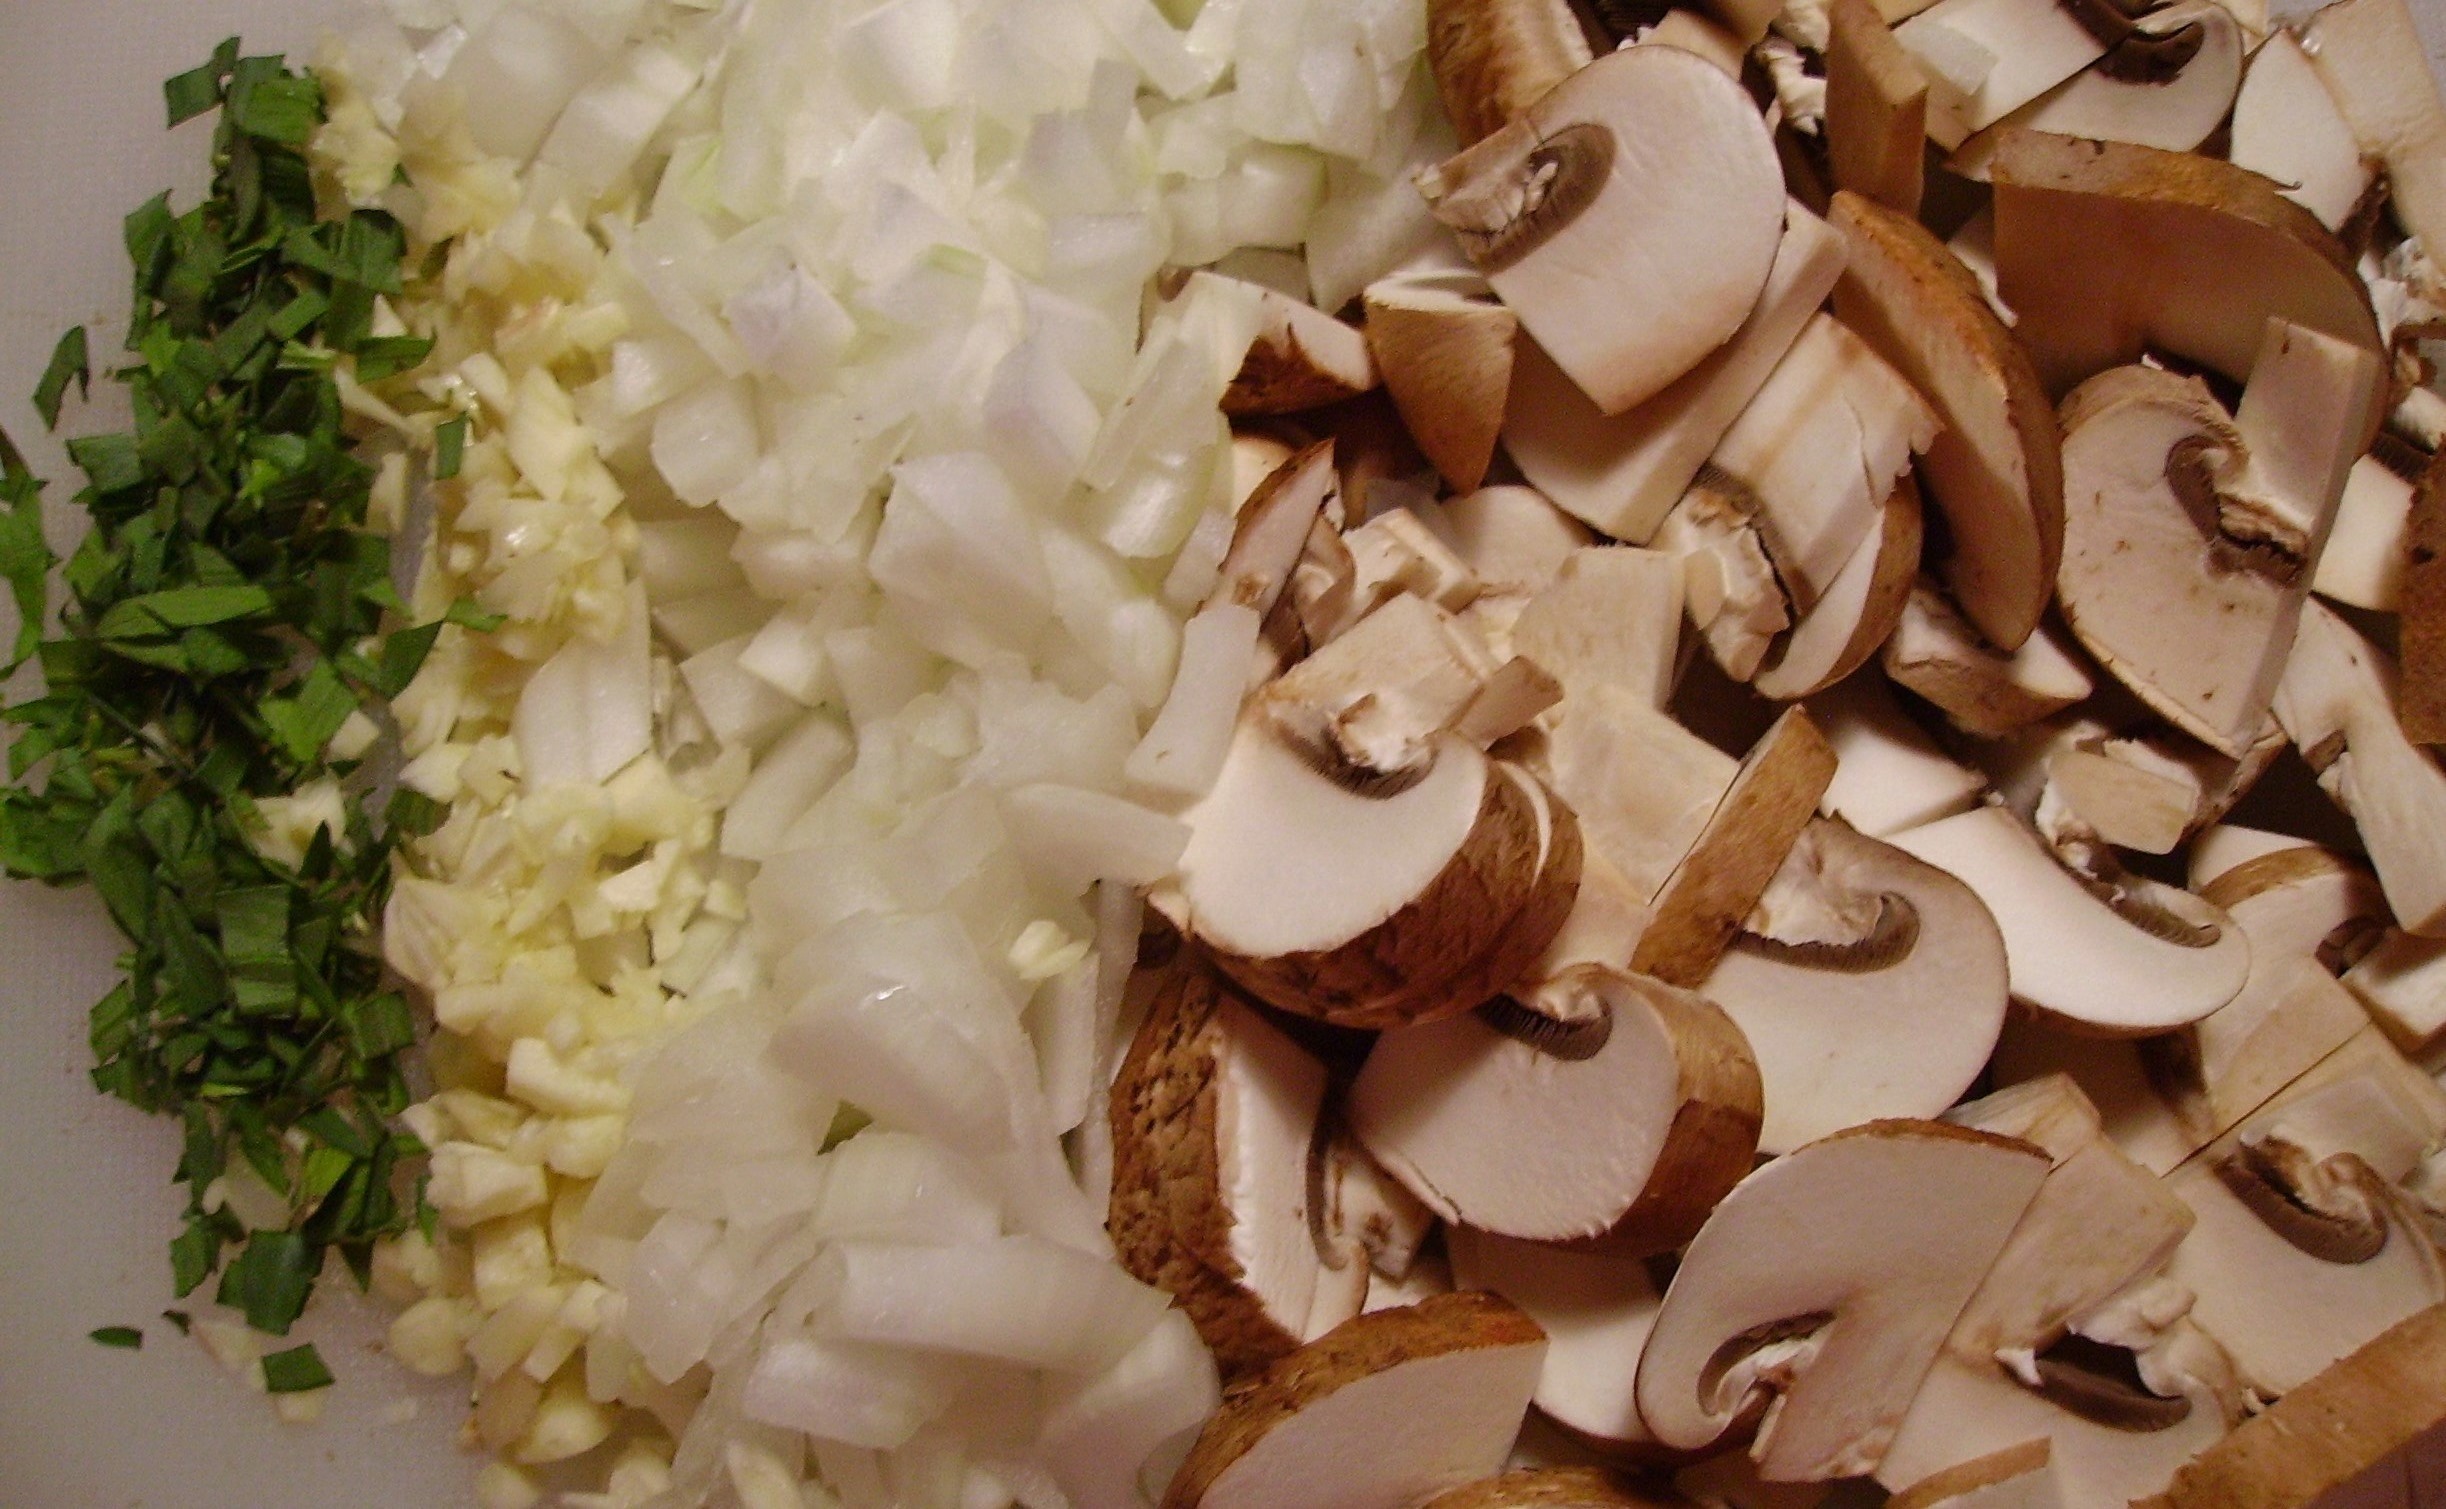
The steak would have been wonderful alone, but we were in the mood for a little sumpin’ 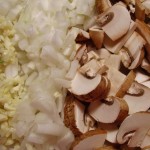 extra. Crimini mushrooms answered the call. Mushrooms have been topping steaks forever and crimini with their hearty flavor are just the right addition. The lovely brown mushrooms were joined by onions and garlic. Cooked in just a touch of olive oil and dressed with Worcestershire sauce and a splash of sherry vinegar it was the perfect counterpoint for the richness of the steak I finished it with some a fresh tarragon to give an added burst of flavor.
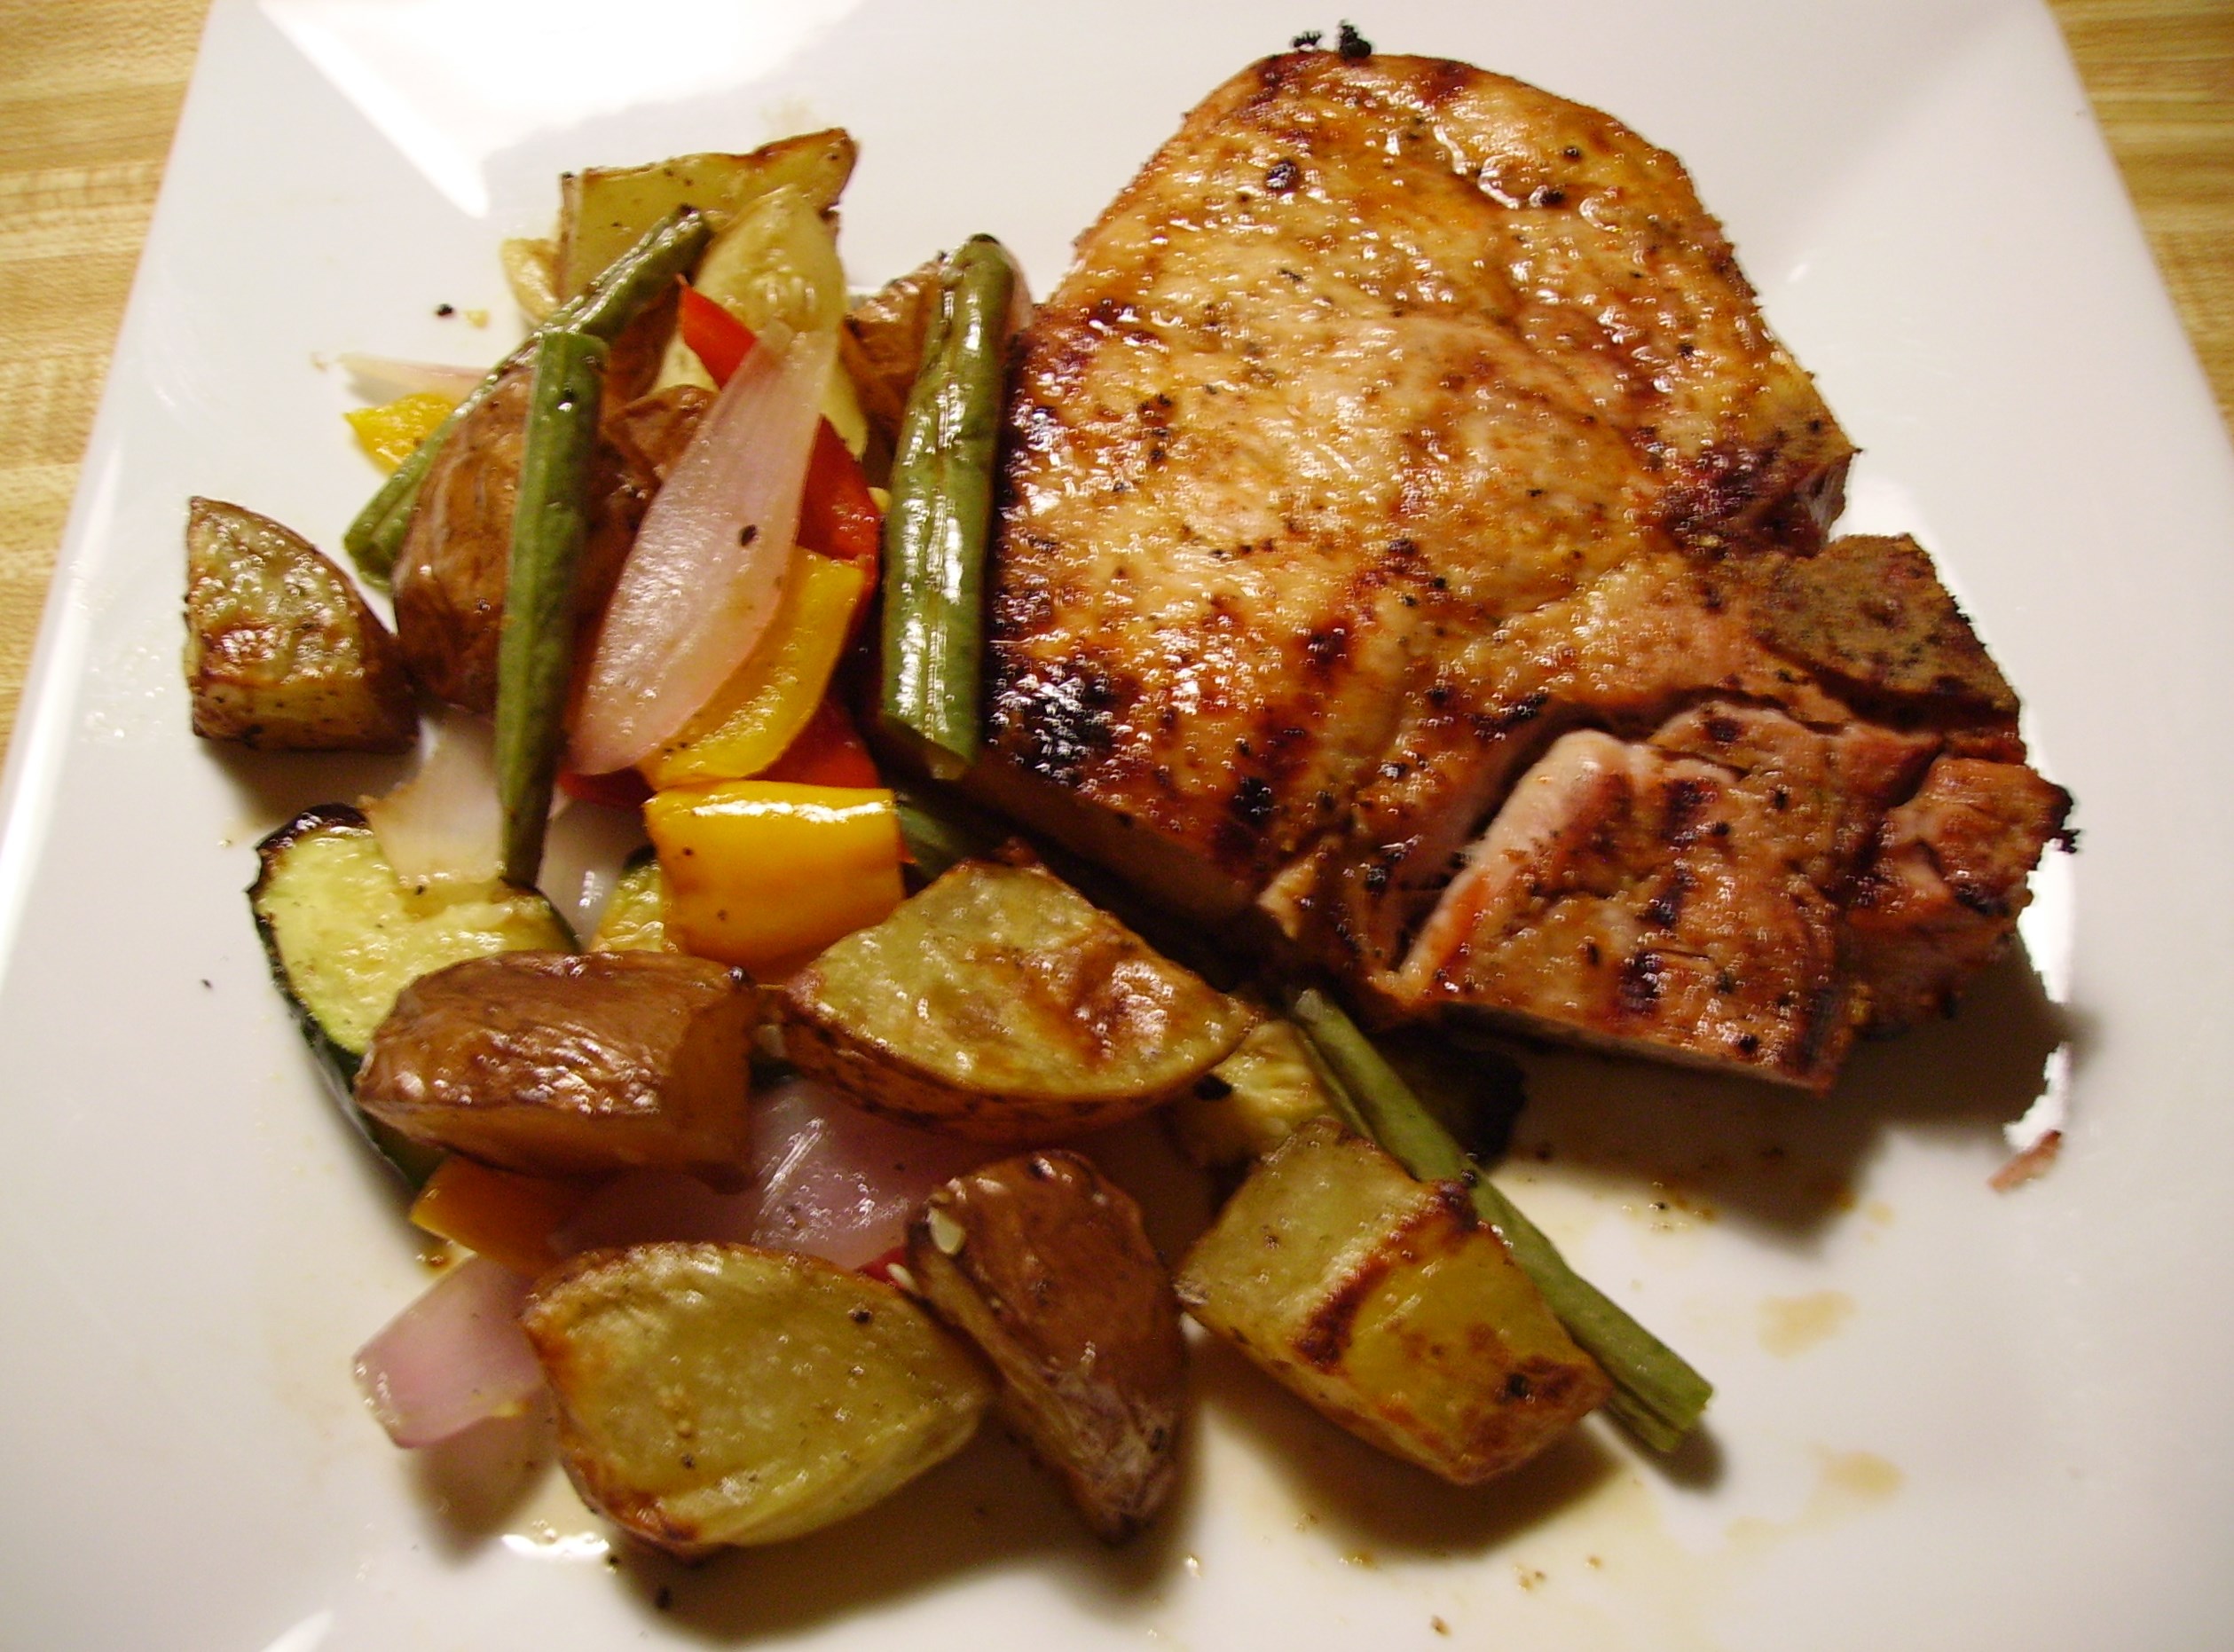
Pork chops were the next protein to hit the grill. Before they went over the flame they went into a beer brine. Pork gains a ton of flavor and retains its juiciness much like chicken when it is brined. This brine recipe starts with beer, a whole 12 ounce bottle or can. This can be any beer you choose, but go with something that has some character. A teaspoon of salt, about the same amount of sweet smoked paprika and a generous amount of dried garlic and onion created a twenty-four hour soak the left the chops plump, pink and grill worthy. Consider that a non-recipe, recipe. 
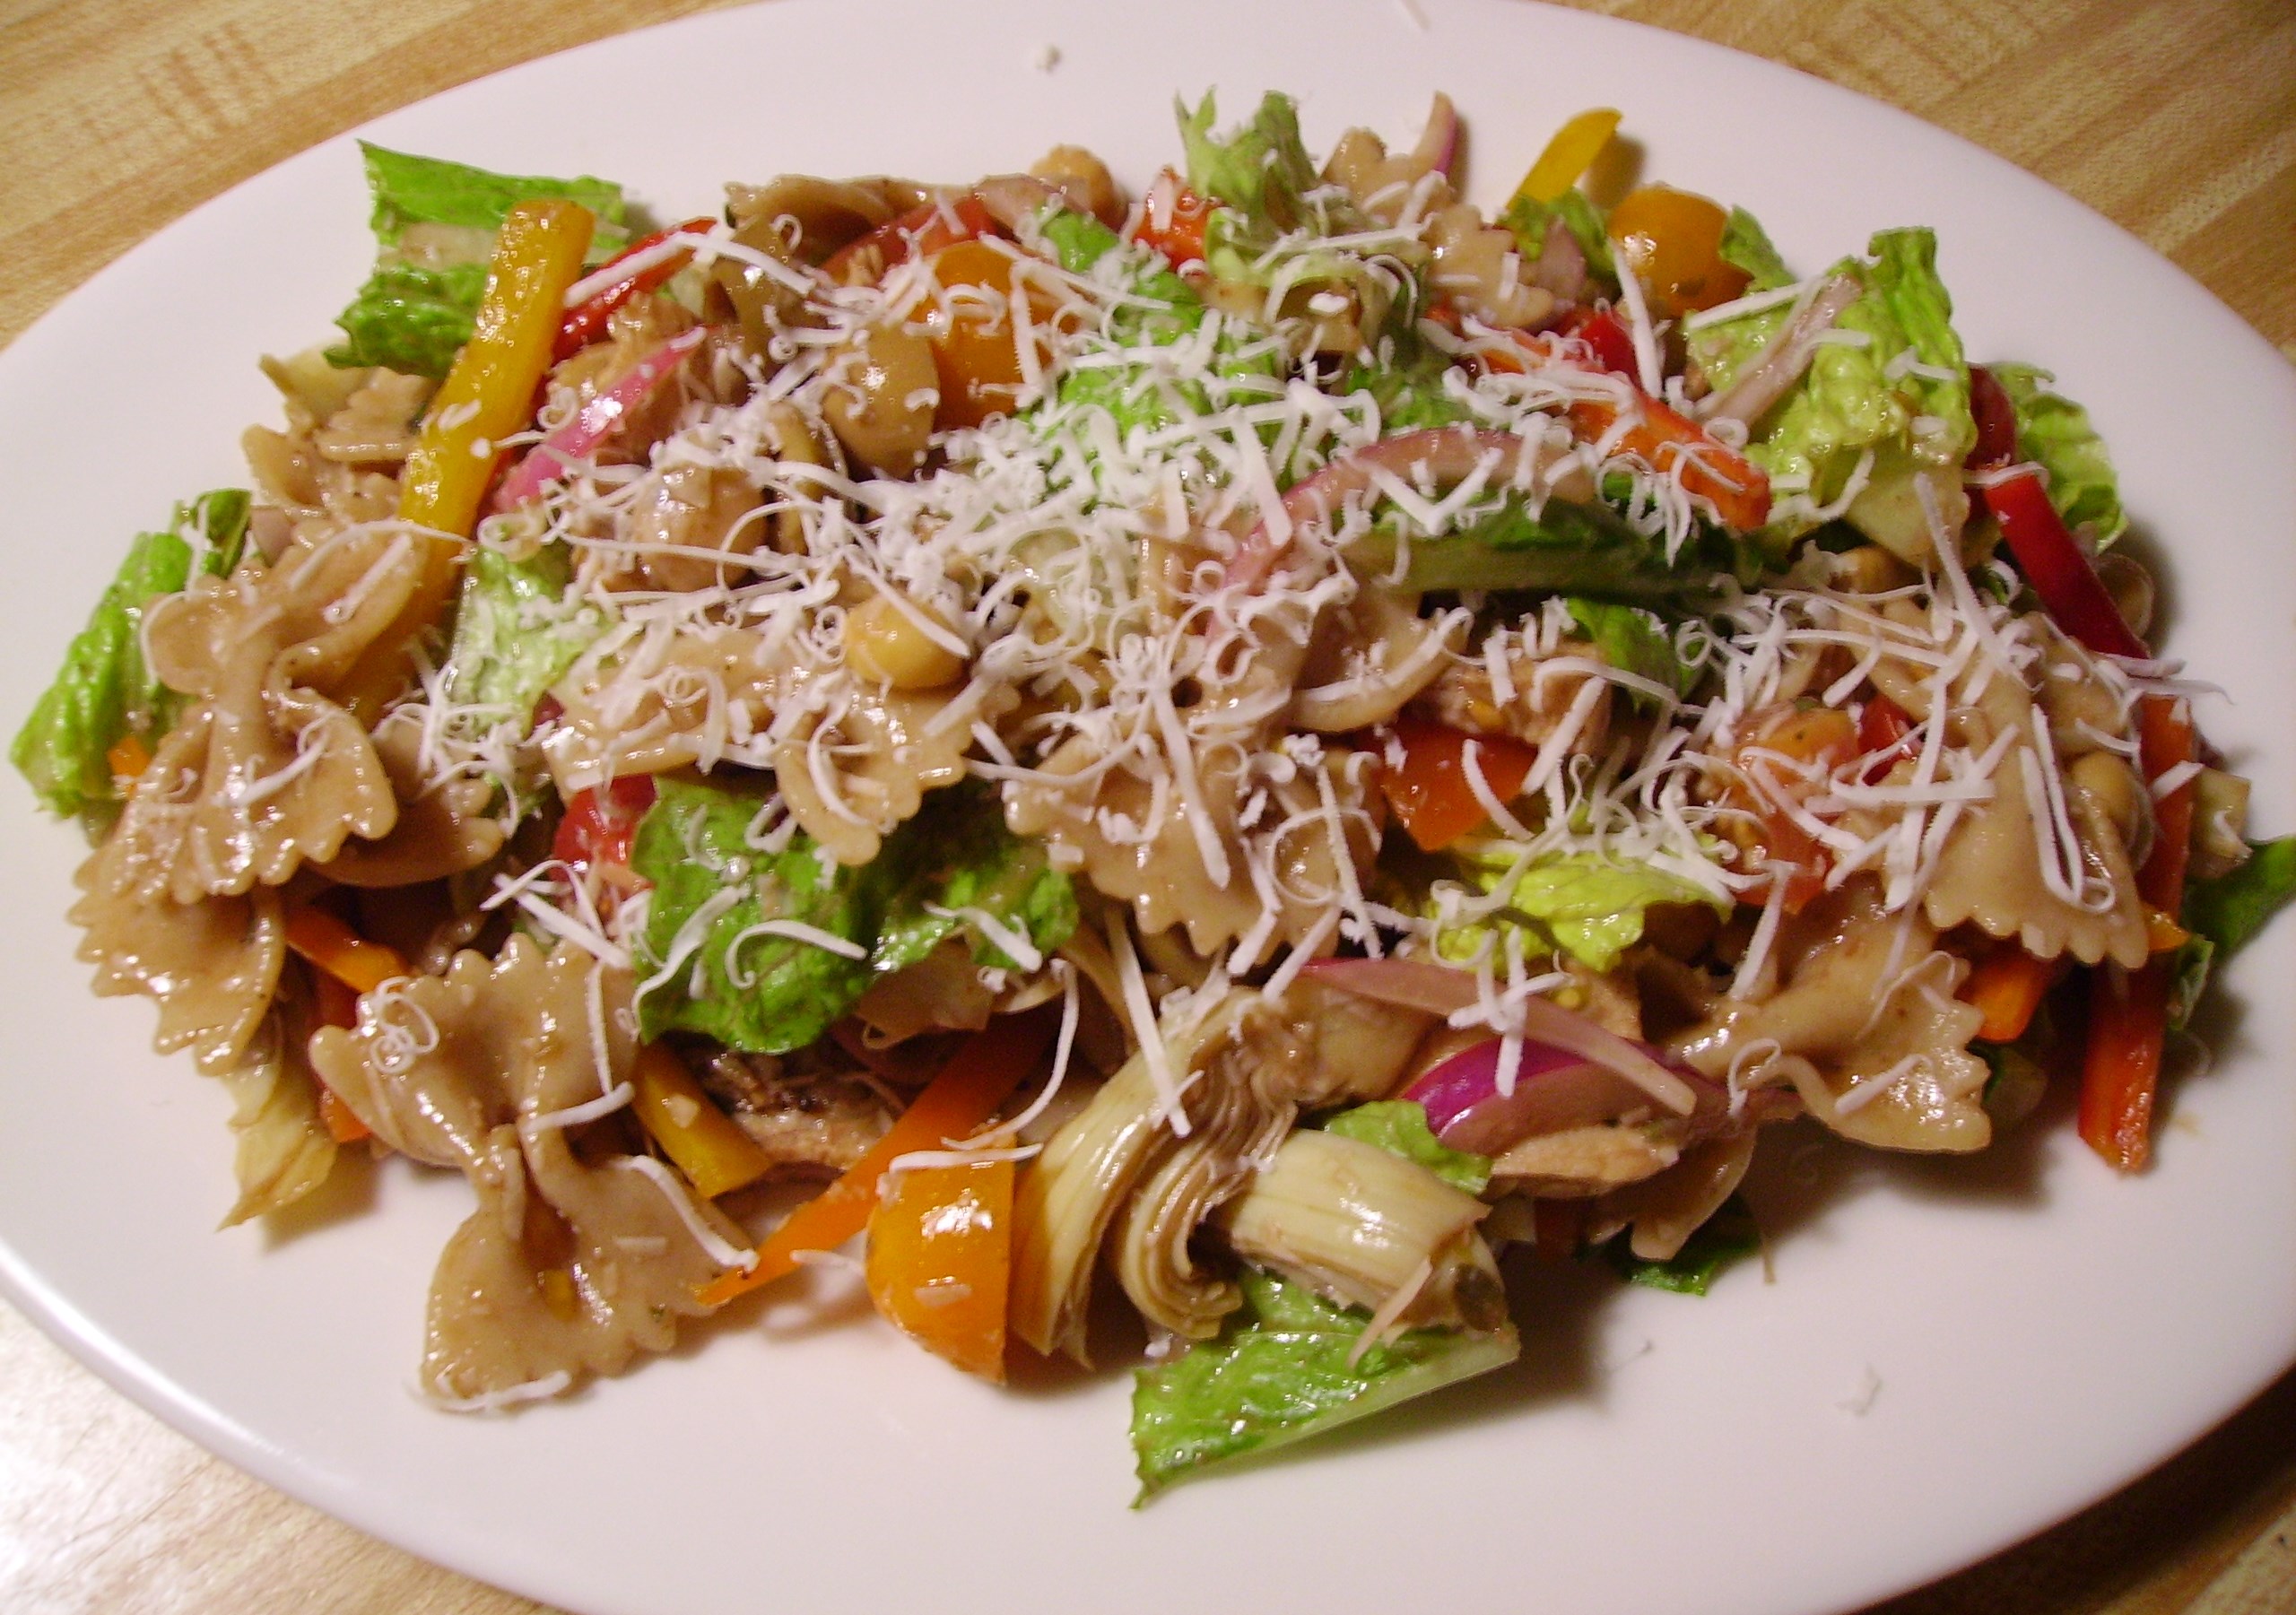
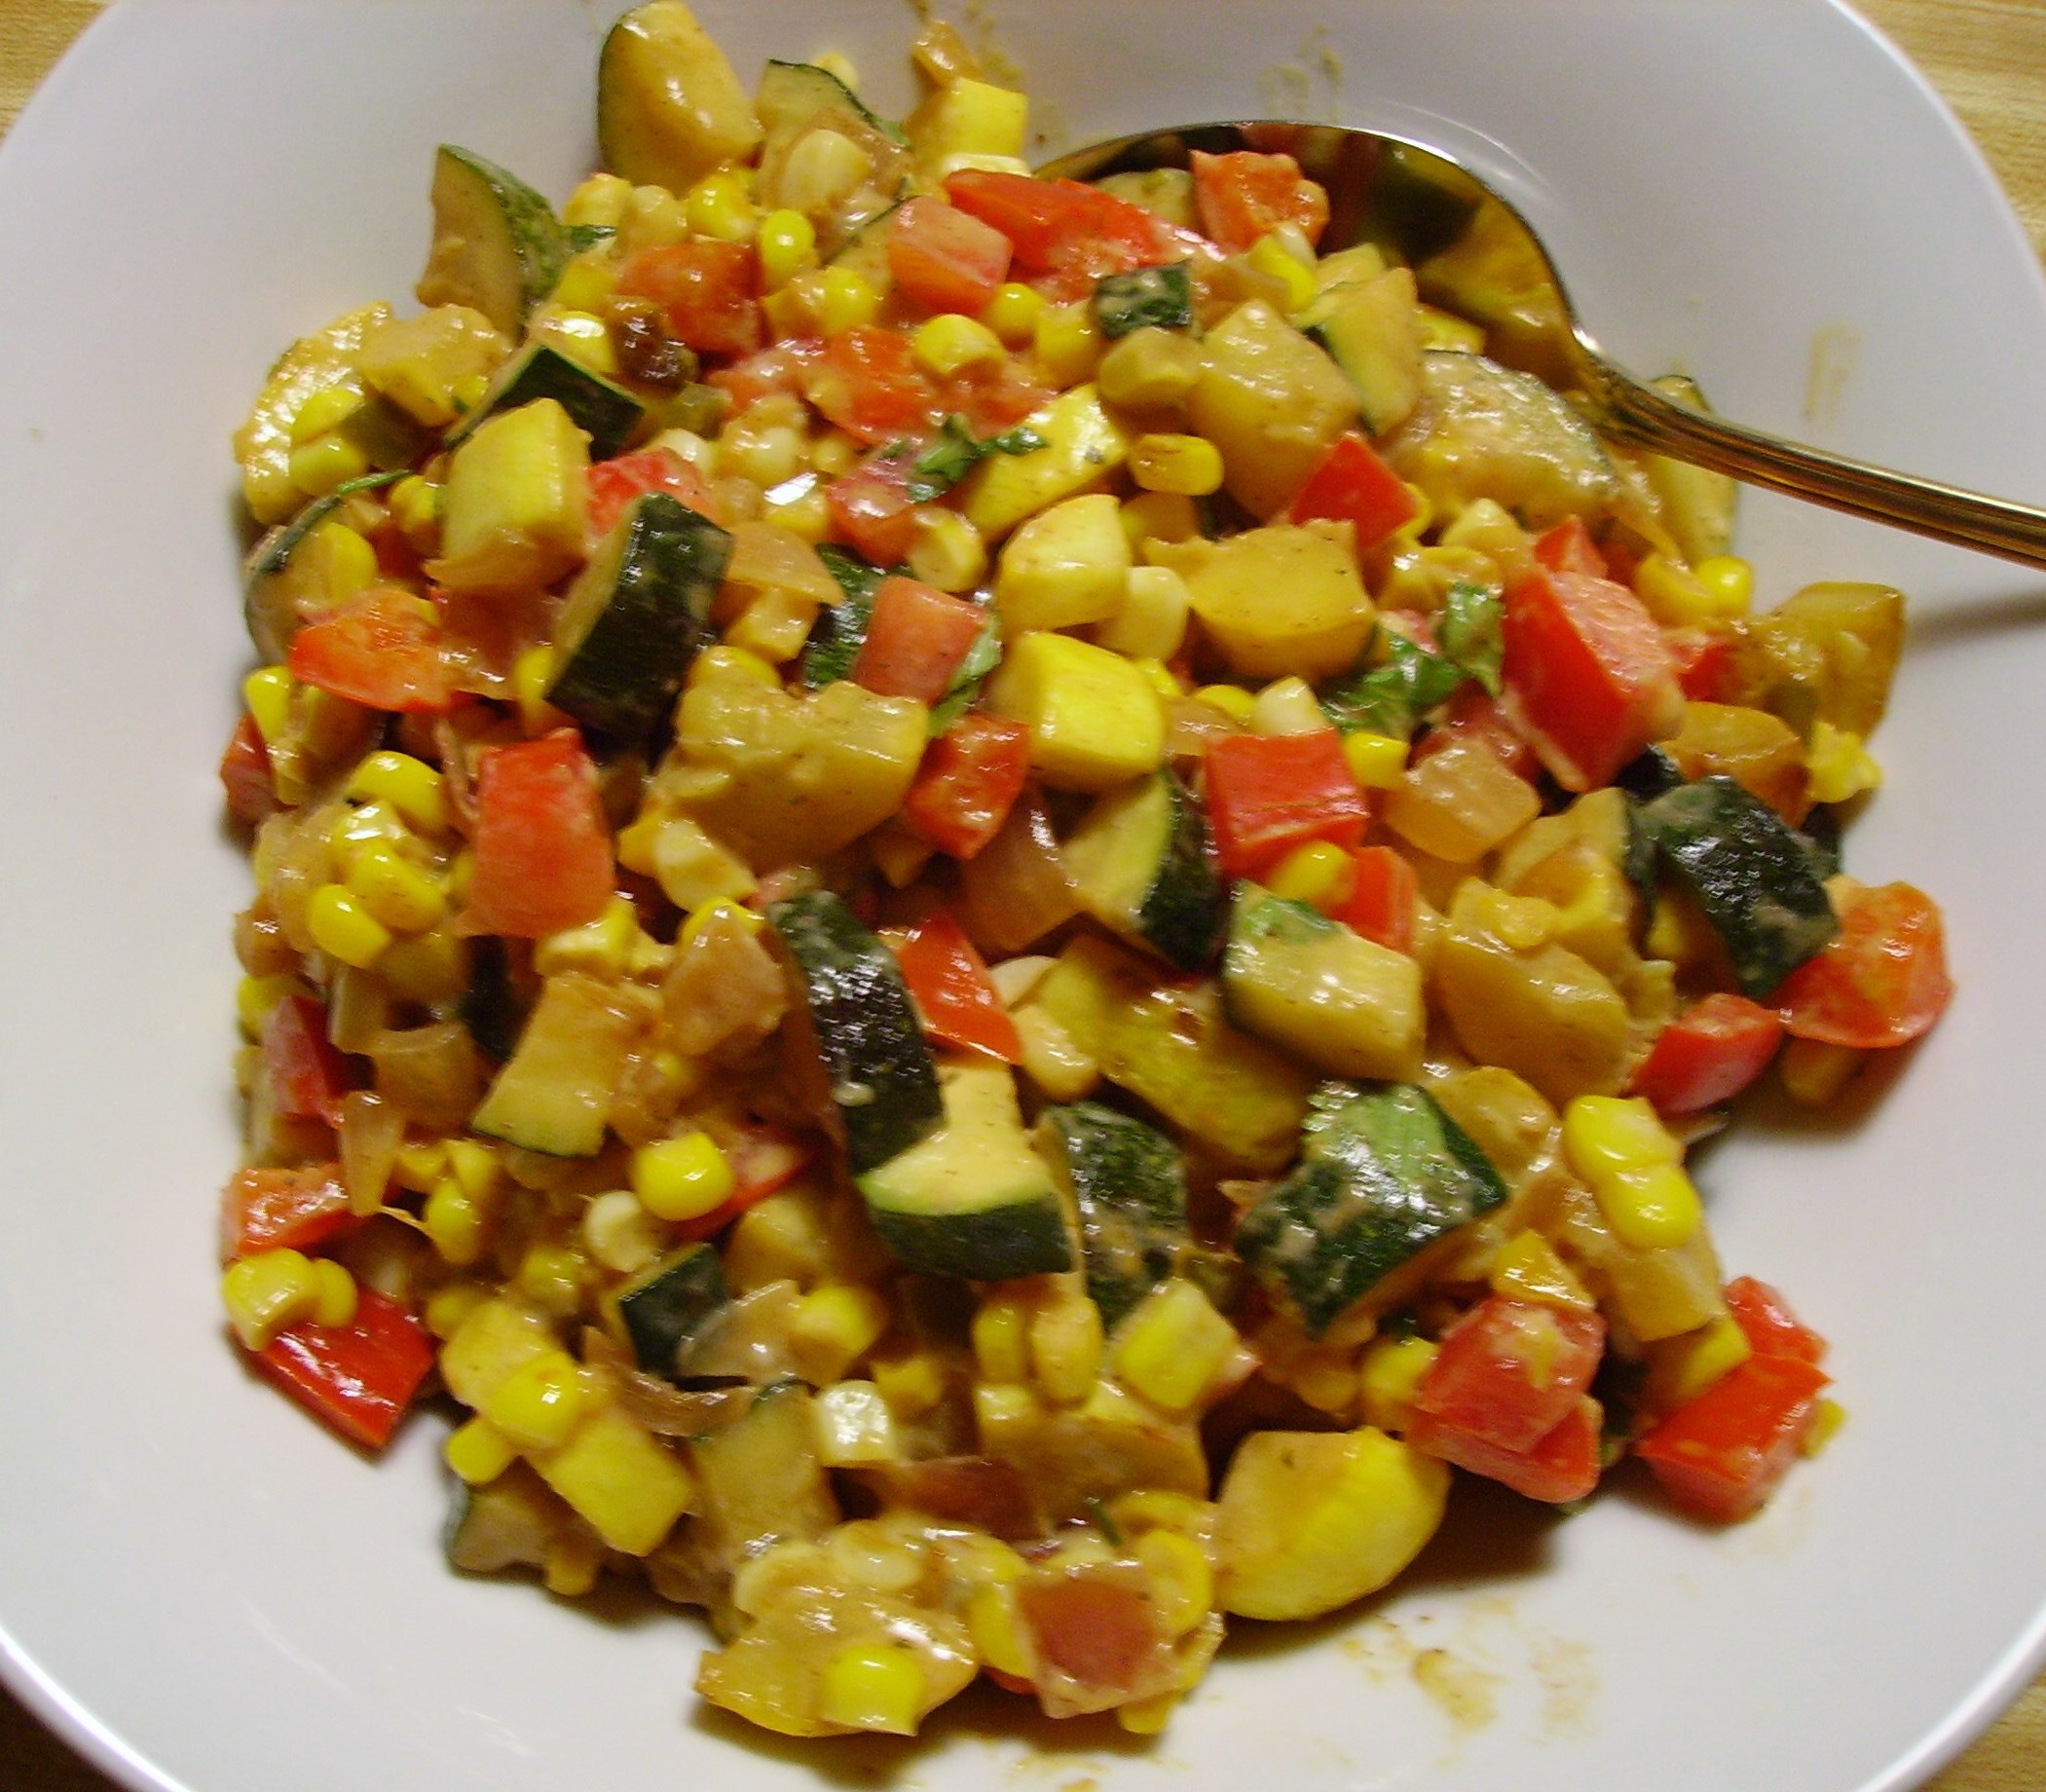
There is a real recipe for the Vegetable and Potato Salad that we enjoyed with our pork chops. If you missed it on Face Book, here it is:
Grilled More Vegetable Than Potato Salad
|
|
|
Grilled More Vegetable Than Potato Salad
|
Instructions
To make the garlic oil: Place olive oil and smashed garlic cloves in a small pan. Cook over low heat until the garlic is lightly browned and the oil has become fragrant. Allow to cool before removing the garlic. (use the garlic in marinades or as a seasoning)
Precook the potatoes: Cut the potatoes into 1 inch chunks. In Place the potatoes and a little water in a microwave friendly container. Cover loosely and steam in the microwave for 4 minutes or so. The potatoes should be barely tender. Set aside to cool.
Prepare the veggies for the grill: Slice the squash in 1/2 inch thick diagonal slices. Trim the ends off of the beans. Cut the onion in half lengthwise. Halve or quarter the peppers.
Heat a grilling basket and a flat grate on the grill. Coat with olive oil cooking spray. Take 1/2 tablespoon of the infused olive oil and toss with the potato chunks. Use the rest of the oil to brush the vegetable slices.
Put the potatoes in the basket and the vegetables on the grate. Grill, tossing the potatoes and turning the vegetables occasionally. It should take about 15 minutes to have everything turn golden.
Remove the vegetables to a cutting board. Cut in chunks that are about the same size as the potatoes. Place in a large serving bowl along with the potato chunks.
Add some freshly ground pepper and a pinch of salt and toss to combine everything. Drizzle the balsamic over everything and enjoy!
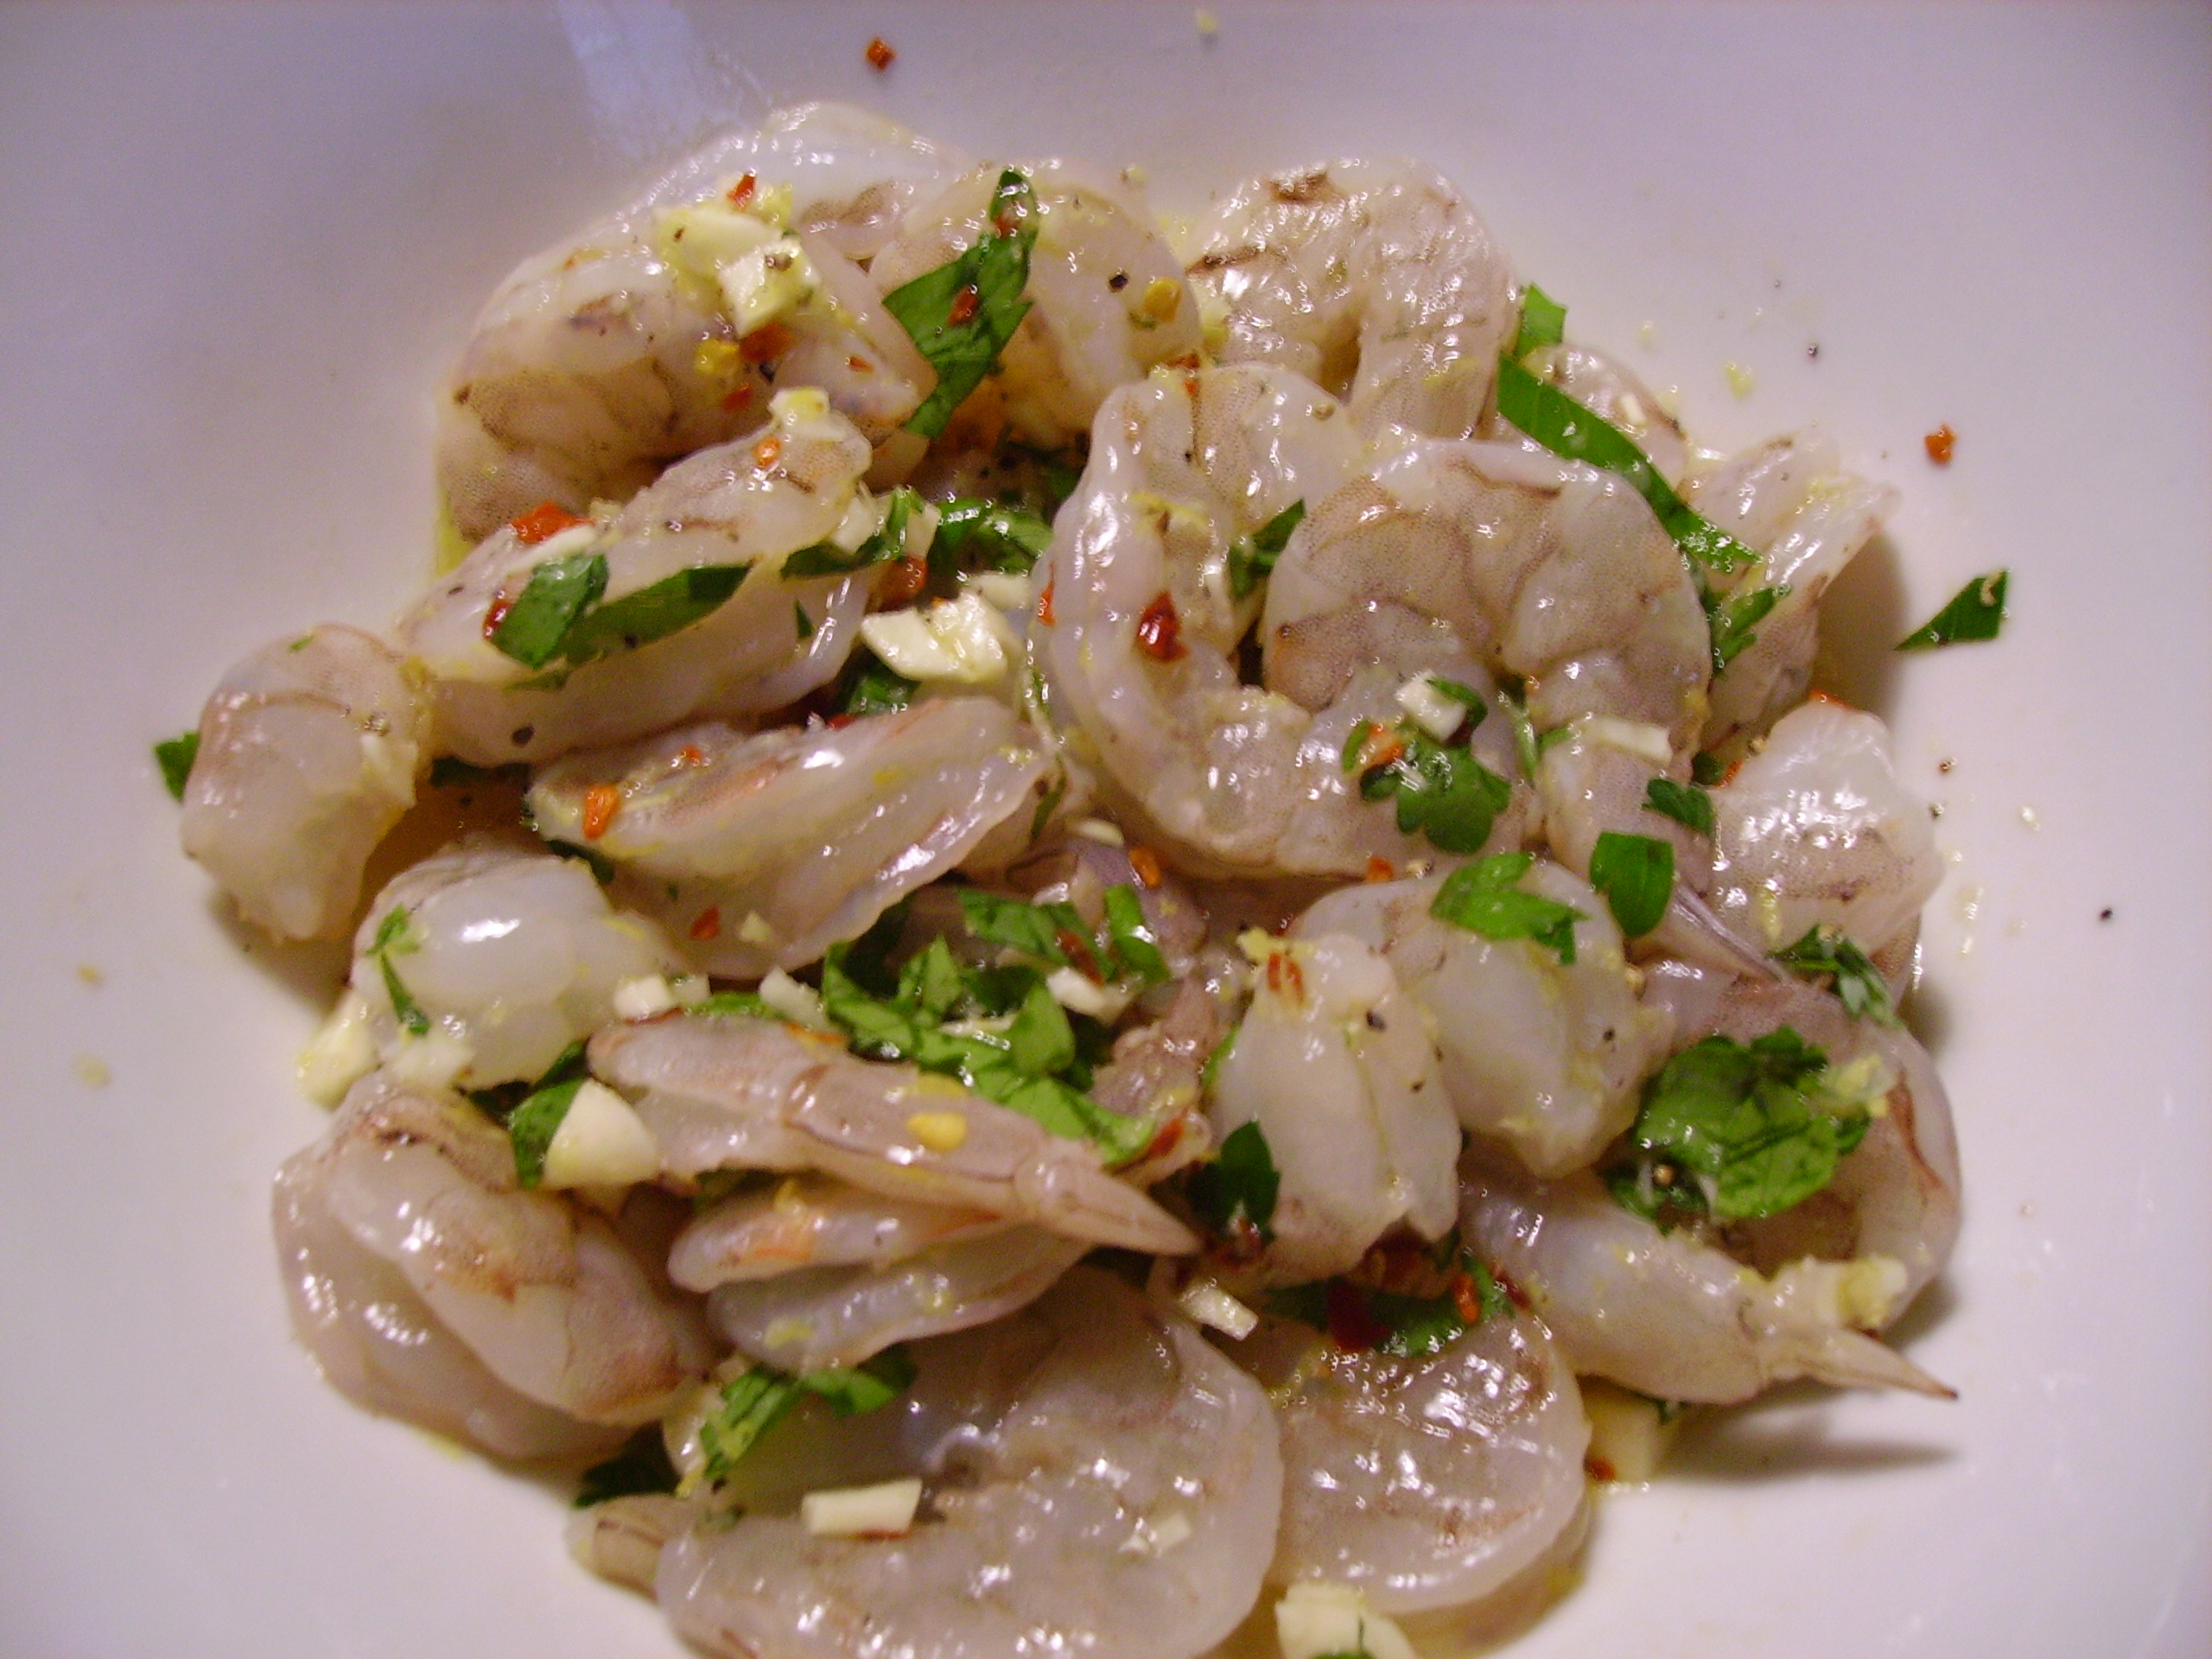
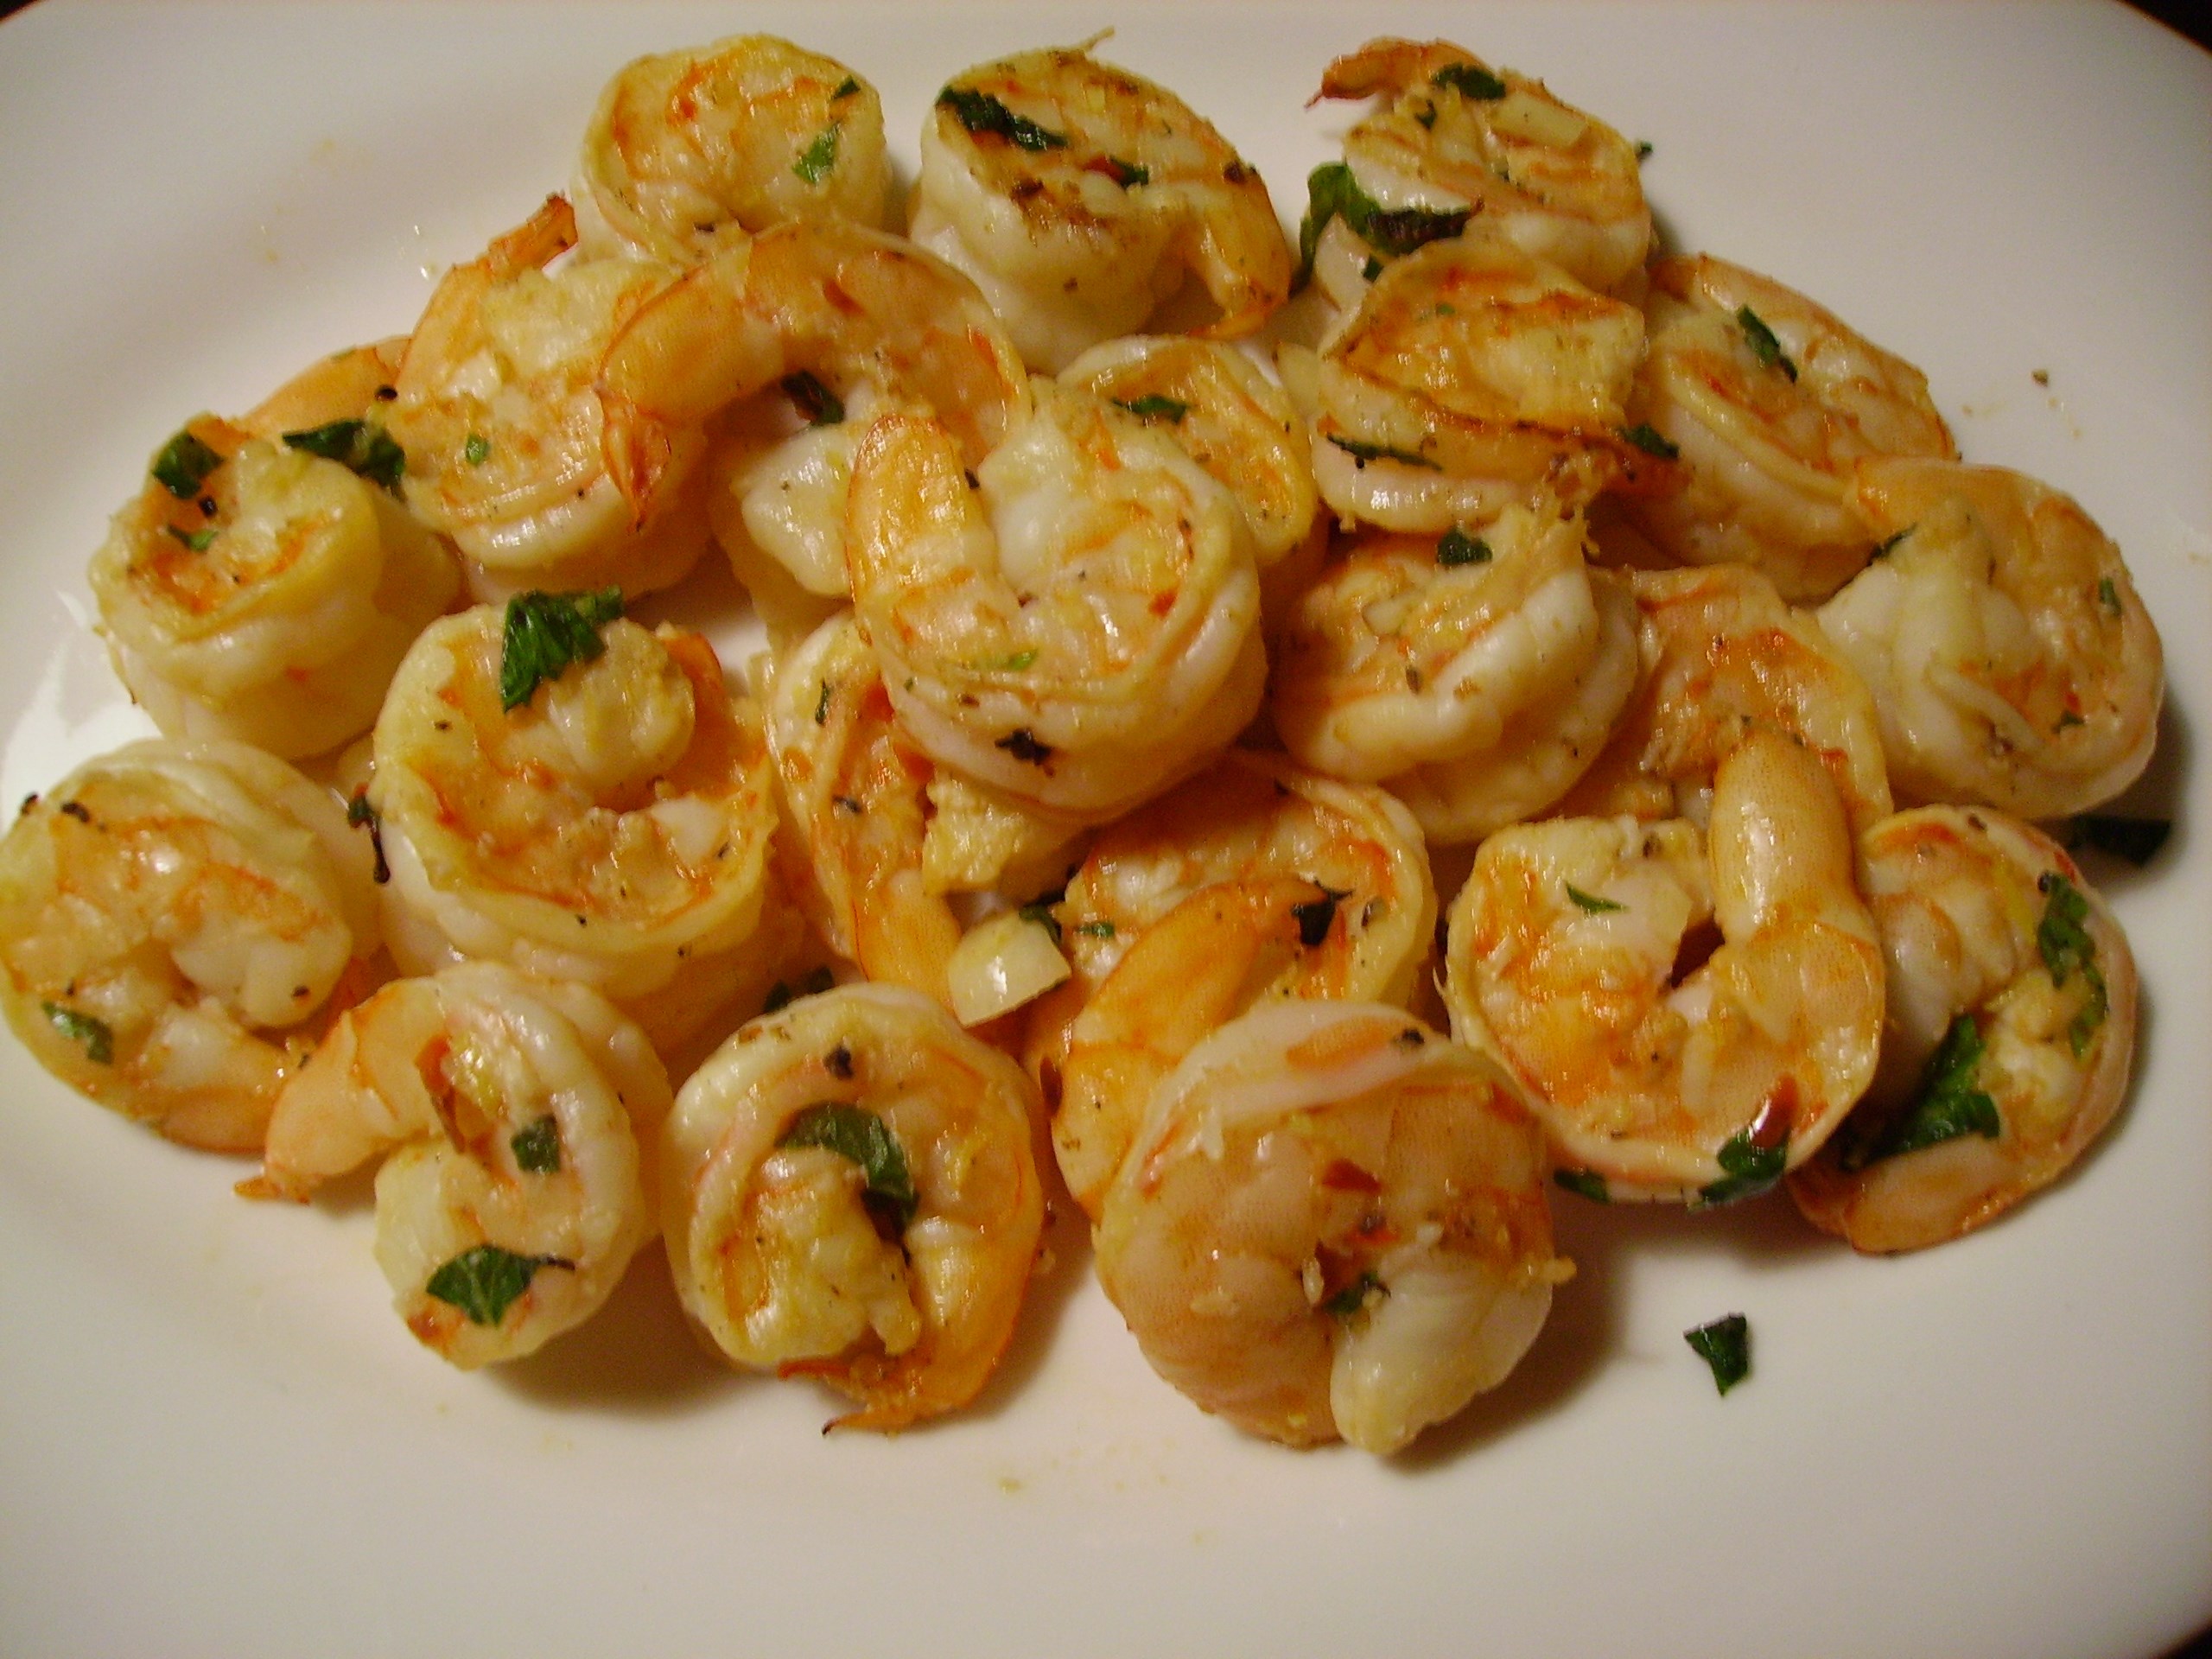
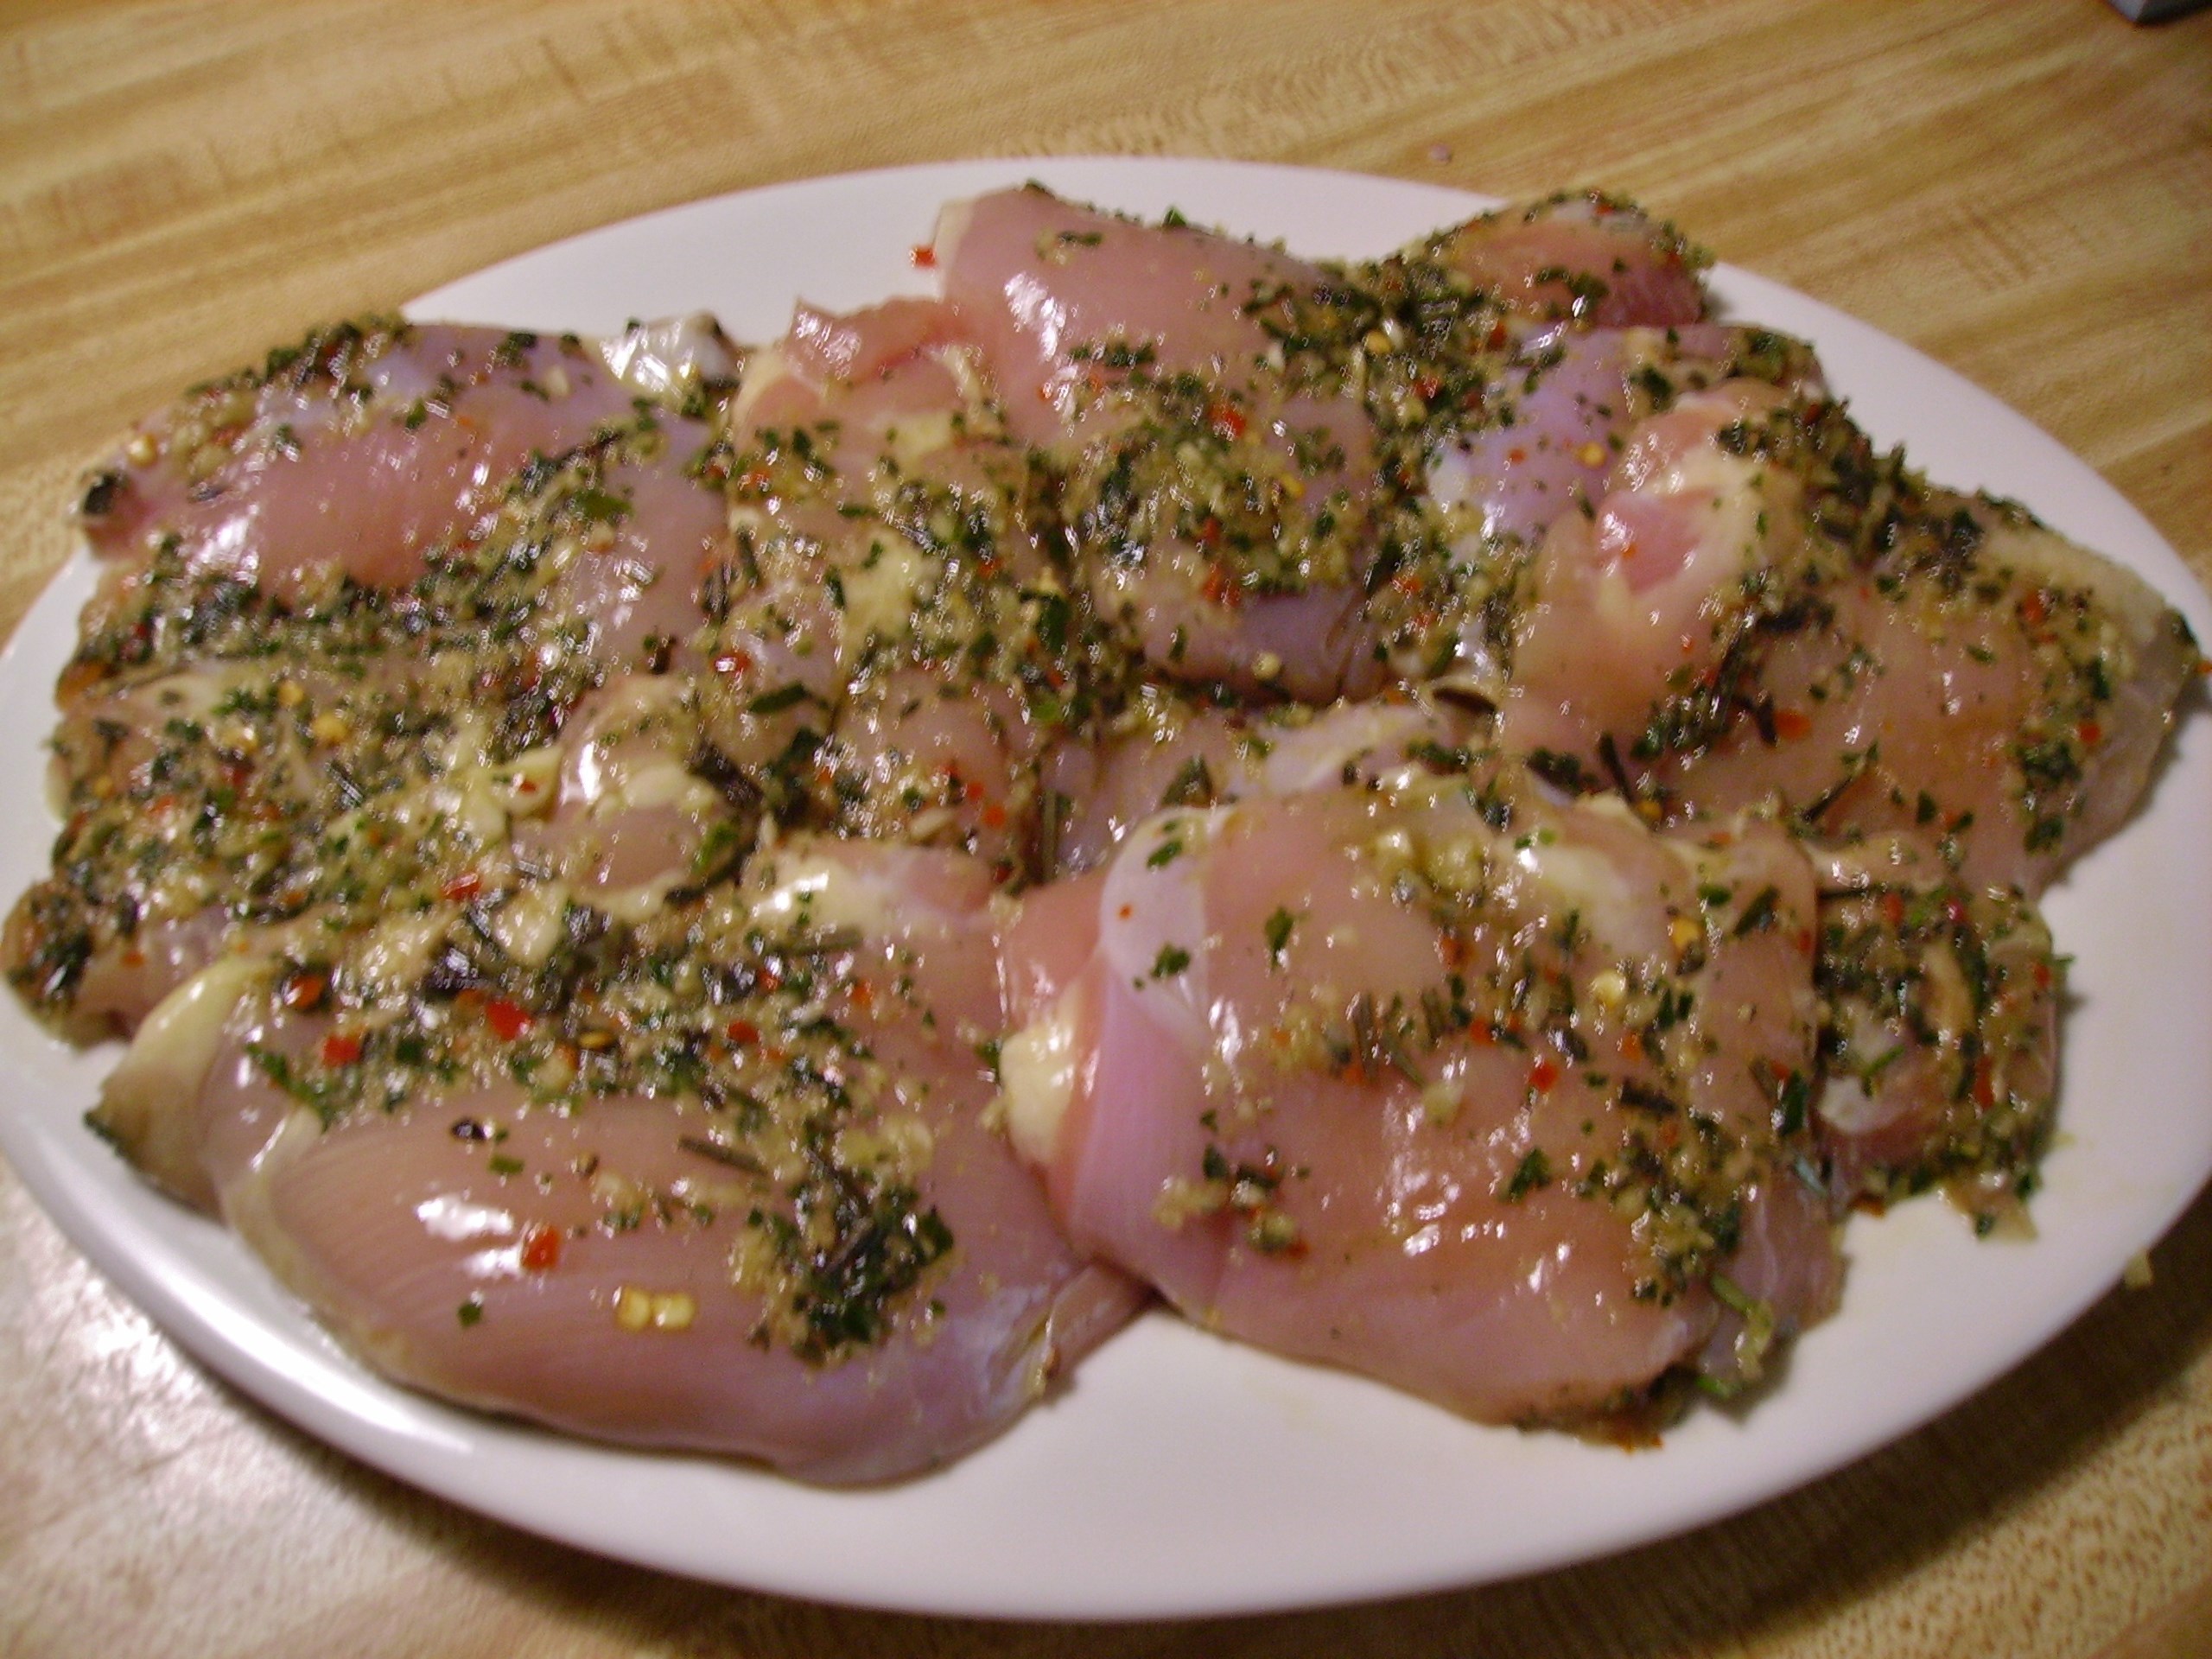
Chicken has become my new best friend, especially the boneless, skinless varieties. Breasts, tenderloins, and thighs have all found their way to the grill this week. Mama D’s new rule: If the grill is fired up…use it to capacity. We cooked thighs for dinner. They were, by the way, marinated in a wonderful herb and garlic paste that was out of this world.
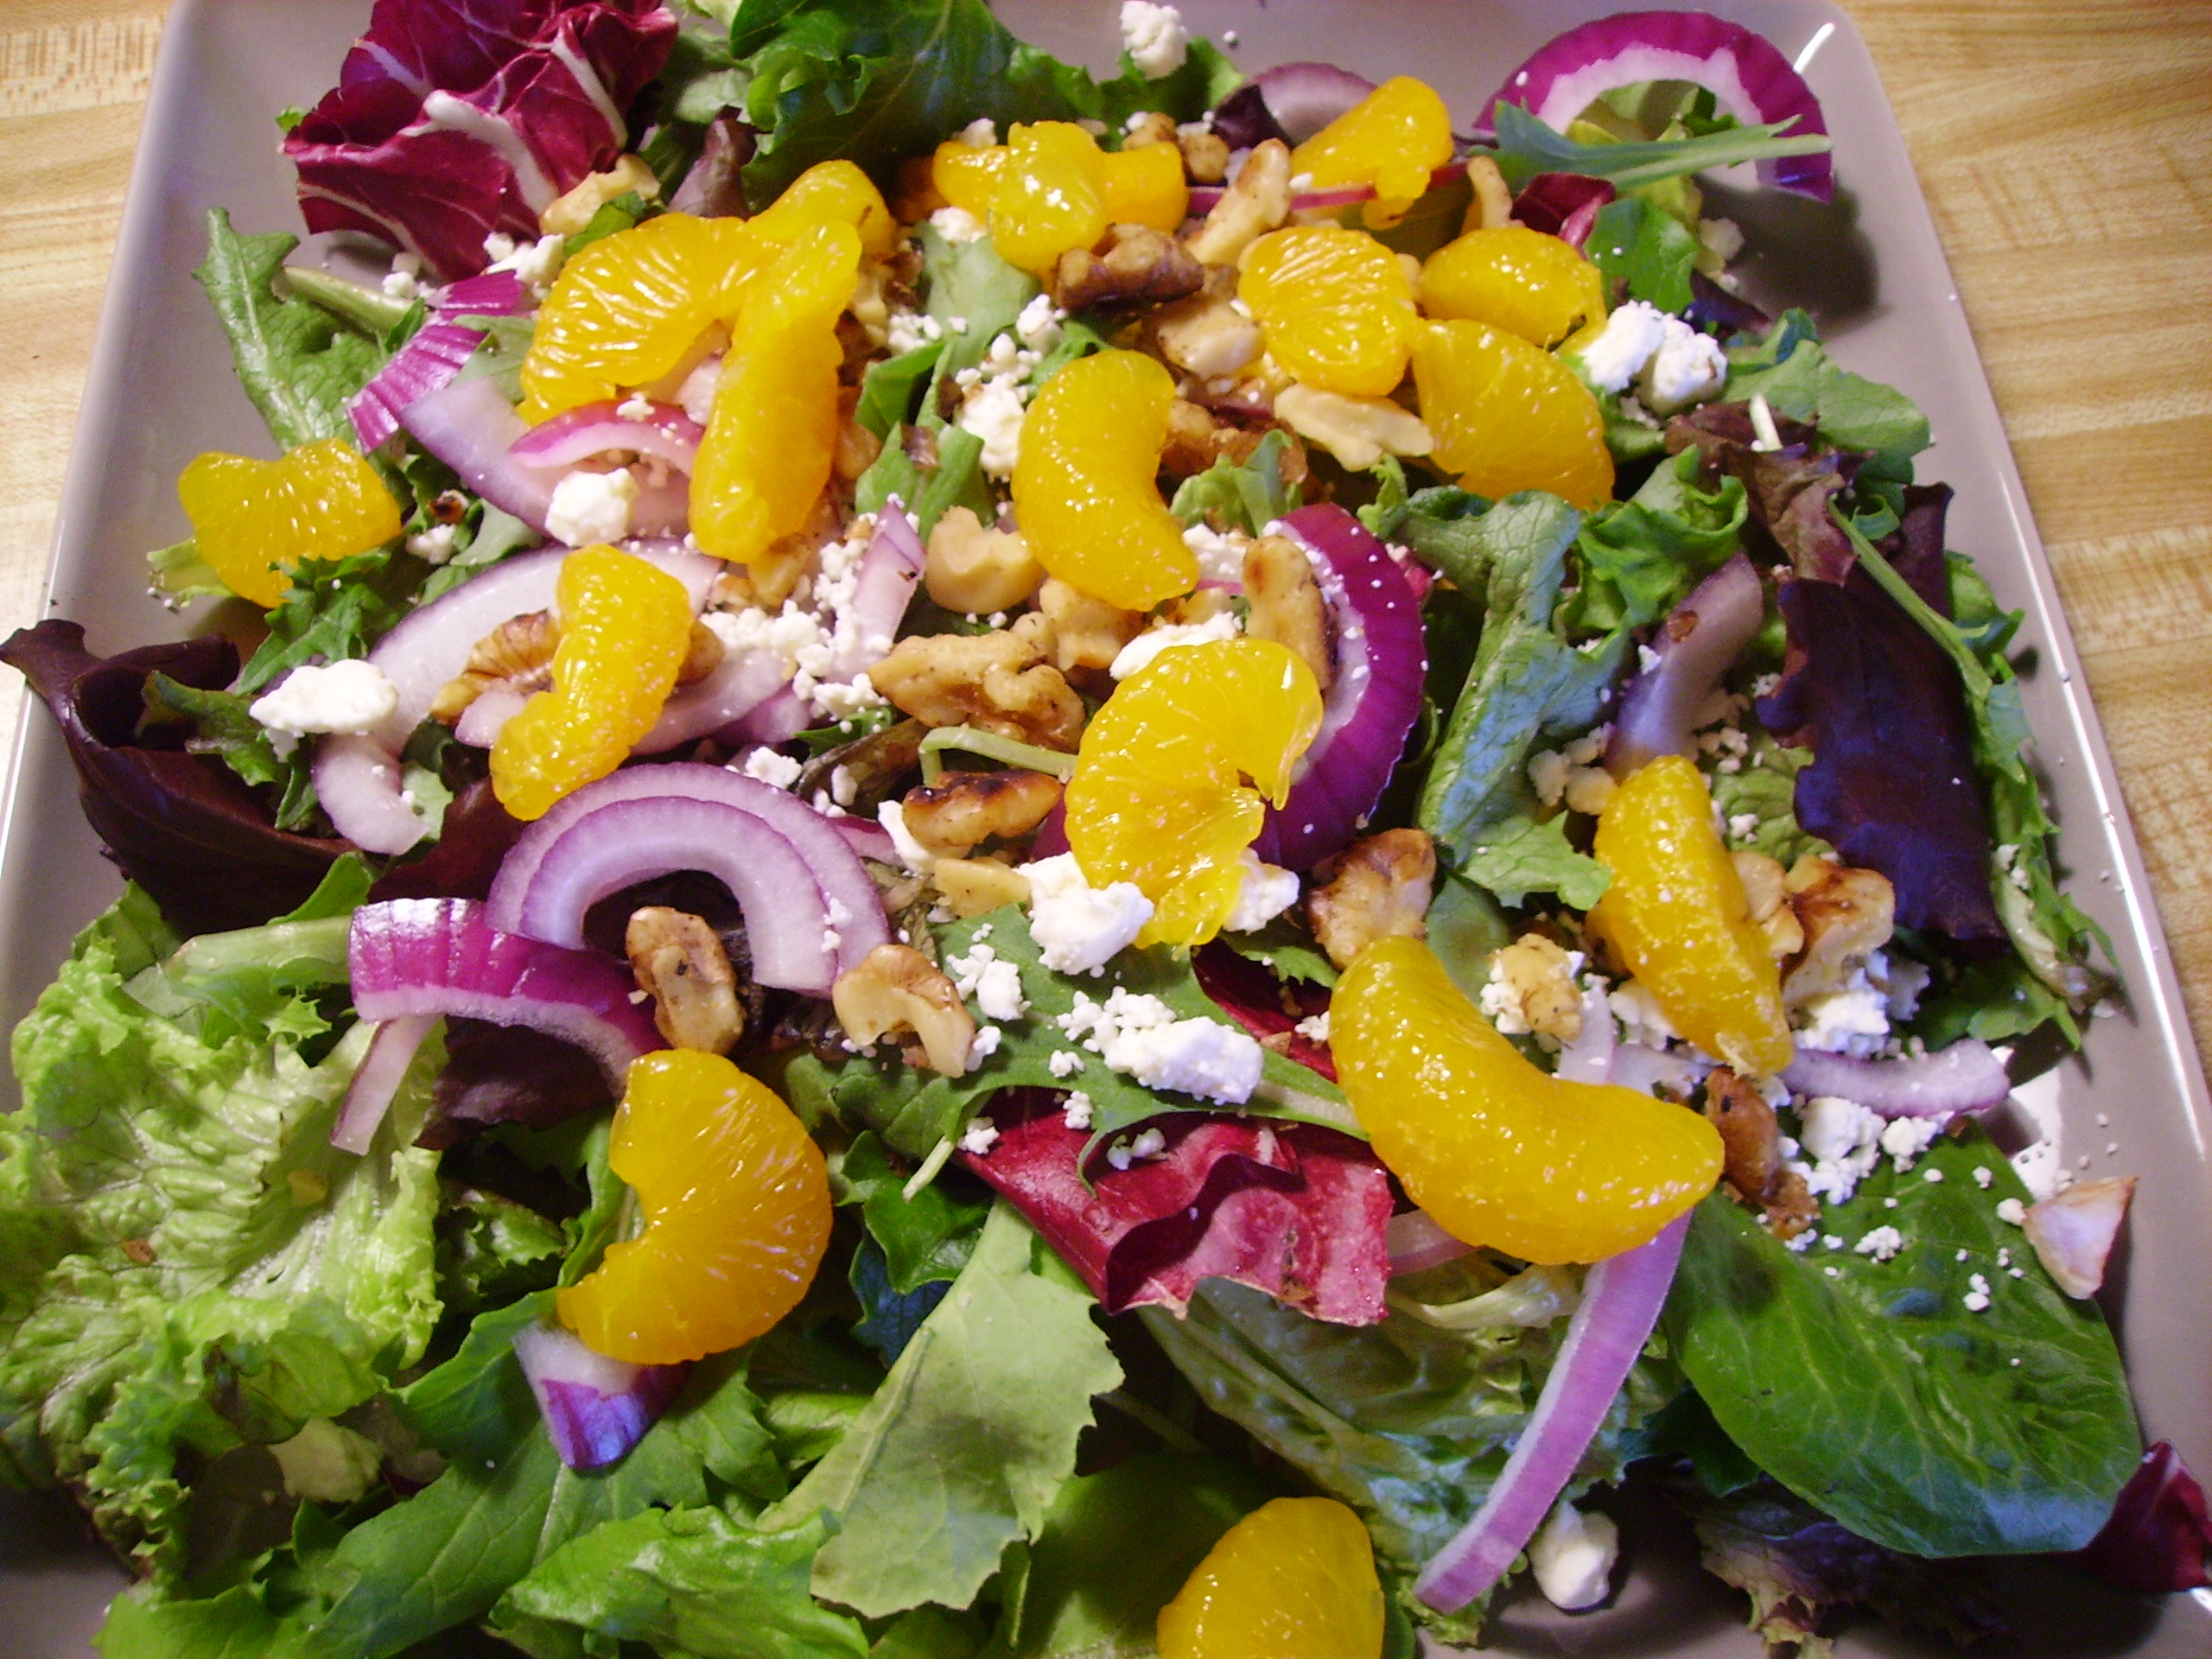
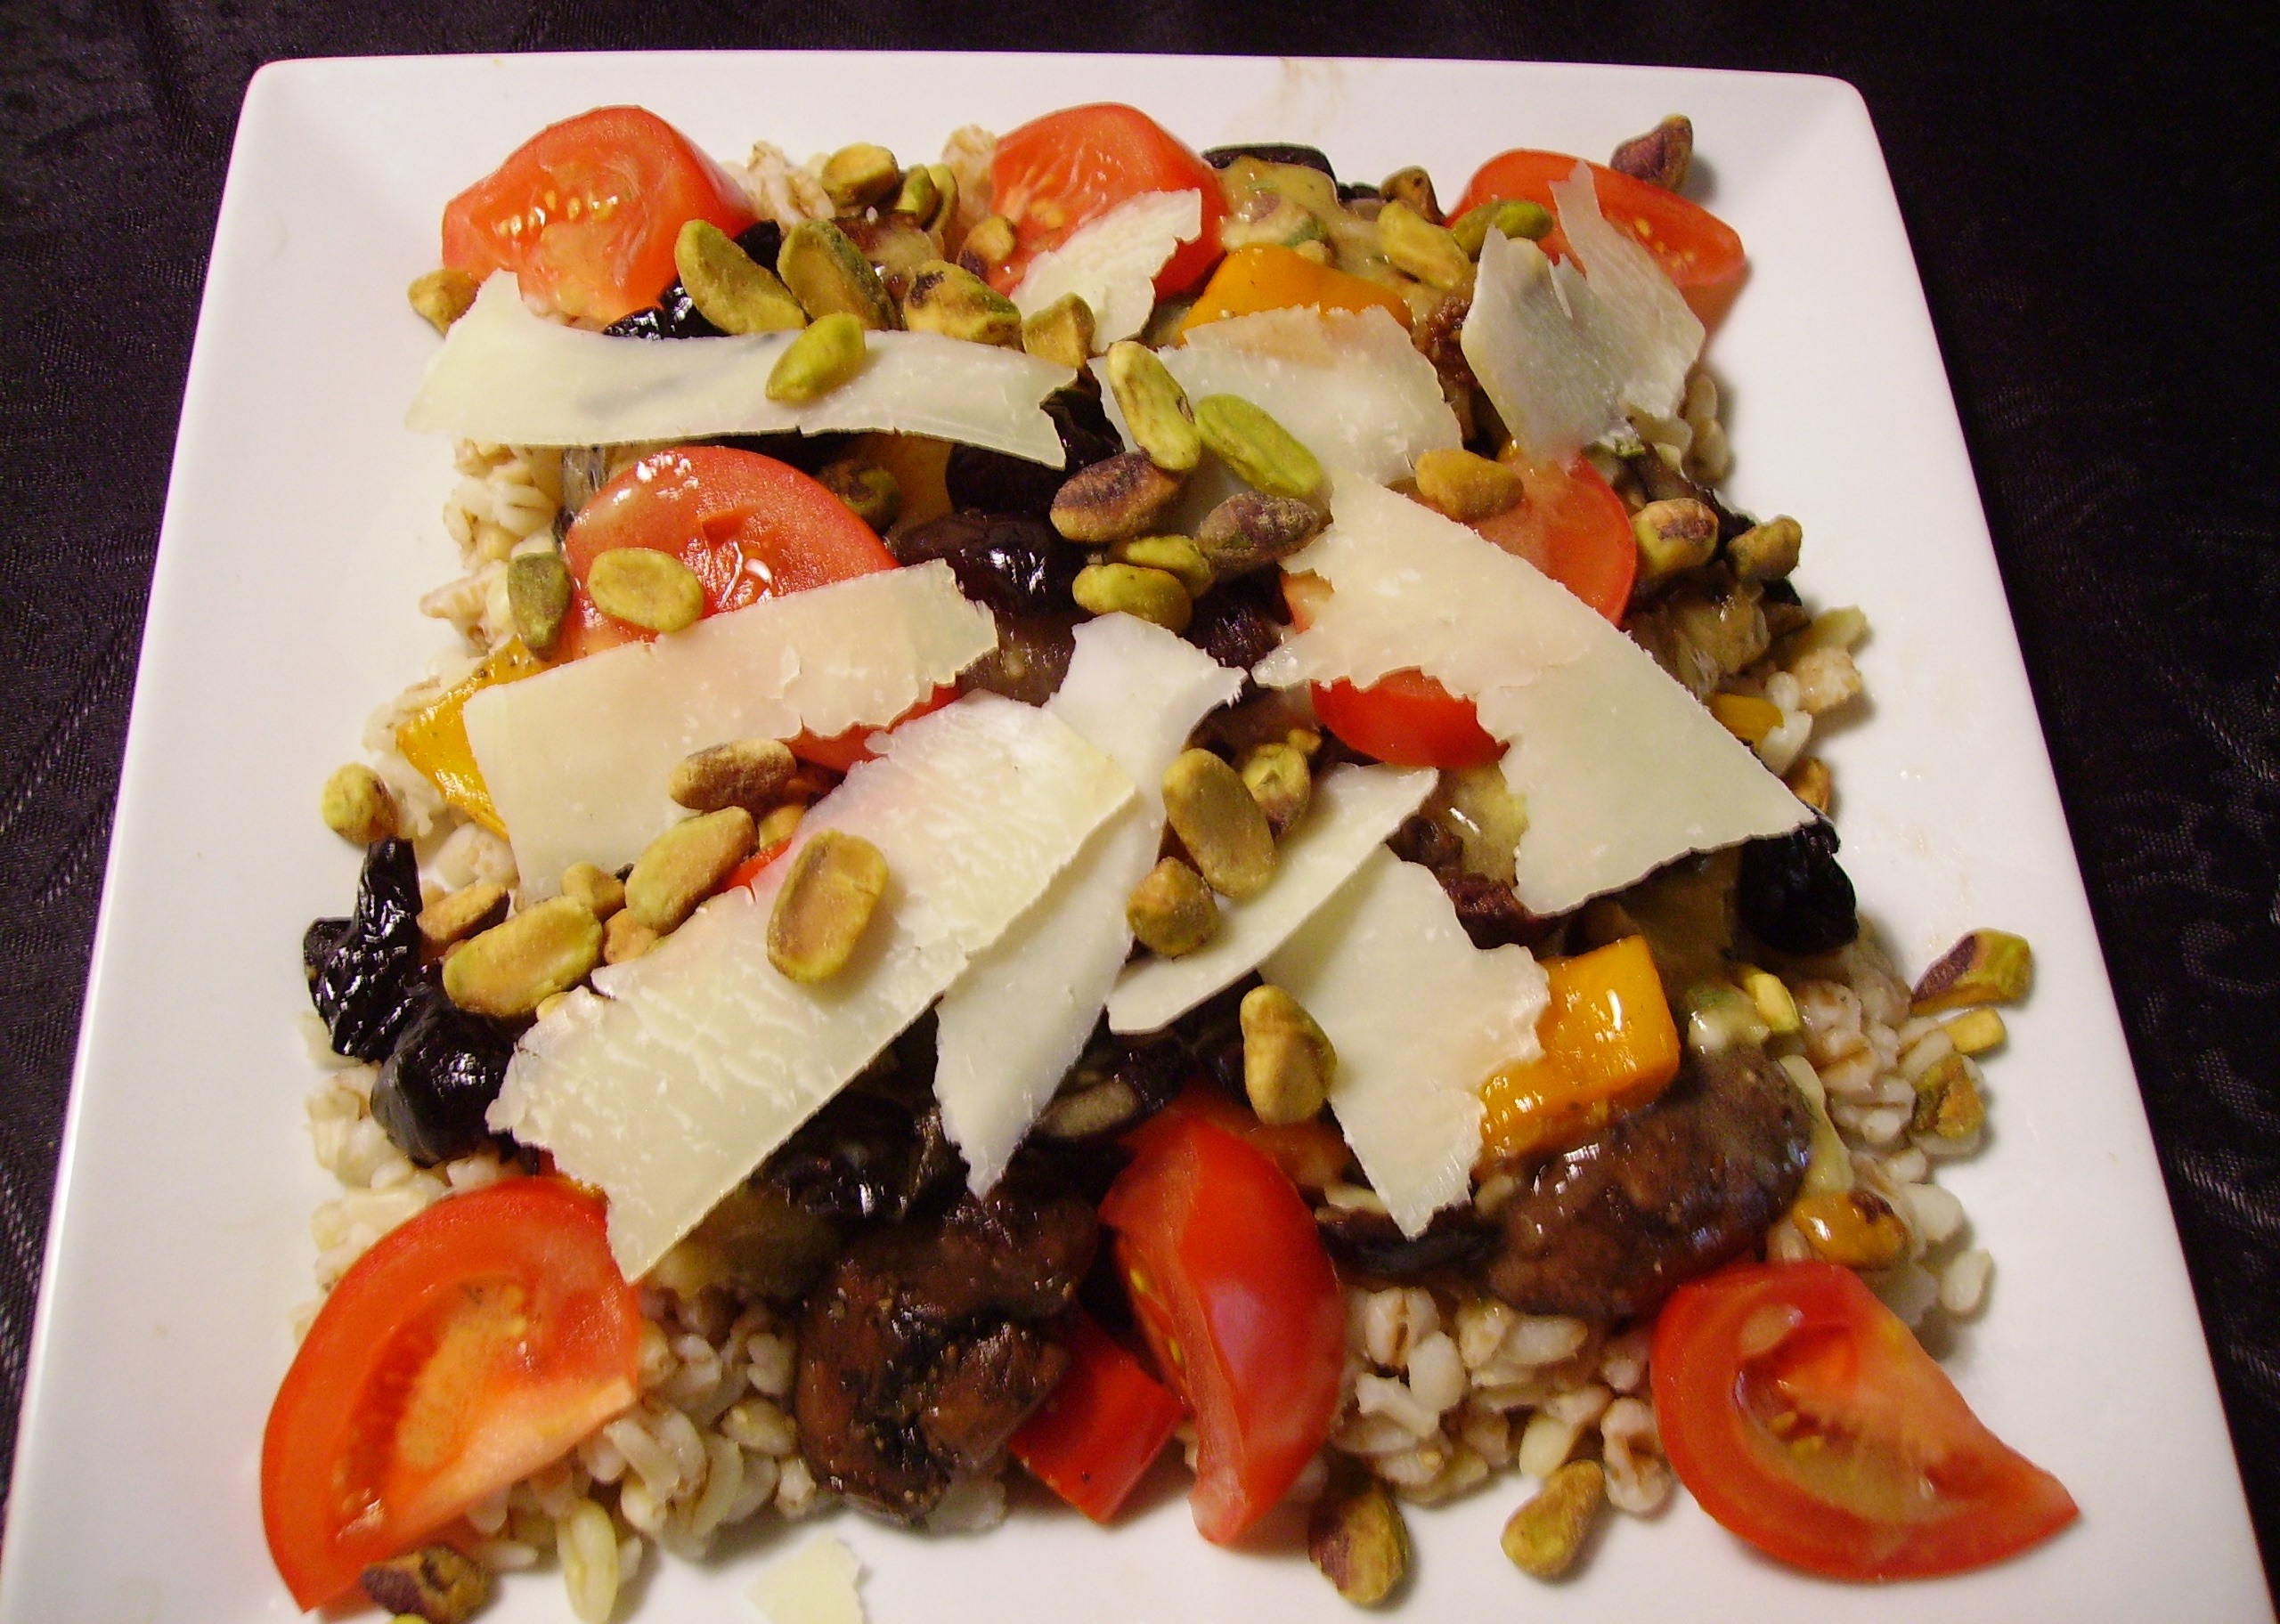
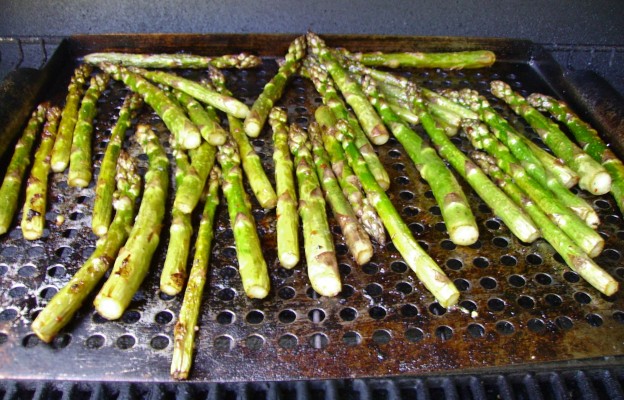
 Joined with grilled asparagus and a Five Grain Pilaf it was another delicious and healthy dinner.
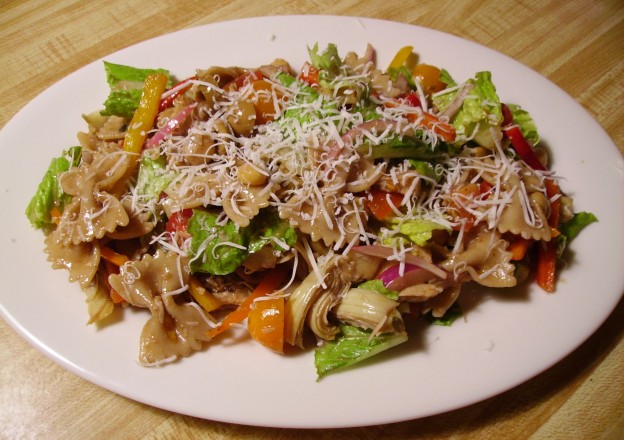
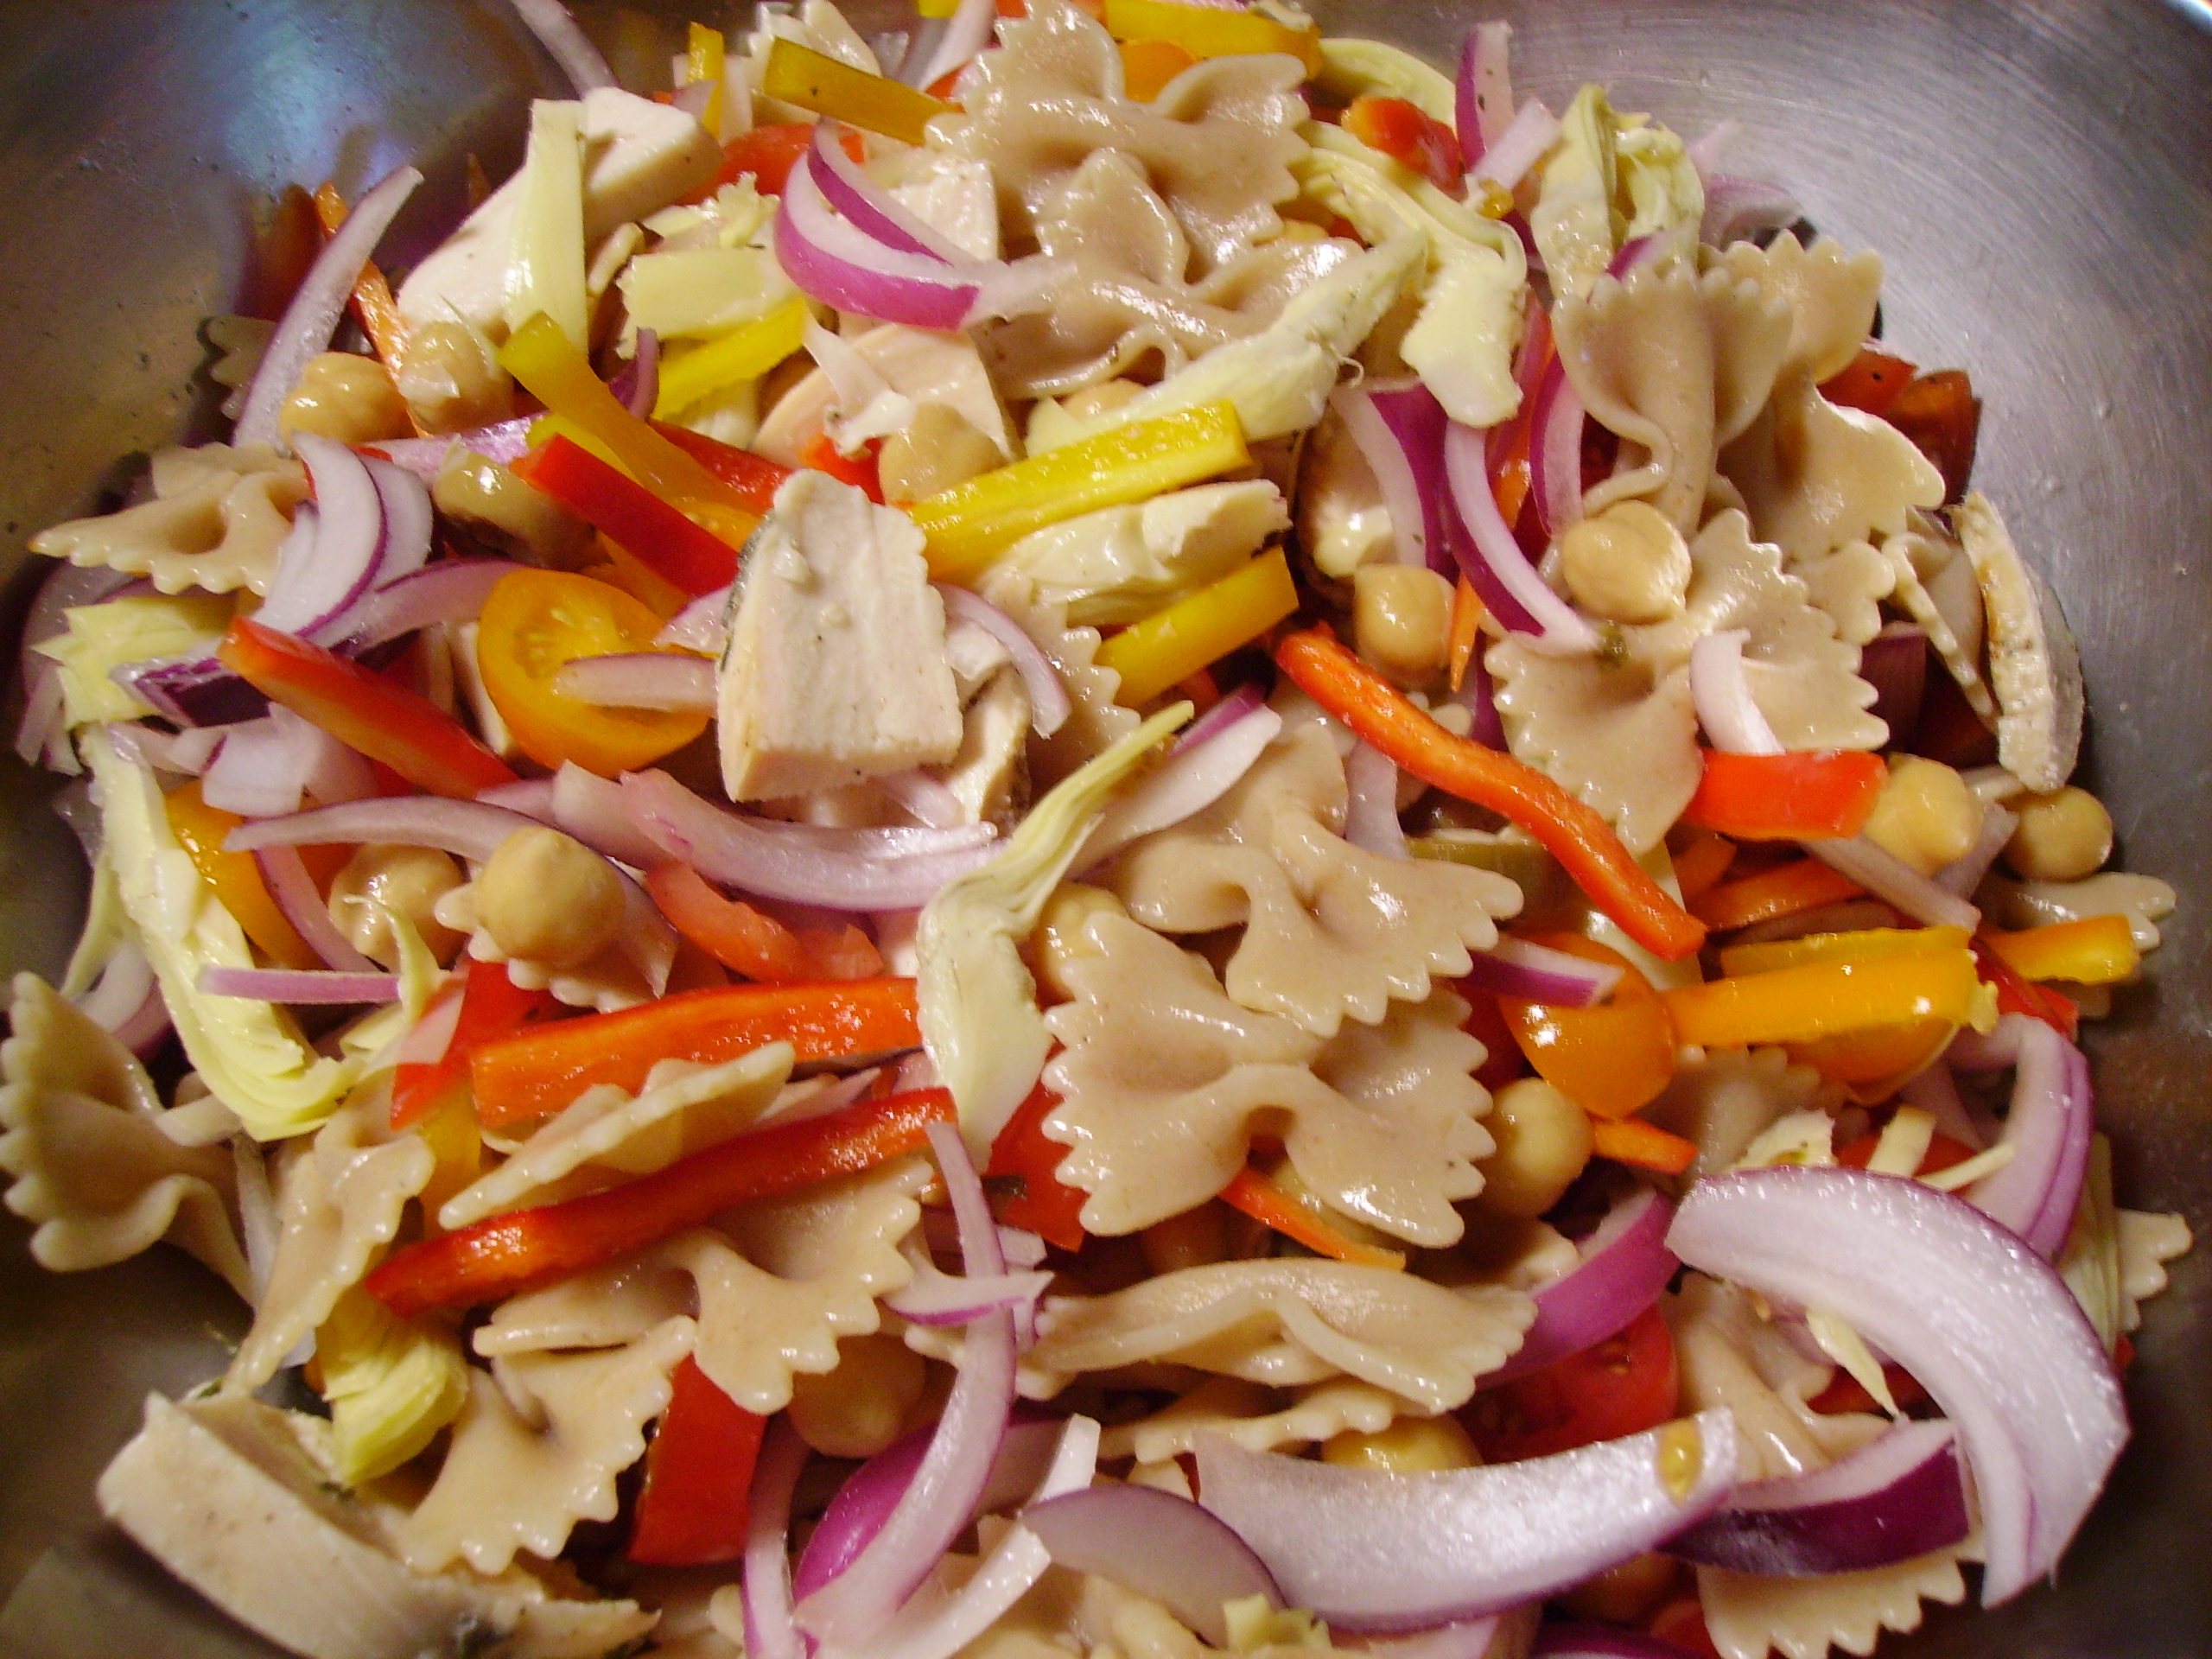
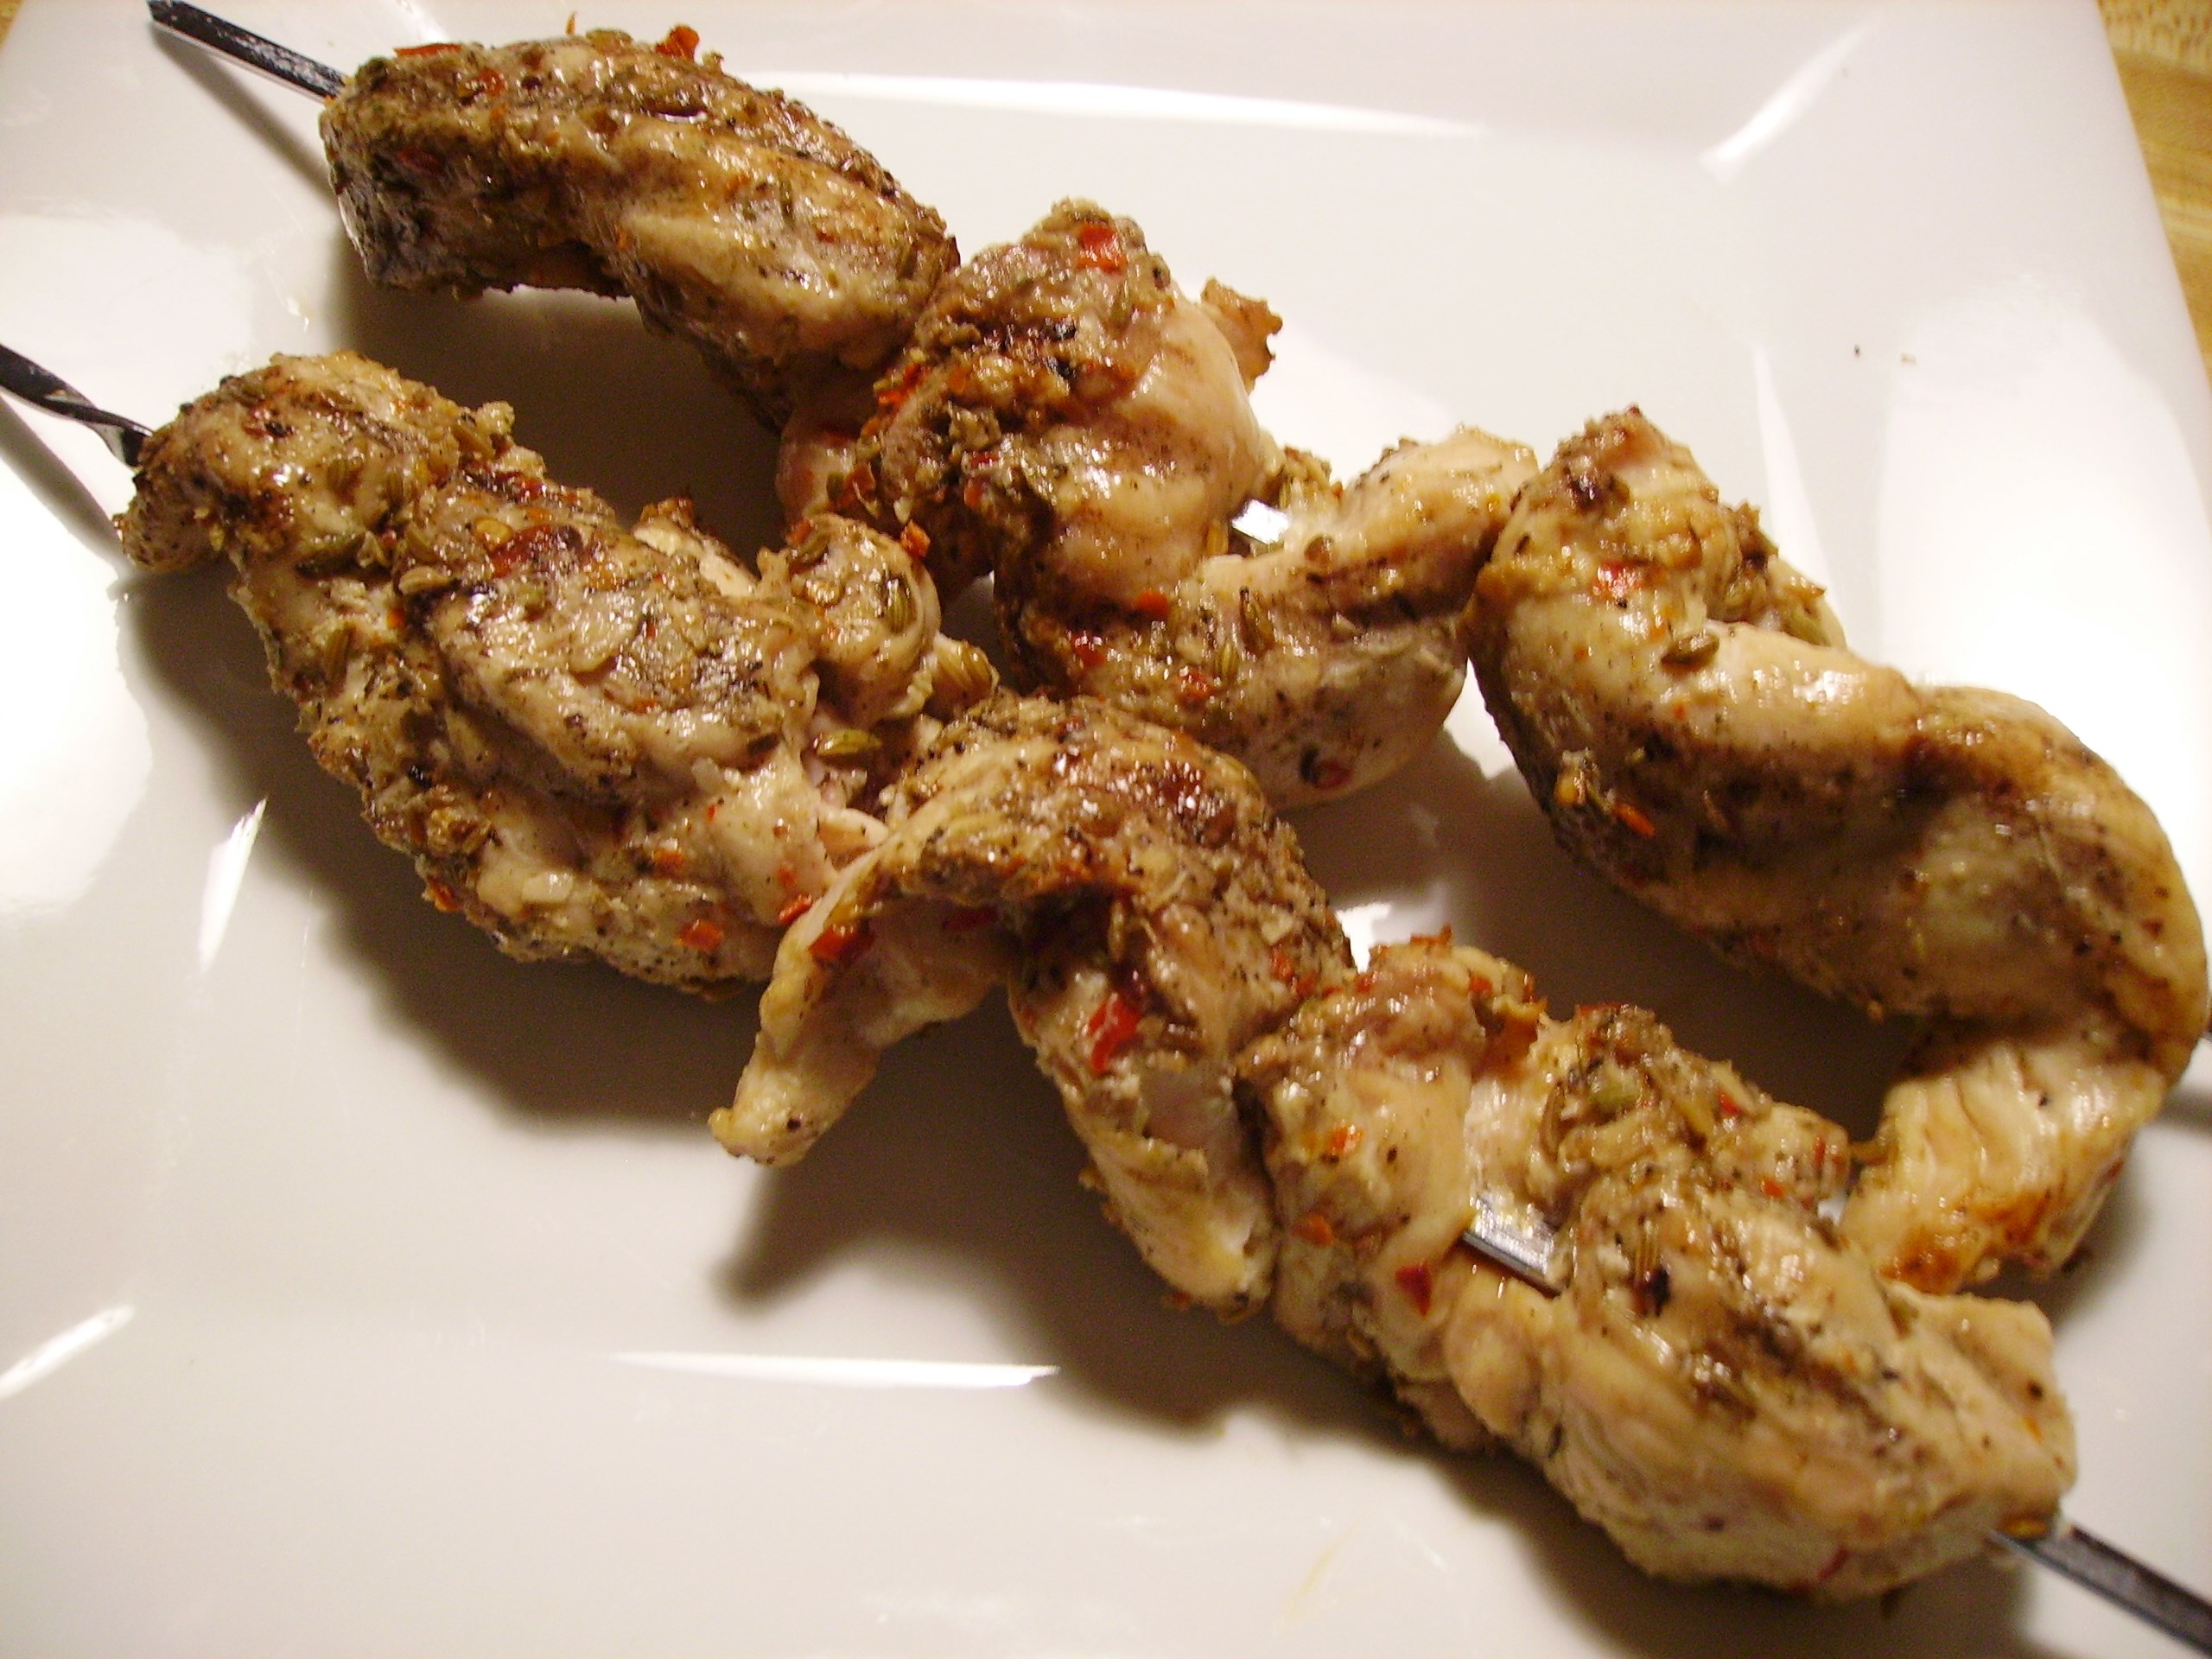
 There was plenty of room on the grill so I threw on a couple of boneless, skinless breasts for good measure. It never hurts to have some grilled chicken to throw on a salad or make a sandwich. Tenderloins are not just for chicken fingers. A little marinating and a skewering and they can take the heat of the grill. These were marinated in Italian sausage seasonings and threaded on skewers, They cooked quickly and were ready to become part of a pasta dish. They can also bide their time in the frig for a couple of days until you’re ready to use them.
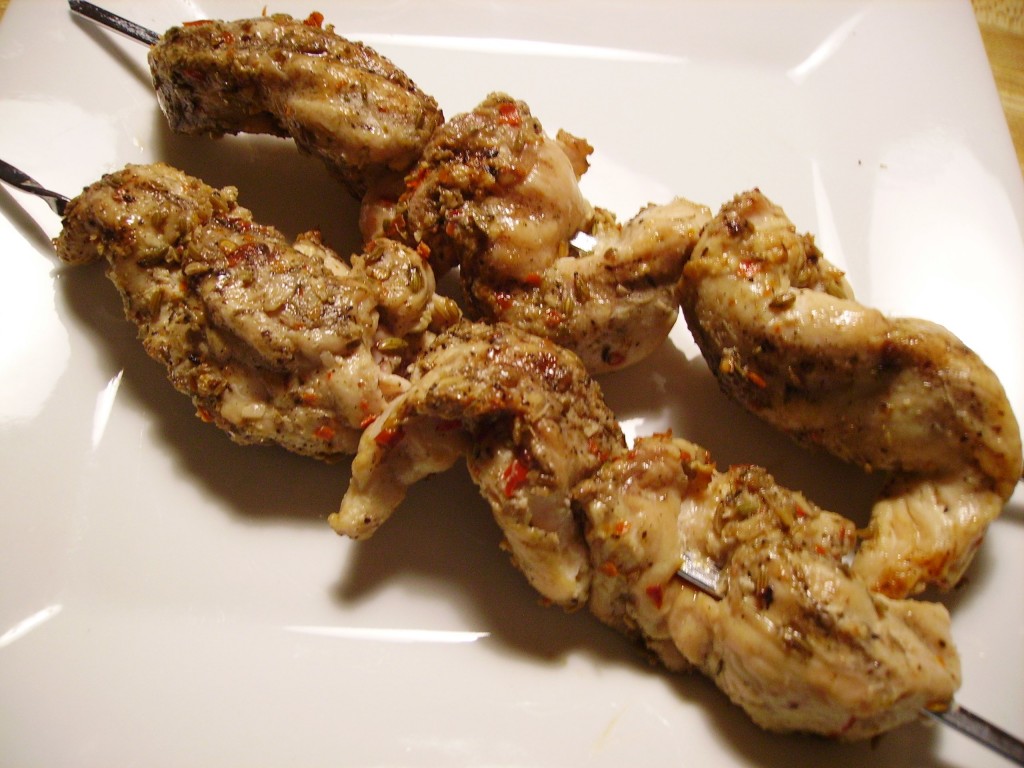 The rest of this pasta dish doesn’t come from the grill, but it turned out so well, I didn’t think anyone would mind. The sauce was mostly vegetables, zucchini, peppers, and onions. Lightly sauteed and given a chicken broth base, it was light, healthy and satisfying. The veggies would also be good grilled.
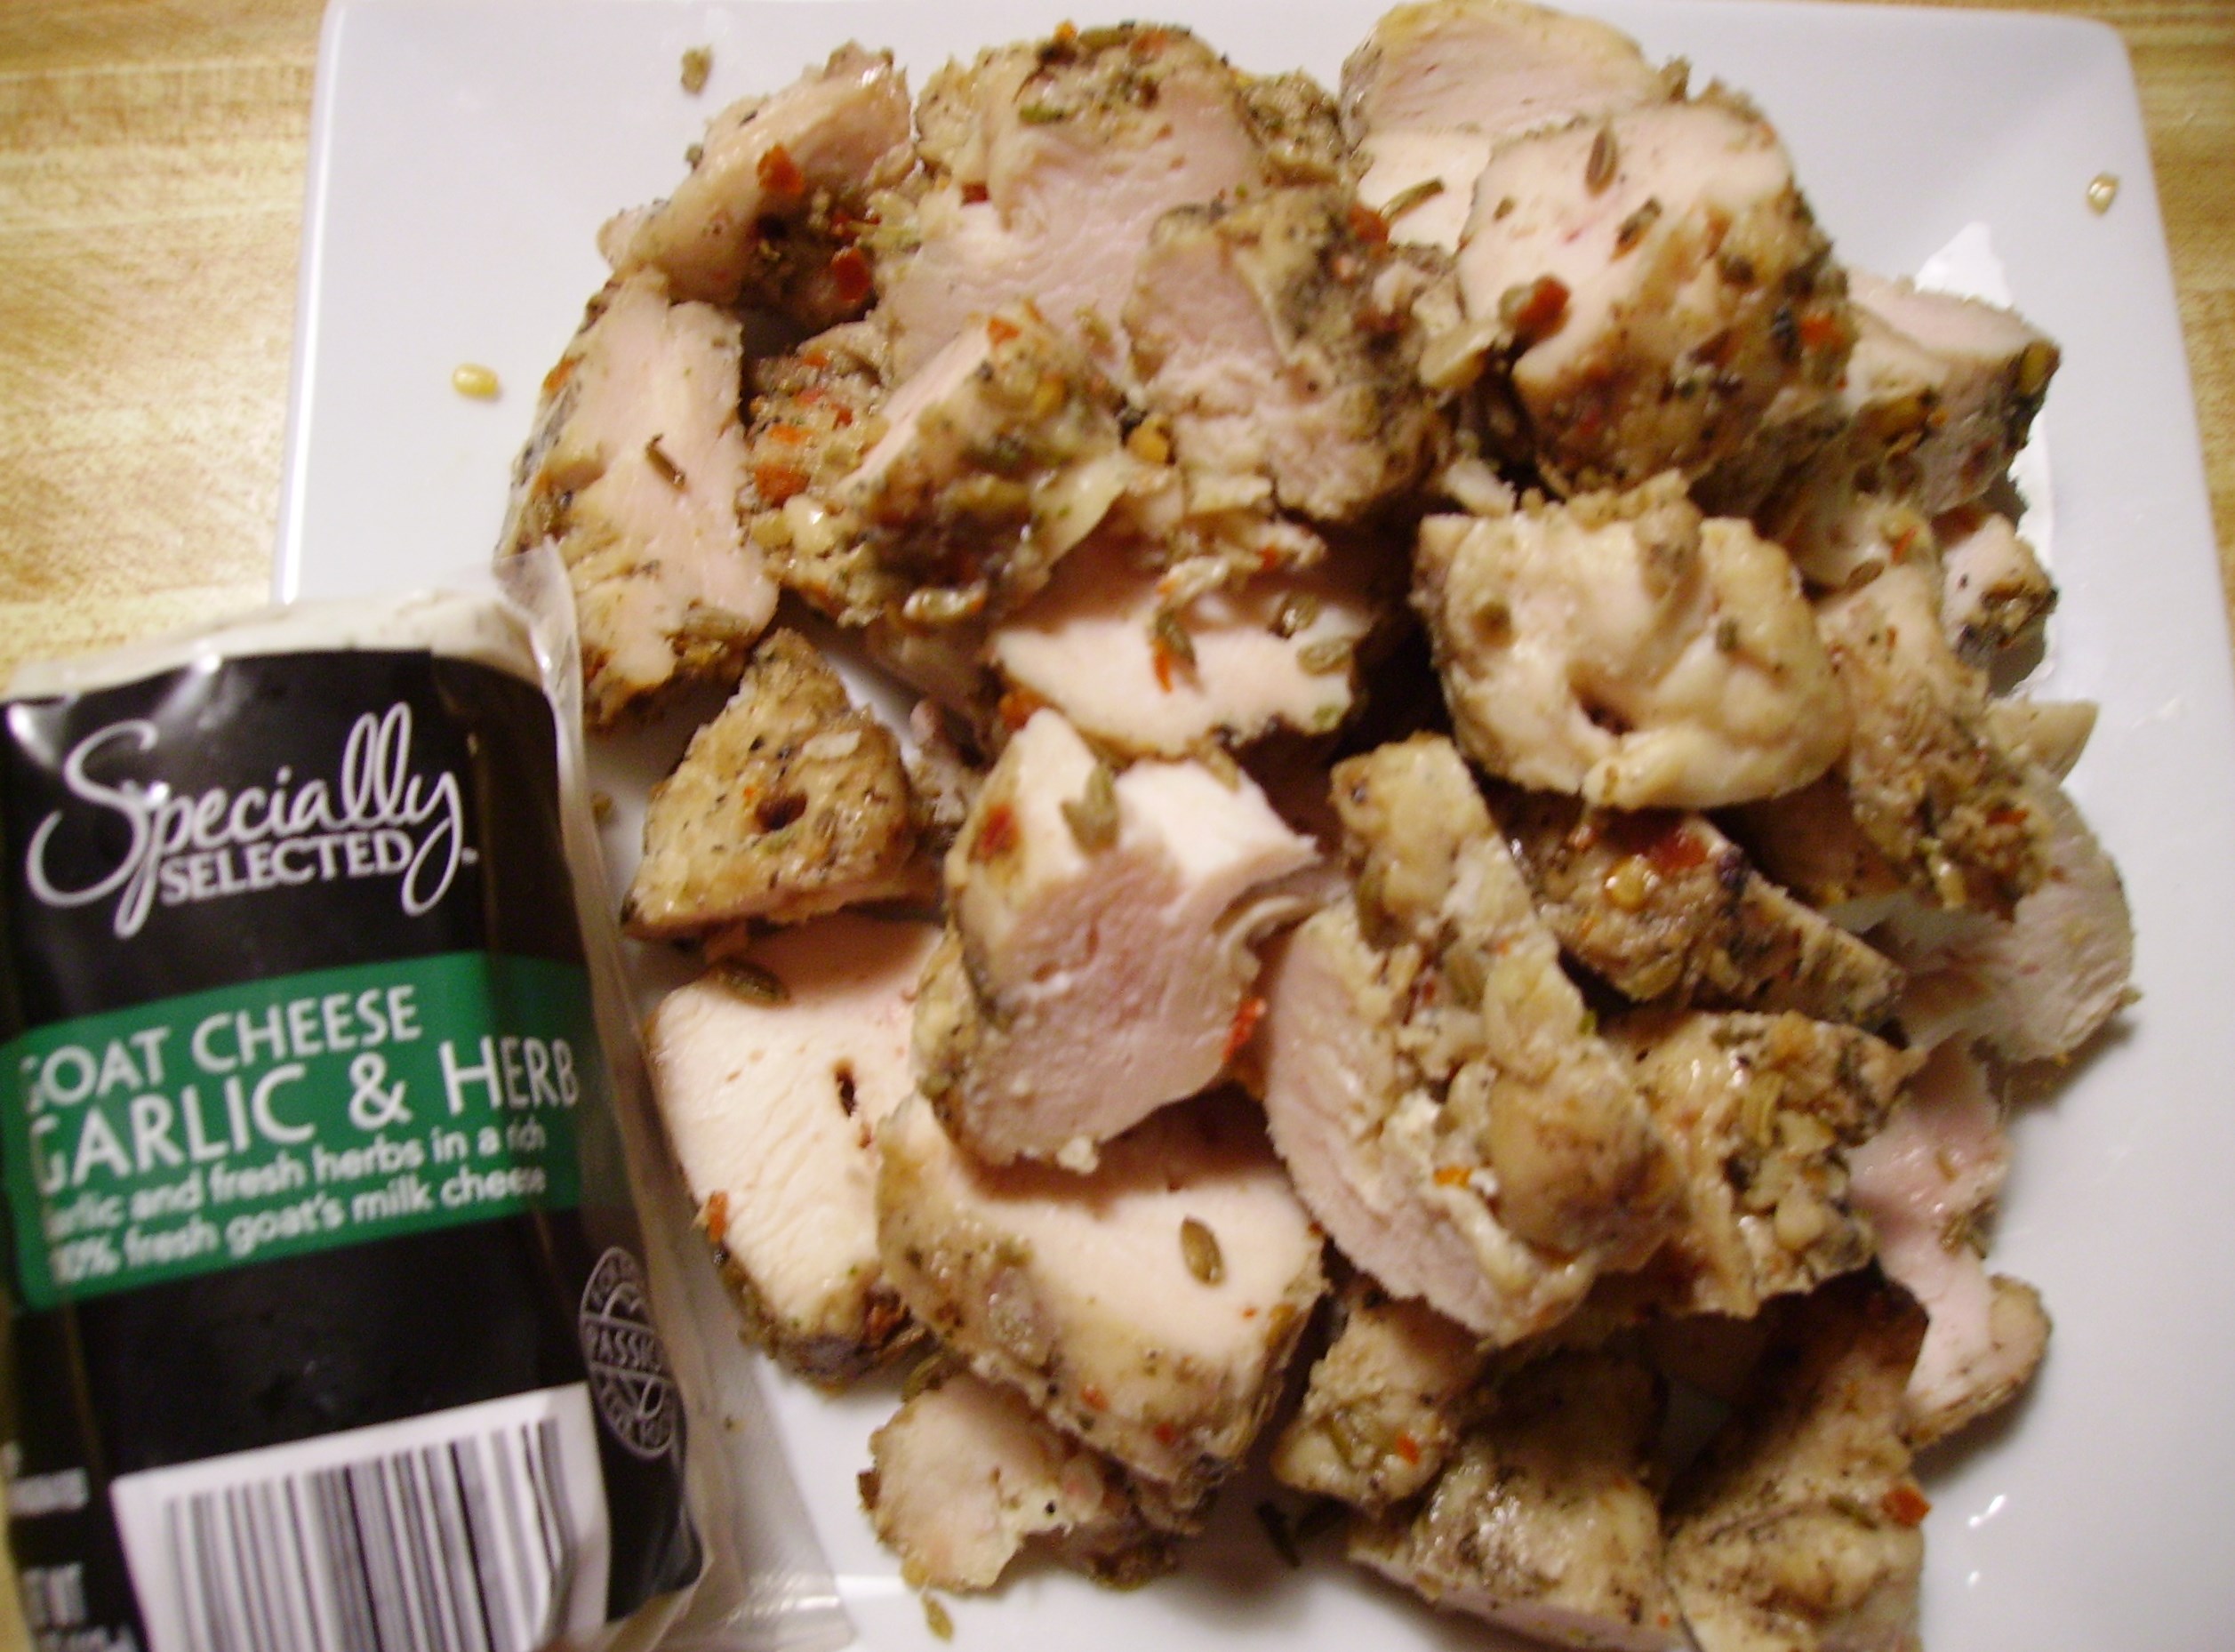
 The grilled tenders with their sausage inspired seasoning gave big flavor that was able to meet the goat cheese’s creamy tartness eye to eye (if cheese and chicken had eyes).
 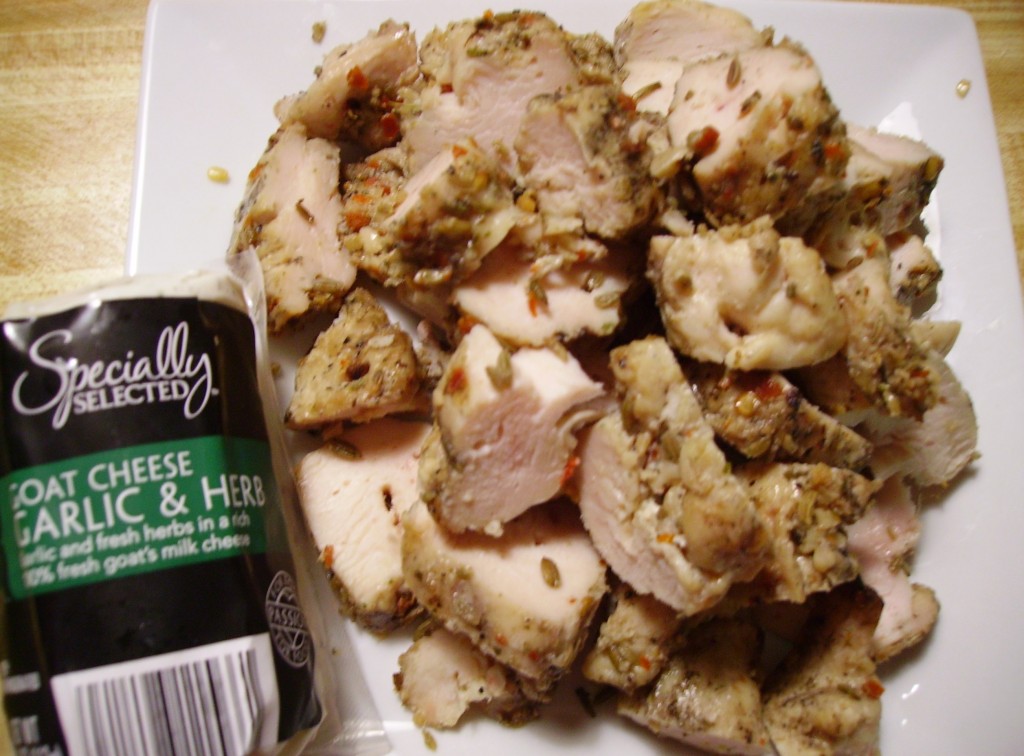 Everything came together and was joined by some “Smart Taste” pasta. This has 2-1/2 times the fiber of regular, but looks and tastes almost identical.
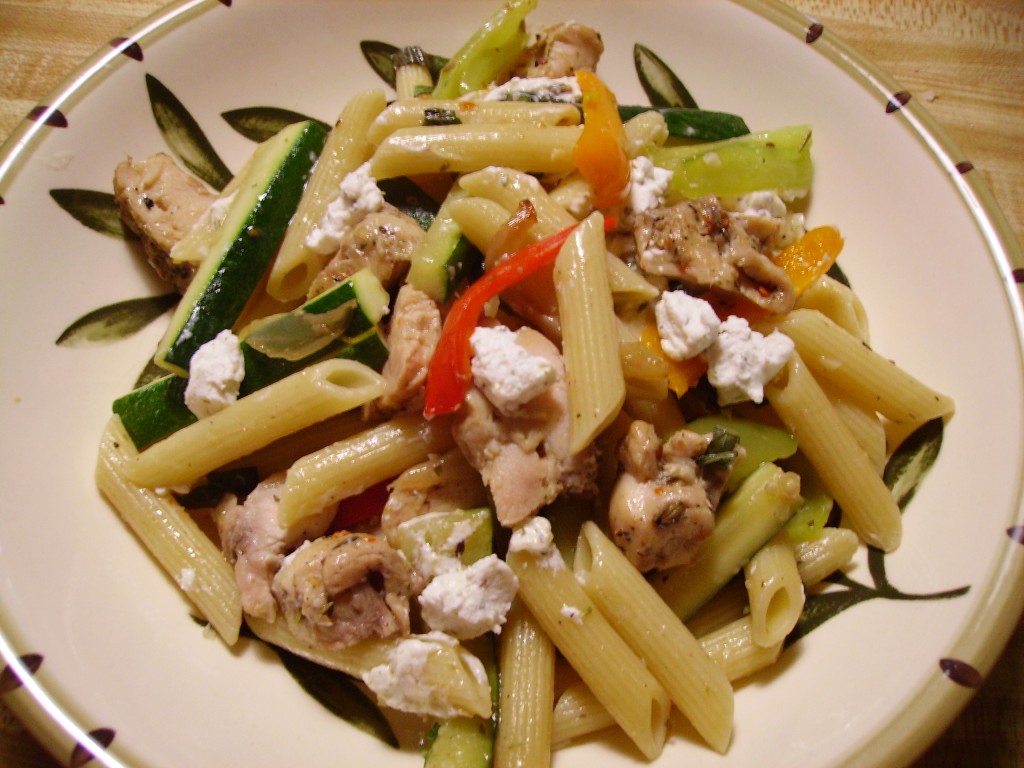
Penne with "Sausage" Chicken and Goat Cheese
Chicken marinated in the flavors of Italian Sausage then grilled to give it a smokey depth of flavor. Use your favorite vegetables...you could even grill them. Toss everything with your favorite cut pasta
|
|
|
Penne with "Sausage" Chicken and Goat Cheese
Chicken marinated in the flavors of Italian Sausage then grilled to give it a smokey depth of flavor. Use your favorite vegetables...you could even grill them. Toss everything with your favorite cut pasta
|
Instructions
For the Chicken: Place the tenders in a quart size zip top bag.
Combine the fennel seed, pepper flakes, 2 minced garlic cloves, 3/4 tablespoon olive oil and the Italian seasoning. Pour into bag, seal and massage to distribute the marinade. Refrigerate for up to 24 hours.
To grill the chicken: Remove the chicken from the marinade. Thread the tenders on 2 or 3 skewers. Place over medium grill heat and cook, turning occasionally until chicken is cooked through. This takes about 15 minutes. Remove chicken from skewers and use in recipe or refrigerate for up to 3 days.
Cook the pasta according to the directions on the package reducing cooking time by one minute While the pasta cooks, prepare the sauce.
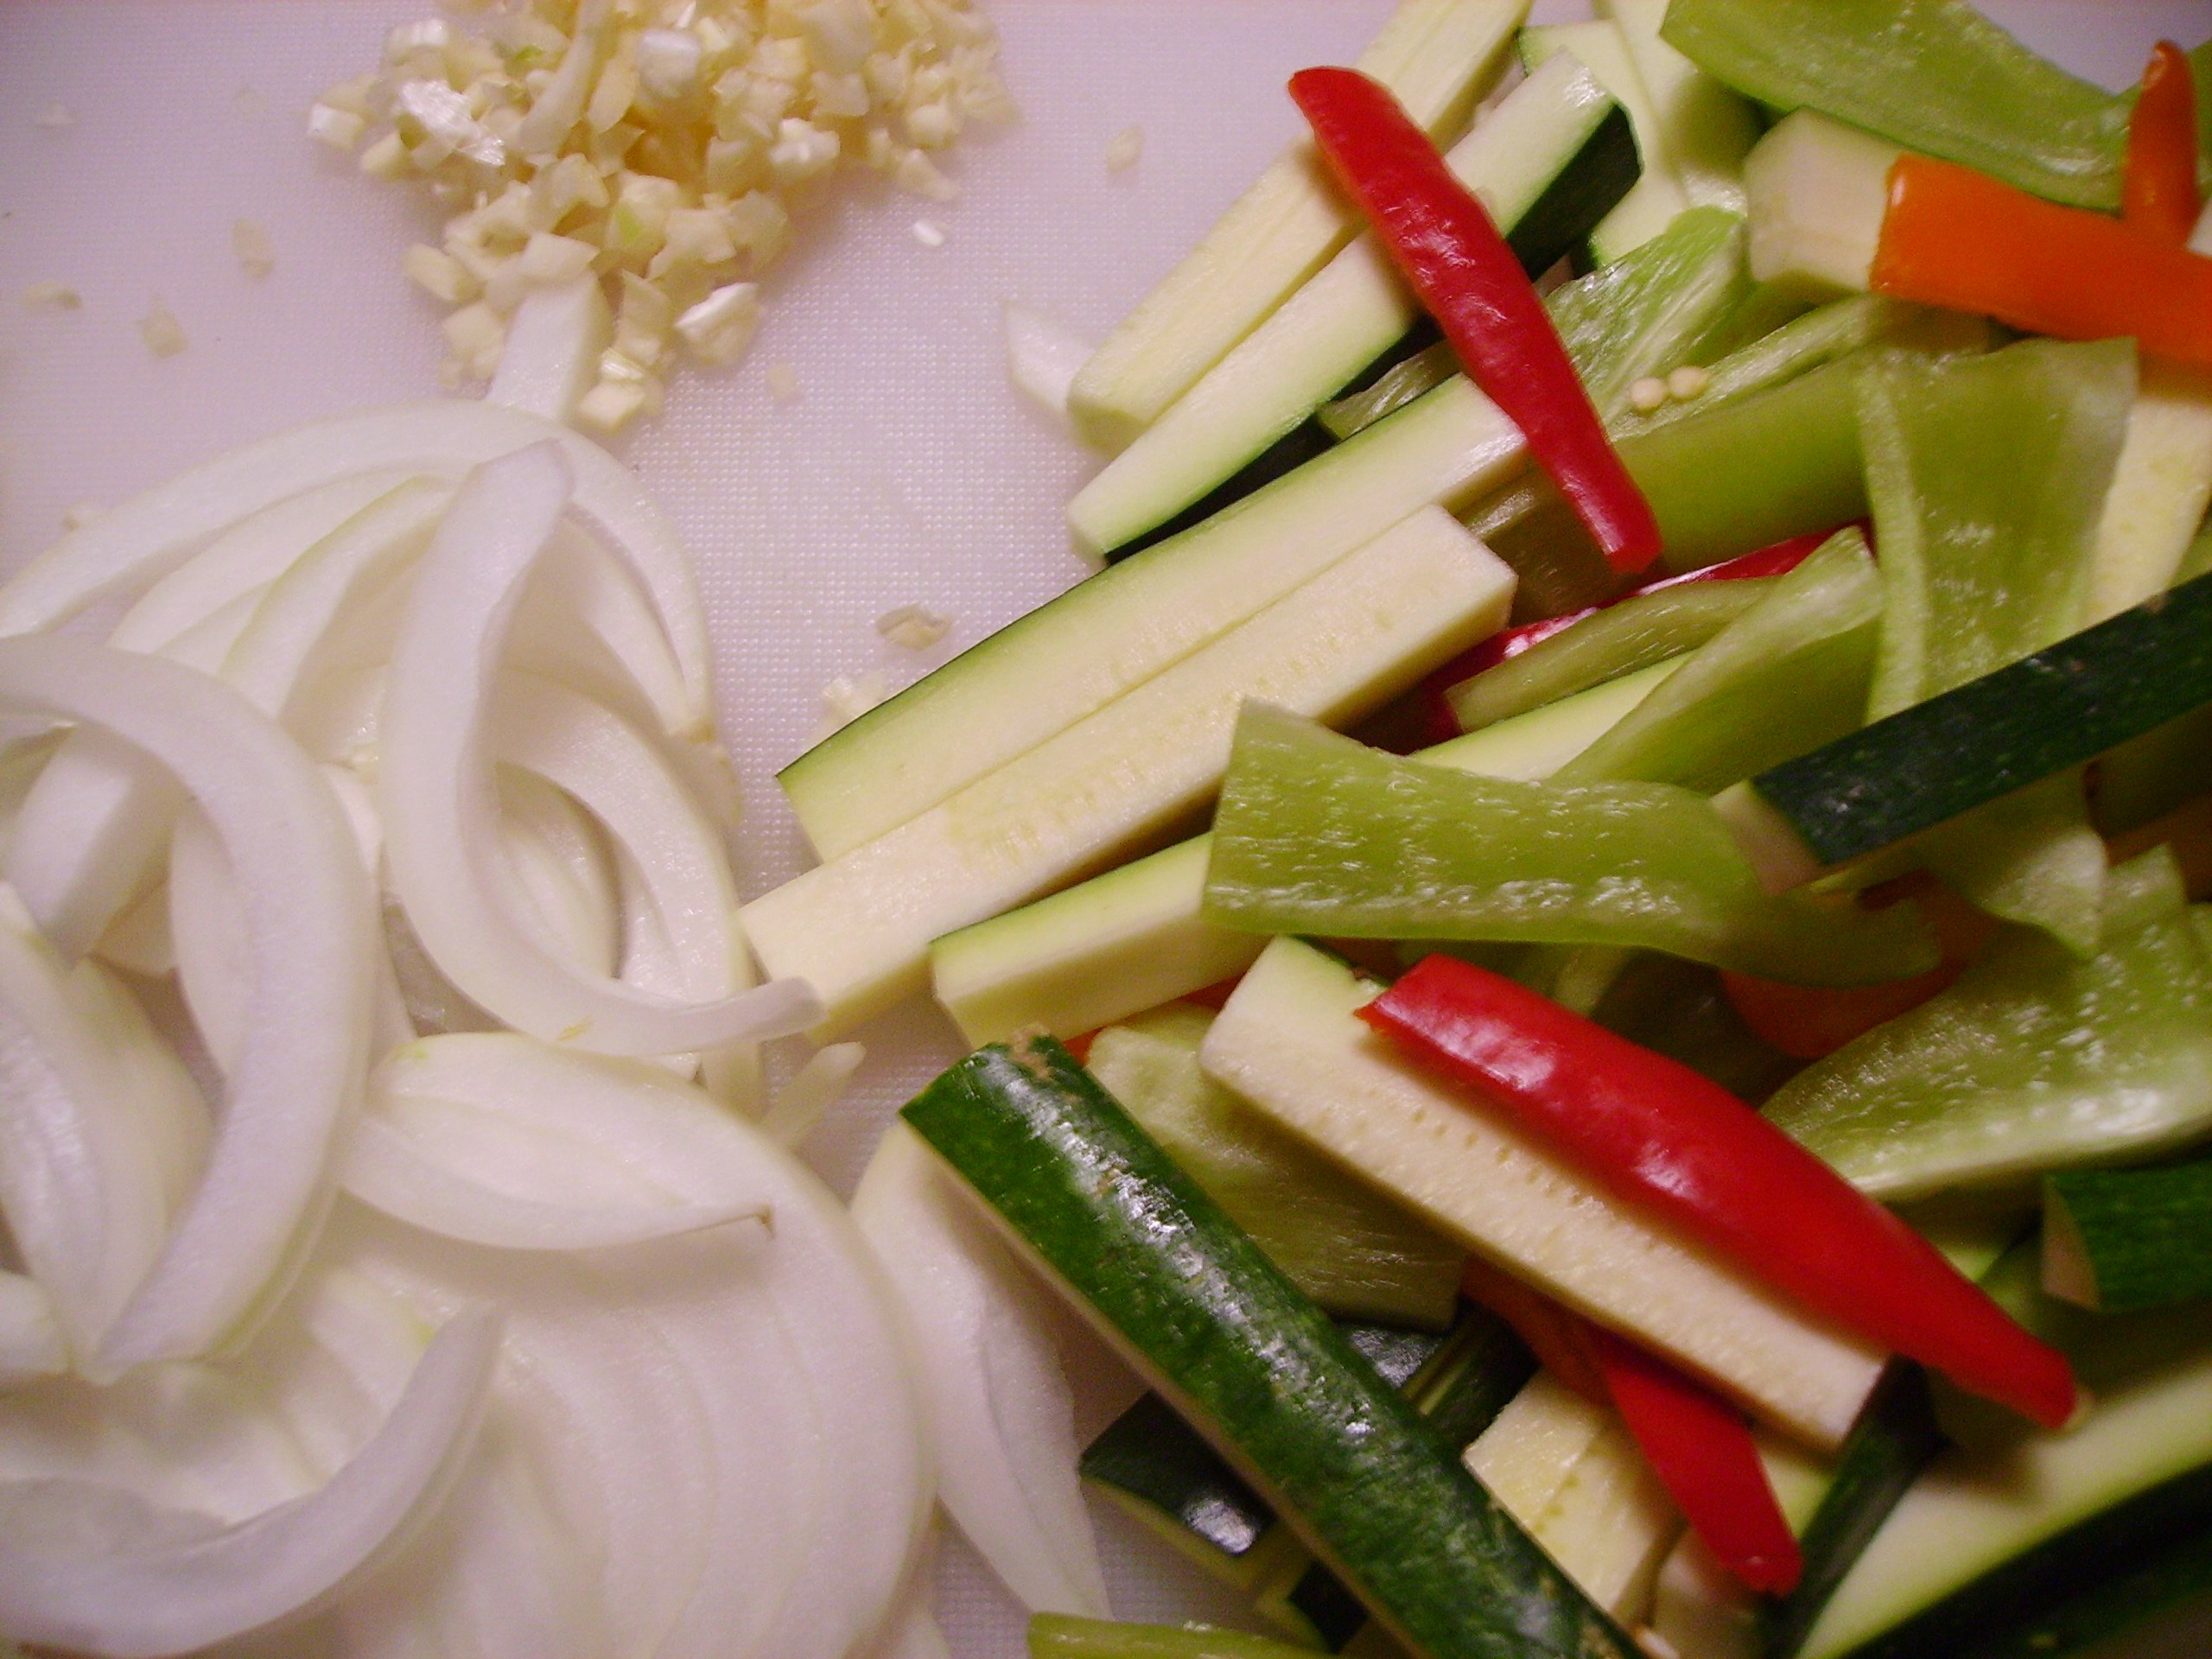
Zucchini: Cut in half crosswise. Cut each half lengthwise into 3 slices. Cut each slice into 3 or 4 strips.
Onion and Garlic: Cut onion in half lengthwise. Slice thinly lengthwise.
Finely chop the 3 cloves of garlic.
Peppers: Cut peppers in half lengthwise. Remove the seeds and cut in half crosswise. Cut in 1/2 wide strips
Heat a large fry pan over medium high heat. Add the remaining olive oil. Add the onion and cook for 2 minutes. Add the peppers and cook 3 minutes more. Add the garlic and zucchini. and cook 3 -4 minutes.
Cut the chicken tenders into bite size chunks. and add them to the pan. Stir in the chicken broth slowly. You want everything moistened, but nothing swimming. You may not need to use all of the broth.
Simmer for a few minutes. When the pasta is cooked al dente, drain it and add it to the fry pan. Toss to combine everything and cook another minute.
Crumble the goat cheese on top of the pasta and spoon into bowls. Top with ground pepper to taste.
The summer has just begun and I know that there will be many more grill adventures to share. I hope you are taking advantage of the beautiful weather and finding your own “Grill Love.” Mama D
Like this:
Like Loading...

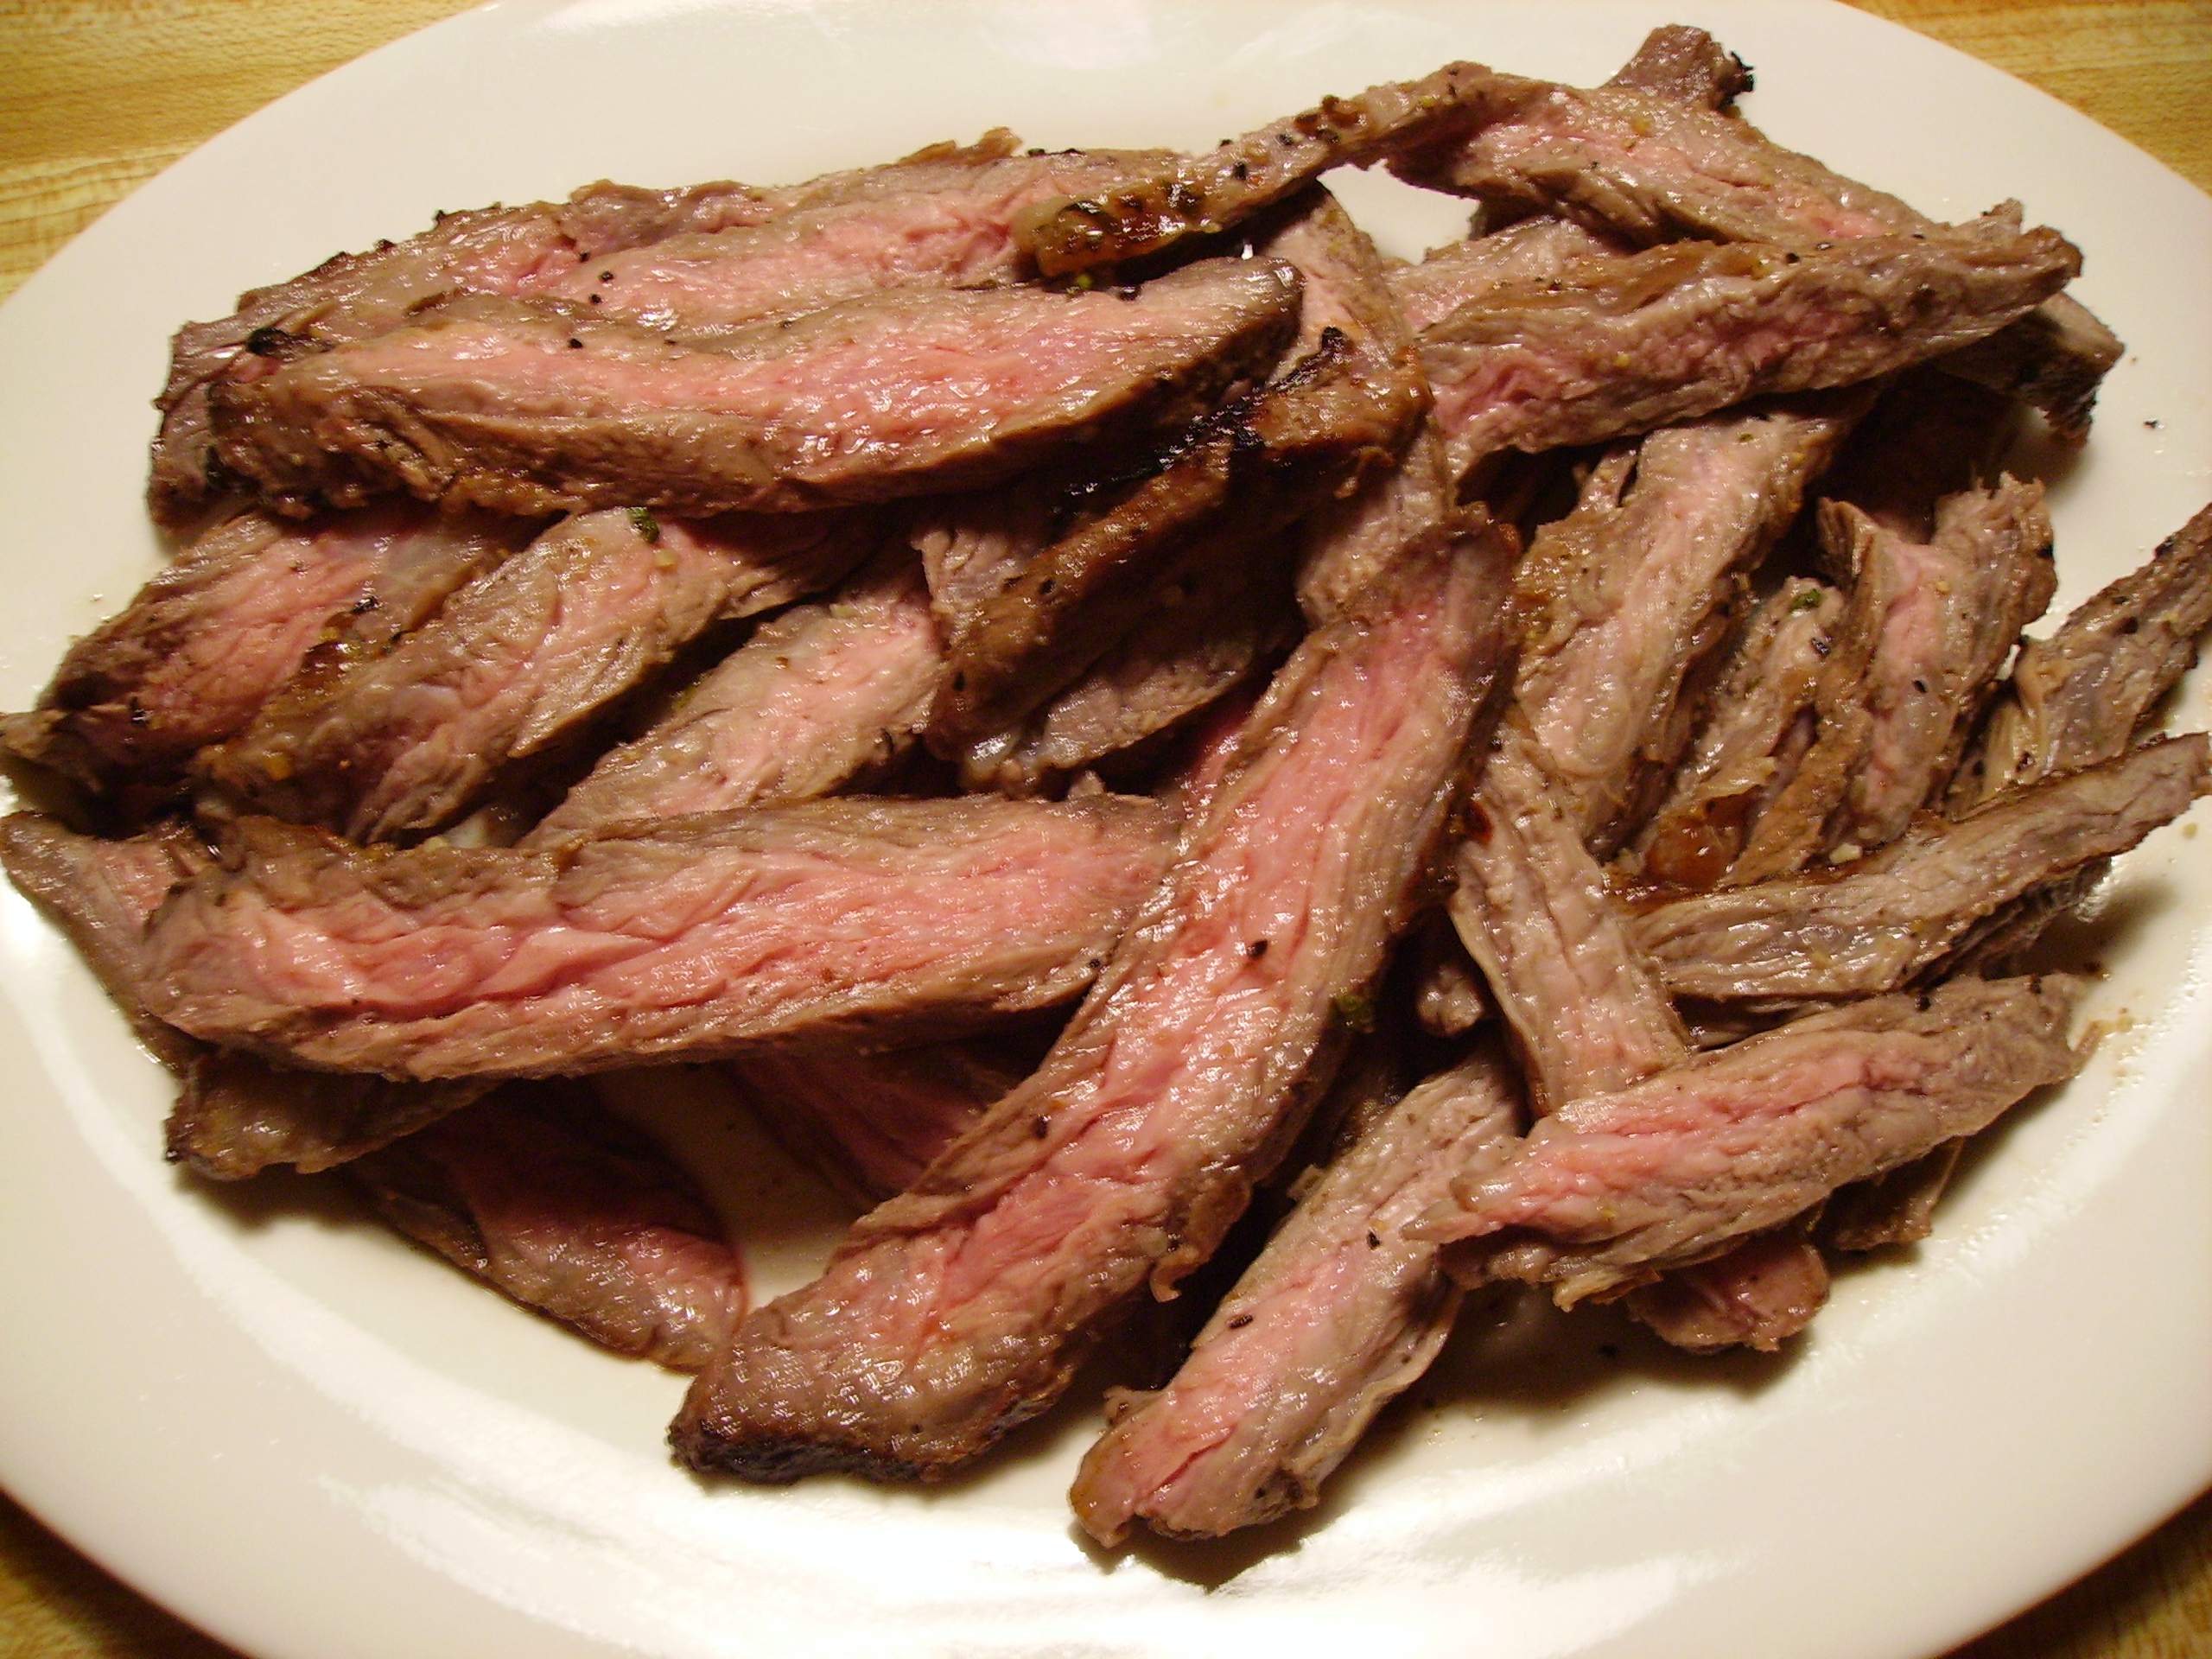
 The tacos started with skirt steak that was marinated in lime juice, onion, garlic and cilantro. Olive oil and Mexican oregano added some depth of flavor.
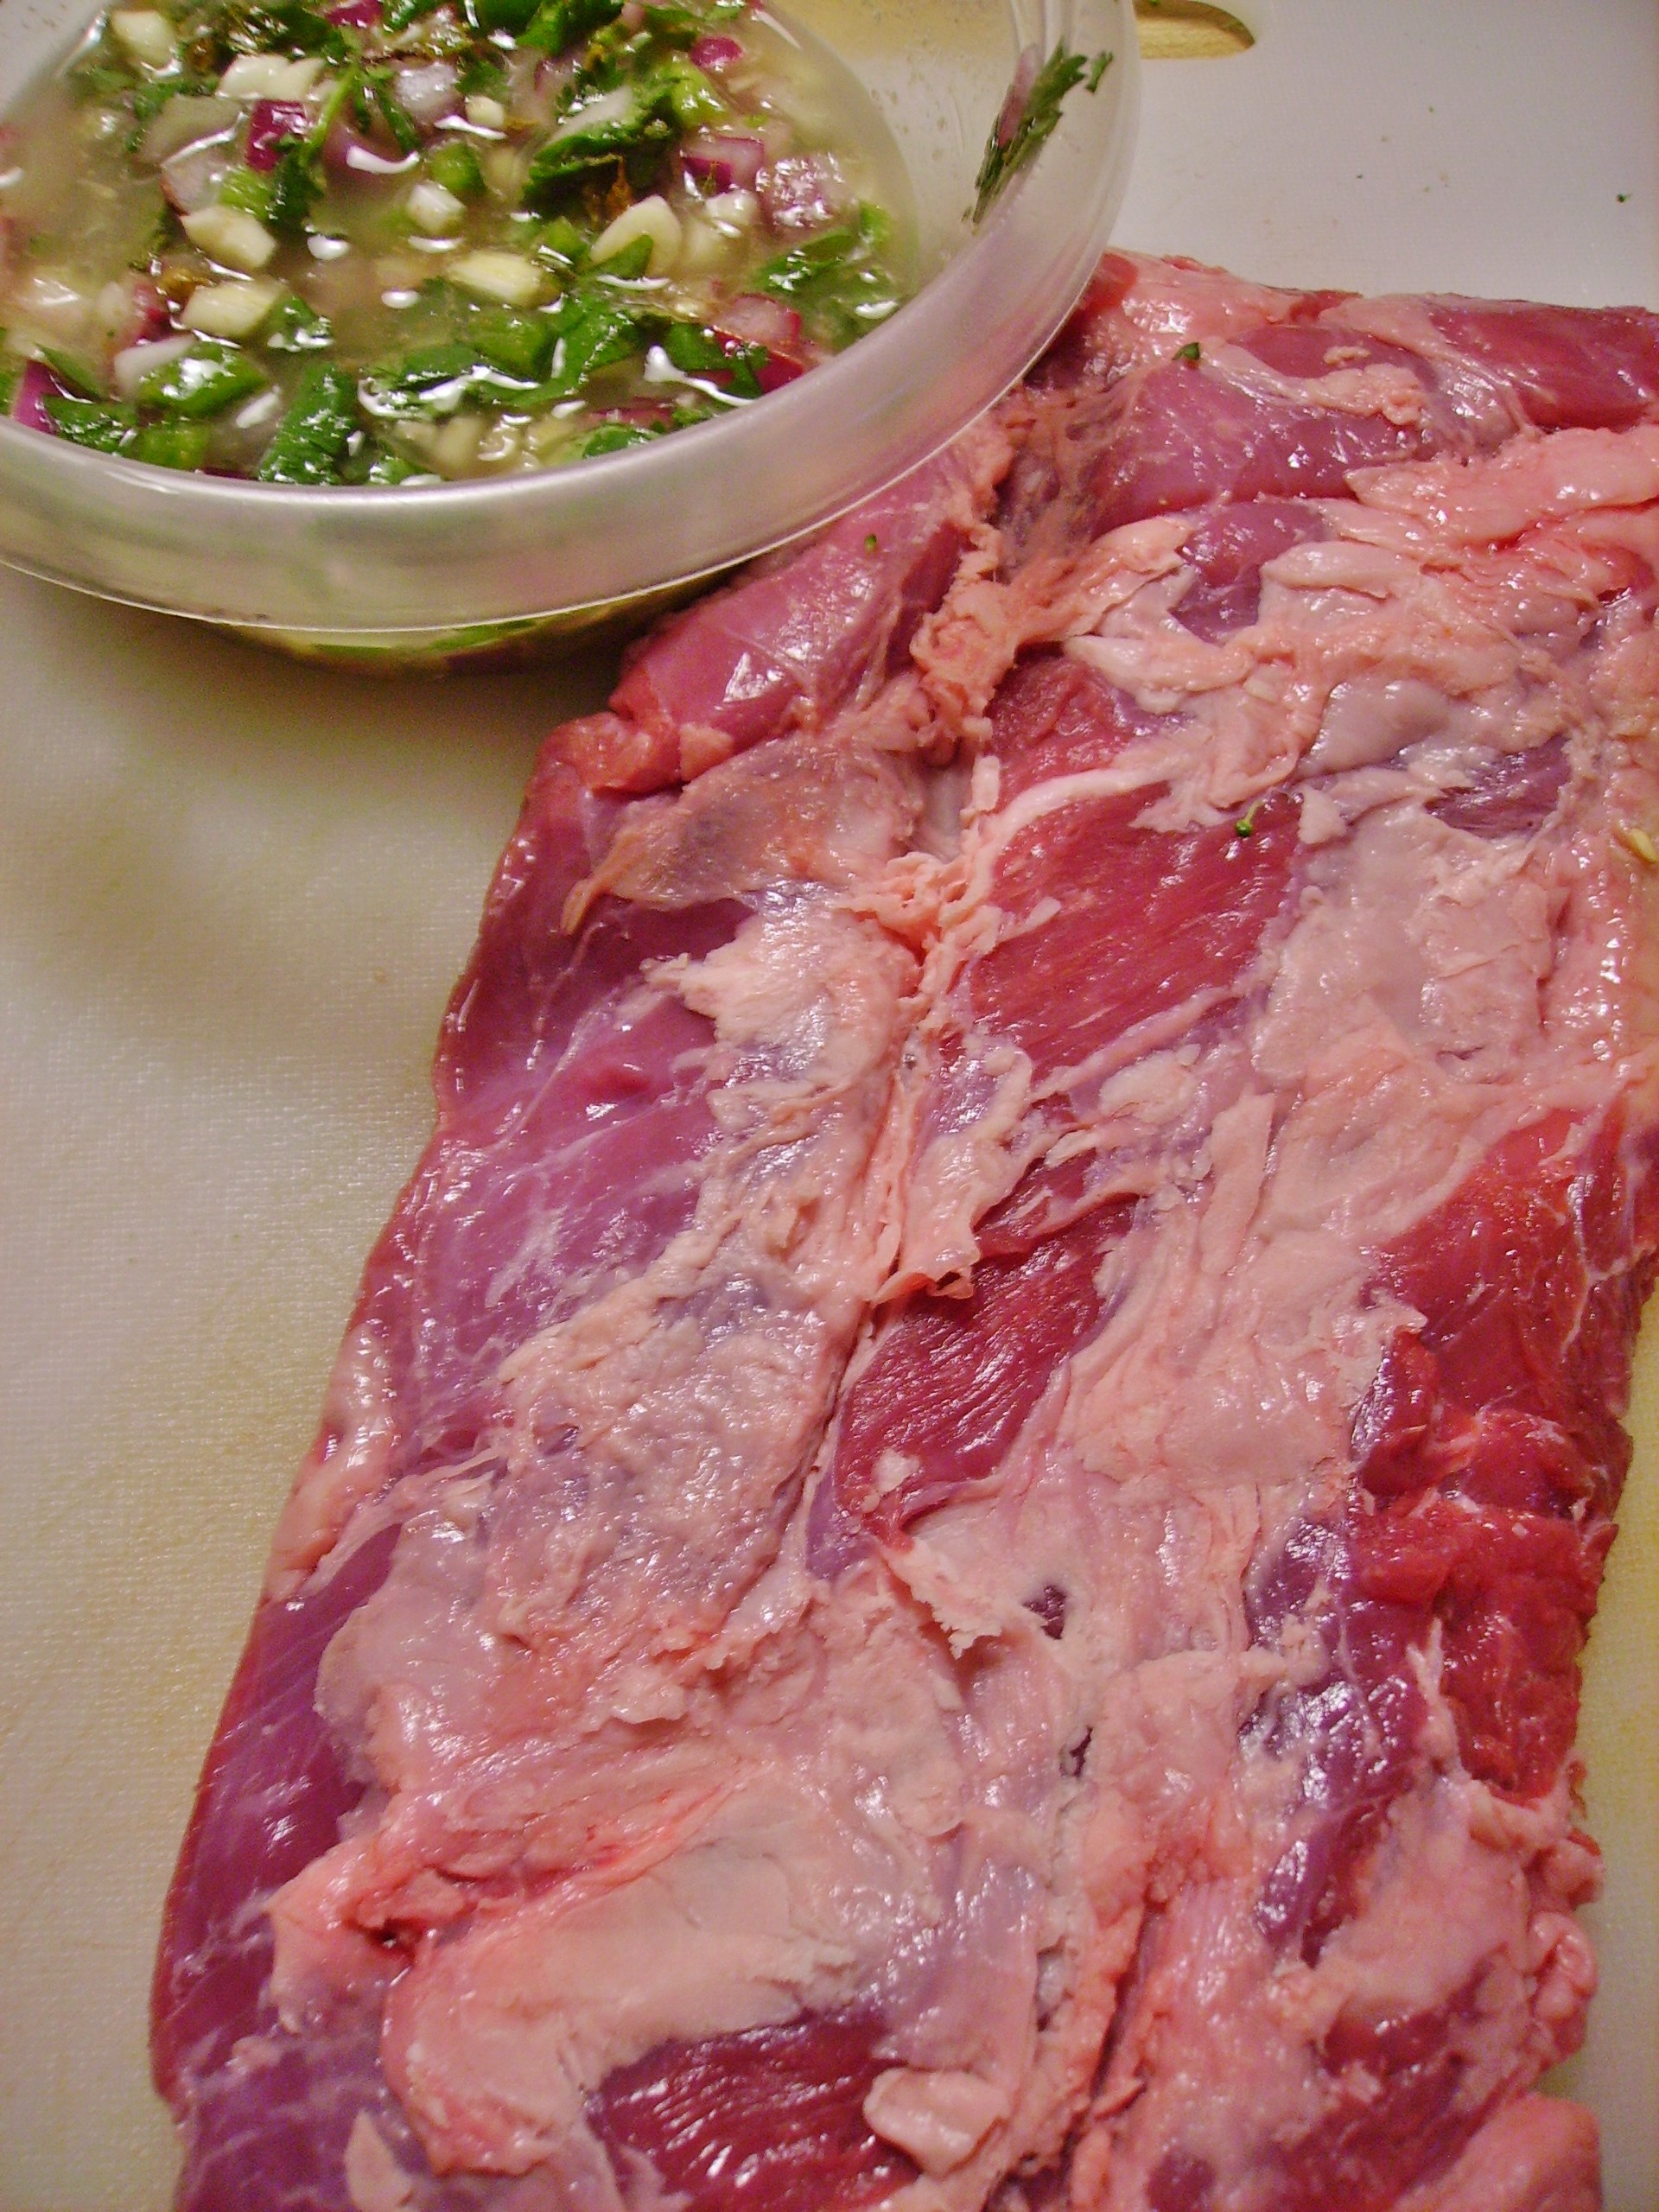
 that nestled into a whole grain tortilla.
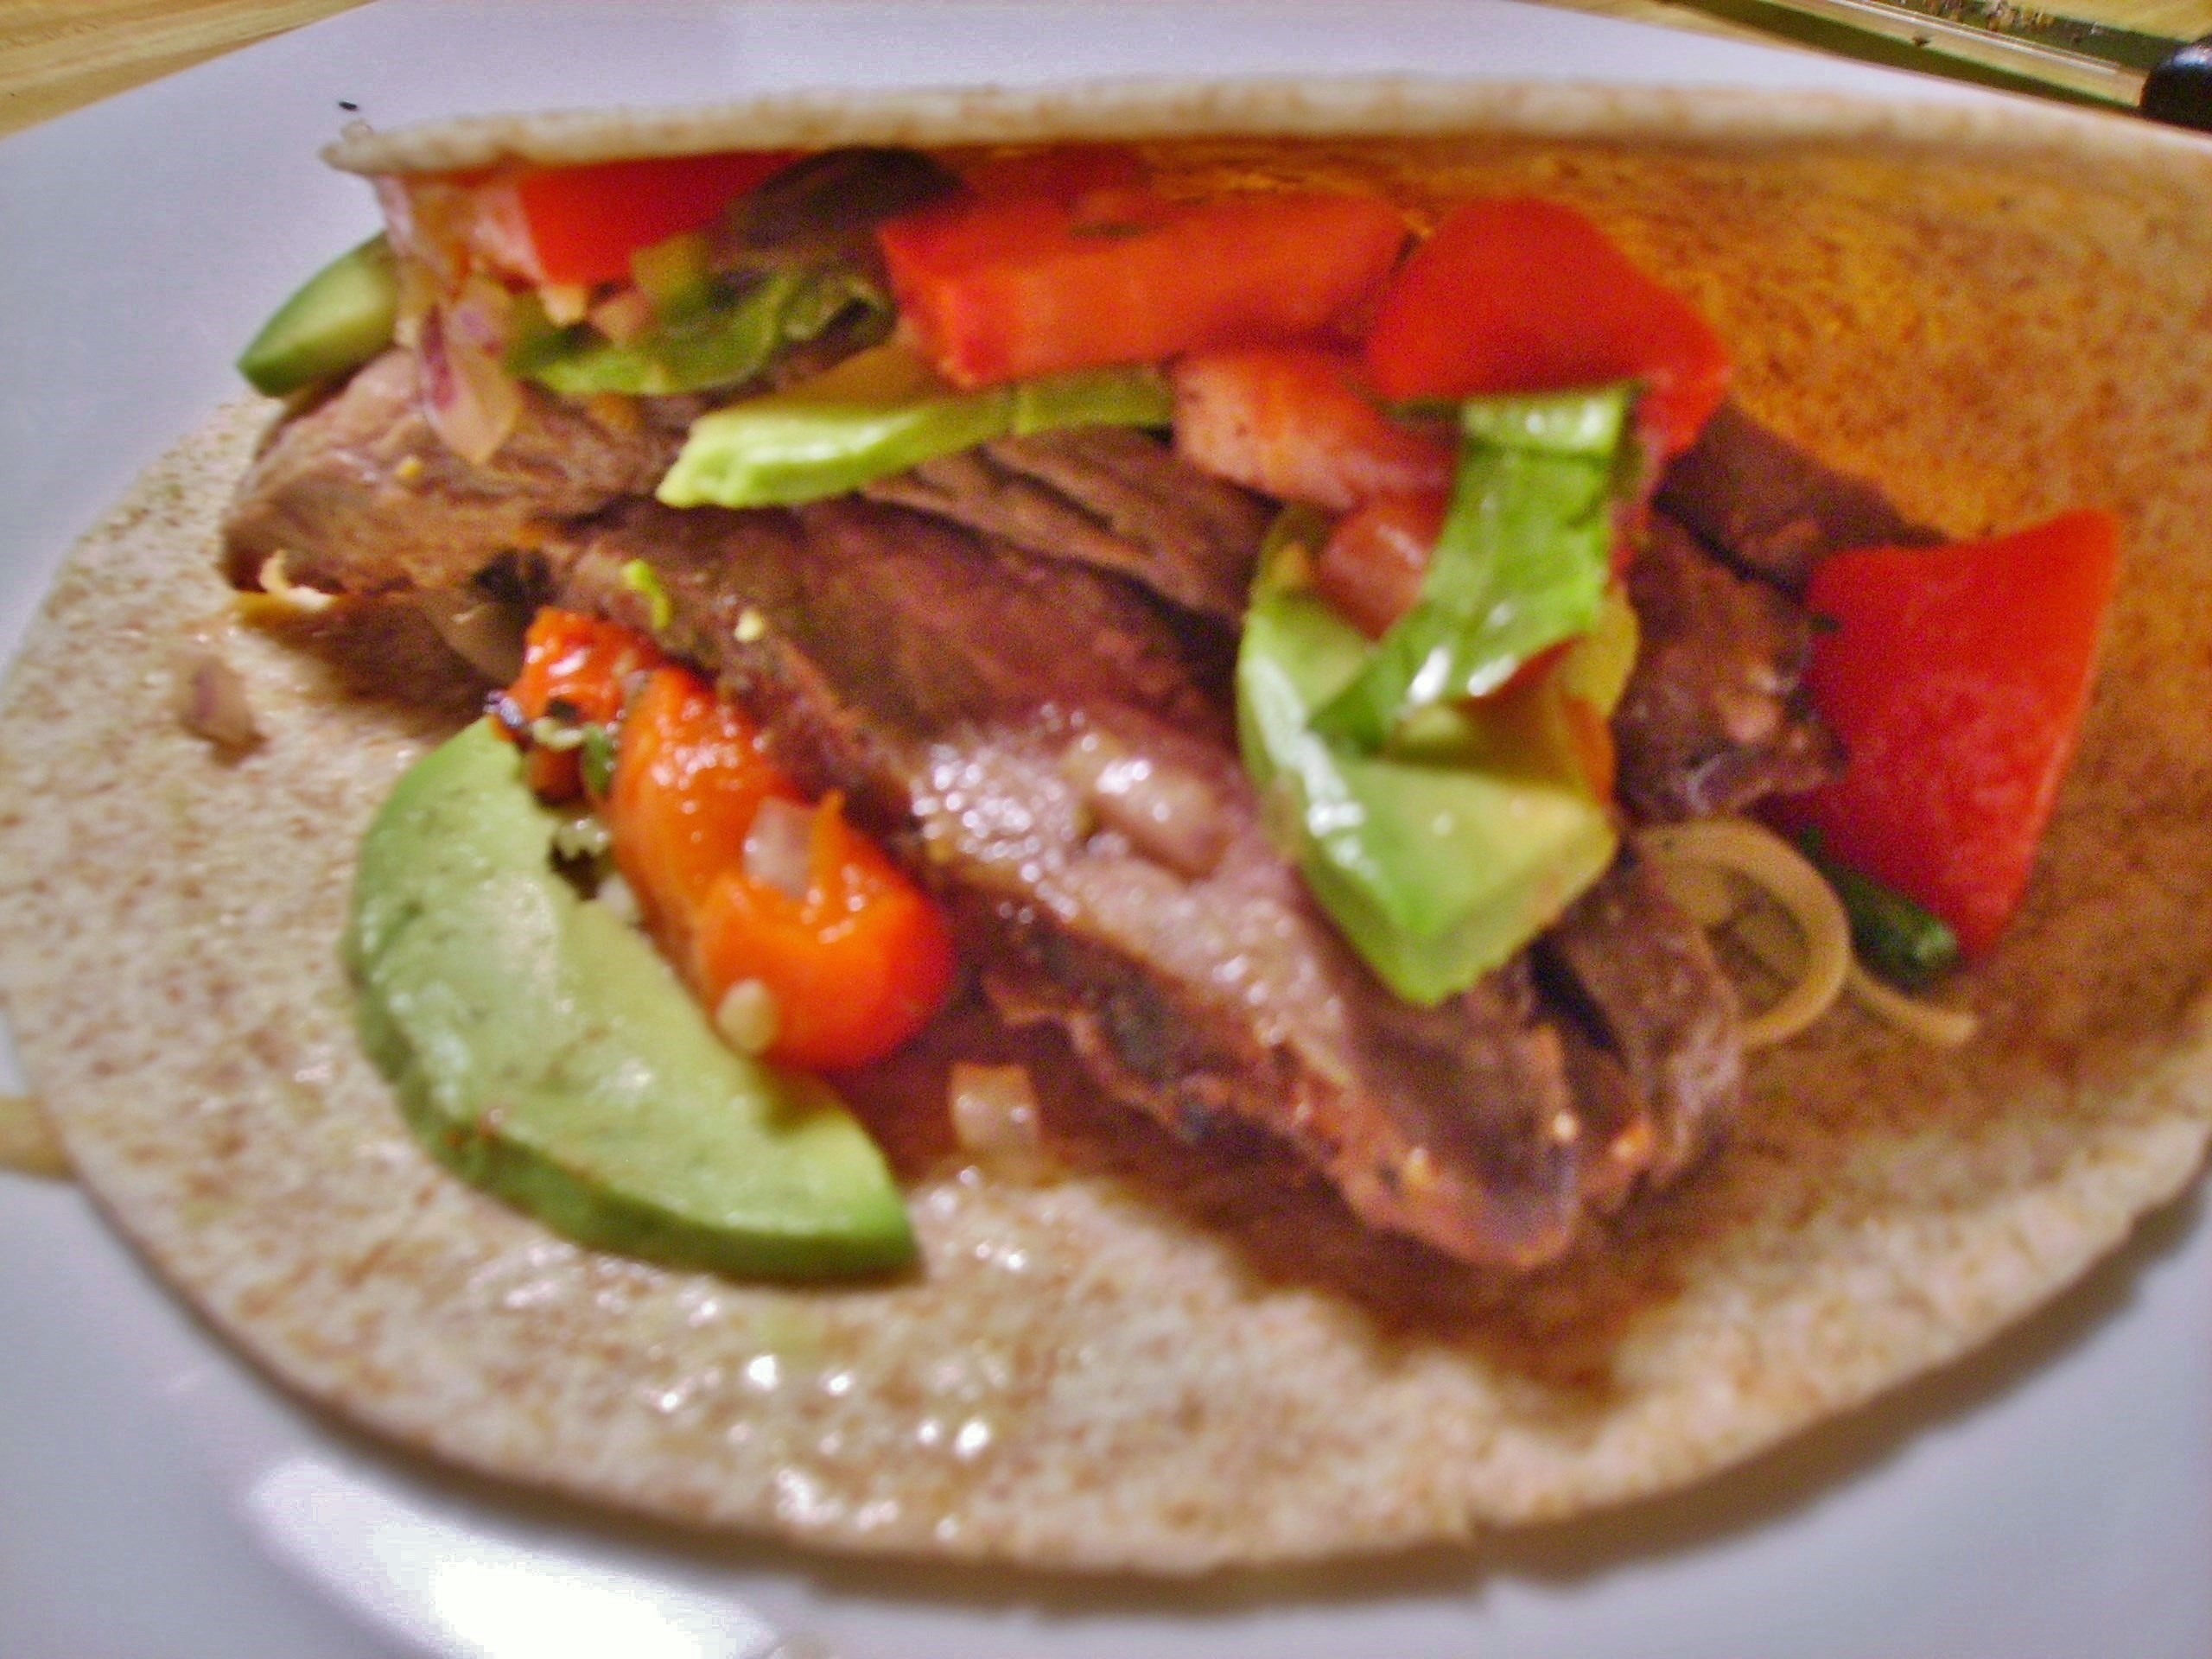 Garnished with Roasted Red Pepper Salsa and sliced avocado and tomato,
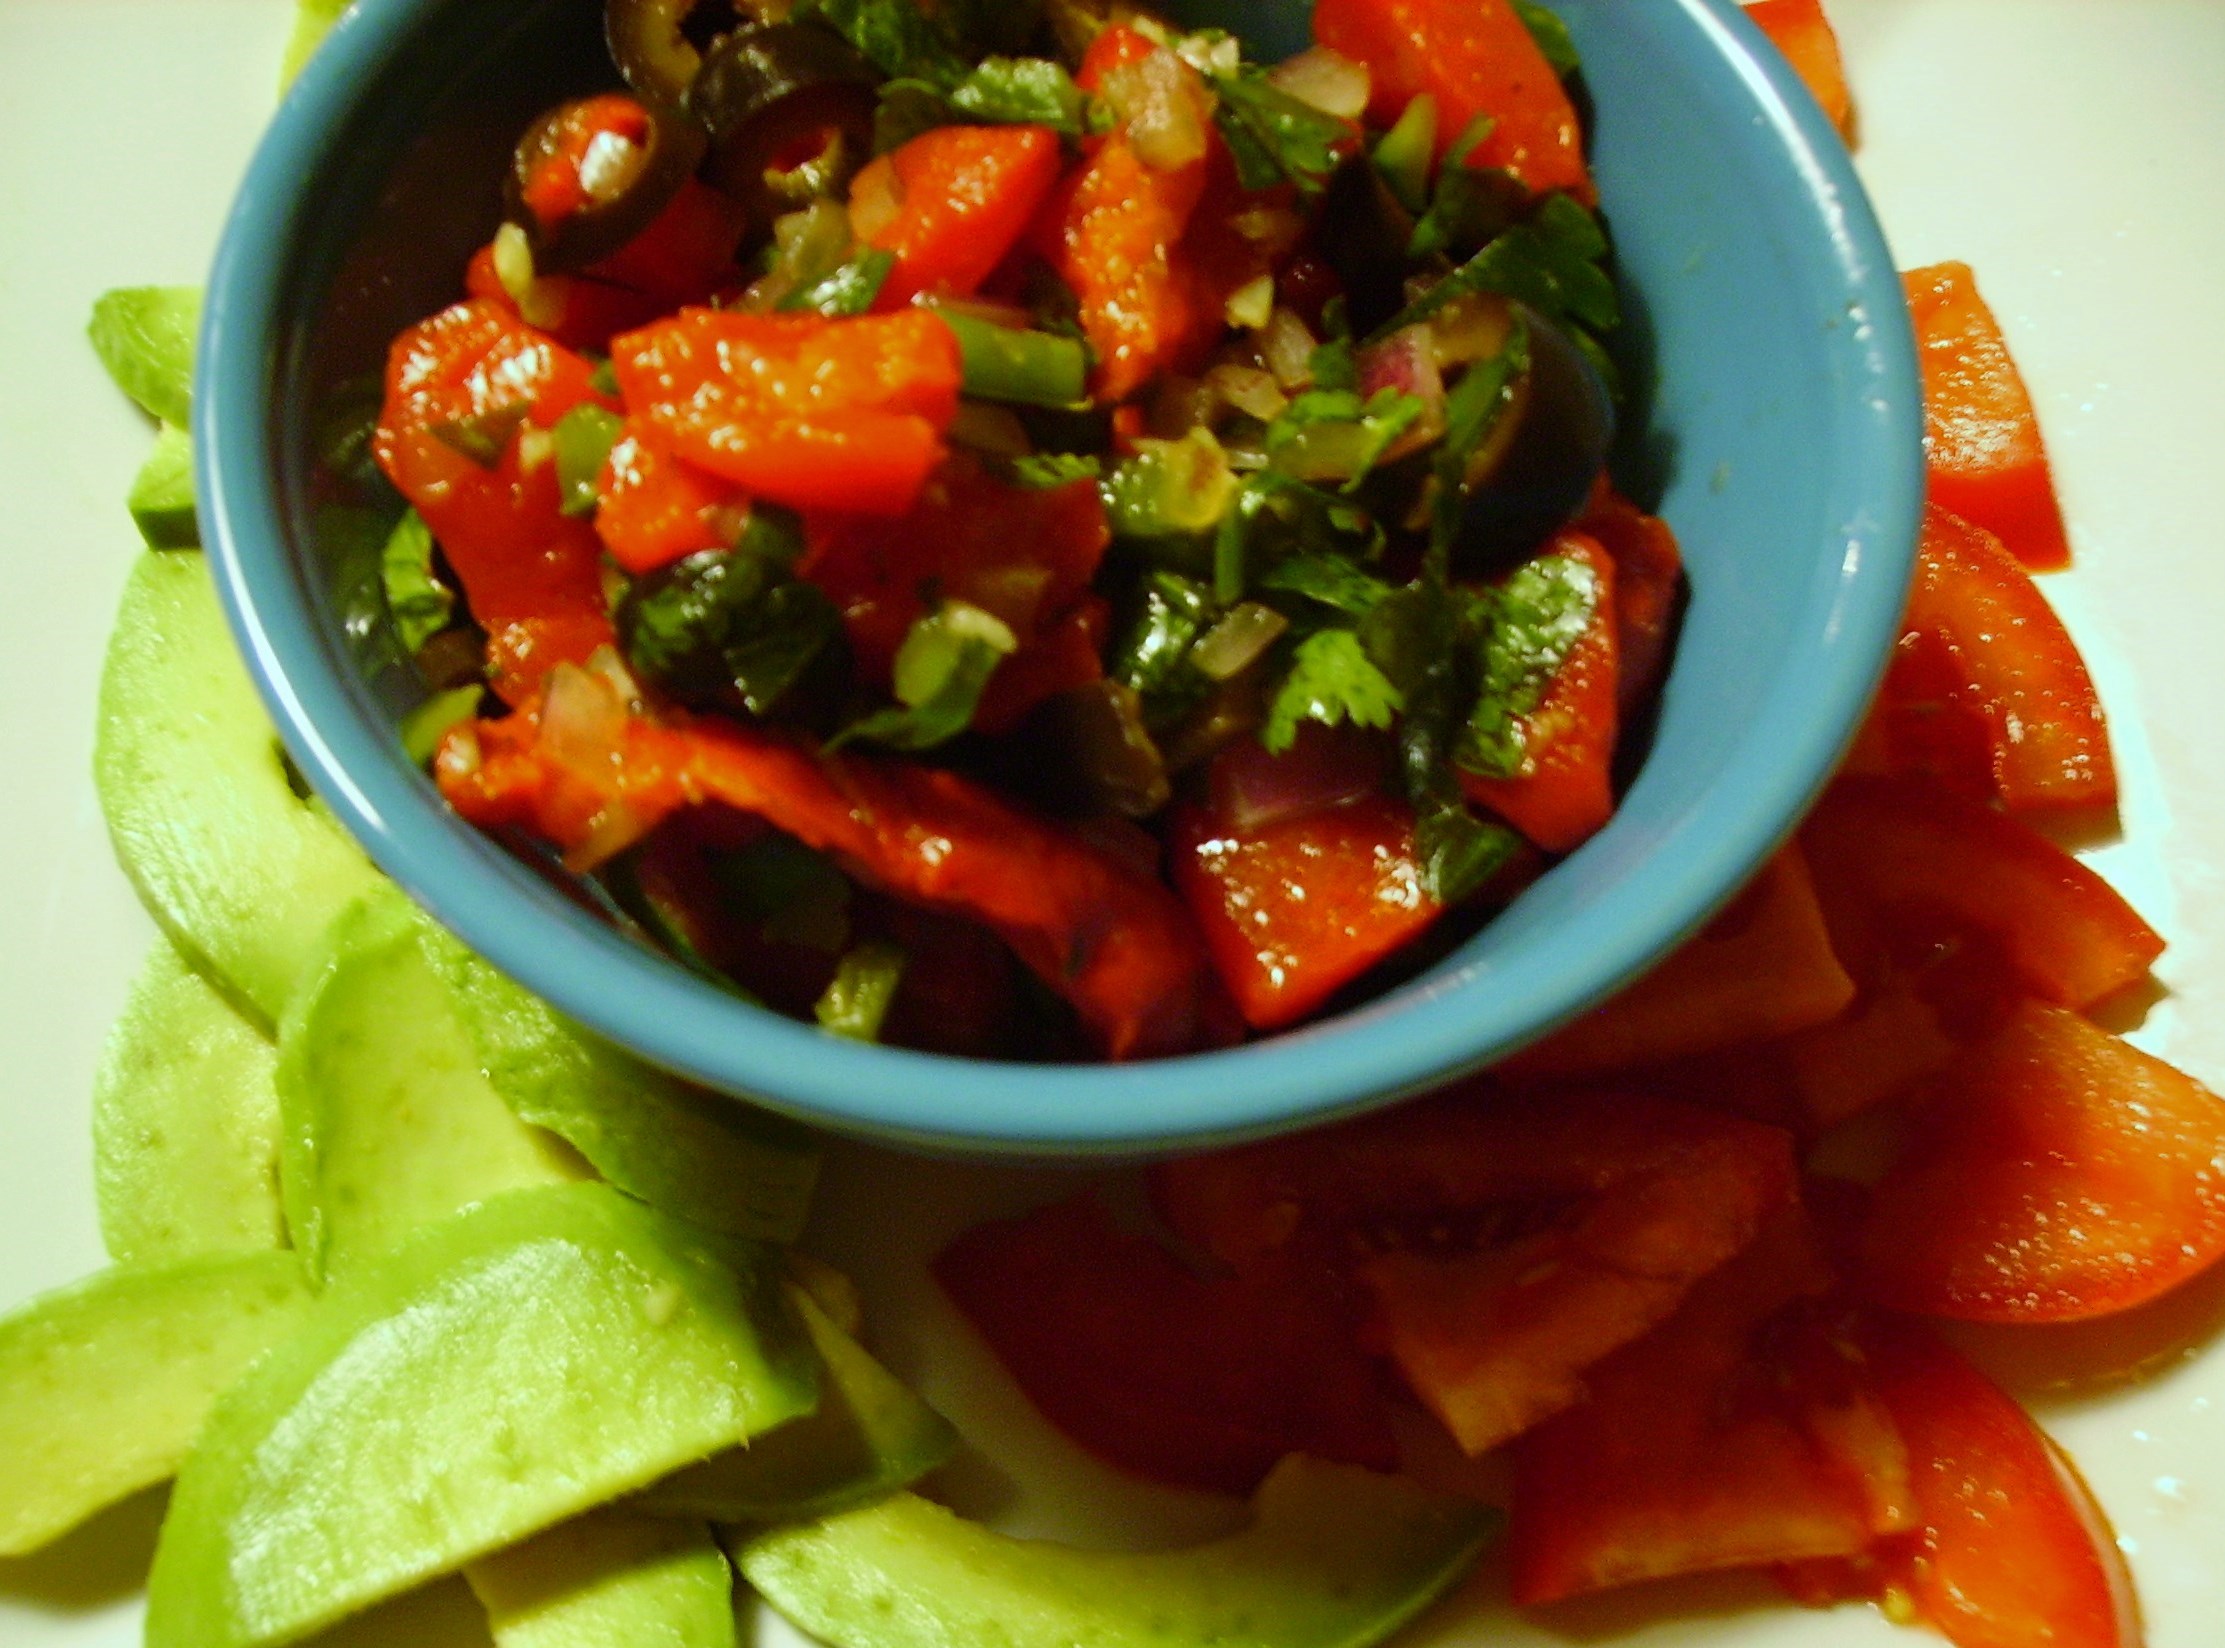 it was a marriage made in heaven.
 It was enhanced with light sour cream and pepper jack cheese that were the perfect counterpoint to the tender crisp vegetables.