
What do you call your evening meal? Is it dinner or is it supper? Mama D isn’t quite sure what she calls it because she has called this meal by both names over the years. A little online searching revealed that Dinner generally refers to the largest meal of the day. Supper is defined as “a light meal served in the early evening, if Dinner was served at midday…or it is the meal served late in the evening when Dinner was served in the early evening.” I’m still trying to wrap my head around that sentence, but it does seem, in this instance, size matters.
I’ve been giving a lot of thought to this lately because now that I am back to working a split shift, meal preparation is beginning to change. Here we eat the biggest meal of the day in the early evening, which by definition makes it Dinner which we are eating at Supper Time. Should I call it Sinner? Probably not. What if I call it Dupper? That just sounds silly. I think that I will leave the semantics to the linguists and come up with my own working definition.
The evening meals from Mama D’s Kitchen will be labeled by what is served. Dinner will be a more formal affair. It will consist of a protein served with various side dishes that require a good amount of time and several pots, pans and other appliances to prepare.
THIS IS NOT GOING TO HAPPEN DURING THE WEEK! Weekends will be the time for Dinner when the time for preparing and enjoying meals are more flexible.
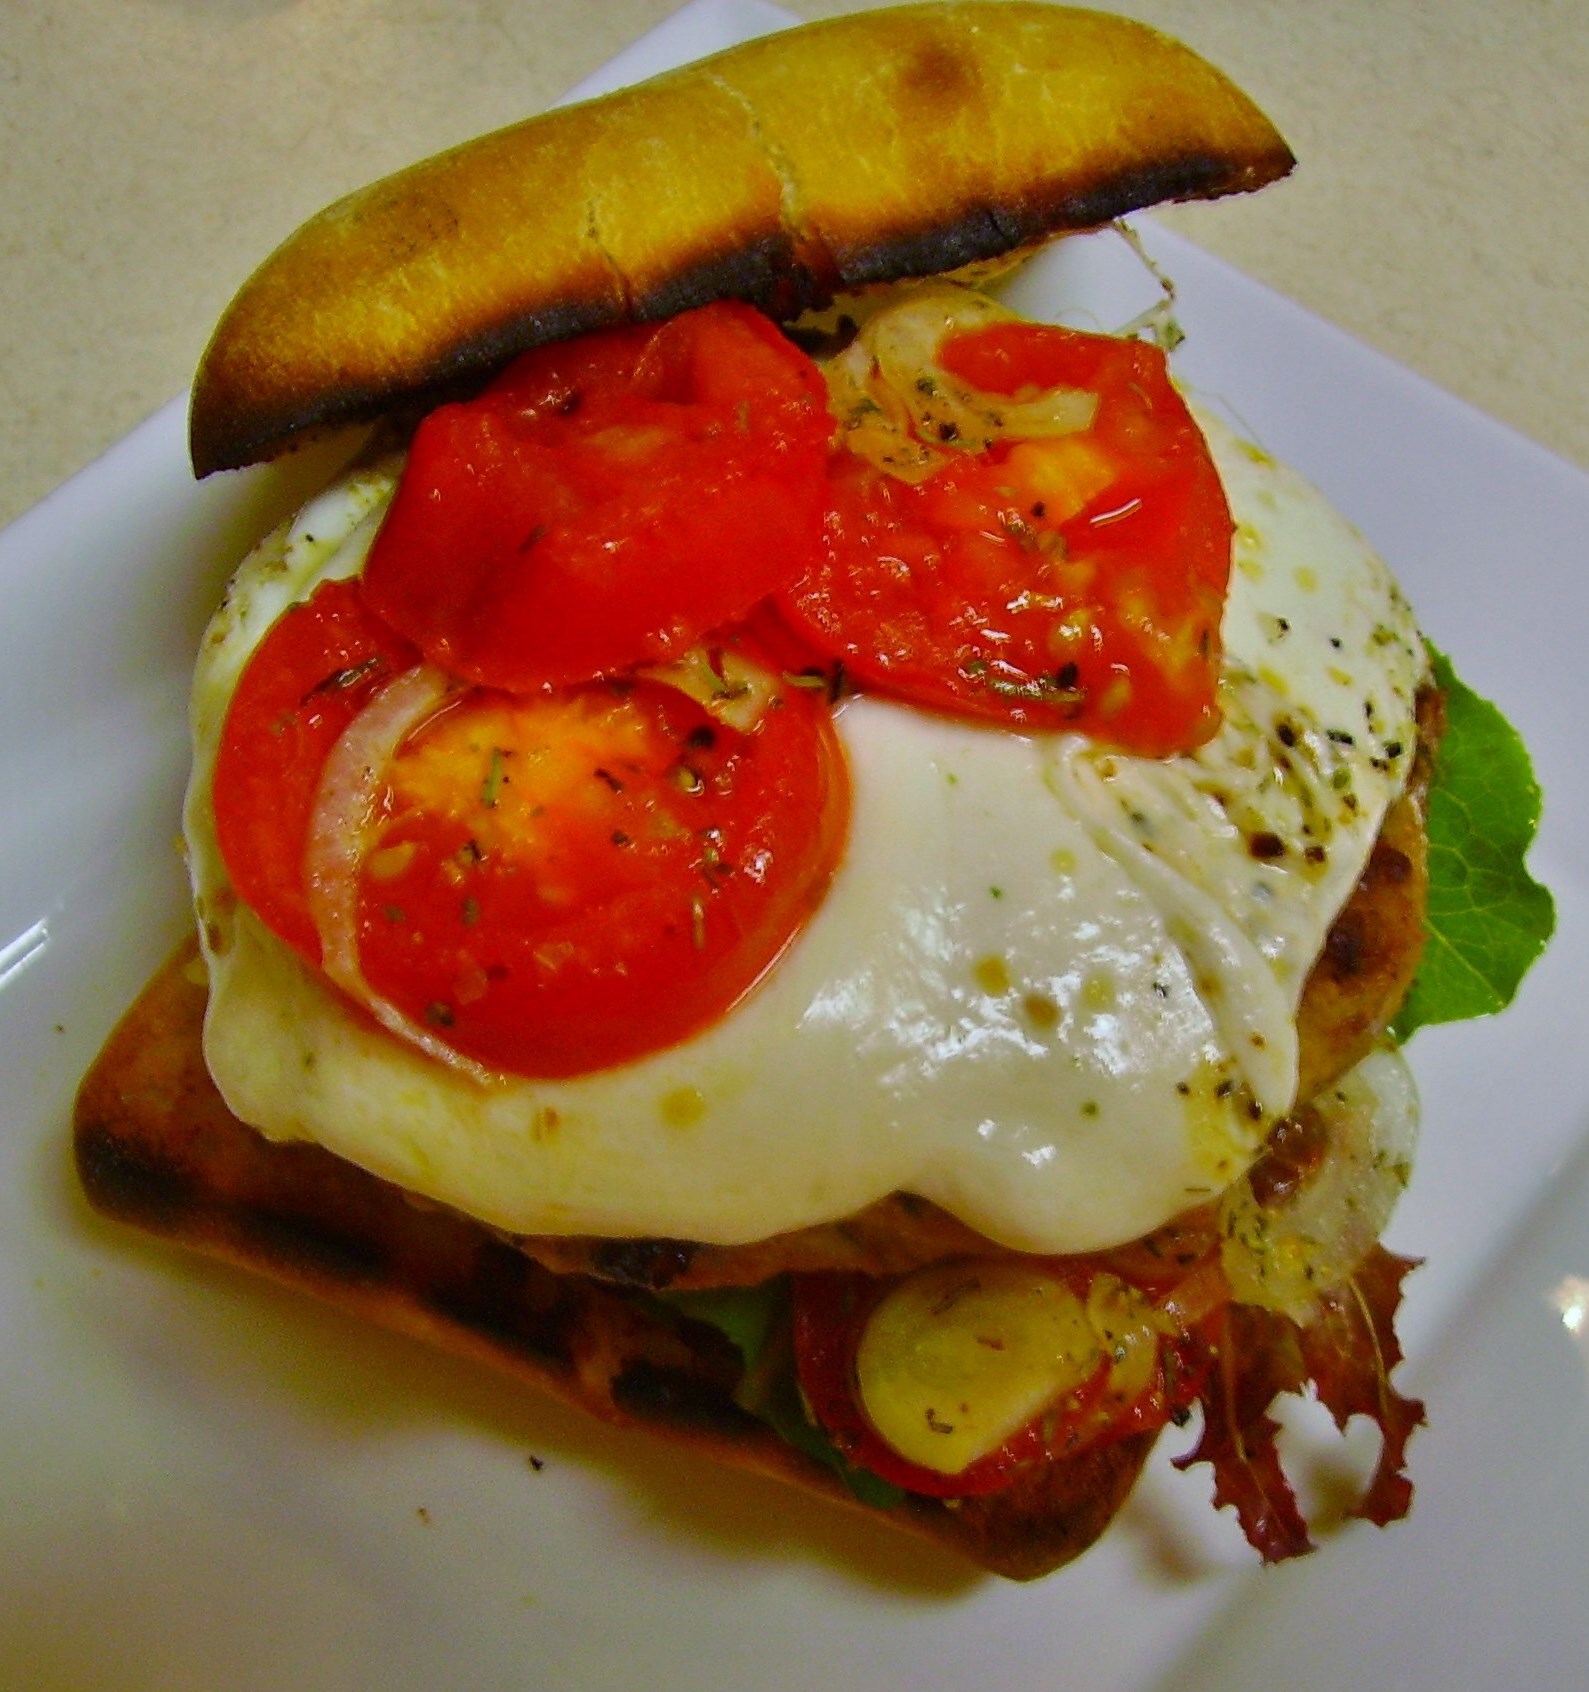
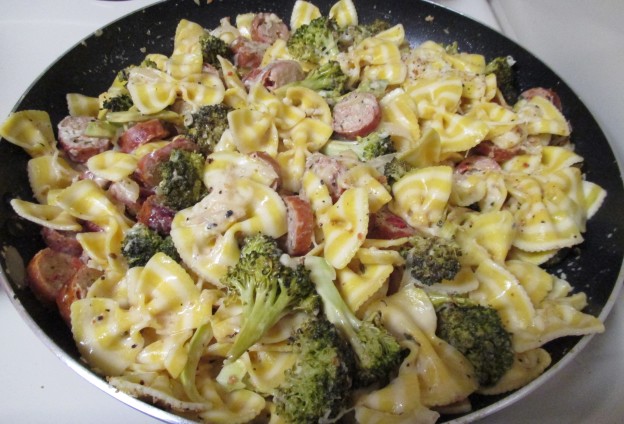
The meal that graces the evening table Monday through Friday, while made with just as much love, but far fewer pans and in much less time shall now be called Supper. Supper shouldn’t take too much more time than it takes to enjoy a glass of wine. It should be healthy and satisfying, but not too heavy and with just enough creativity to keep things from getting boring. That’s what this post is about and the recipe I’m sharing pretty much fits my definition. 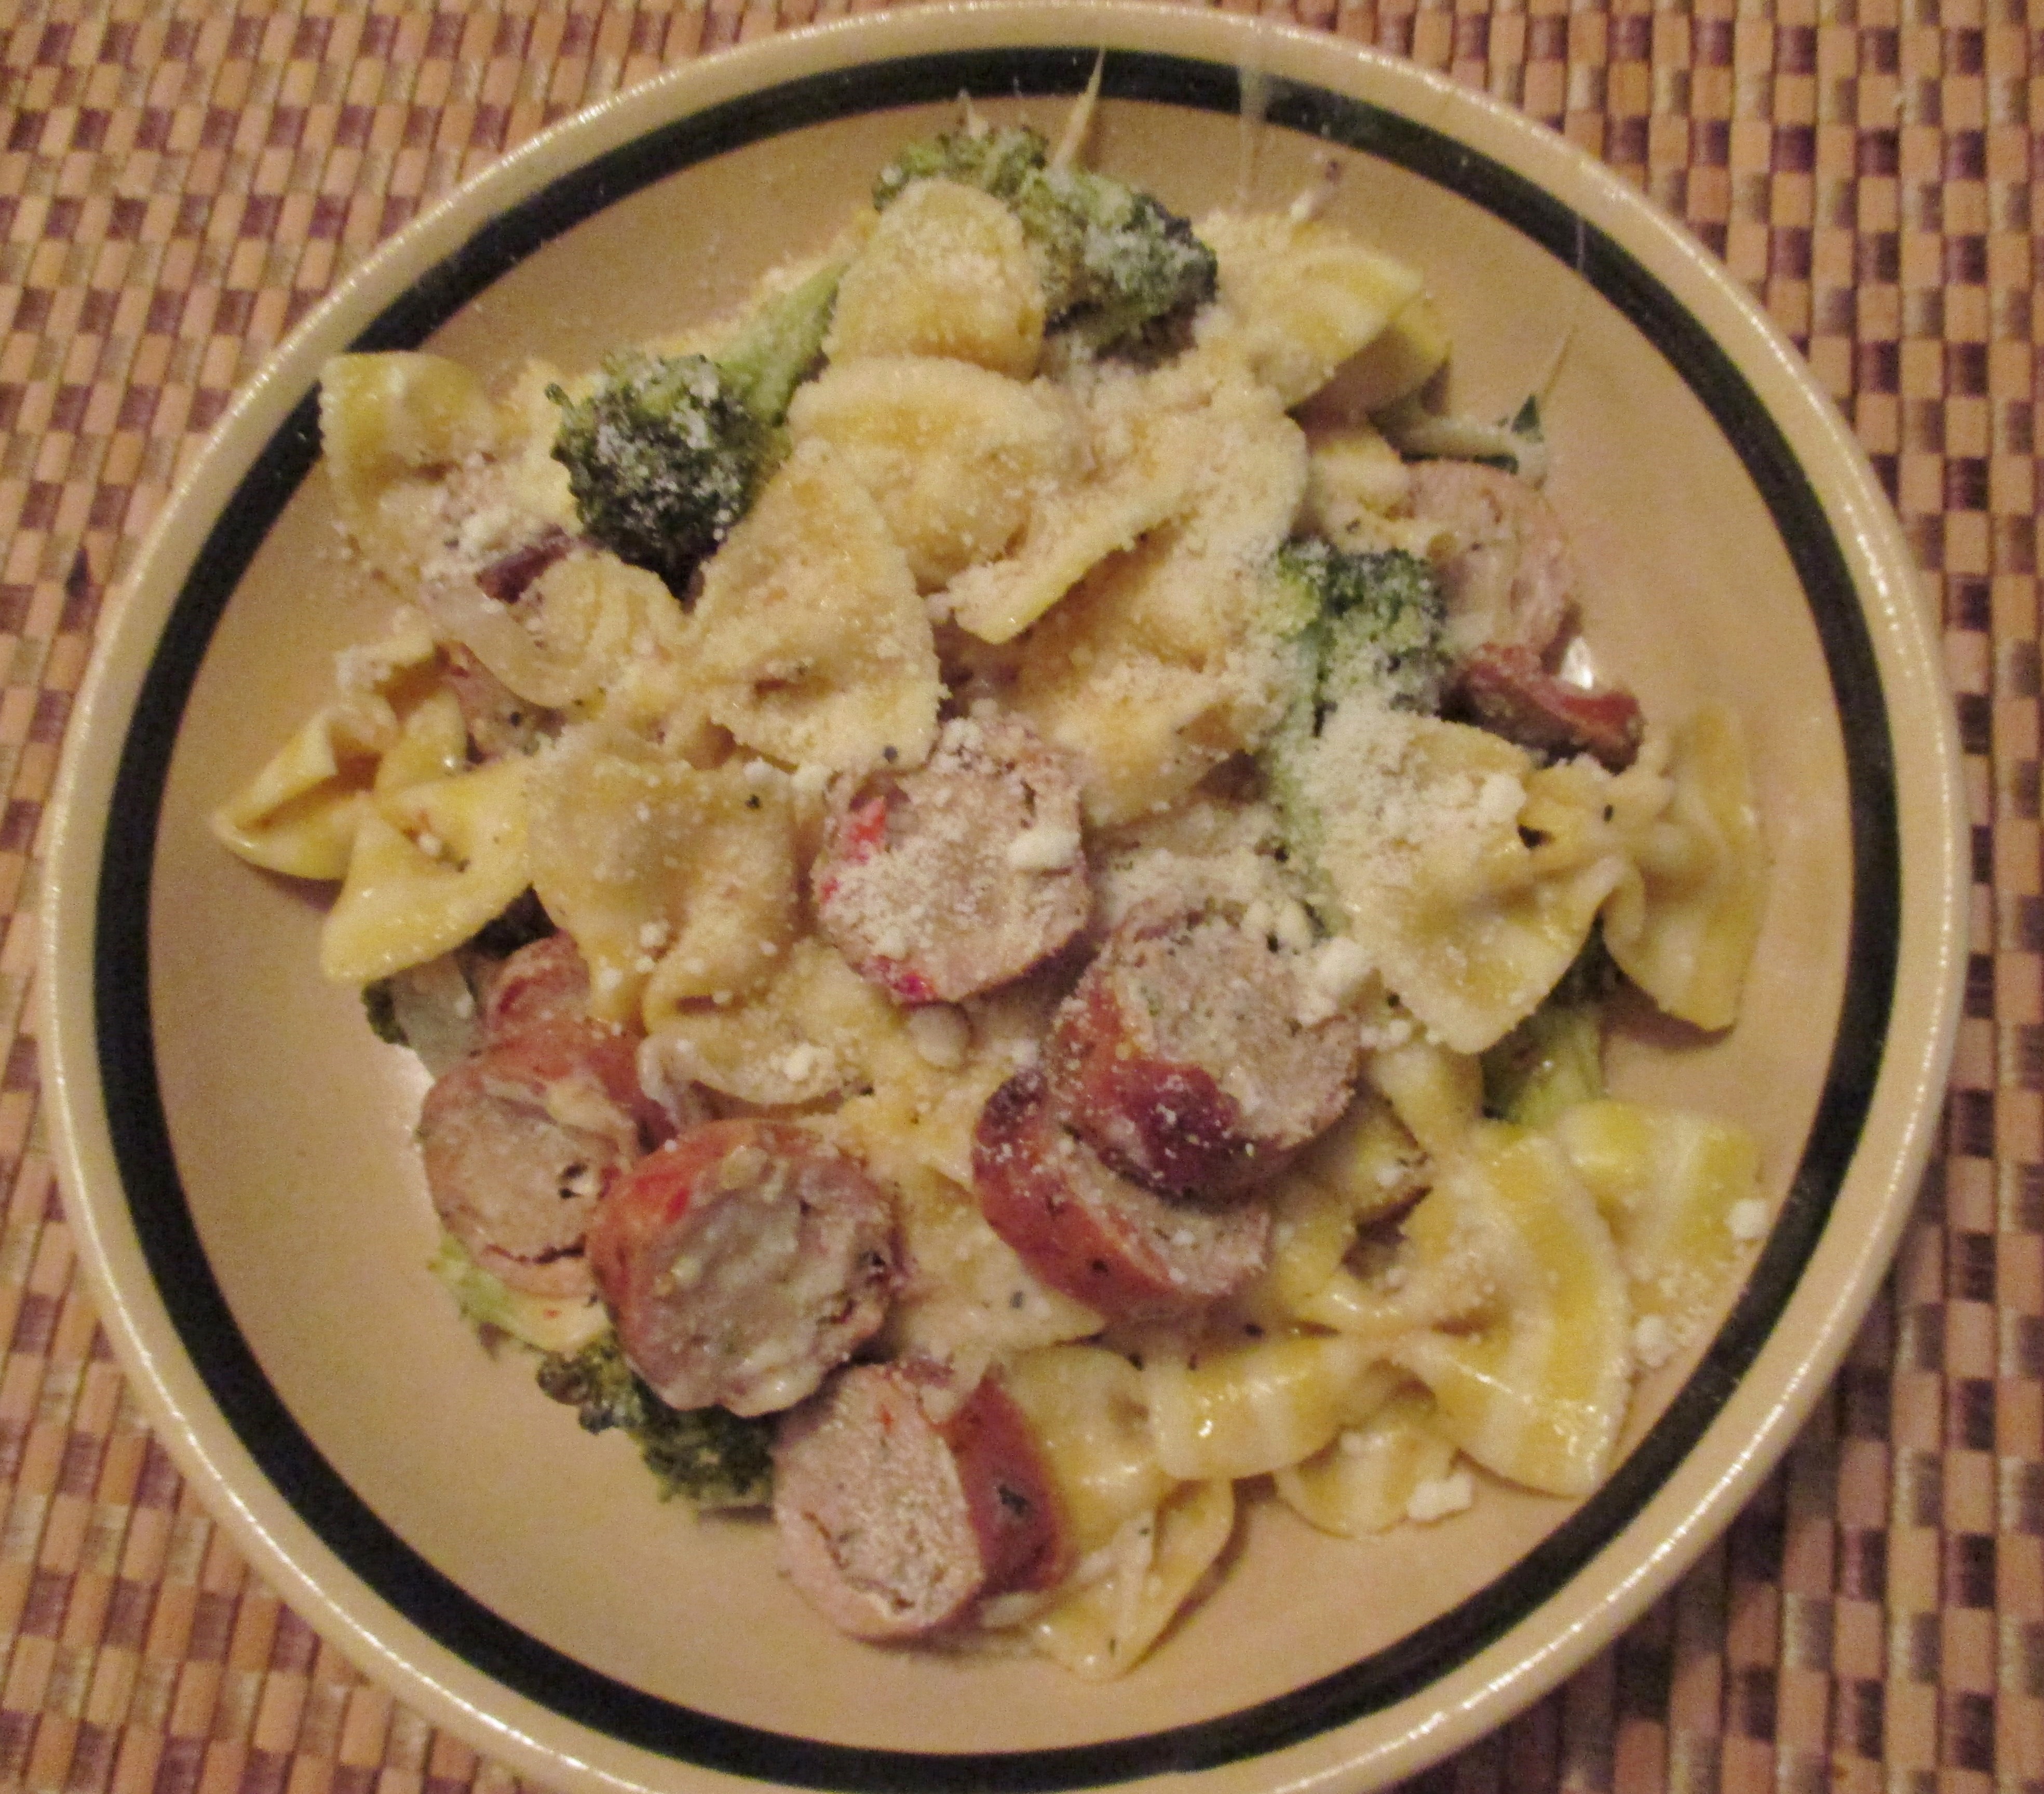 This one dish supper required a pot (to boil the pasta) and a fry pan (to put everything together). It did also require a grill ( for the broccoli and sausage) which I left in the capable hands of Papa D.
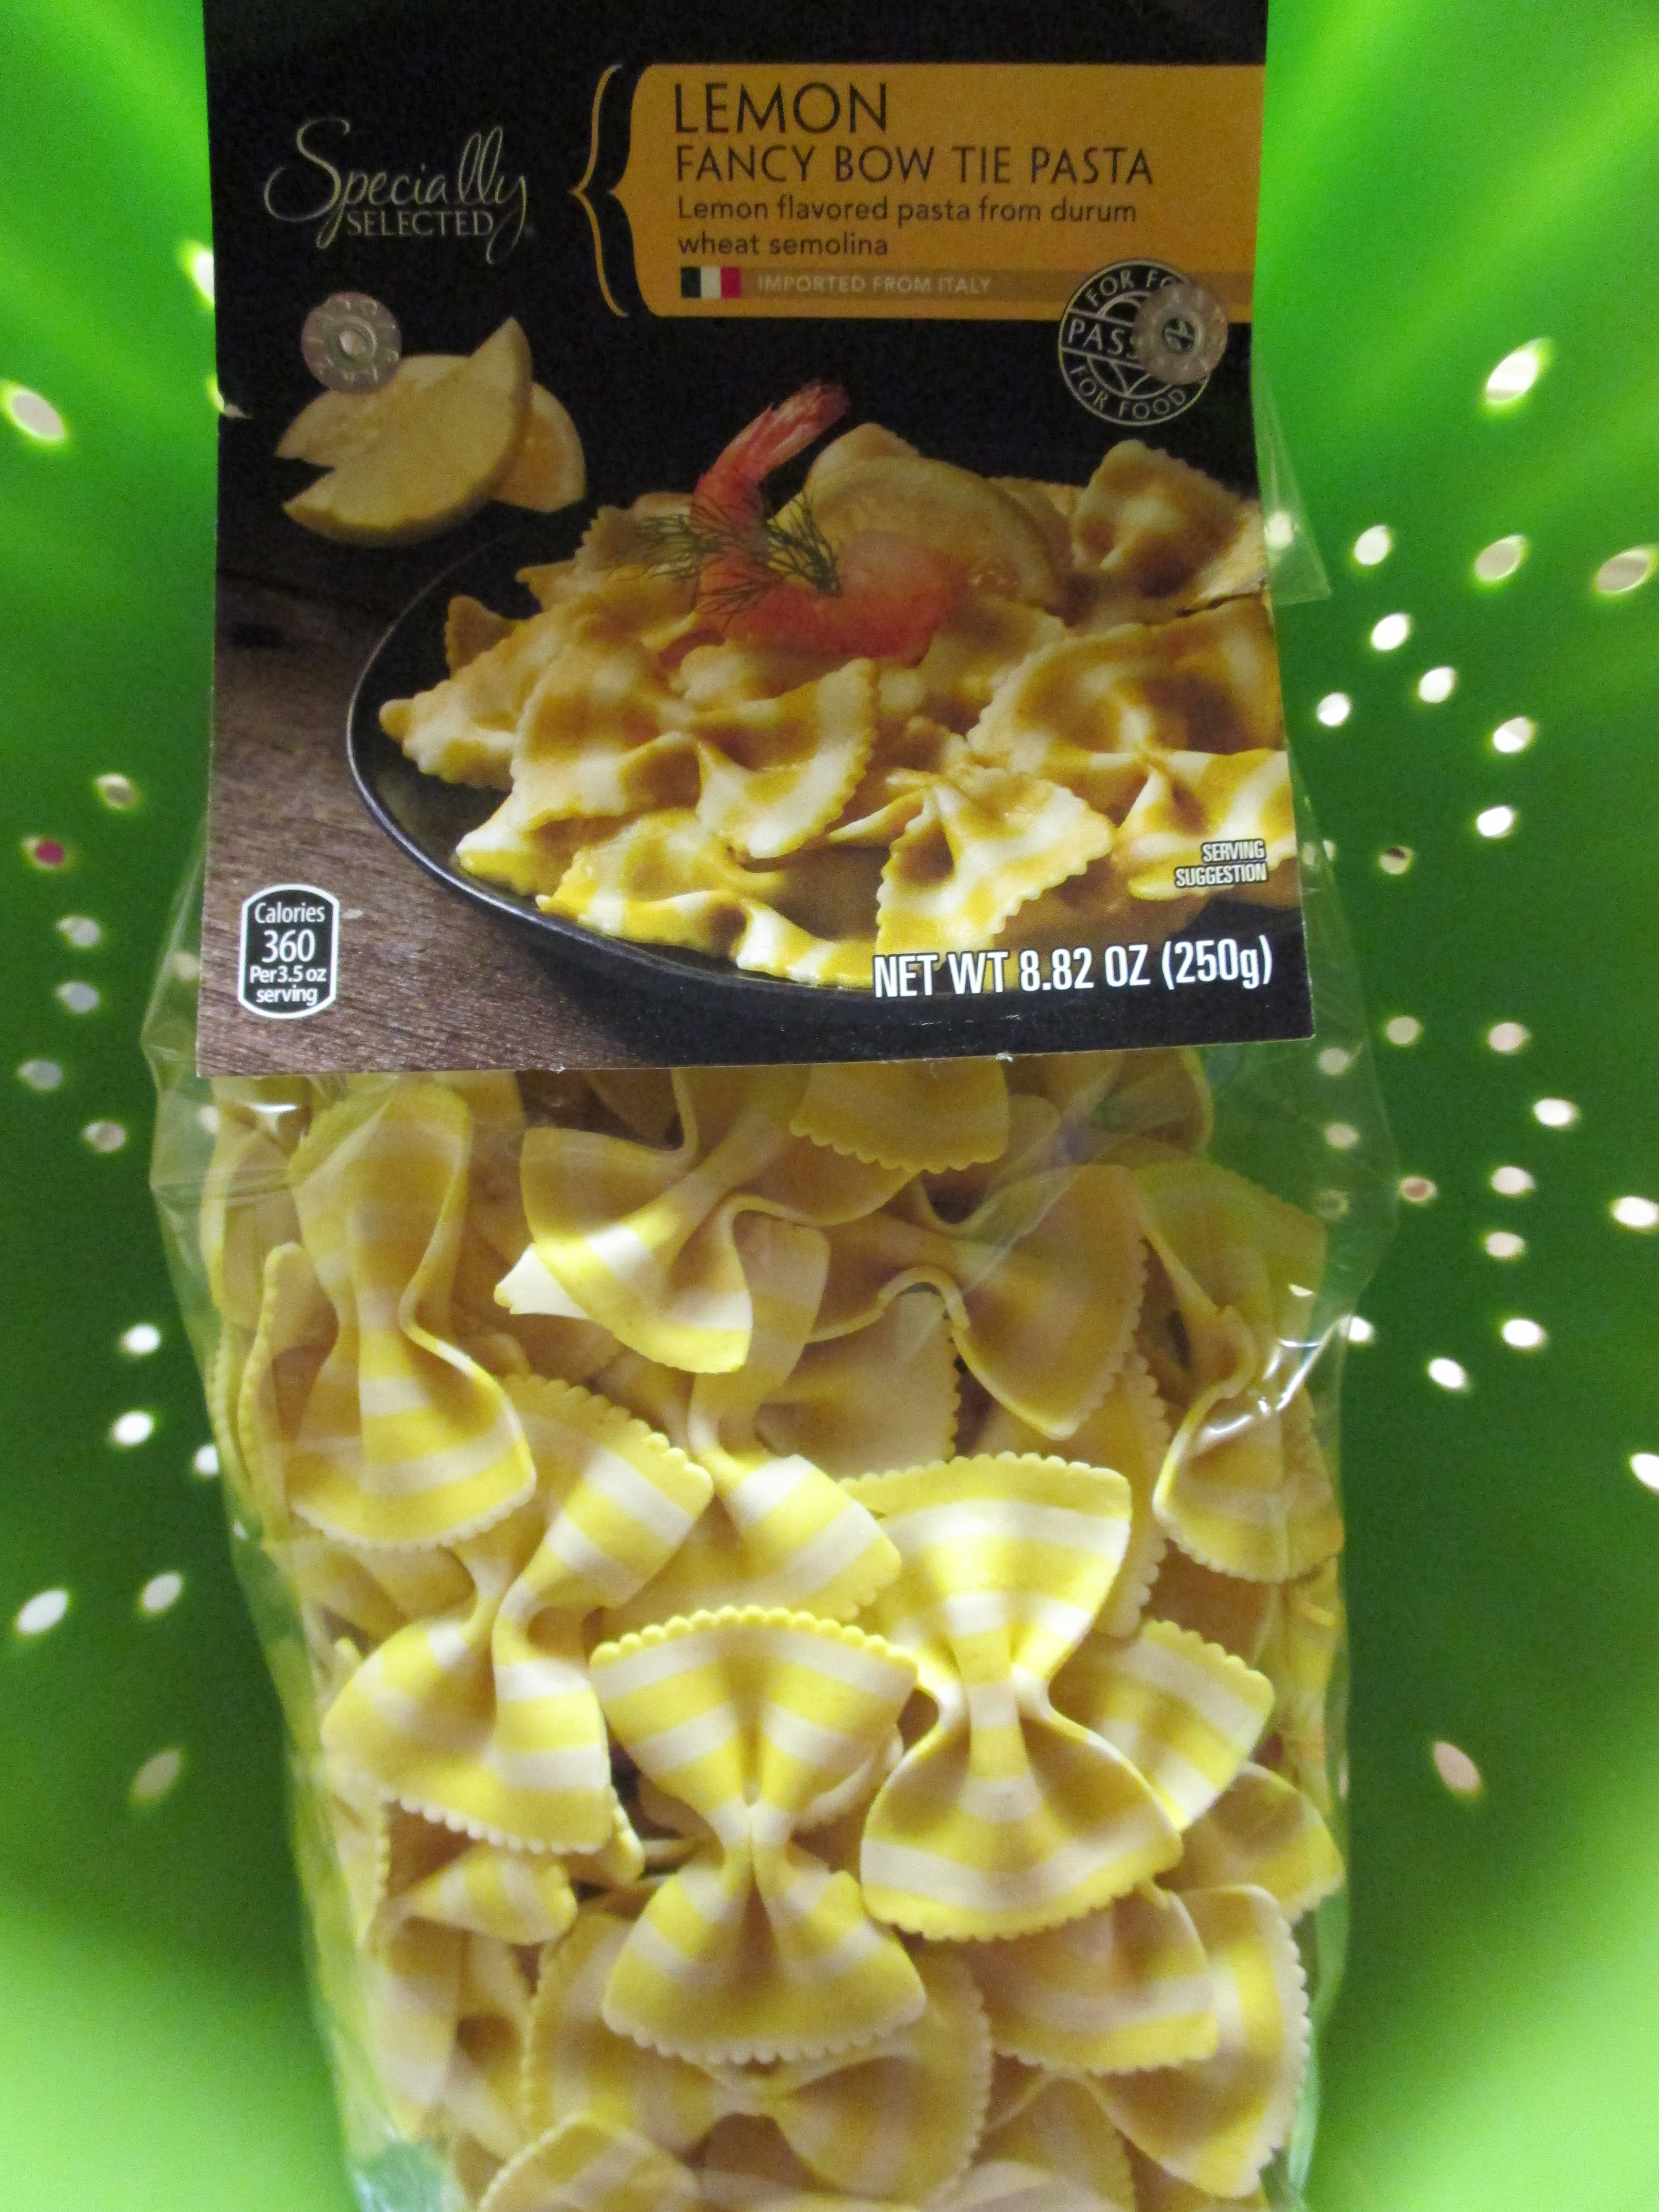 The farfalle pasta I used was lemon flavored and sported bright yellow stripes. The lemon was noticable to the nose but subtle on the tongue. Lemon became one of the inspiration flavors for the dish. I found this pasta at Aldi along with a spinach and tomato basil variety. Not the type of thing one expects to find there, but it’s been my experience of late that Aldi is full of surprises. Don’t run out to your local Aldi, these went on closeout recently and very few stores have them. This is sadly the case with many of Aldi’s unique items…here today, gone tomorrow. I have, however, seen colored/flavored pastas in gourmet stores, so check them out if you want that extra festive look, but there is nothing wrong with going with the traditional variety.
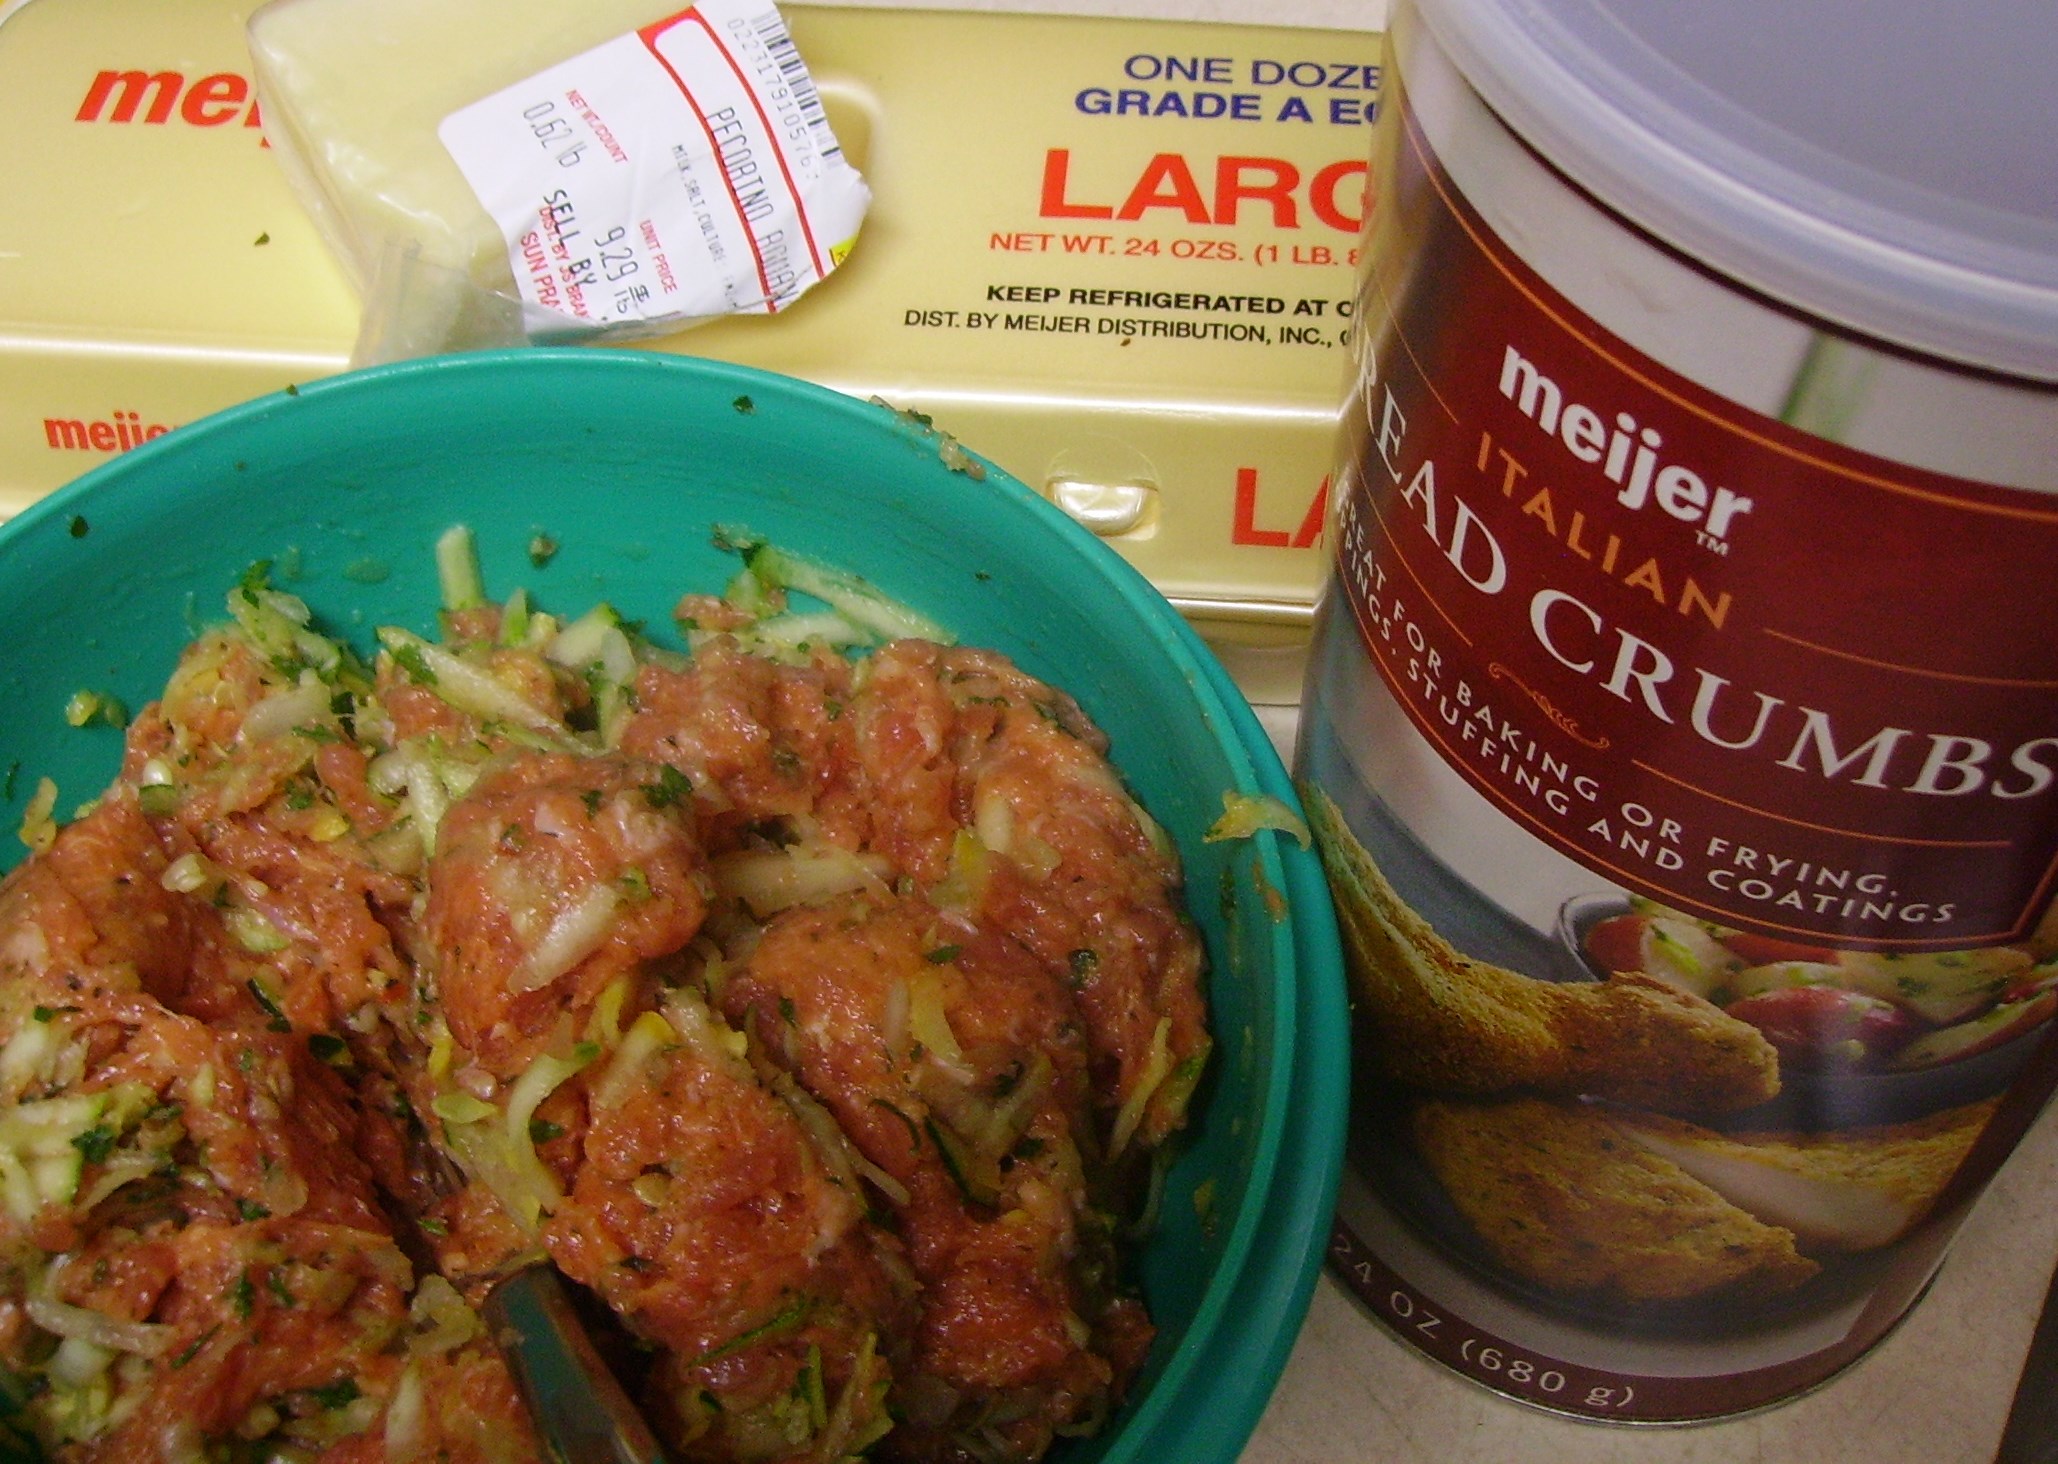
I used pre-cooked Chicken Italian Sausage. This has appeared in so many of my recipes that I could become a spokesperson for the product. It’s convenient, quick, and is available in flavors to match almost any cuisine. It seems that every store carries them and many of the larger stores have their own brand. I’m fickle as to what brand I like best, I honestly often choose by price and what I plan on making.
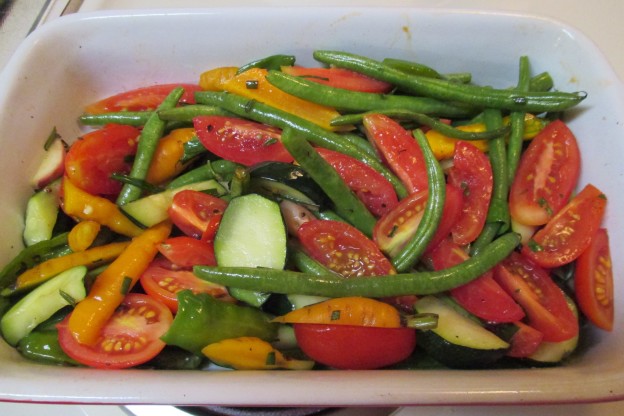
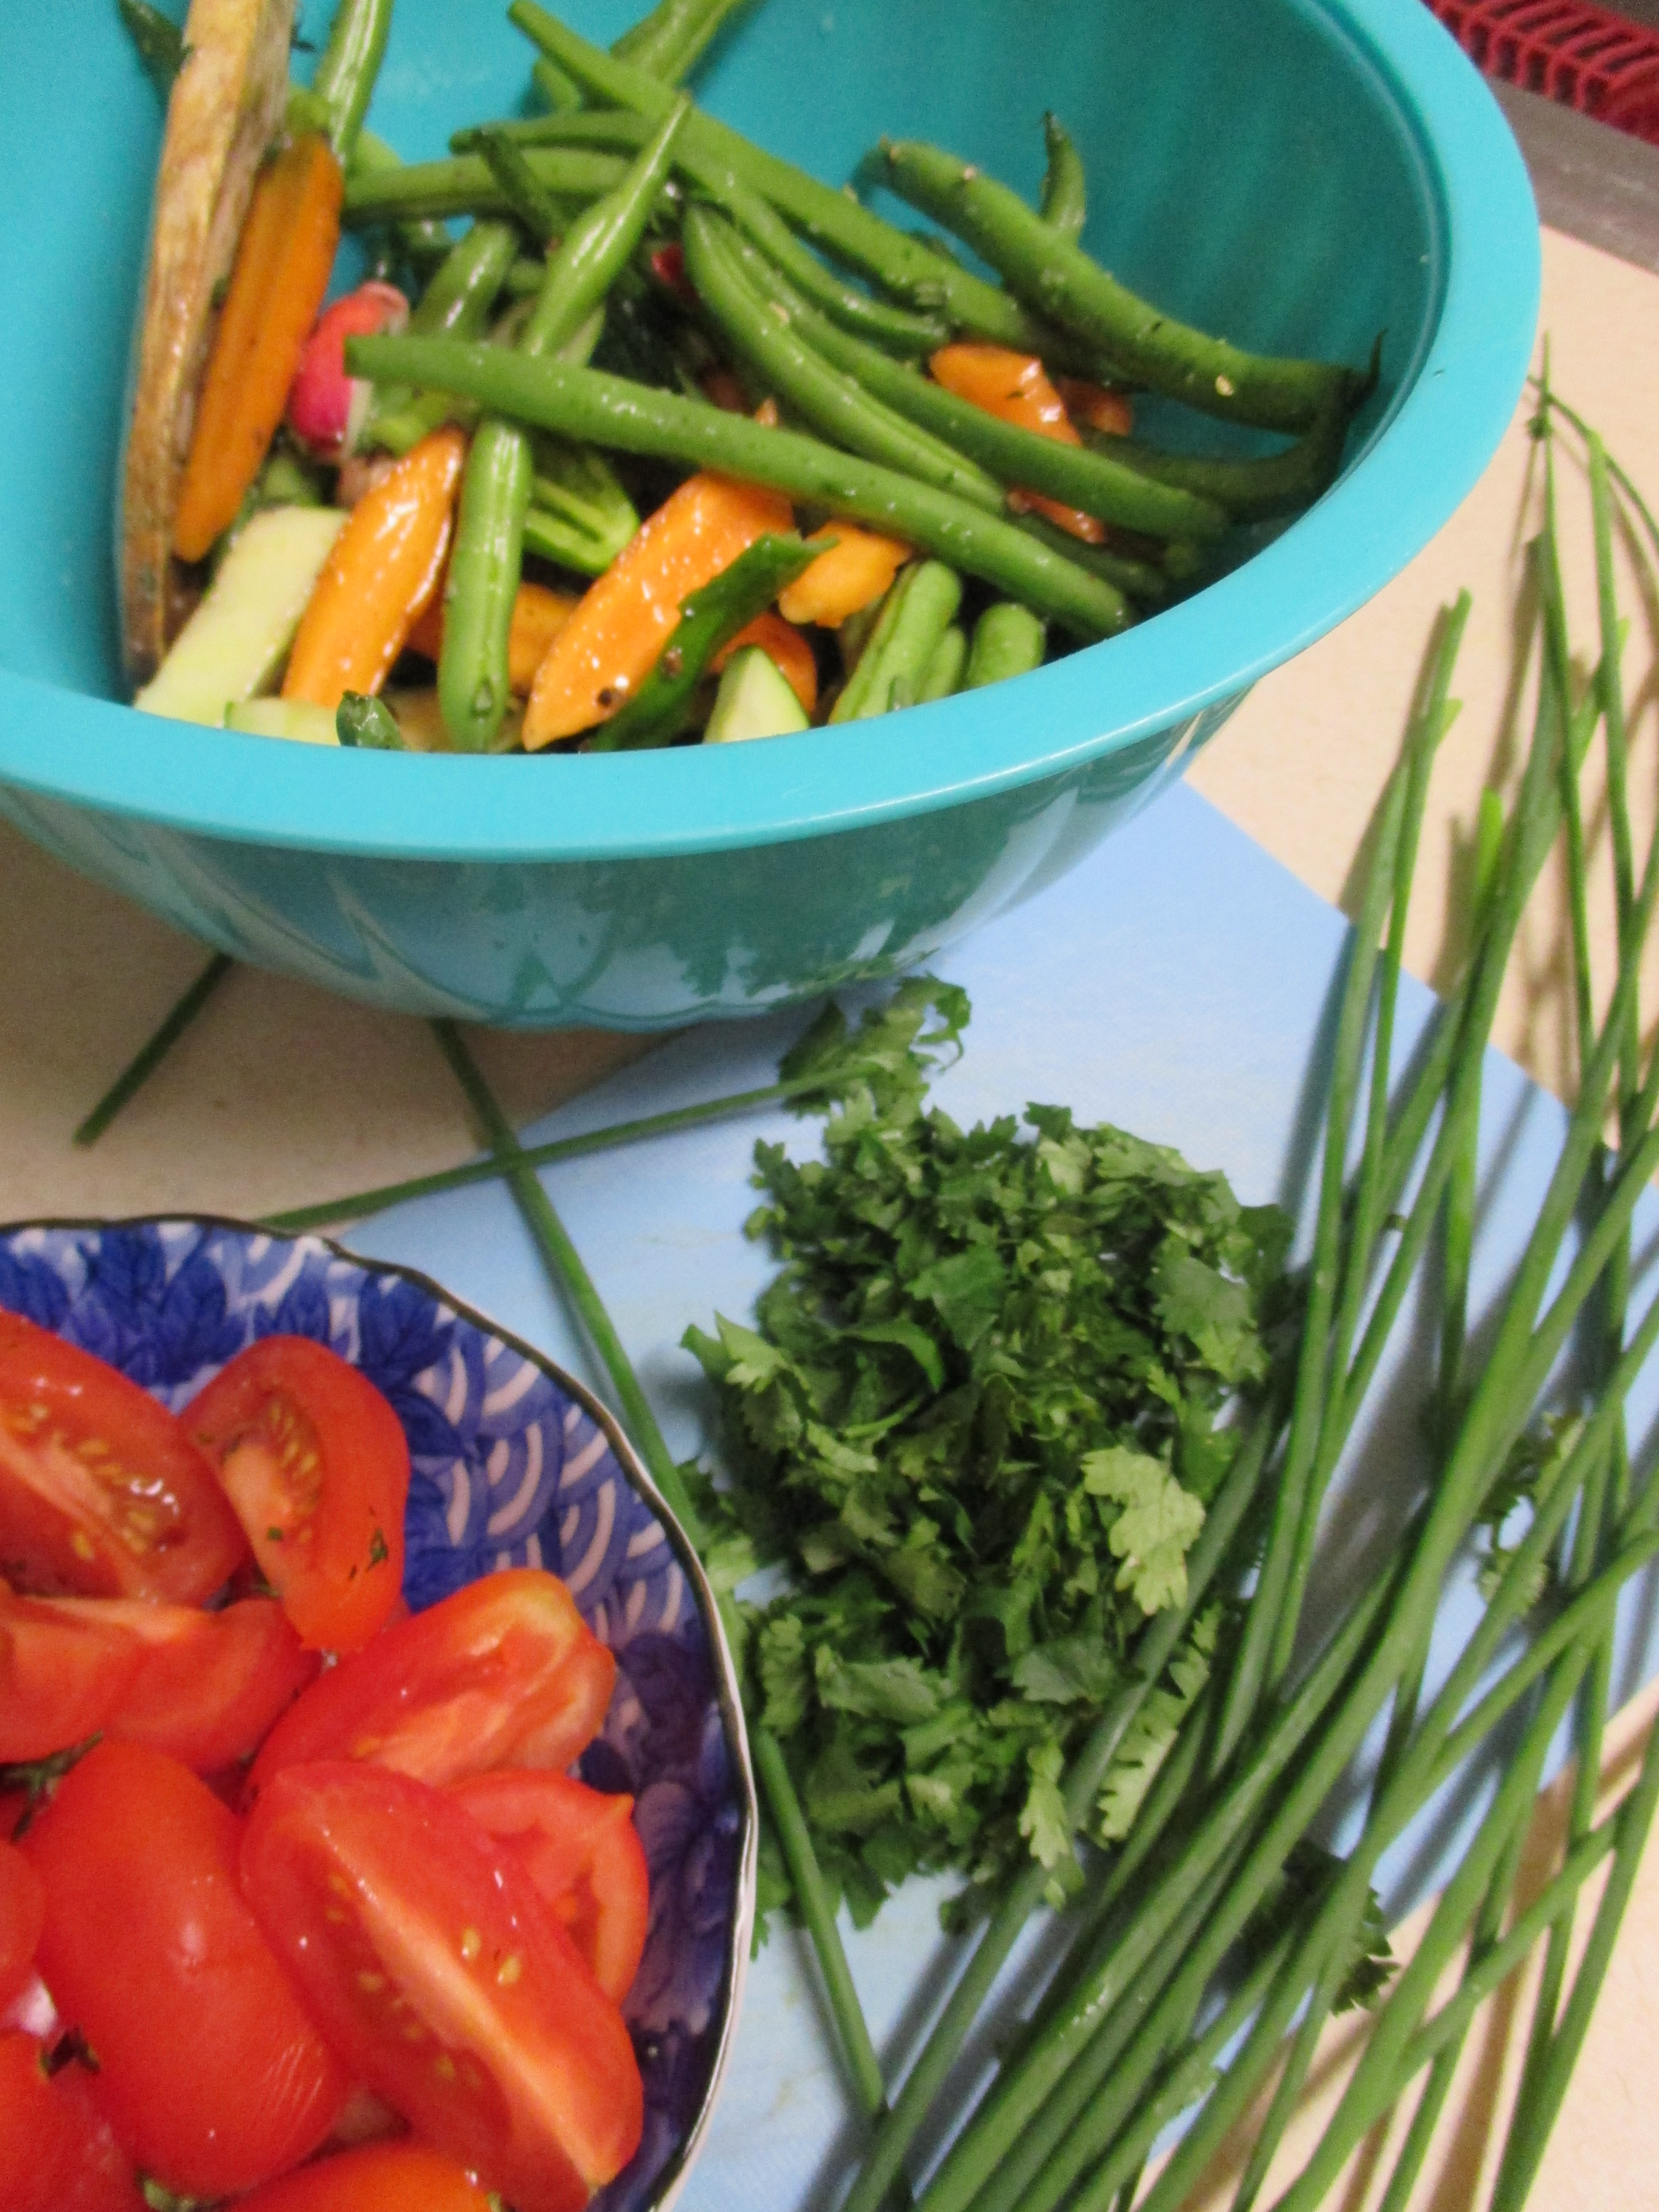
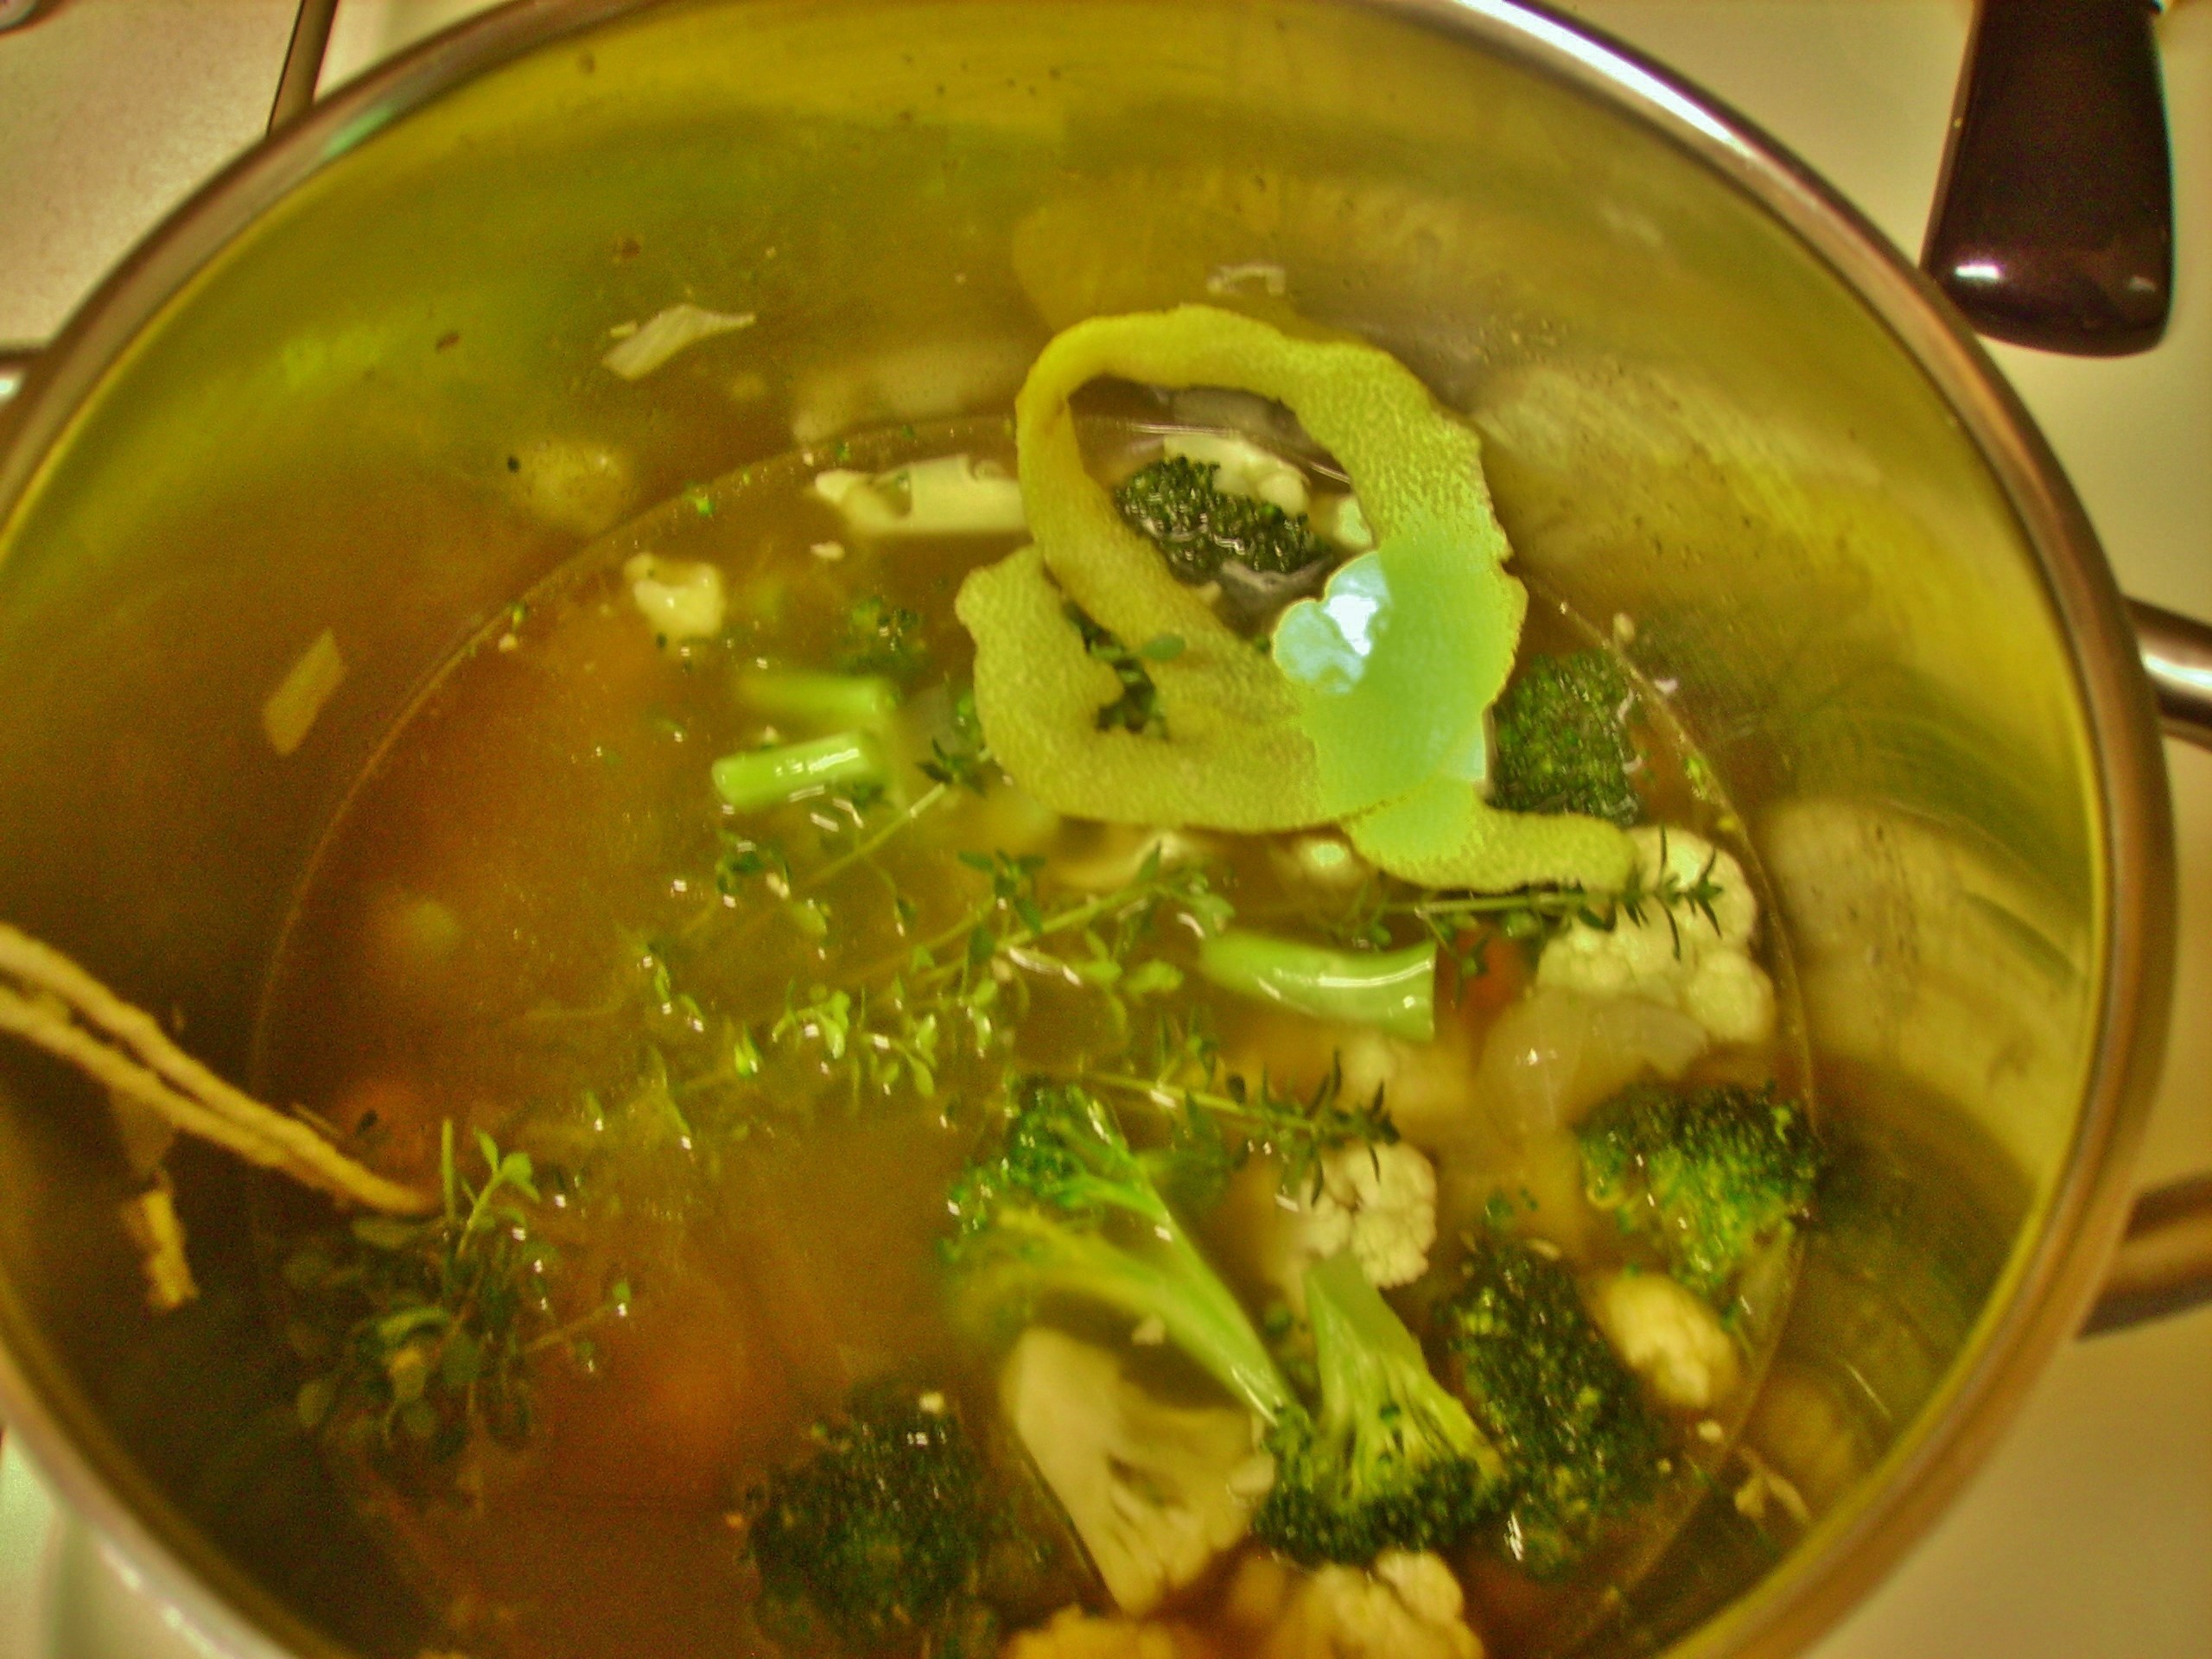
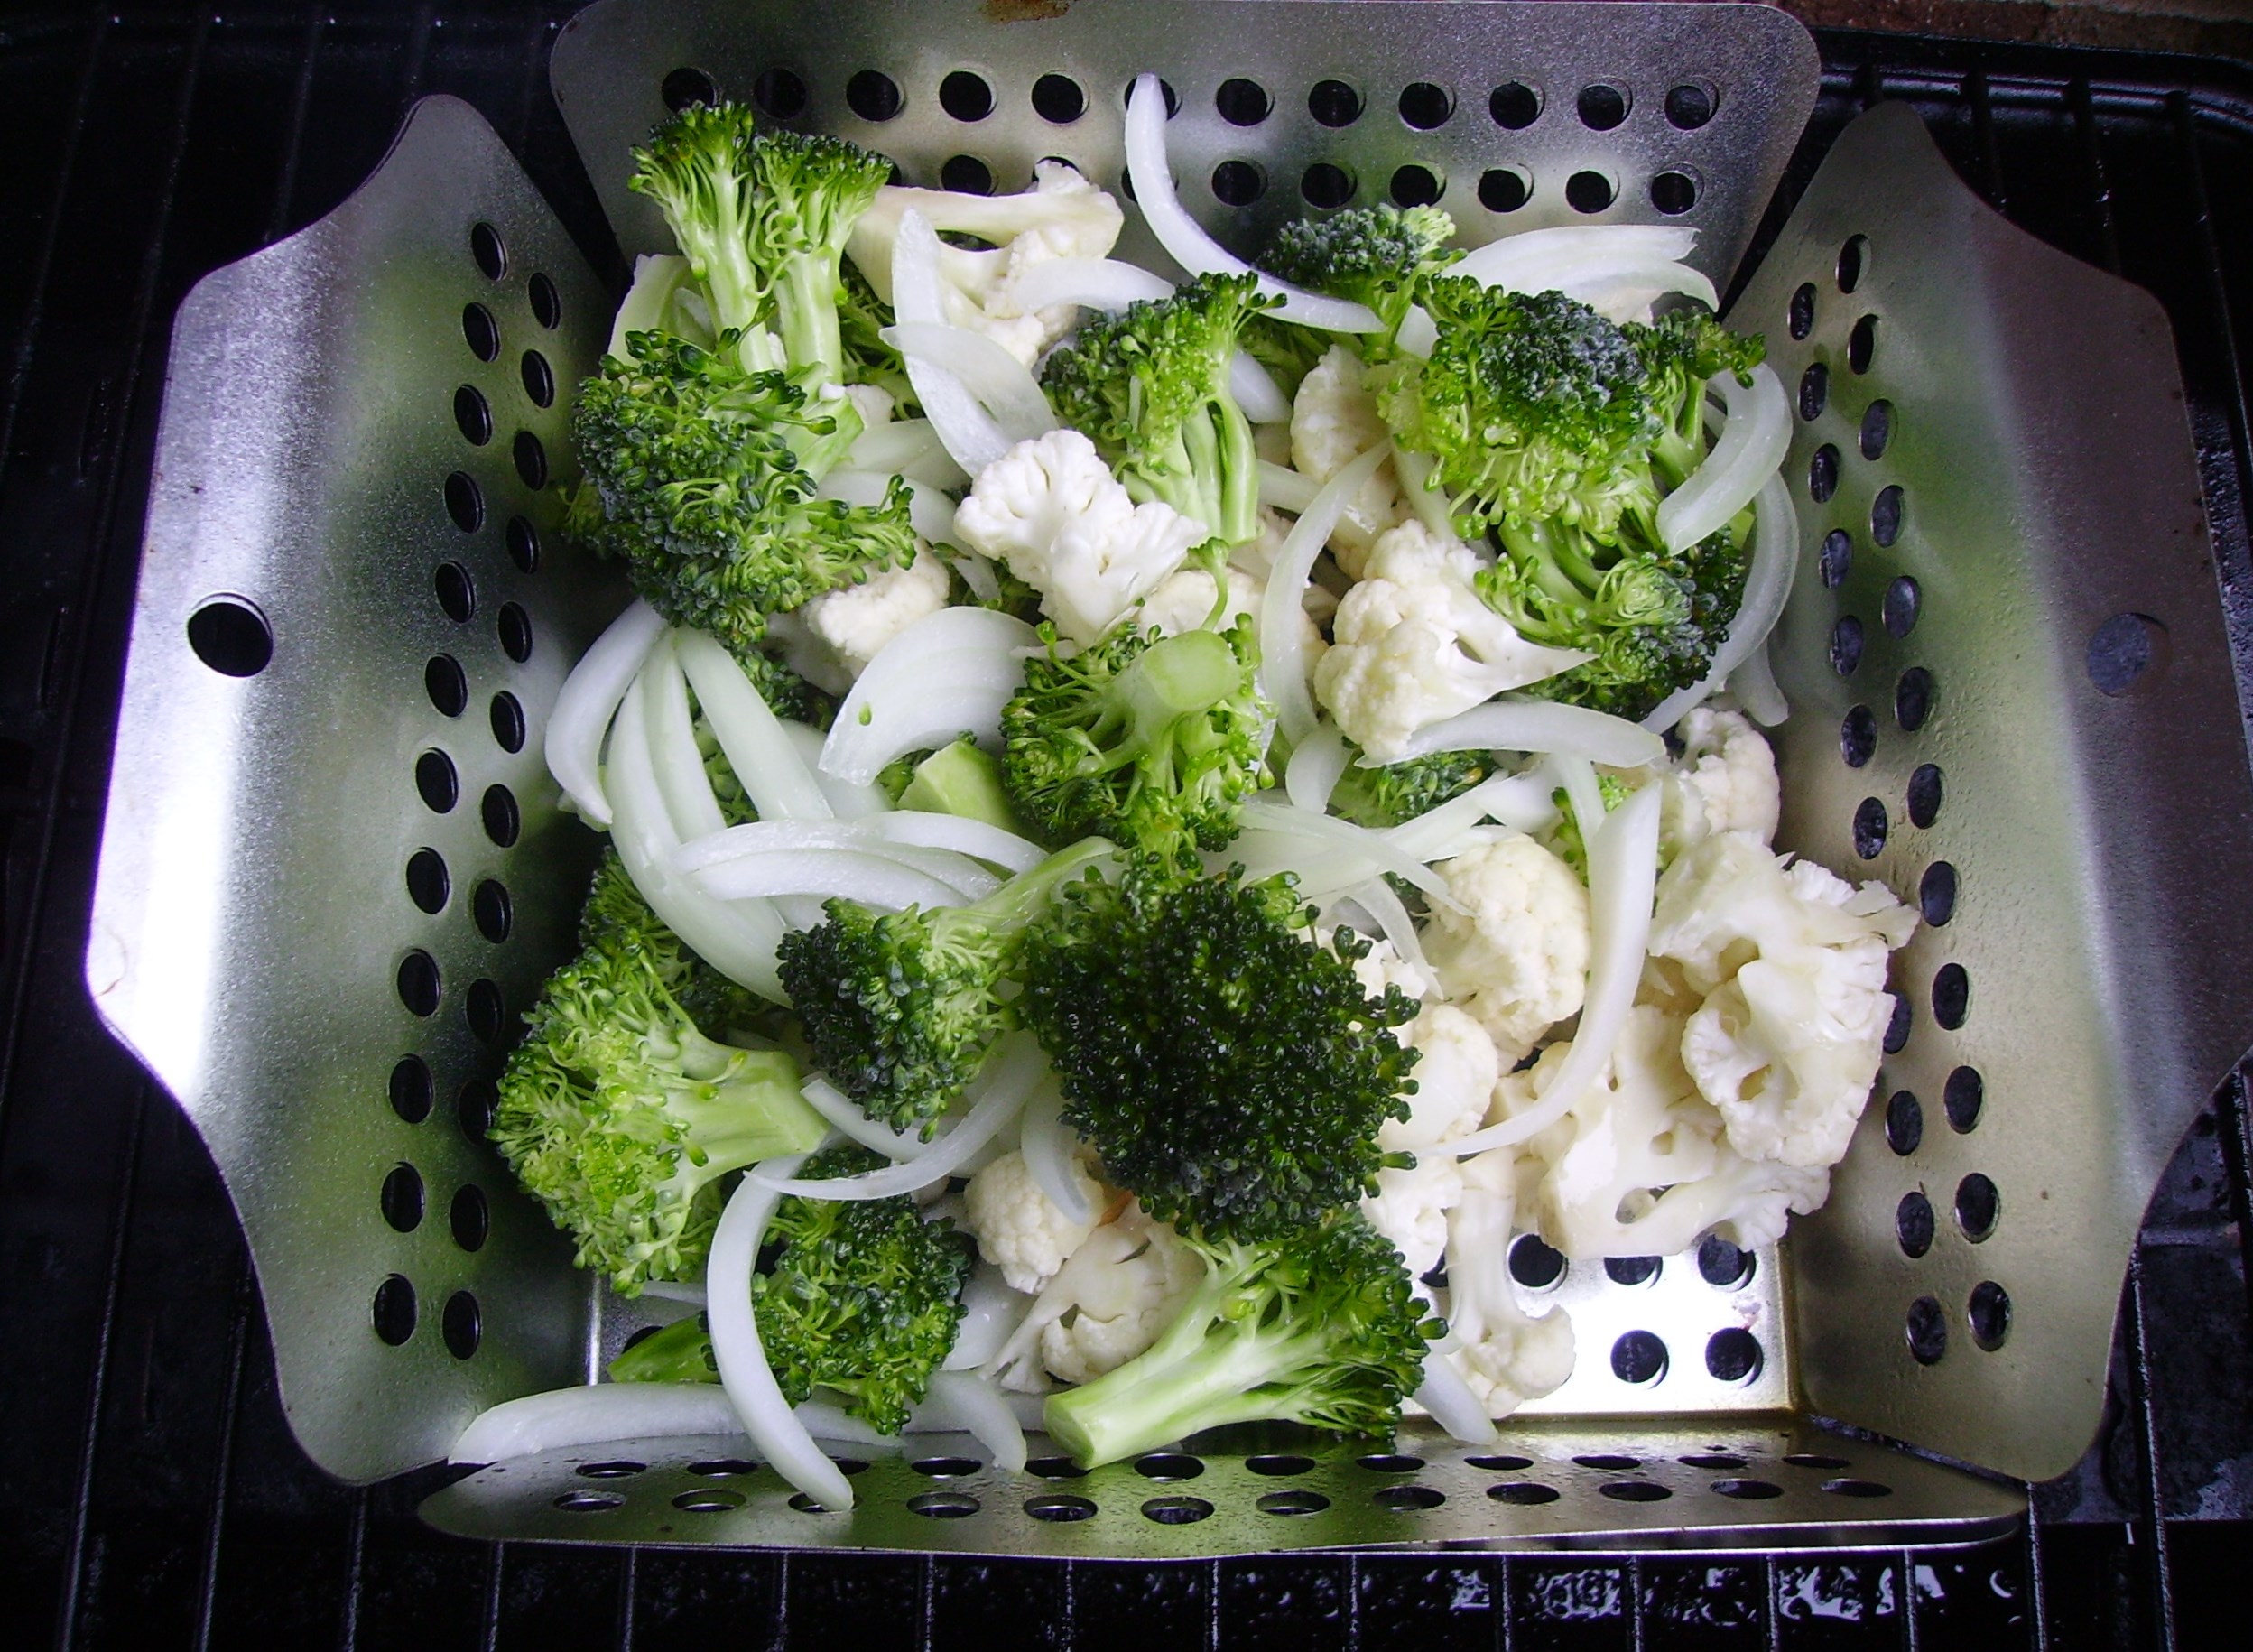
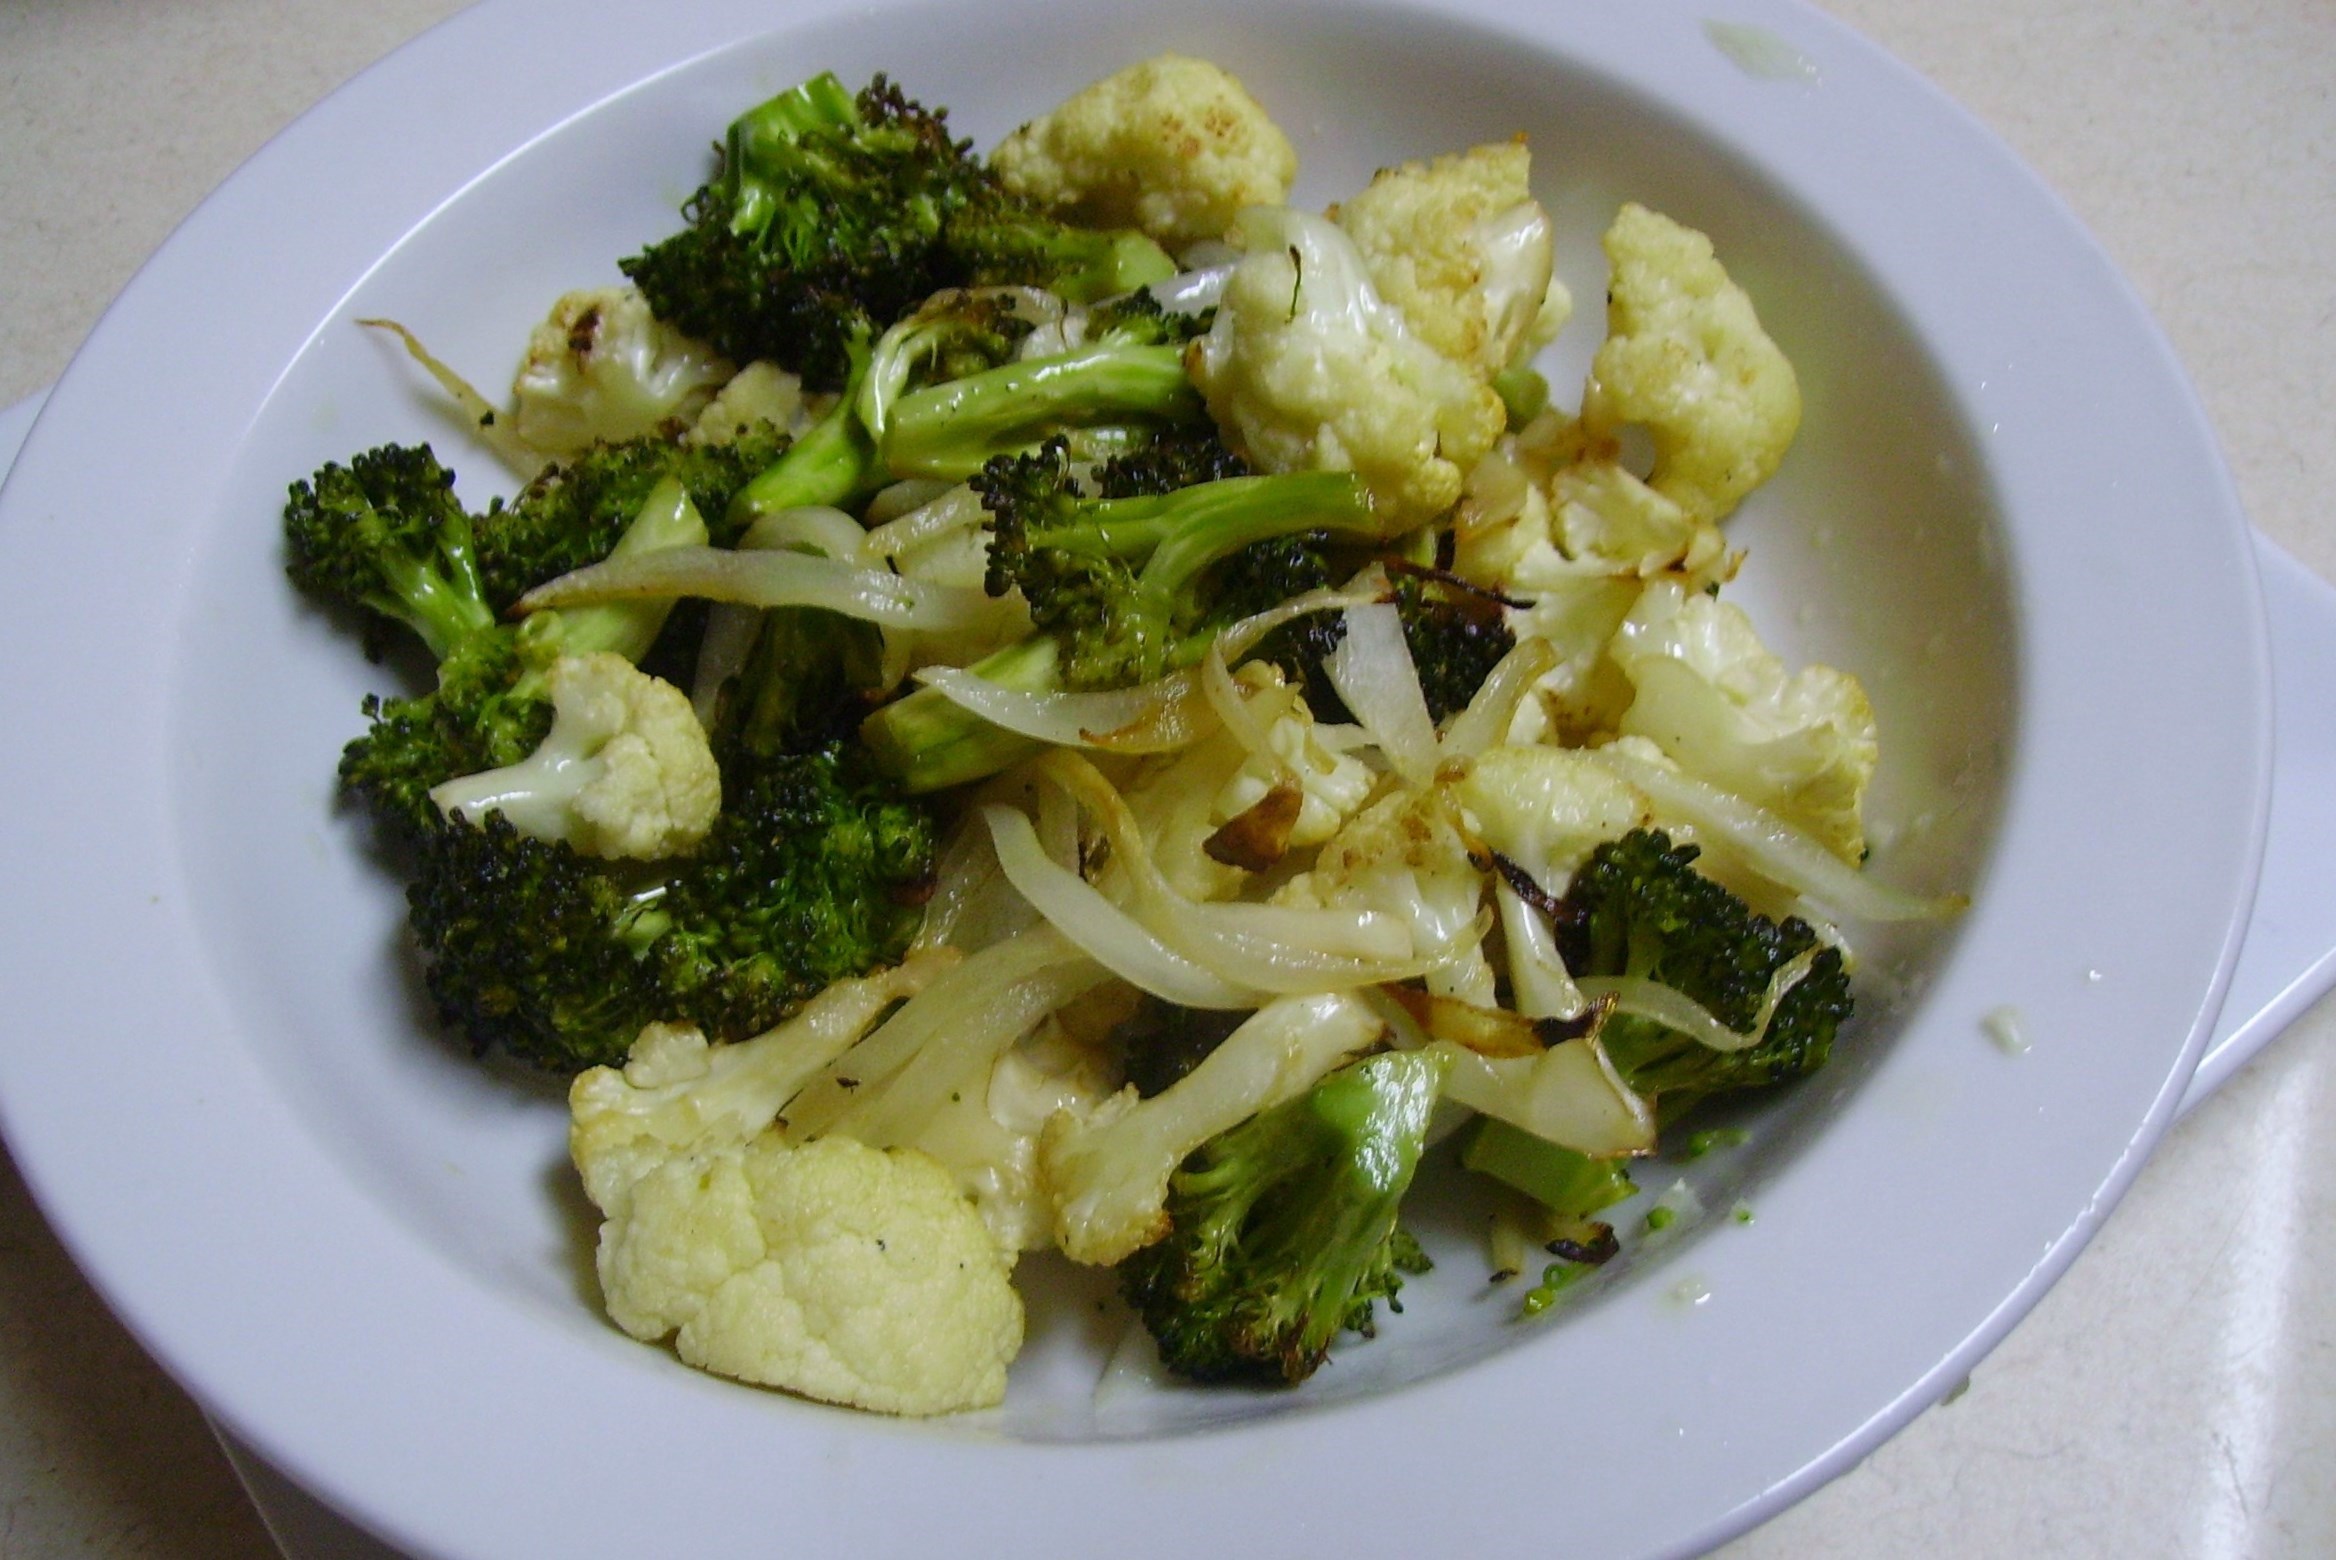
I cut some broccoli crowns into small florets, tossed them with a little olive oil and threw them in my grill basket. They joined the sausage on the grill. It is still summer after all and you know how Mama D feels about grilling….they turned out lightly charred and perfectly tender crisp.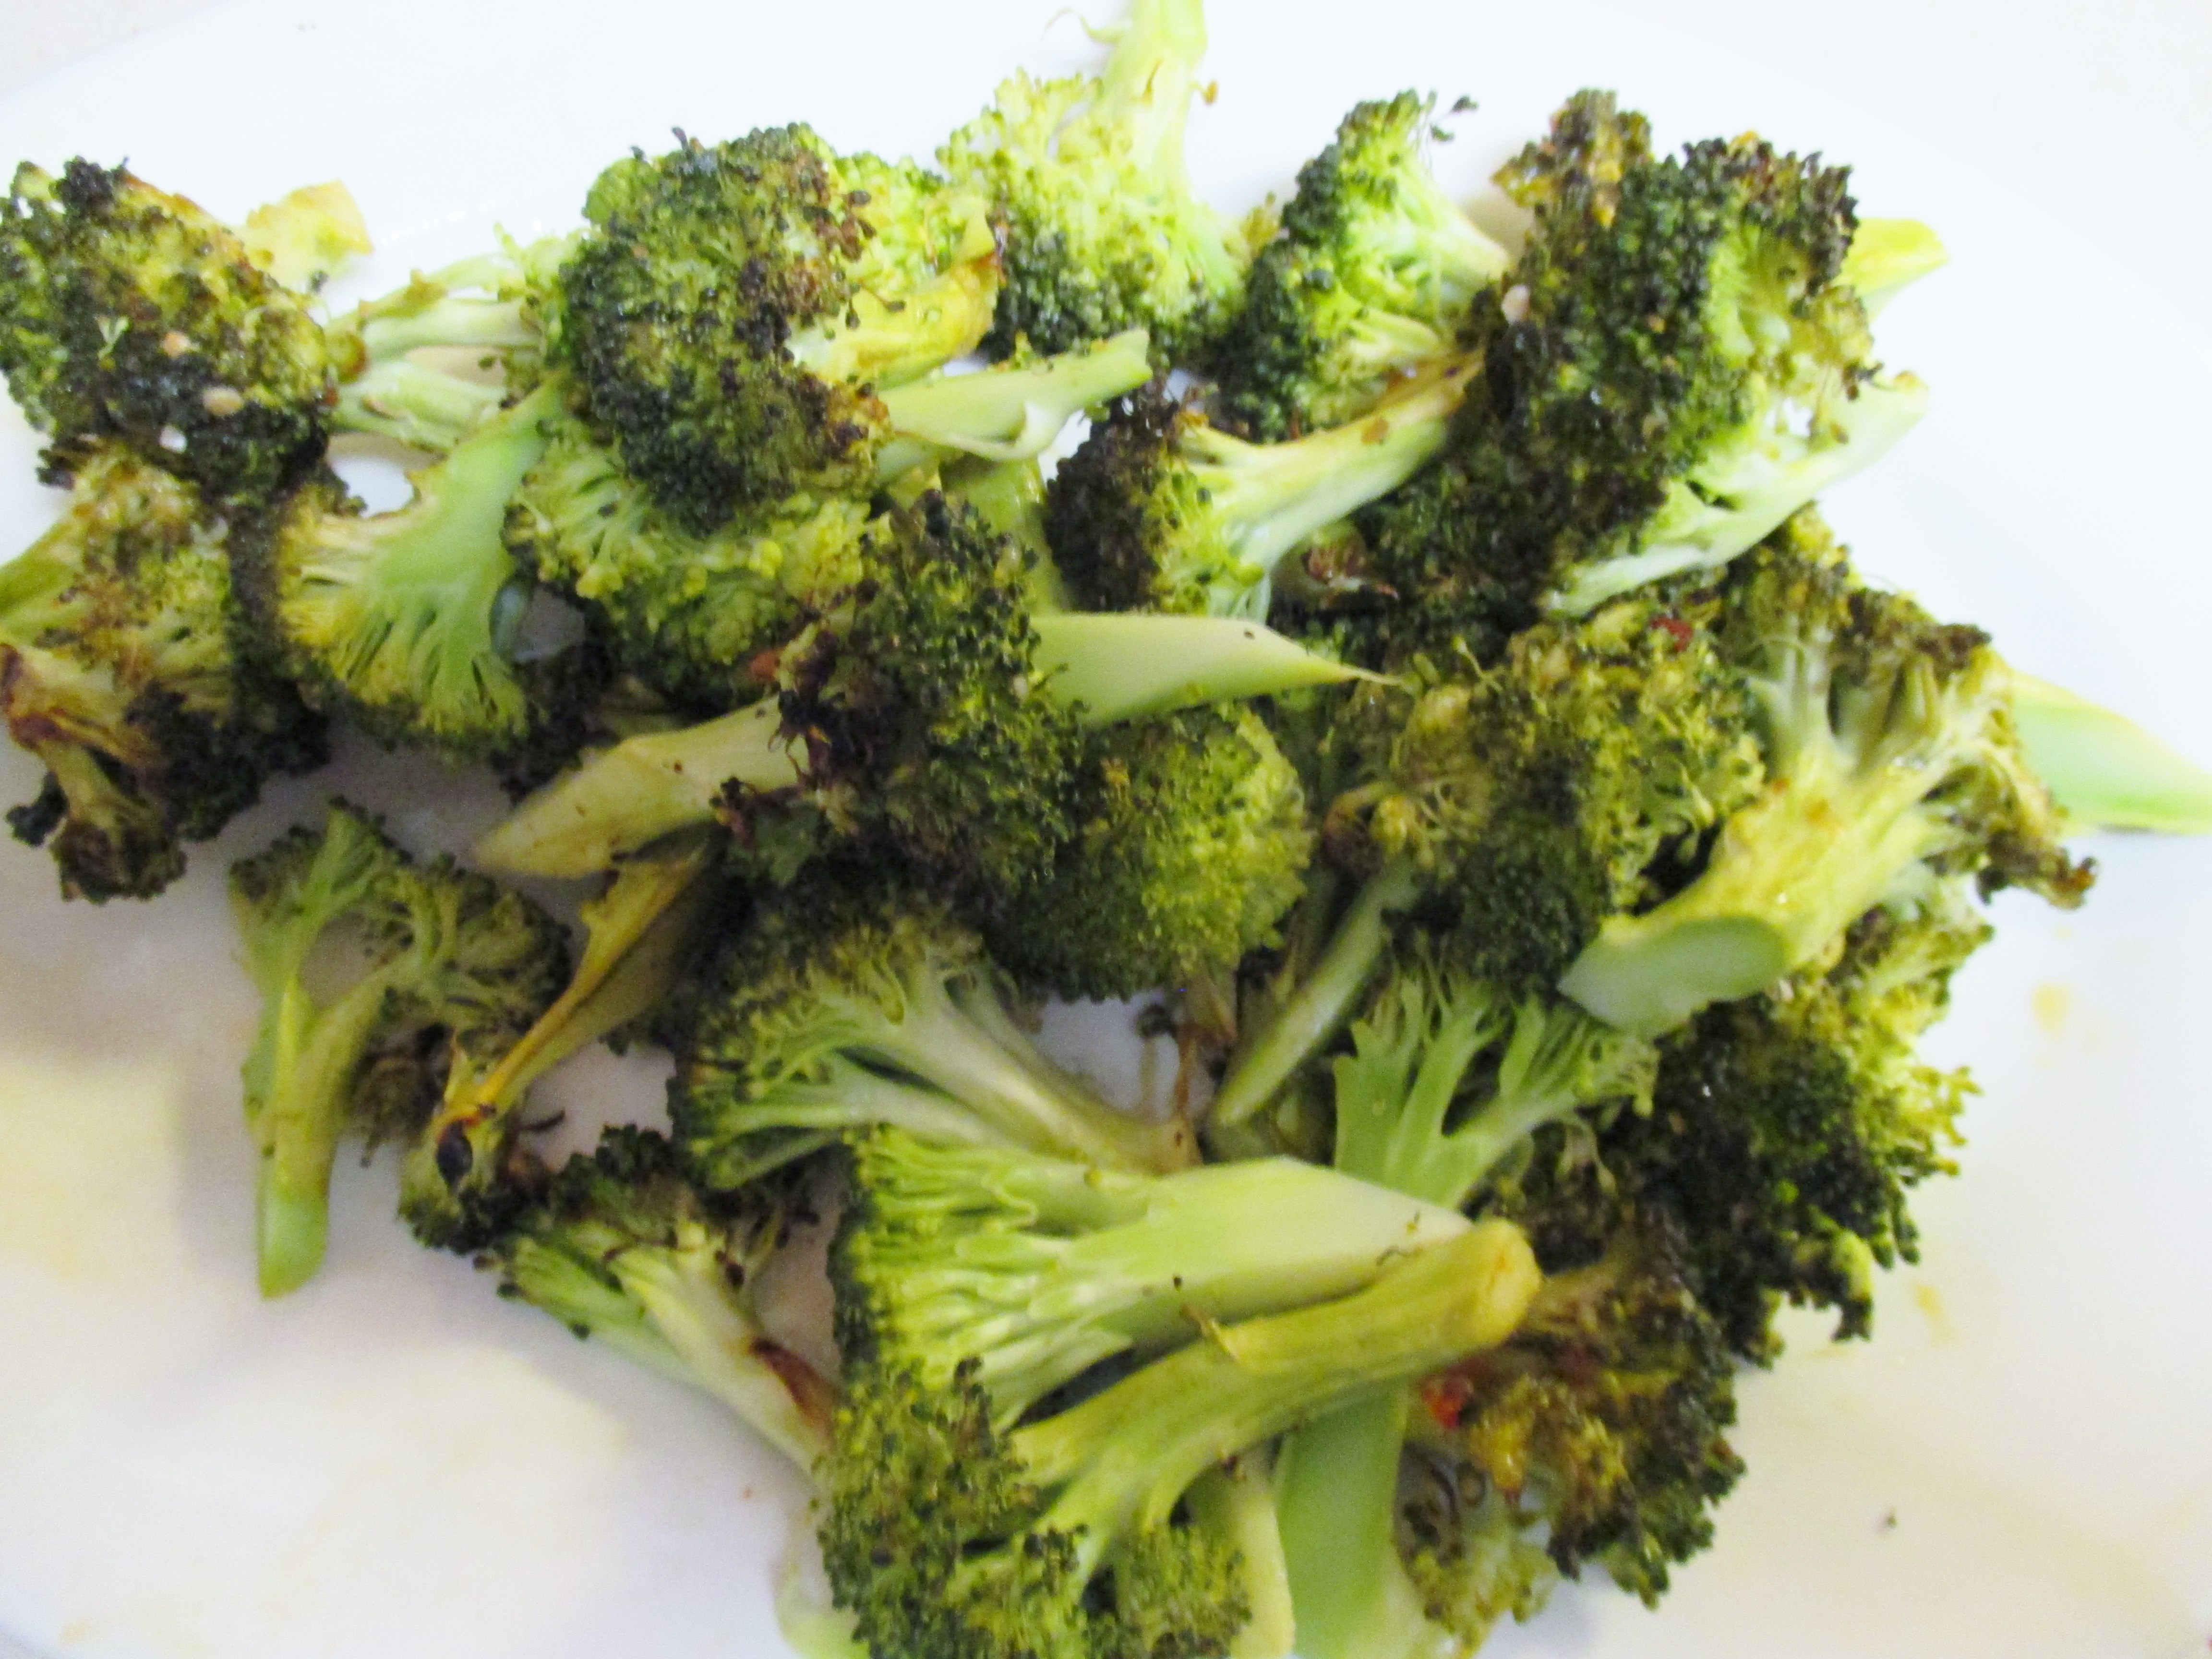
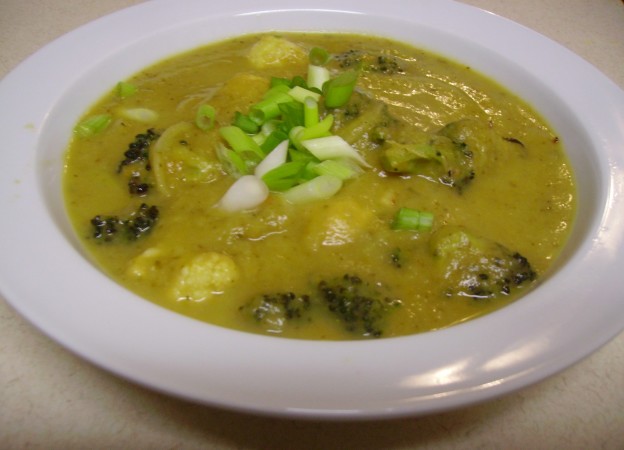
Now for what held these three ingredients together. Onion and garlic were sautéed in some olive oil…could there be any other beginning? Some Chicken Stock, Lemon Thyme, and Cracked Black Pepper provided some flavor. The zest of a lemon went in along with the juice of said lemon. A little (fat-free) Half and Half added a bit of creaminess. Some freshly grated Romano Cheese added some bite. Everything got well acquainted in the skillet becoming a feast for the eyes, nose and tongue.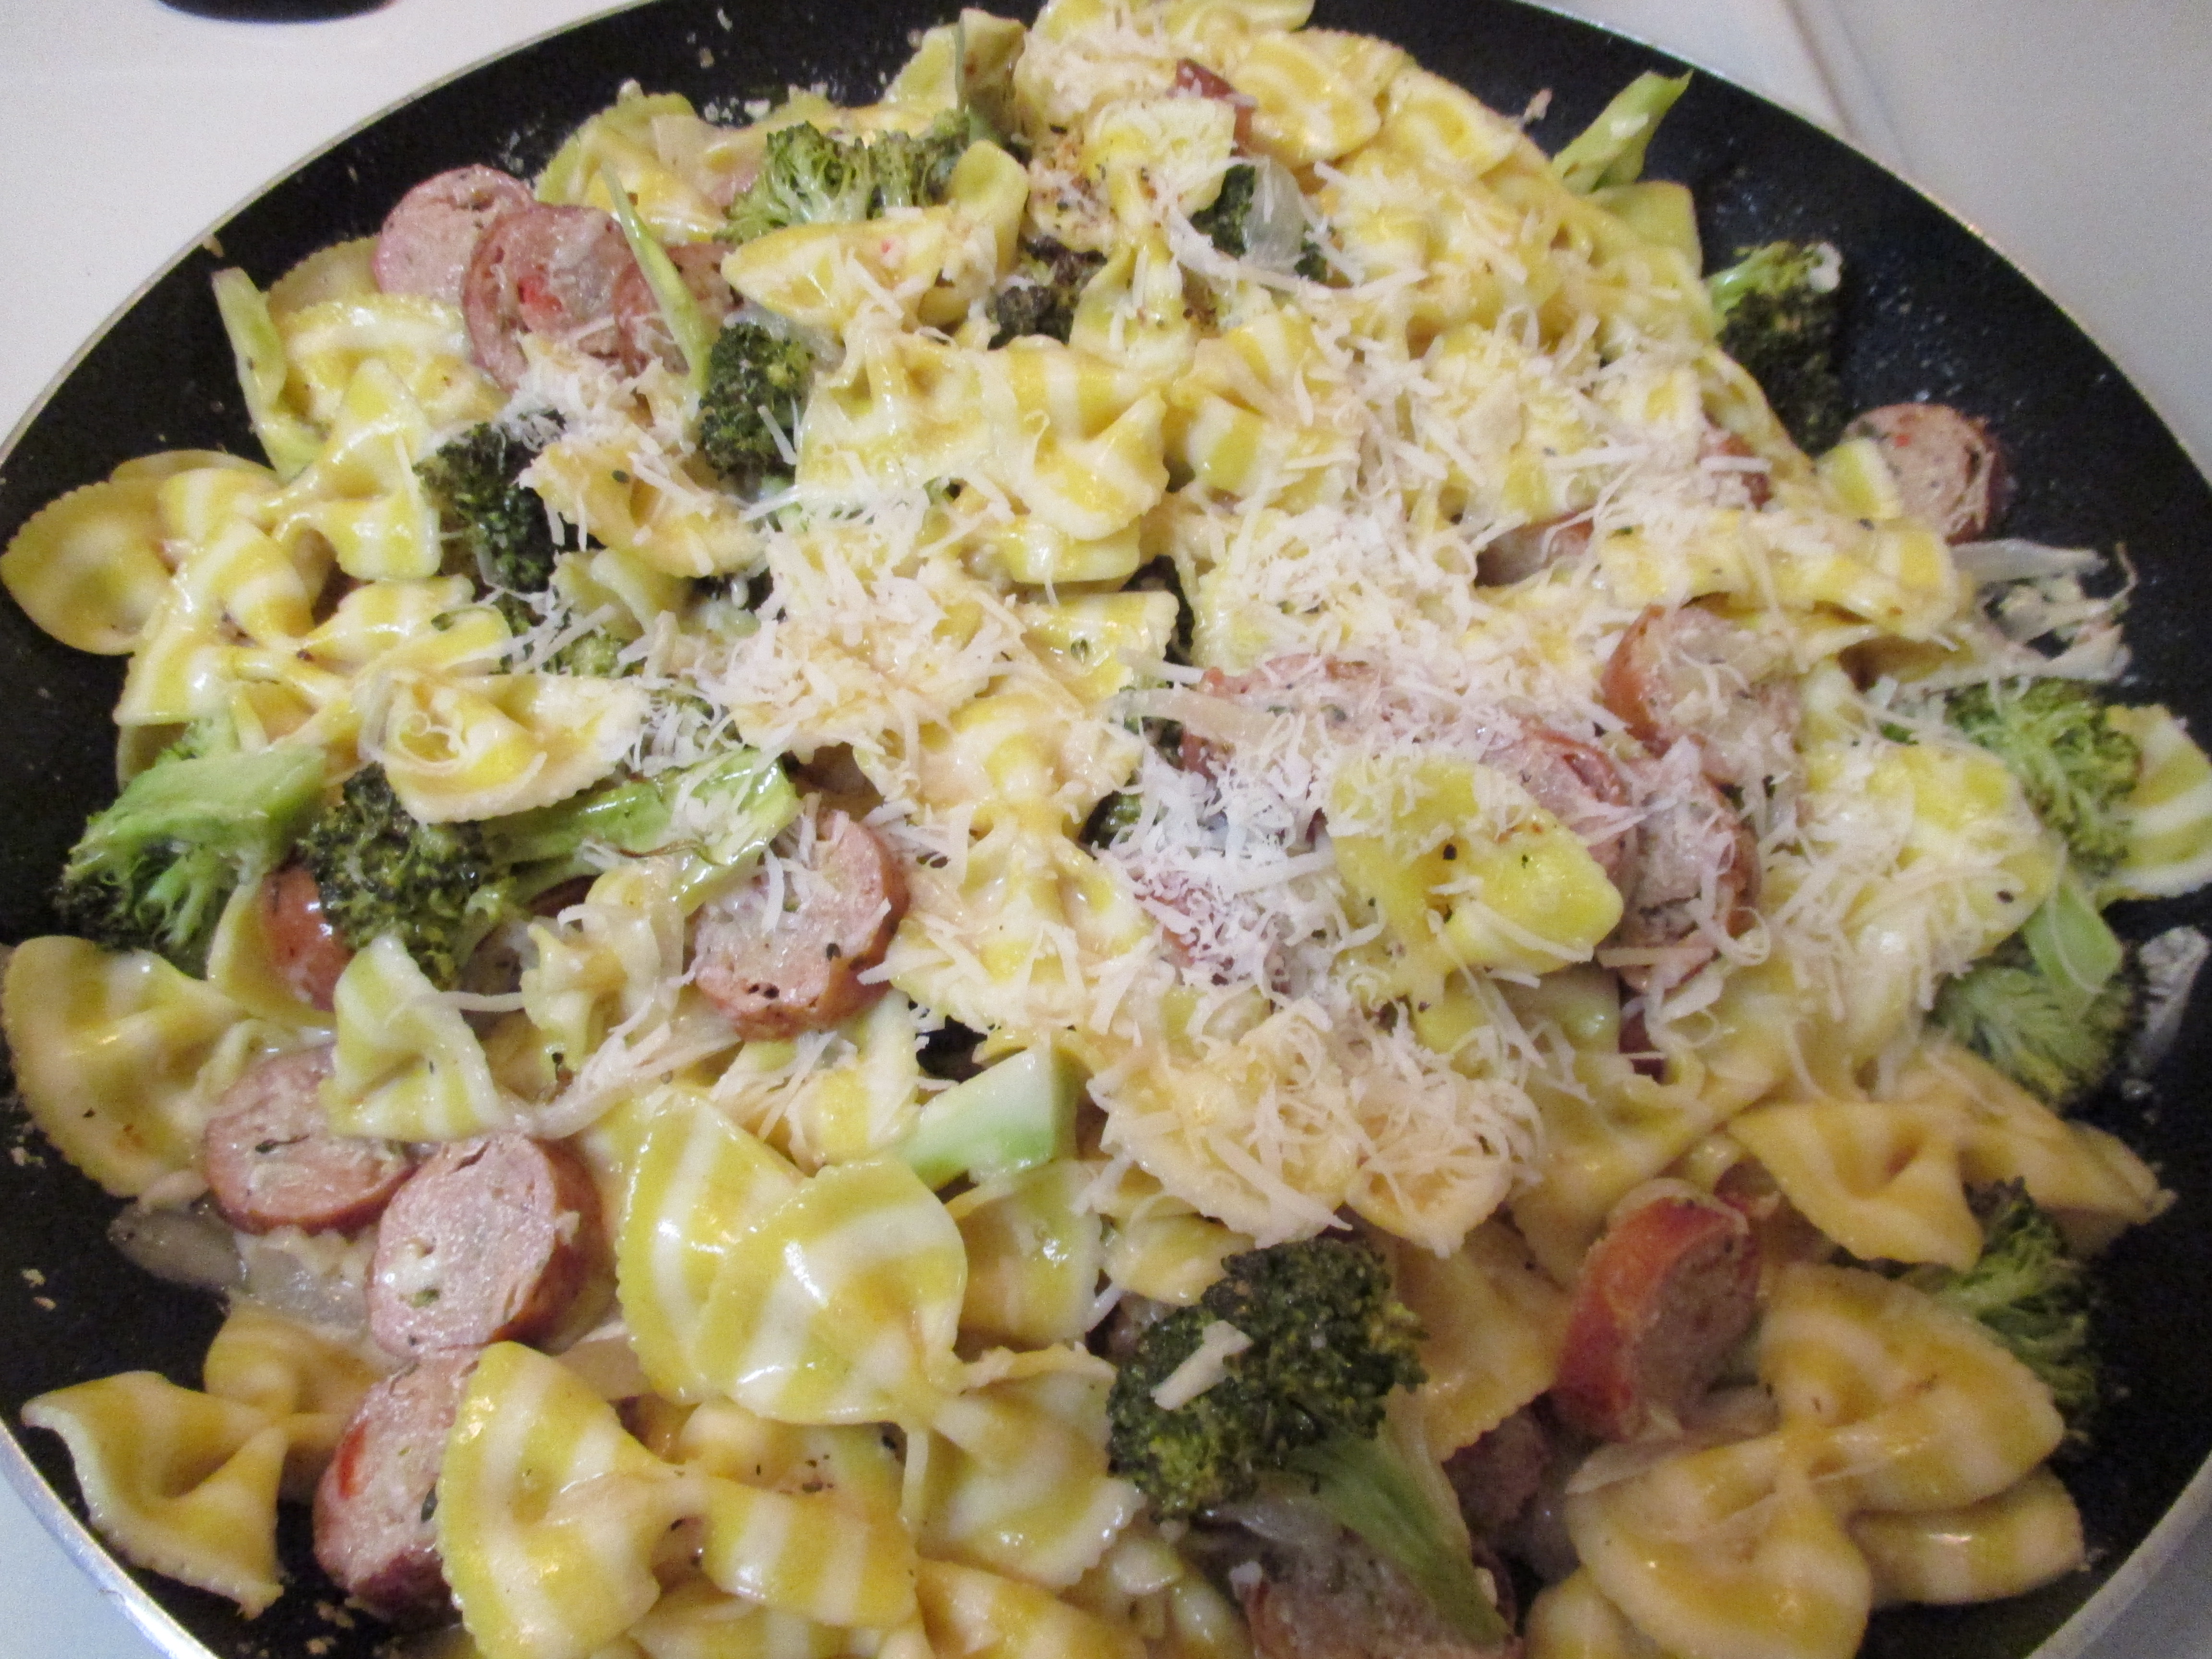

My plan is to share more “Suppers” in the coming weeks and I hope that you will use these musings as a jumping off place to create your own perfect evening meal….whatever you choose to call it.
Share this: