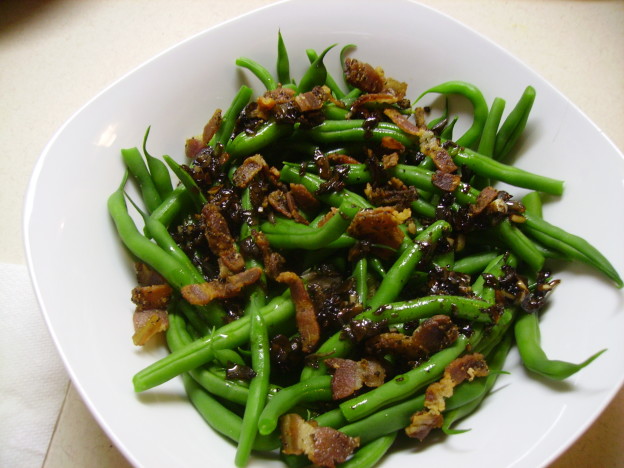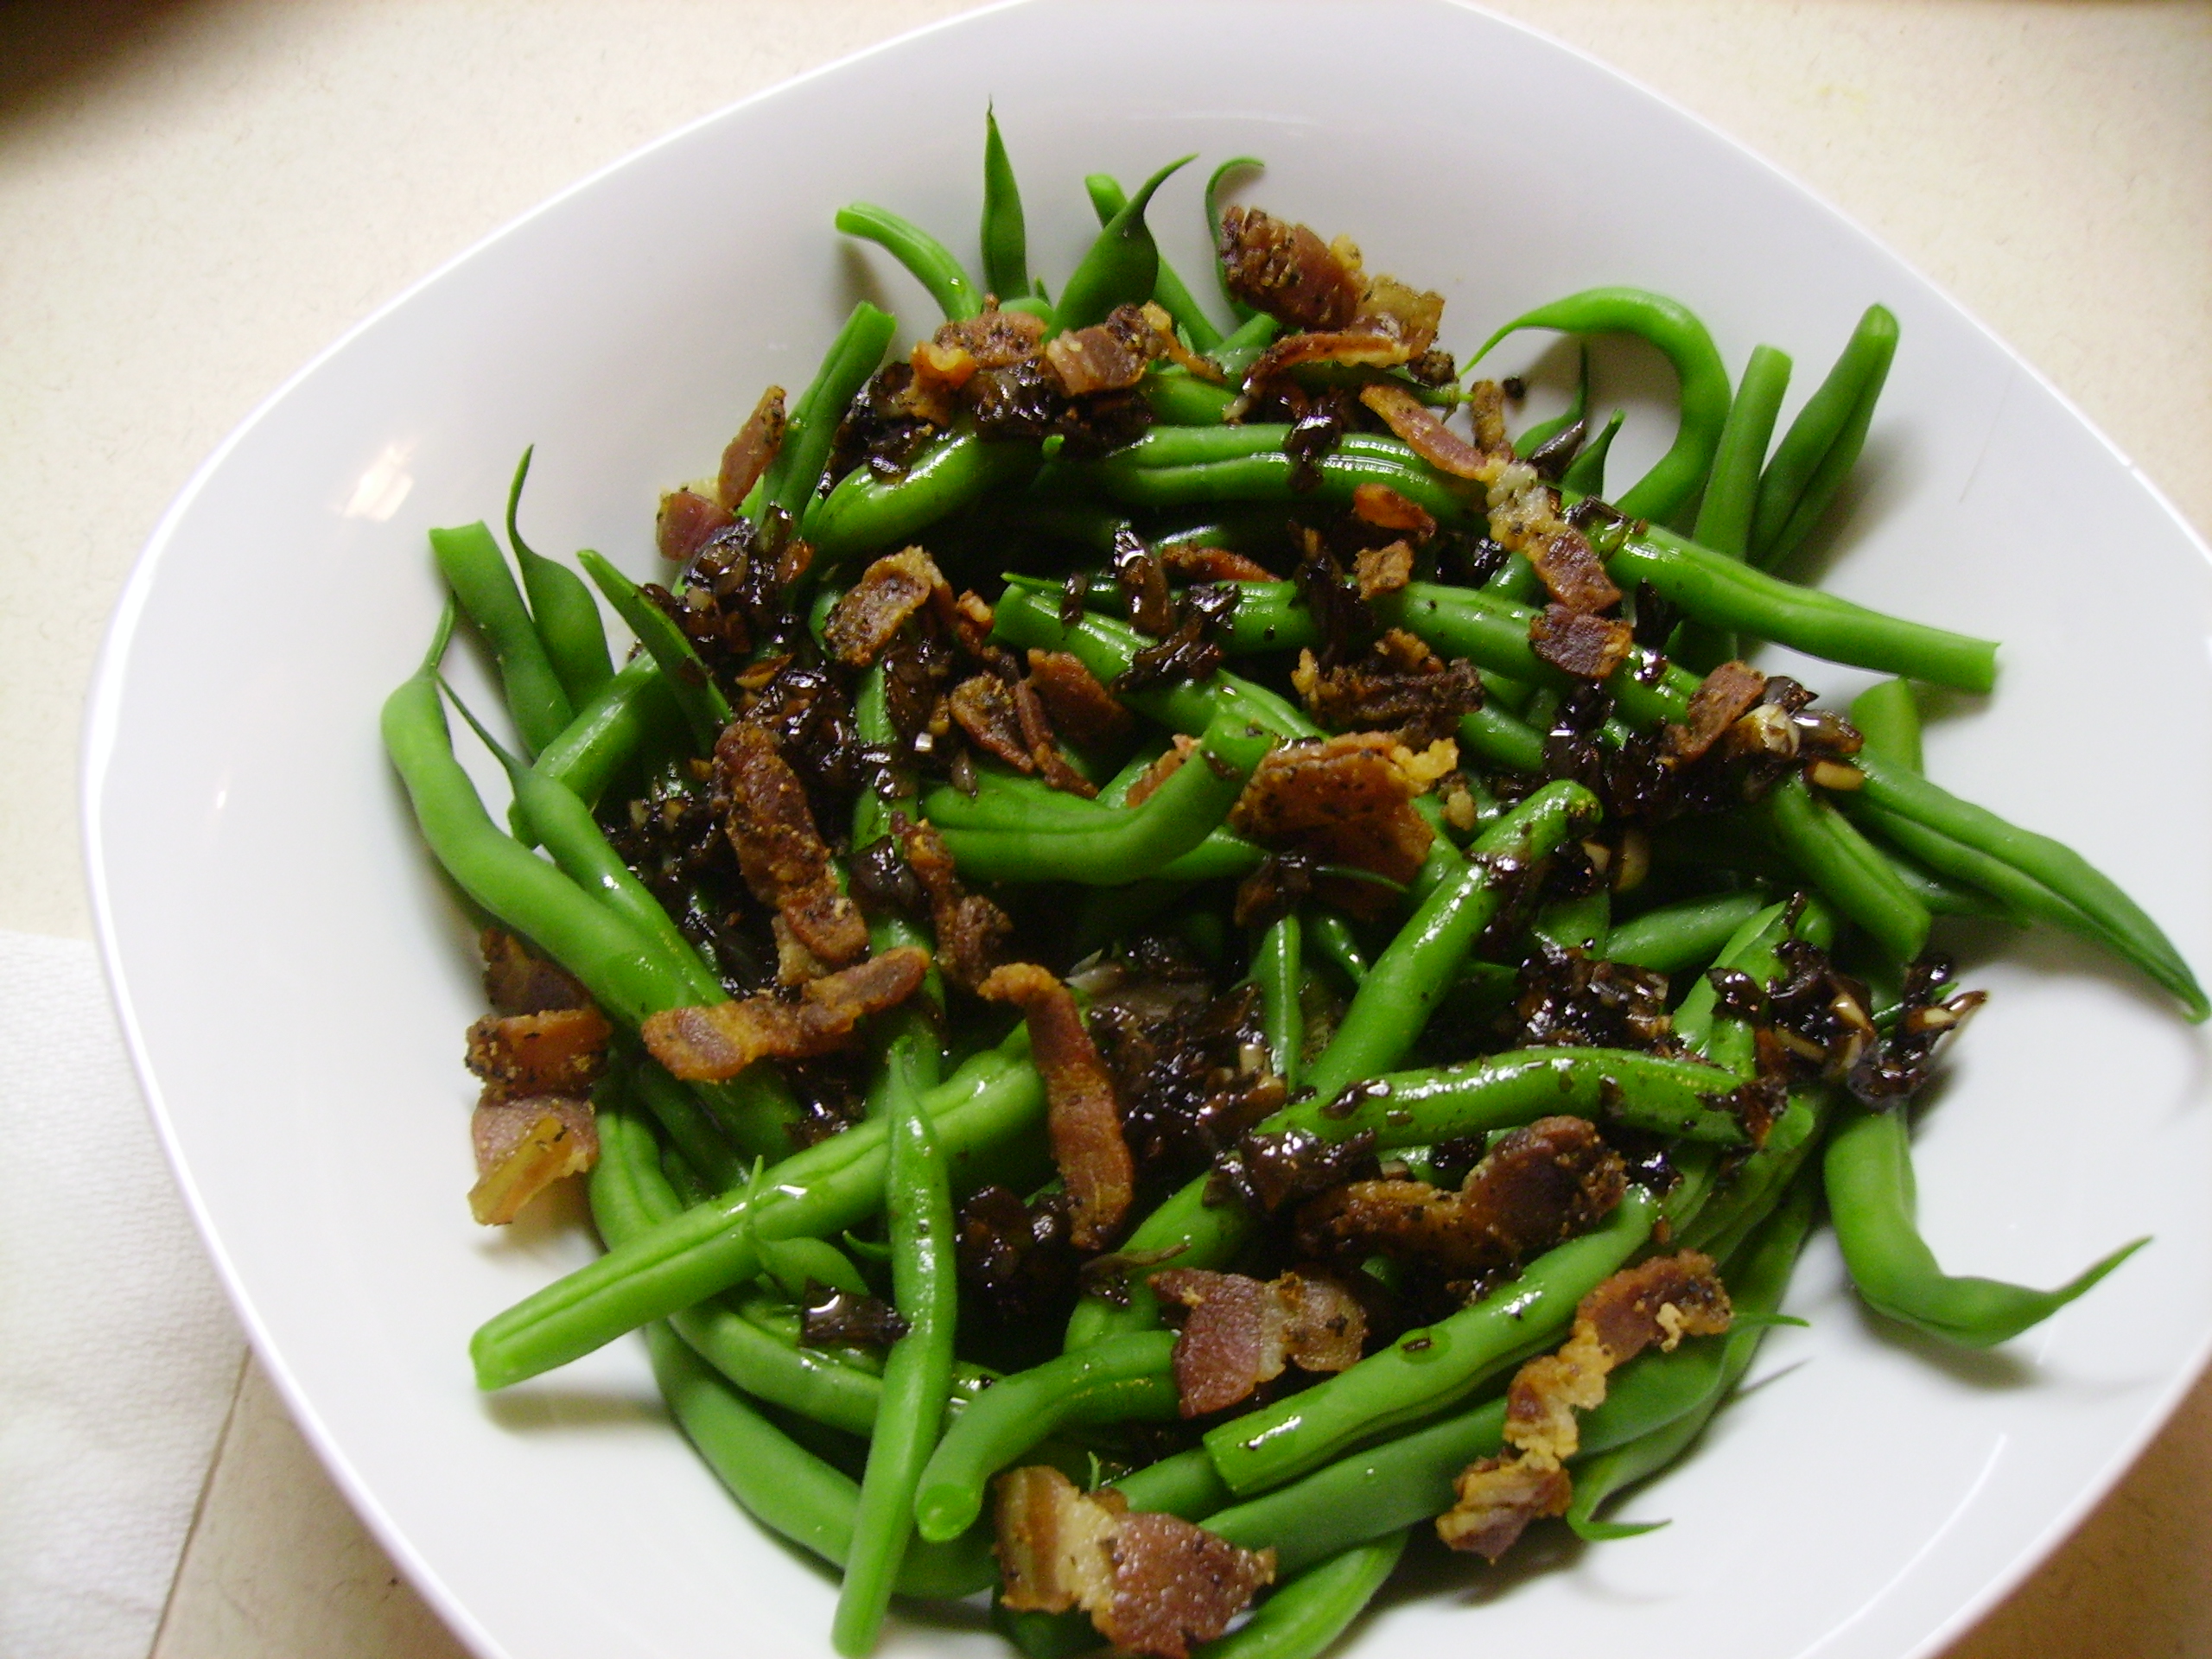
Greenie Beanie Salad with Warm Bacon, Shallot, and Garlic Dressing

Don’t laugh at the title of this post. Greenie beanies was how we always referred to this vegetable when my kids were growing up. Maybe it helped them eat them more willingly, maybe I just made up silly words because I was that kind of mom. Whatever the reason, we still refer to those lovely green spears as greenie beanies. They are still a family favorite and if you took a poll, half the family would like them as a salad and the other half would like them as a warm side dish, though everyone would eat them both ways.

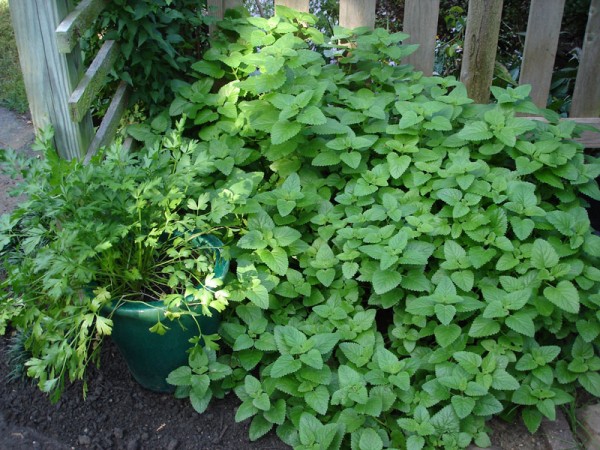
The garden has given us a veritable bounty of beans. The beans have survived being nibbled down to almost nothing by deer, shivering through cold beginnings, basking in very warm sunshine and way more than enough rain. Thanks to care by many residents especially wonderful Lois, the beans are sweet and tender and just beg to be eaten simply. Green Bean Salad in Mama D’s Kitchen consists of blanched green beans in a dressing of olive oil, garlic, fresh basil, and balsamic vinegar. This is how my mother made it except that the beans were more than blanched and  the dressing usually featured mint as the herb of choice. I think she used mint because it was very plentiful in our backyard. Anyone who has grown mint knows that it knows no boundaries, so there was always a steady supply for bean salad and the requisite summer iced tea.

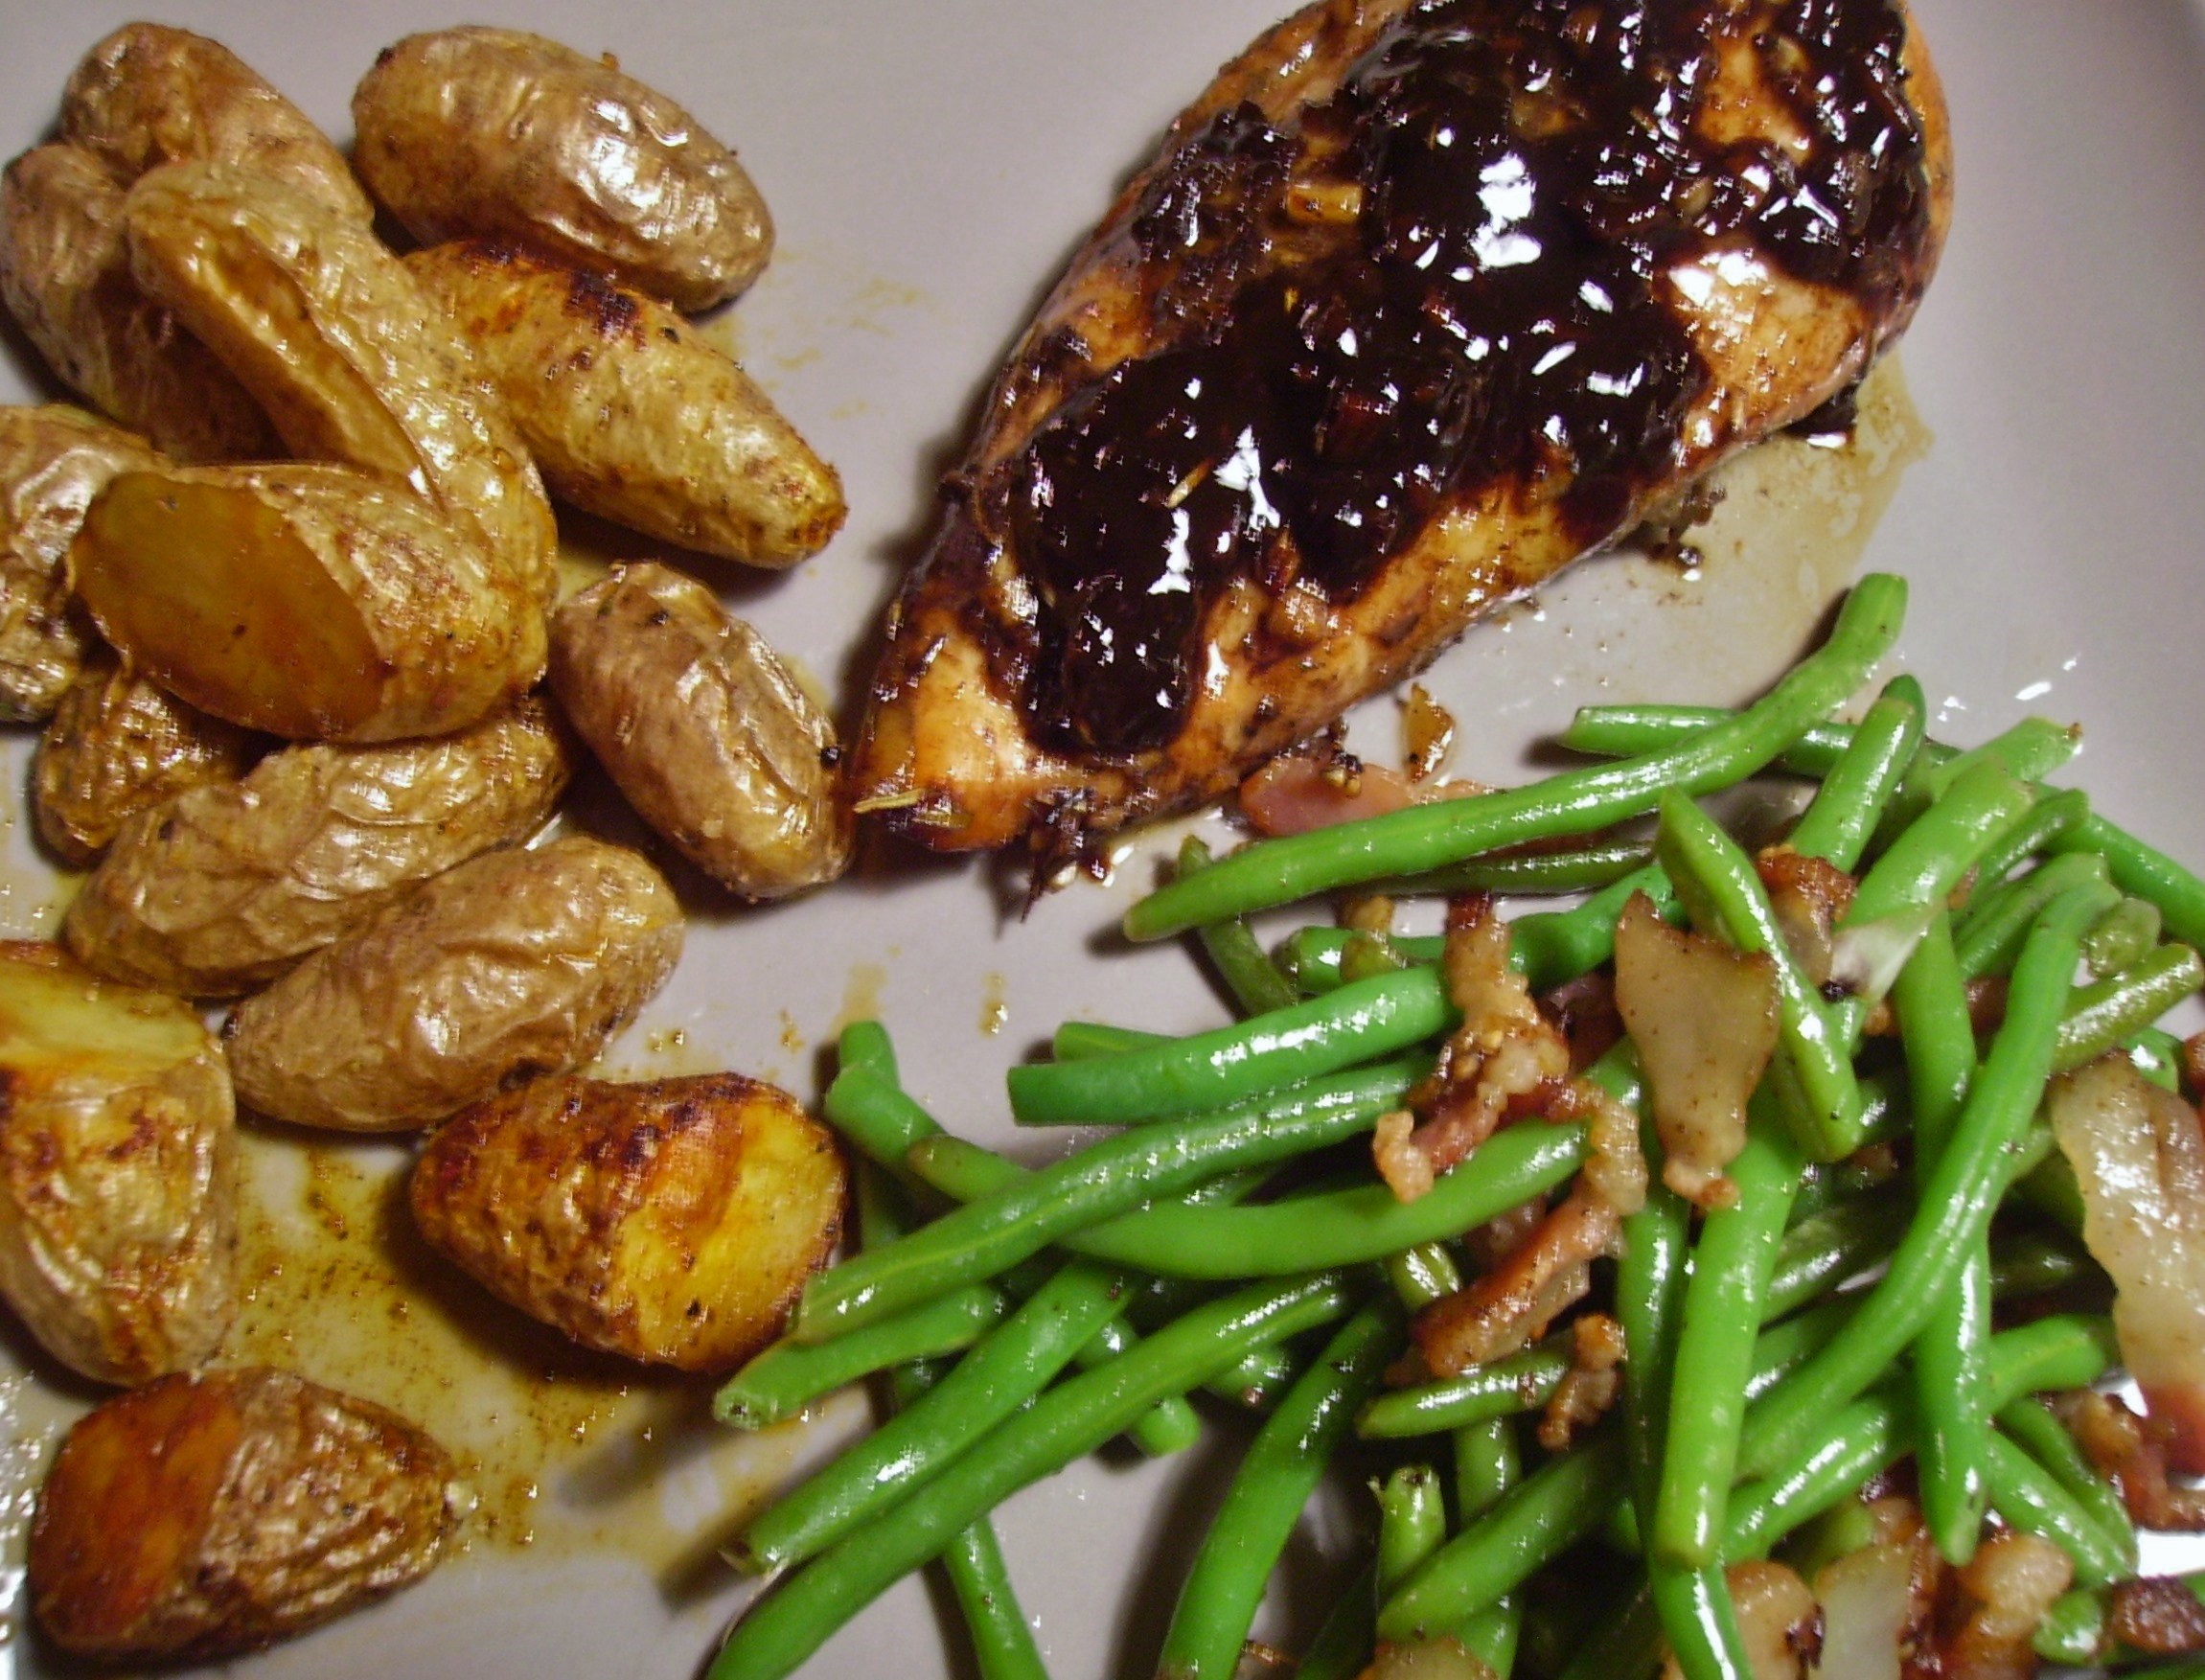
When I fix green beans as a side dish I fry up some bacon and add shallots. Then I toss the blanched beans in this deletable bath and heat until everything is happy. Green beans and bacon have a natural affinity and the shallots add a subtly onion-y flavor that is perfect with almost anything.

DIGITAL CAMERA

I couldn’t decide which of my preferred preparations to make so I opted for a mash-up of the two.The beautiful beanies would be lightly cooked to the perfect tender crispness and dressed with a vinaigrette of garlic, olive oil and balsamic. The dressing would be further enhanced with shallots and bacon. While I decided to chill the beans slightly, the dressing would be warm.

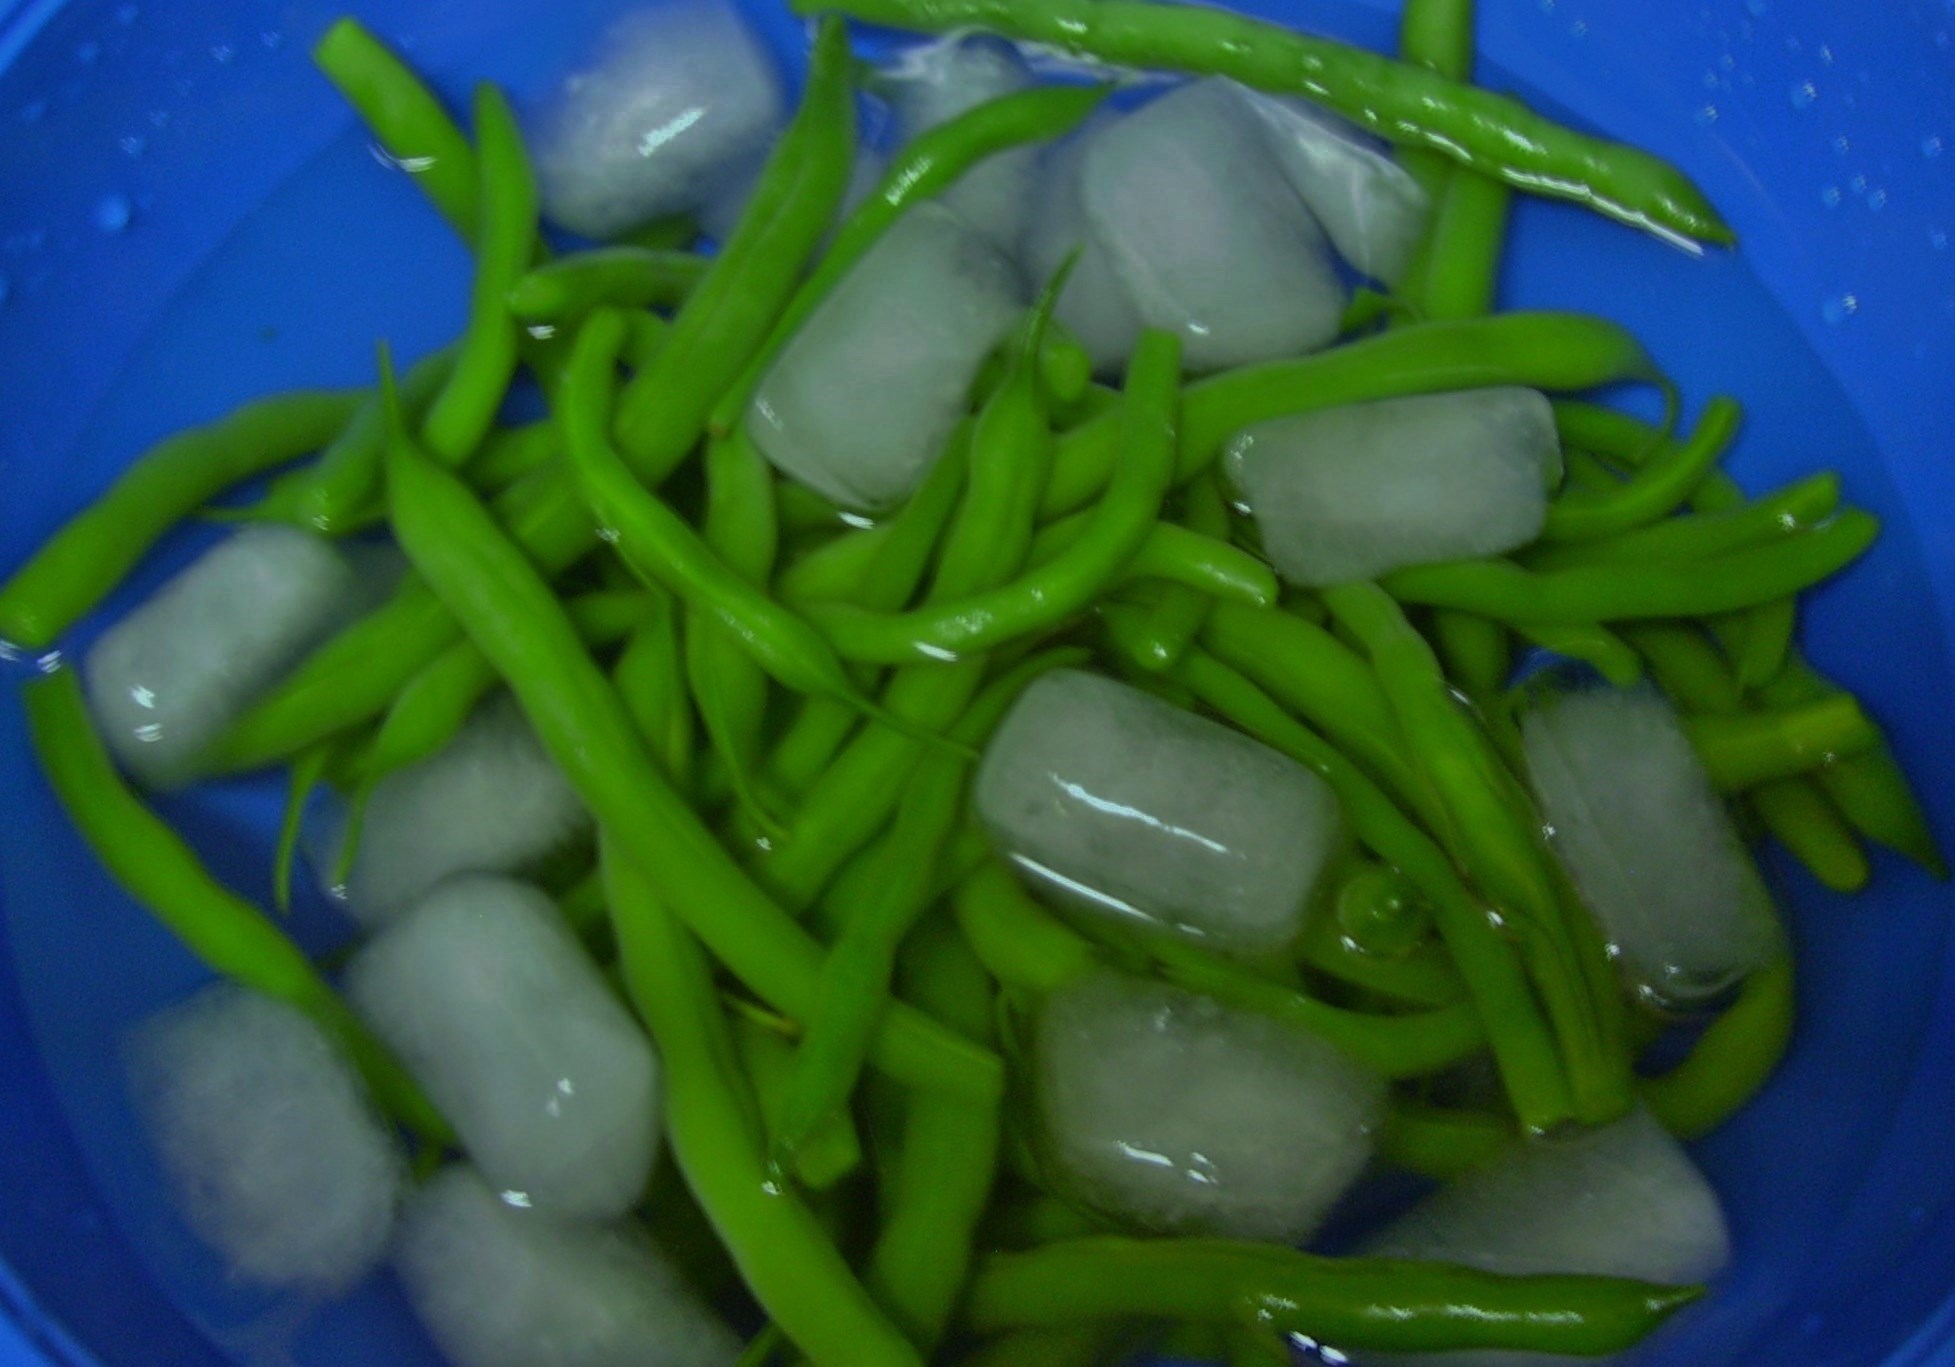
Blanching green beans seems to work the best for me. Cooking them briefly in boiling water then plunging them into an ice bath, while seeming cruel and unusual punishment, results in bright green beans that crunch ever so gently when you bite into them. It sets the stage for whatever they will become.

DIGITAL CAMERA

On this occasion, they chilled briefly  while I prepared the dressing. Two slices of chopped peppered bacon crisped up in a pan. Out came the bacon and away went the drippings. The pan was left with all those beautiful brown bits. They weren’t alone for long. I added some olive oil followed by some diced shallots. Once they were soft and fragrant I added some garlic and let them cook long enough to become really good friends. Then a bit more olive oil and some balsamic vinegar and the dressing was perfect.

By this time the beans were slightly chilled and ready to welcome their rich brown dressing. The bacon crowned the dish and a new family favorite was born.

Green Bean Salad with Warm Bacon Shallot and Garlic Dressing
Print Recipe
Servings
4
Servings
4
Green Bean Salad with Warm Bacon Shallot and Garlic Dressing
Print Recipe
Servings
4
Servings
4
Ingredients
Servings:
Instructions
  1. In a large pot, bring a good amount of salted water to boil. Add the green beans and cook for 3 - 4 minutes (they should be just barely tender and quite crisp).
  2. Drain the beans and place in a bowl of ice water. Stir to cool as quickly as possible. Drain well and store in the refrigerator while you make the dressing.
  3. Chop the bacon and cook it in a small skillet until it is crisp. Remove the bacon and drain on a paper towel. Pour off all of the drippings but leave the browned bits.
  4. Add the olive oil to the pan and let it get hot. Add the shallots and cook for 3 minutes or so until they begin to turn golden.
  5. Add the garlic and cook another 2 minutes, stirring often.
  6. Add the vinegar and reduce the heat to low. Let the dressing simmer for a few minutes. Check the flavor and add salt and pepper if needed.
  7. Put the beans in a serving bowl. Add the dressing and toss to coat. Sprinkle the reserved bacon on the top and serve.
Share this Recipe
Powered byWP Ultimate Recipe

It looks as though there will be more beans to come as well as tomatoes and peppers (as long as the squirrels don’t sample too much).  In spite of everything our community garden is giving us lots of food and a different perspective on apartment living.


Waiting (Impatiently) on a Garden and Pesto Pasta Salad

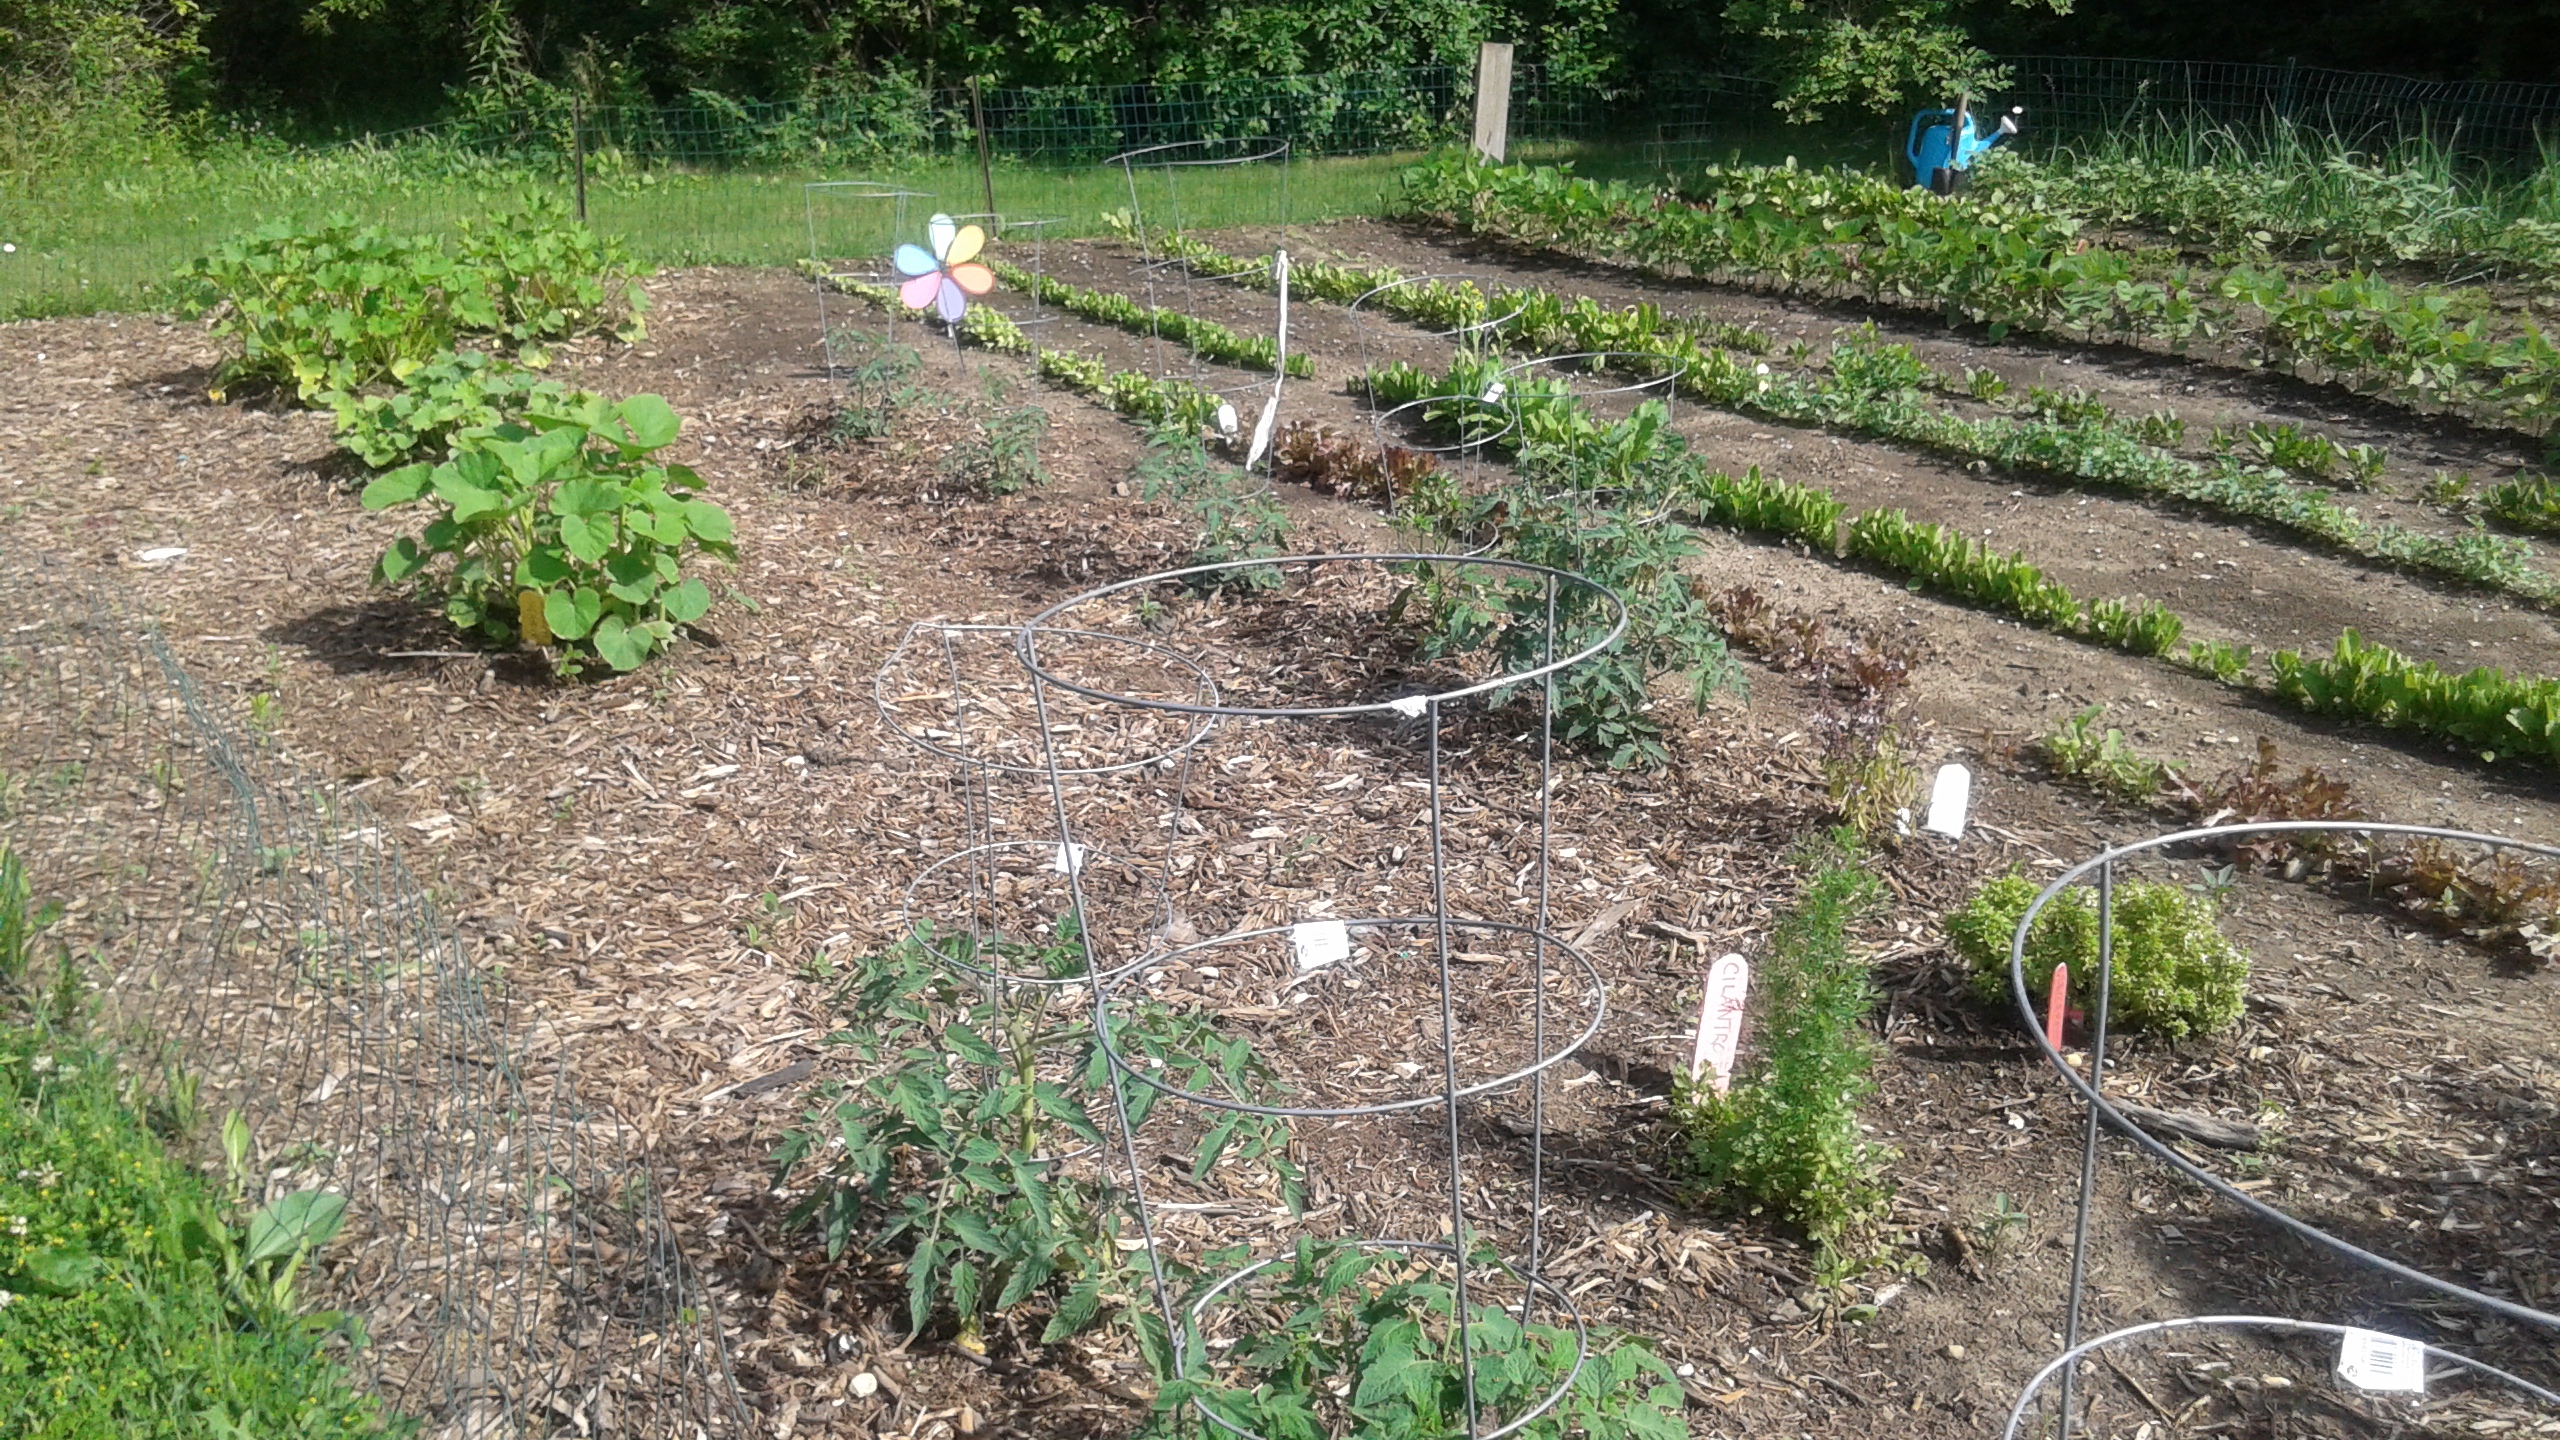
I love our community garden. Ever since I put my tomatoes, peppers, and squash in the ground I’ve been excited to reap the rewards. Here’s the problem. Gardens take time. The whole sunshine, rain, and TLC thing is not an overnight process. Our weather has been far from cooperative. It got a little too cold right after we planted. Then it got really hot and we were watering everyday. We of course wished for rain and guess what? You know the saying, “when it rains, it pours”? Yeah, that’s what’s been going here for a few too many days. In spite of all that, the garden is flourishing. The plants seem to enjoy the constant precipitation with little sunny interludes. They are bigger everyday and I can even see growth from morning until evening.049

While there is an abundance of baby lettuce, some tender young kale, and lovely radishes, the big-ticket items have yet to set fruit (an industry term). I’m like a child waiting for Christmas. I’ve been good and my proverbial stocking has been hung, so where is the big payoff? This is where patience comes into play. Mama D’s summer kitchen (and imagination) is swimming with ideas for healthy summer dishes bursting with garden fresh produce. Until my very local thing comes along, grocery store produce will have to do. Not that there’s anything wrong with that…

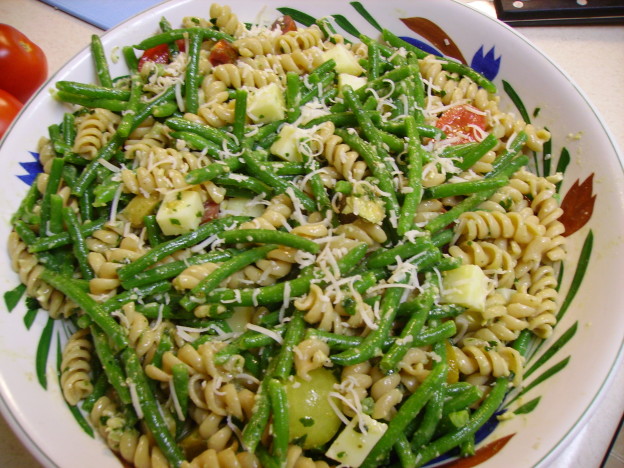
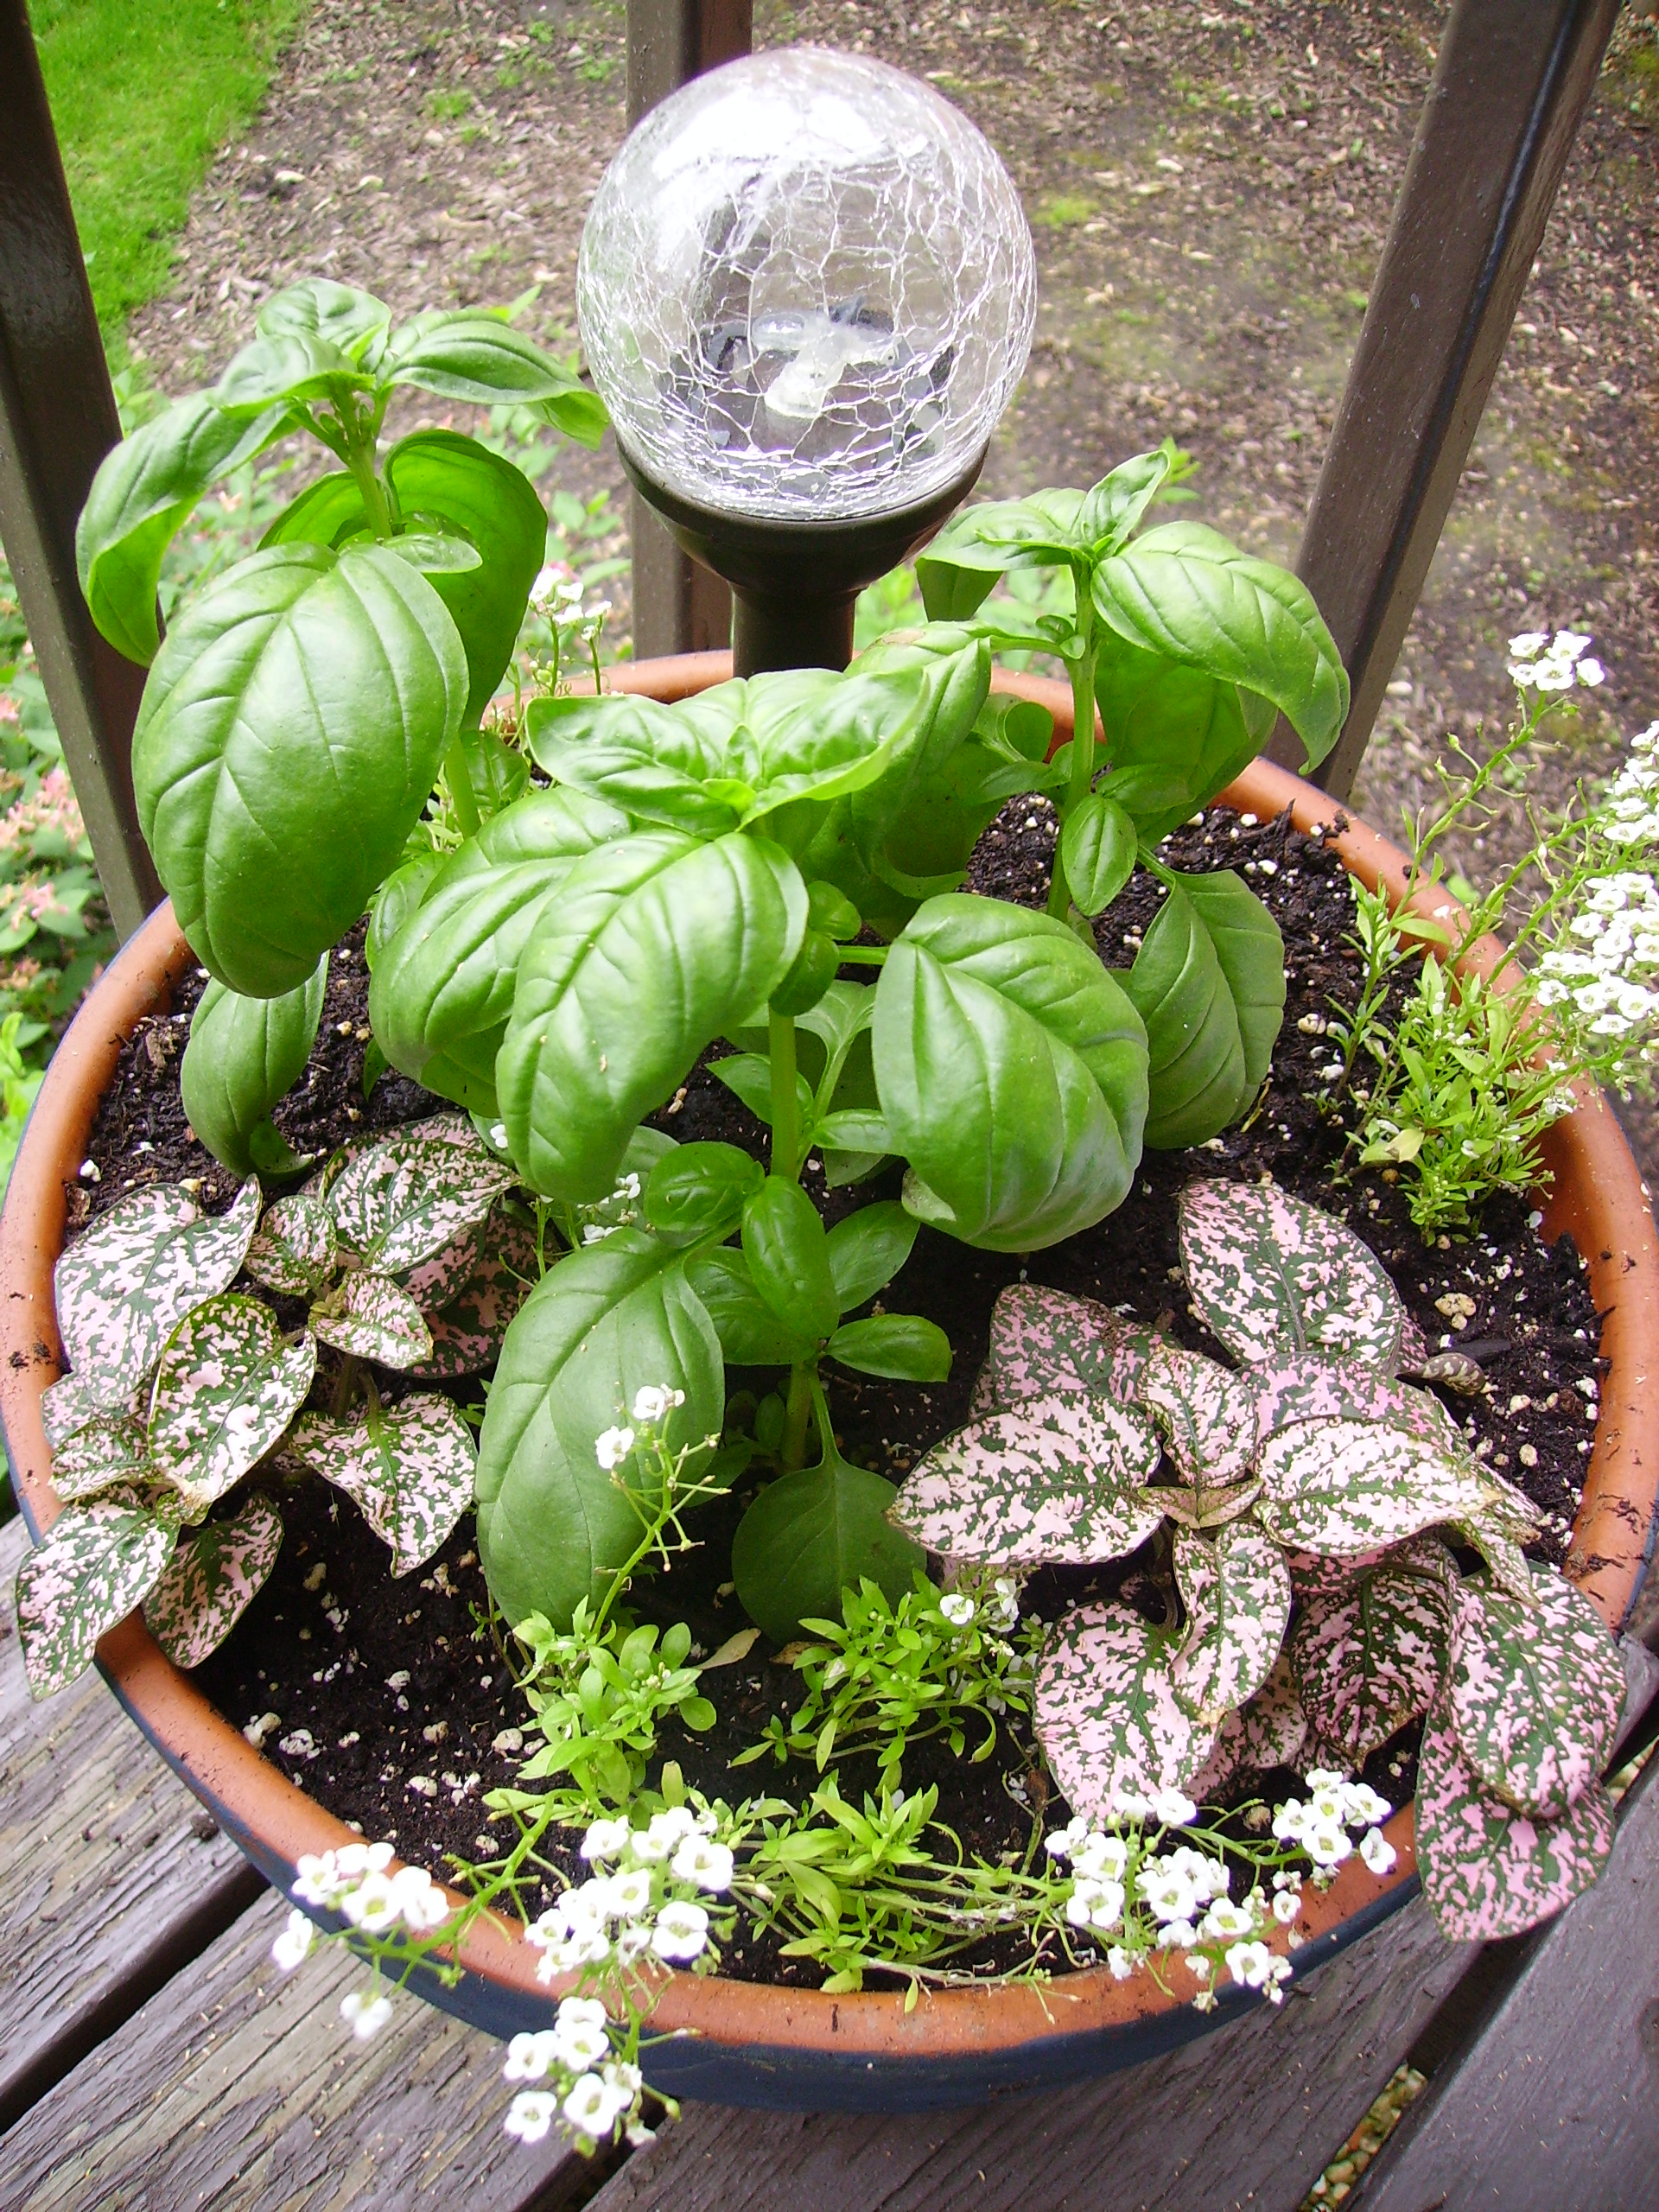
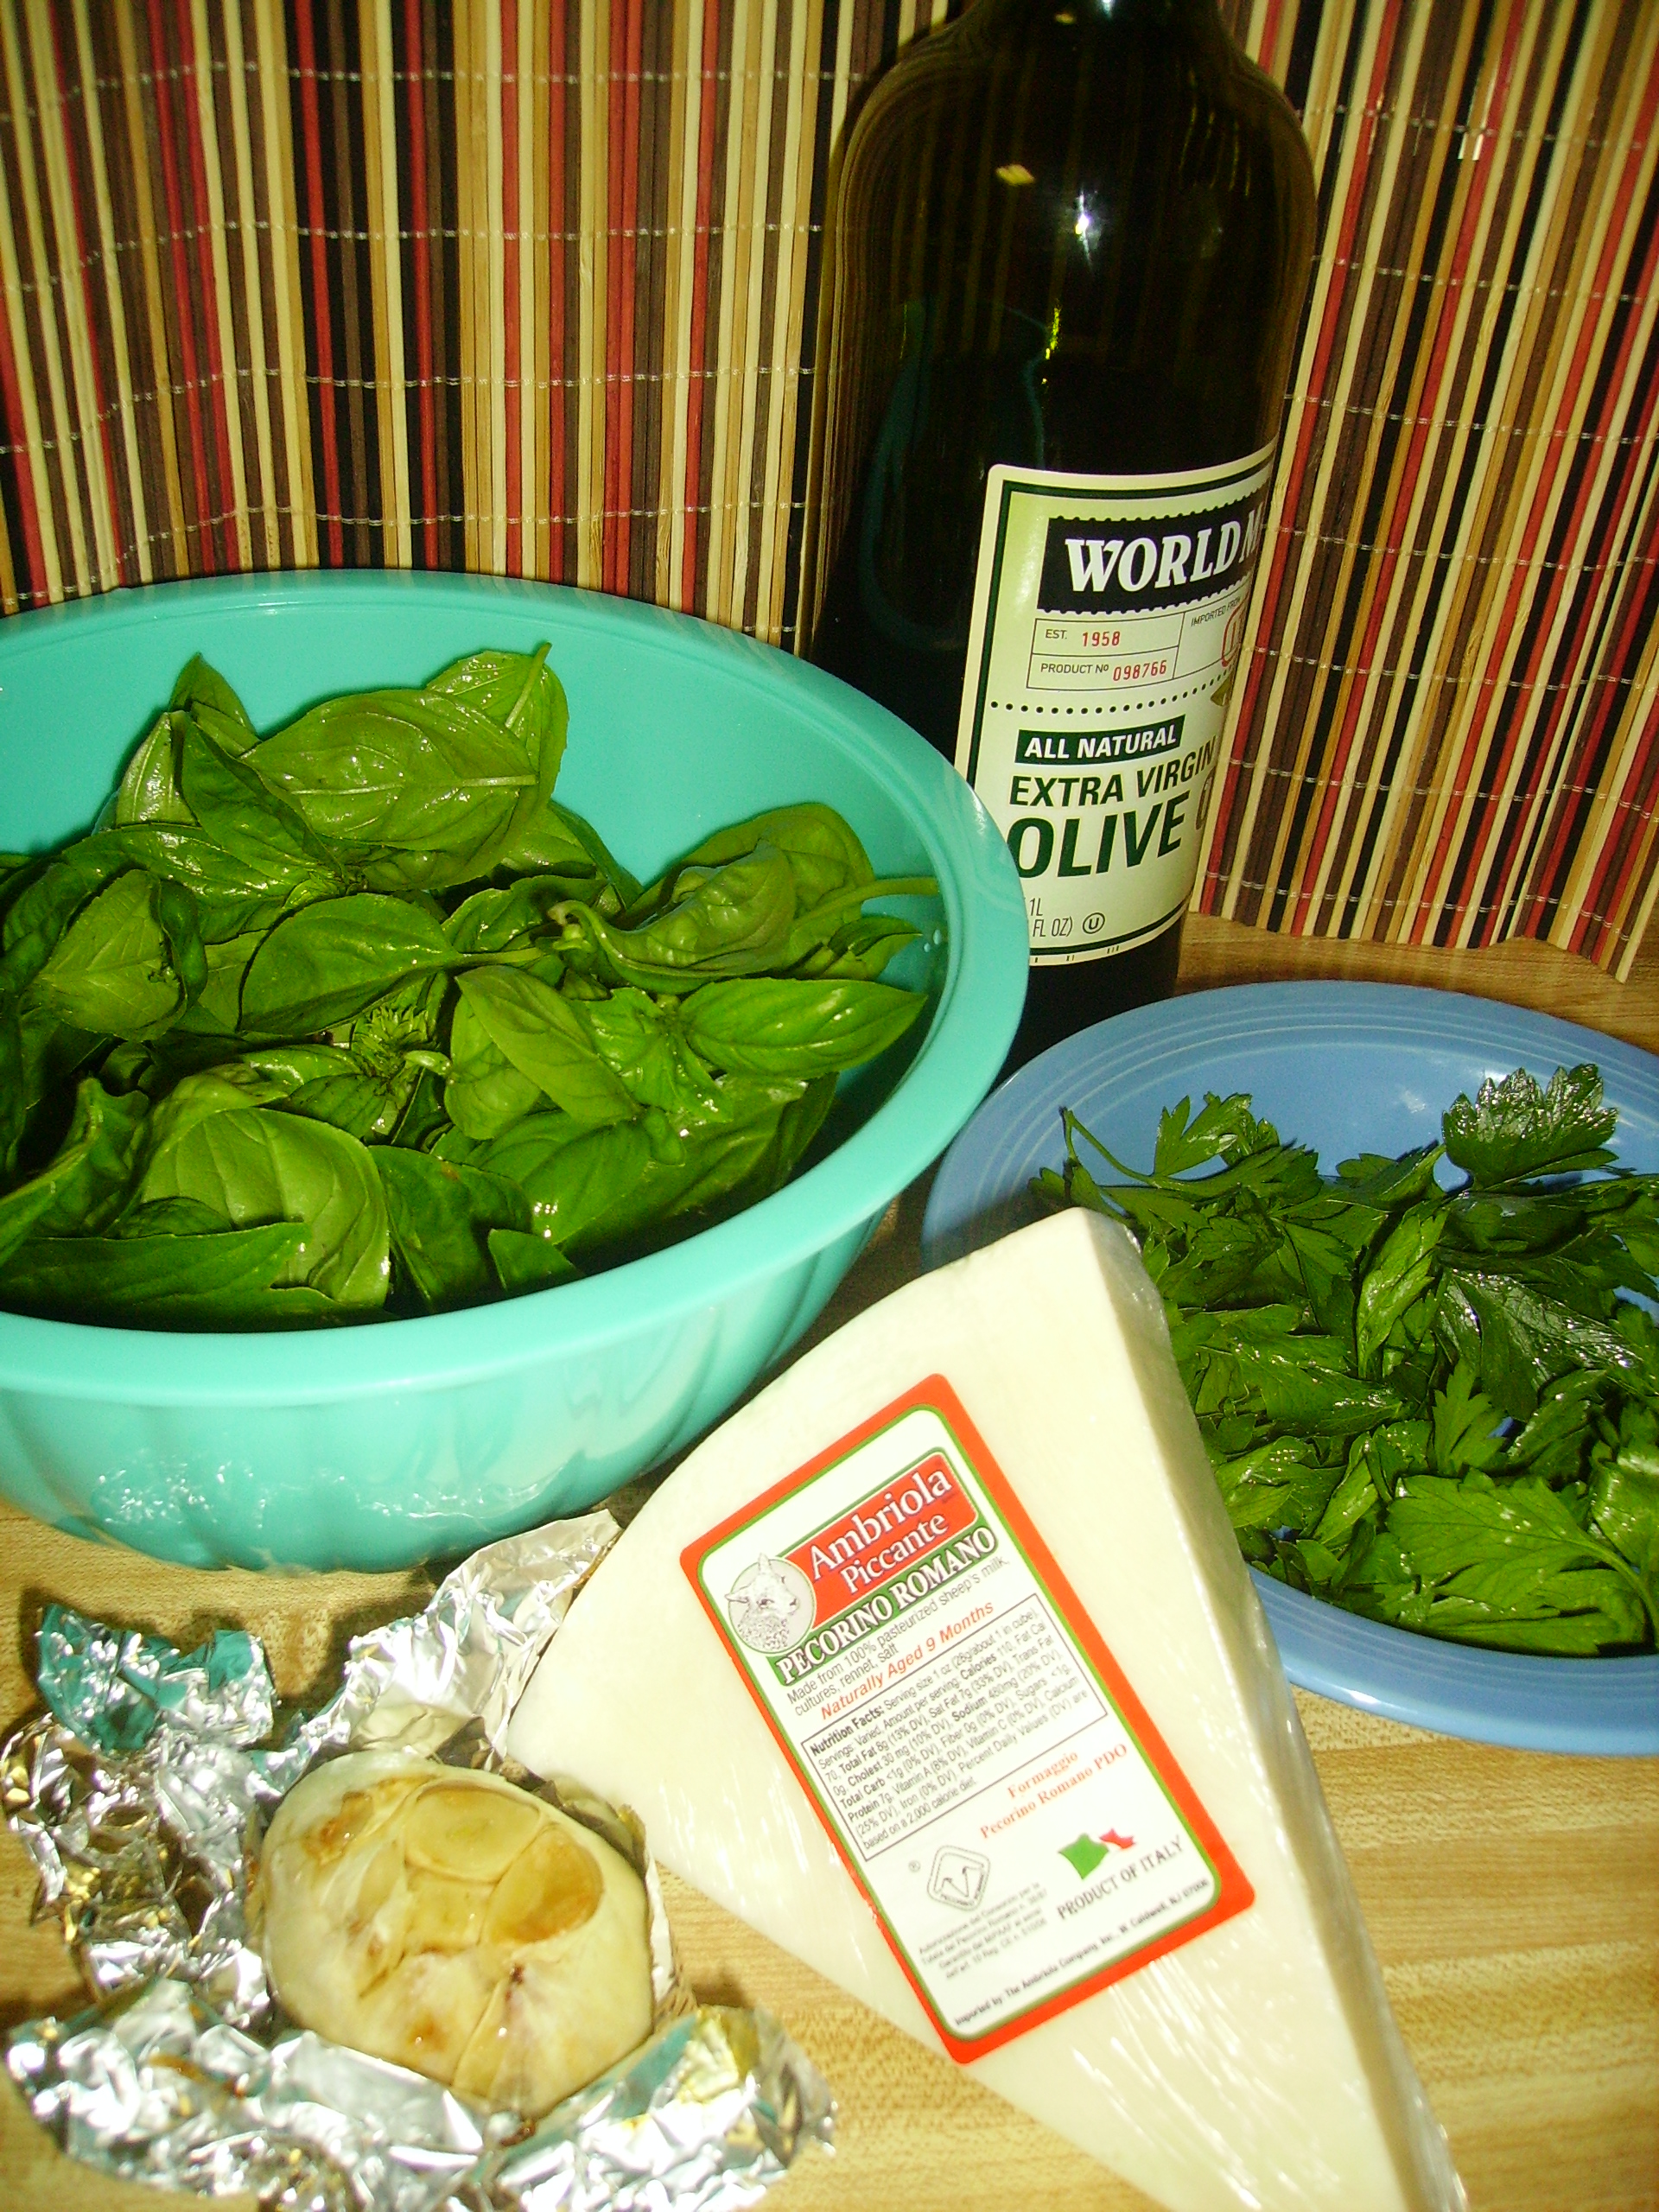
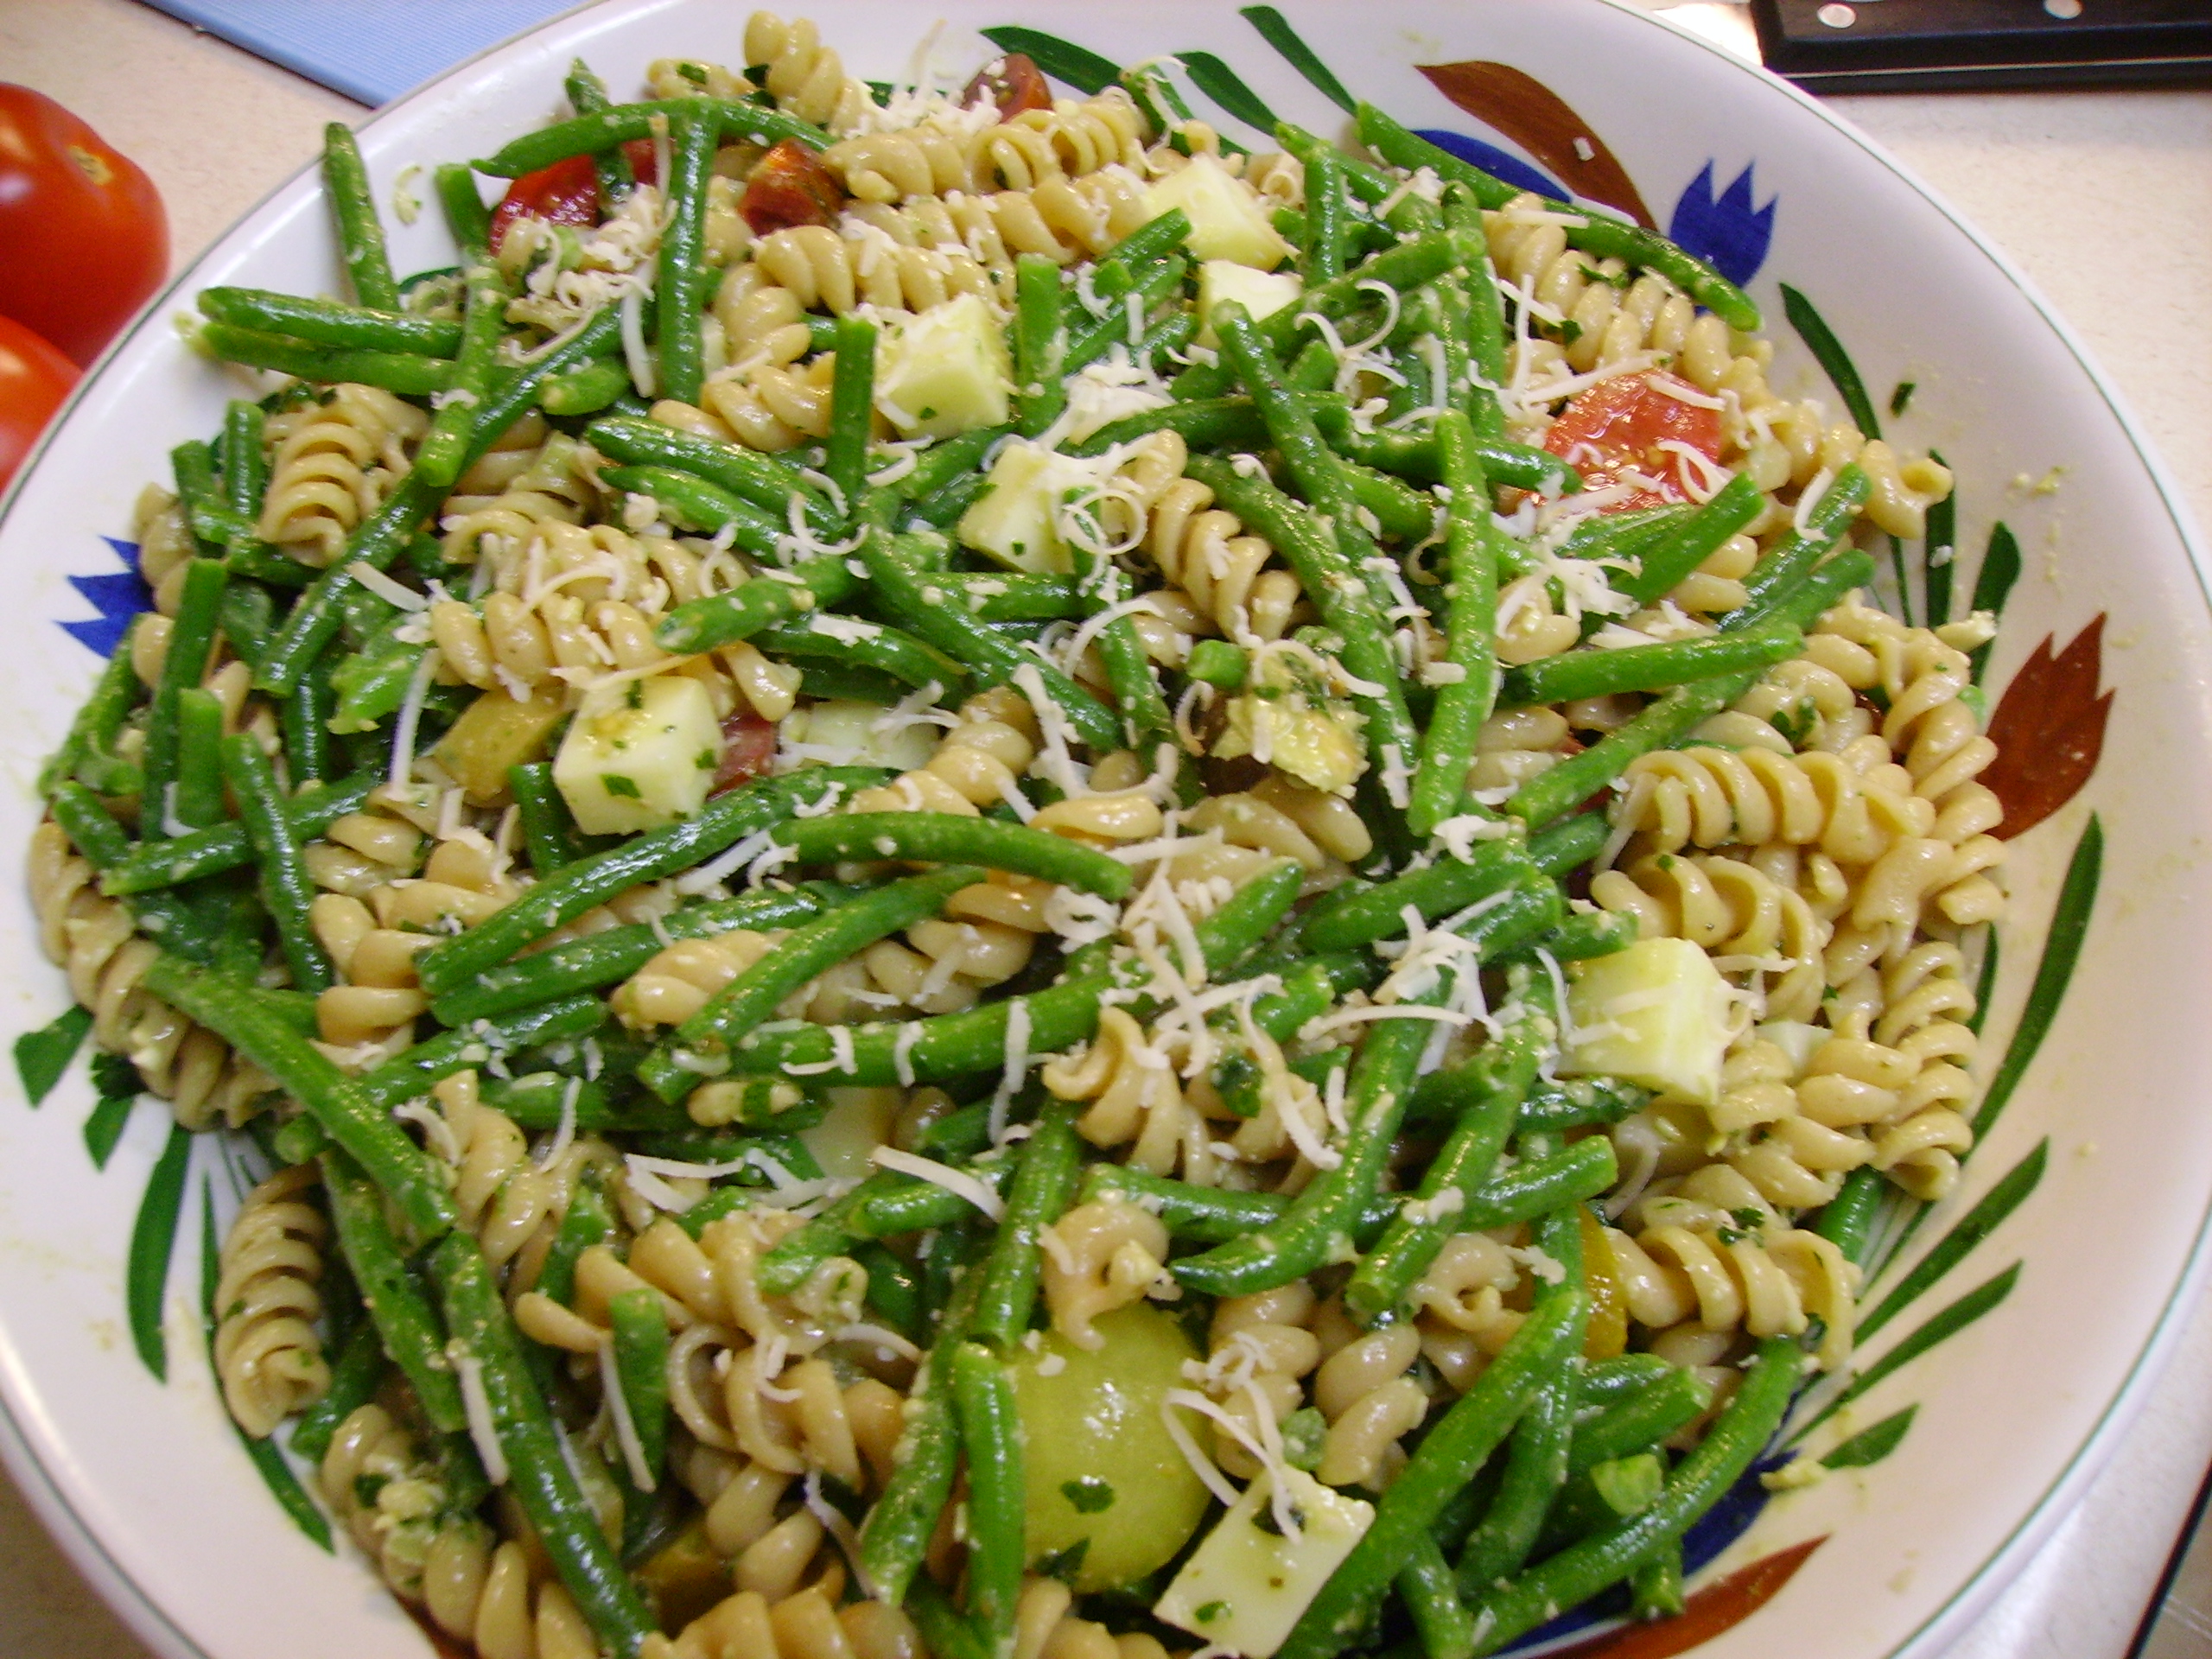
A recent supper was a one dish wonder, Pesto Pasta Salad. Multigrain rotini joined green beans and tomatoes in a homemade pesto dressing. Smoked Mozzarella added a bit of protein and a dusting of Pecorino Romano topped it all. It is easy to make and lends itself to all kinds of variations. It all began with my Roasted Garlic Pesto. This is a recipe that I have revised and tweaked over the years until it is perfection, at least in my eyes. It involves the usual suspects; basil (from the pot on my balcony),

DIGITAL CAMERA

parsley, olive oil, pine nuts, and of course garlic. This is where my version takes a right turn from the traditional recipe. I roast the garlic. Forty minutes or so in the oven and the bitter edge of garlic-ness is mellowed into something more subtle, slightly sweet and dare I say it, more complex. I also give the pine nuts a quick toast to enhance their flavor as well.

DIGITAL CAMERA

Everything gets blended in the processor to create a rich and savory paste that improves anything it touches. For this recipe, I made just what I needed, but when the basil is plentiful, a big batch is just as easy to make and it freezes beautifully. I usually measure 1/4 cup portions into individual zip top sandwich bags. The small bags go into a larger freezer bag and can live happily for several months in the freezer ready to ad that yummy touch to soup, pasta, or grilled meats.

Roasted Garlic Pesto
Print Recipe
Servings
1-1/2 Cups
Servings
1-1/2 Cups
Roasted Garlic Pesto
Print Recipe
Servings
1-1/2 Cups
Servings
1-1/2 Cups
Ingredients
Servings: Cups
Instructions
  1. Cut the top off the head of garlic (just enough to expose the cloves a bit). Place in the center of a square of heavy duty foil. Drizzle with a little olive oil and wrap sealing completely but leaving a little breathing room. Place in a 350 degree oven and bake for 40 minutes or until the kitchen smells wonderful and the garlic feels soft. Unwrap and allow to cool.
  2. Toast the pine nuts on top of the stove. Place them in a dry non-stick pan and toast over low heat shaking frequently to prevent burning. This should take 6 or 7 minutes.
  3. Place the basil and parsley leaves in the bowl of a processor. Squeeze the cooled garlic into the bowl. Add the pine nuts. Pulse to coarsely chop the ingredients.
  4. Add the grated cheese and pulse to combine.
  5. With the motor of the processor running, stream the olive oil into the feed tube. Stop as soon as the mixture is the texture that you like. (Do not process until smooth).
  6. Scrape the pesto into a bowl. Check for seasoning Add some ground pepper and a pinch of salt if you want.
  7. It is now ready to use. It can be frozen in 1/4 cup (or whatever amount you like) packages. It will keep in the refrigerator for a week. Pour a thin layer of olive oil on the pesto before you put it in the refrigerator to help preserve color and flavor.
Share this Recipe
Powered byWP Ultimate Recipe

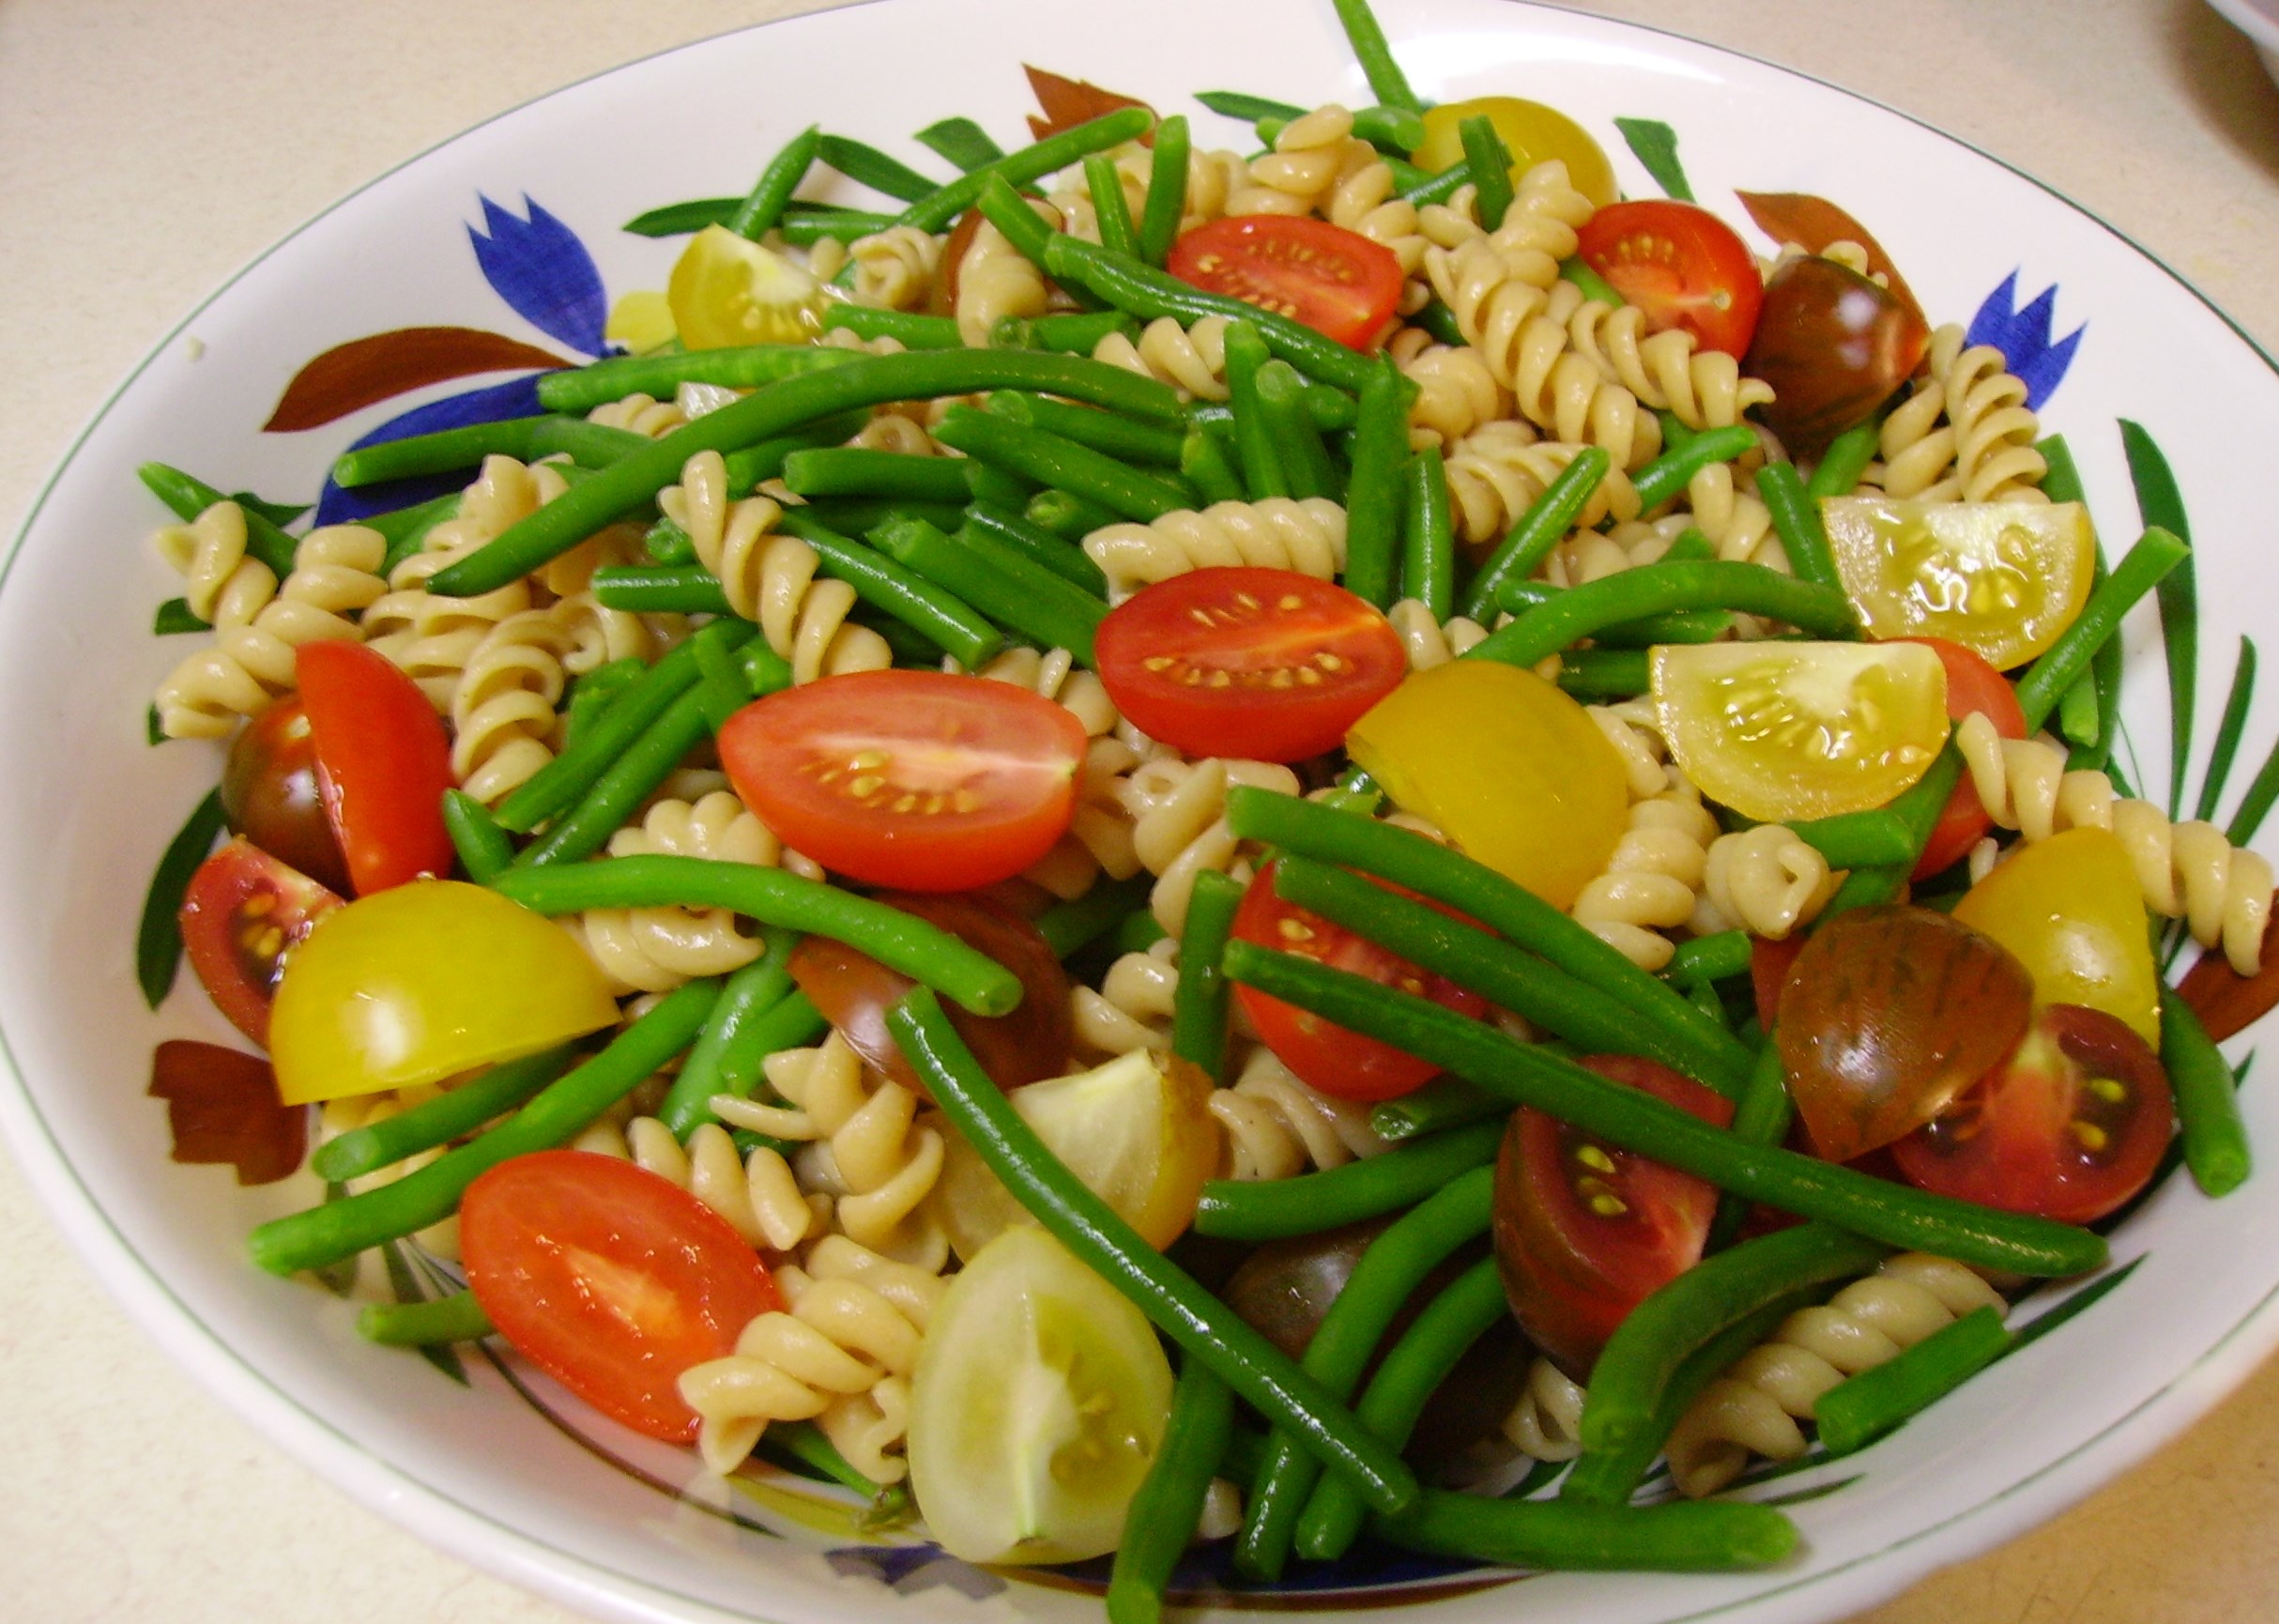
This pesto was transformed into a dressing for my pasta salad. Multigrain rotini was my pasta of choice. I like how the dressing clings to the spiral ridges. My vegetable additions, alas, came from the refrigerator instead of the garden. In spite of all of  my coaxing, the beans aren’t even a glimmer in the plants’ eyes and the tomato plants are bearing some tiny yellow blossoms, but nothing more. While the mini heirloom tomatoes and haricot vert made a delightful salad, I look forward to making this again in a few weeks with my own homegrown bounty.

DIGITAL CAMERA

I turned my pesto into a lighter dressing by adding some vegetable stock and a shot of white balsamic vinegar. I used a Smoked Mozzarella because I had it on hand (this may be becoming my new mantra), but any cheese with a bold flavor would work. Some grilled chicken would also make for a wonderful main dish salad. Prepare this salad the day ahead to give the flavors some time to get to know each other better, just take it out about an hour before serving for maximum flavor.

Pesto Pasta Salad
Print Recipe
Servings
4
Servings
4
Pesto Pasta Salad
Print Recipe
Servings
4
Servings
4
Ingredients
Servings:
Instructions
  1. Cook the pasta according to the package directions. About 3 minutes before the cooking time is over add the green beans.
  2. At the end of the cooking time drain the pasta and beans and rinse well with cold water. Pour the beans and pasta into a large bowl.
  3. Cut the tomatoes in half and add them to the bowl.
  4. Whisk the pesto, stock, and vinegar together until well blended. Pour the dressing over the ingredients and toss to coat well. Taste and add salt and/or pepper if needed.
  5. Cover and refrigerate for at least 2 hours. Overnight is better.
  6. When you are ready to serve, toss well and check for seasoning. If the salad seems dry add a little more vegetable stock or a splash of olive oil. Sprinkle the Romano cheese on top and serve.
Share this Recipe
Powered byWP Ultimate Recipe

So, the garden keeps on growing in spite of a visit from some hungry deer last night. I’ve waited this long, I guess a little longer won’t hurt.  Love, Mama D


Summer Vacation, Scarborough Farro, and Artichoke & Tomato Salad

Summer has arrived in Mama D’s Kitchen. I’m officially on Summer vacation for 3 whole weeks! Instead of rising before 5 every morning to get on a school bus, I can get up early (if I want) and do what I want. Morning walks, afternoon swims, puttering in the garden, and more than a little time with my grandsons. It also means that I have more time to spend in the kitchen and with the bounty of fresh produce around, inspiration is always arriving.

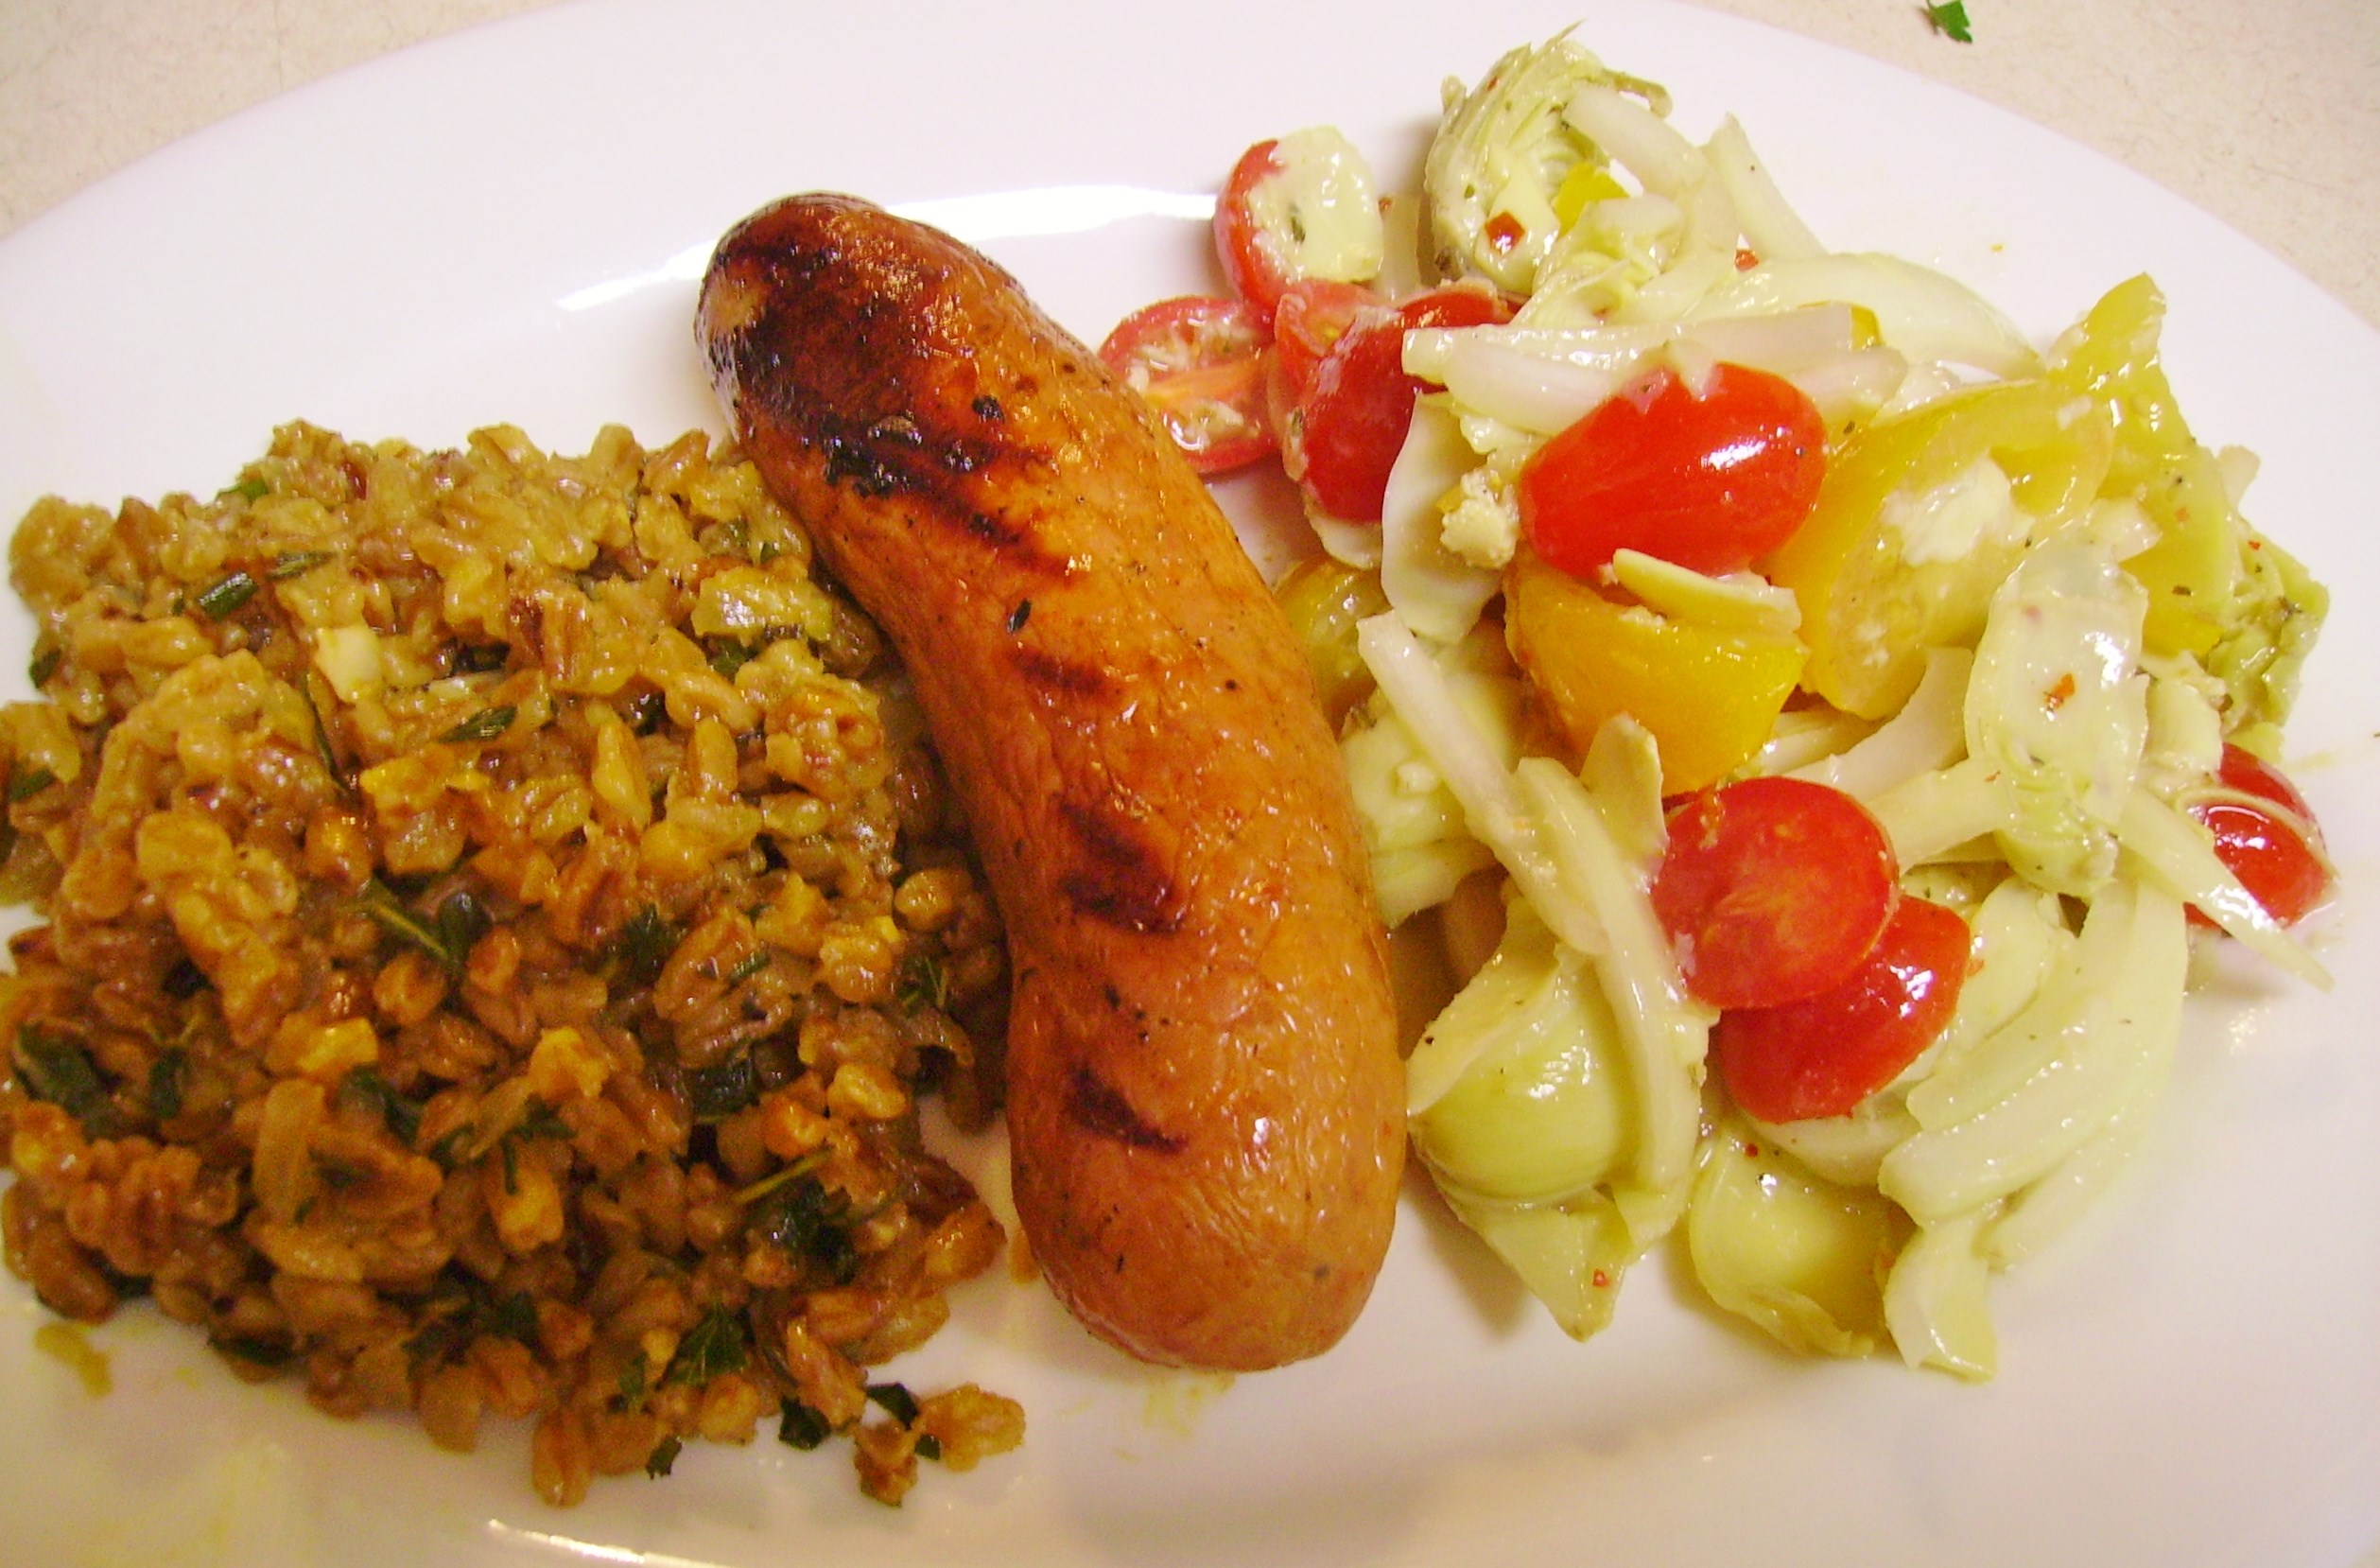
Once summer is firmly entrenched meals just naturally get lighter. Recently we feasted on Grilled Turkey Italian Sausage that was accompanied by a simple Artichoke and Tomato Salad and a riff on my Farro Risotto that I affectionately call Scarborough Farro.

DIGITAL CAMERA

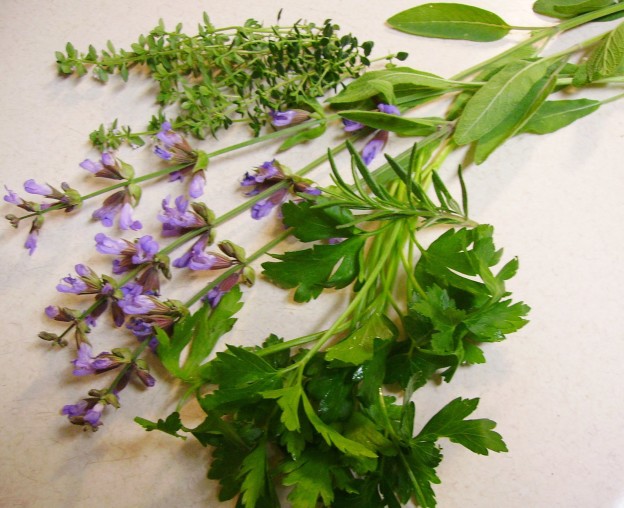
Parsley, Sage, Rosemary, and Thyme, of course, feature prominently in this dish. If you haven’t listened to  Scarborough Fair lately, take a few minutes to go back to a time that was simpler, yet very complex. Superficially a peaceful song based on an old English ballad, it intertwines with an anti-war song not so subtly protesting the Vietnam War.

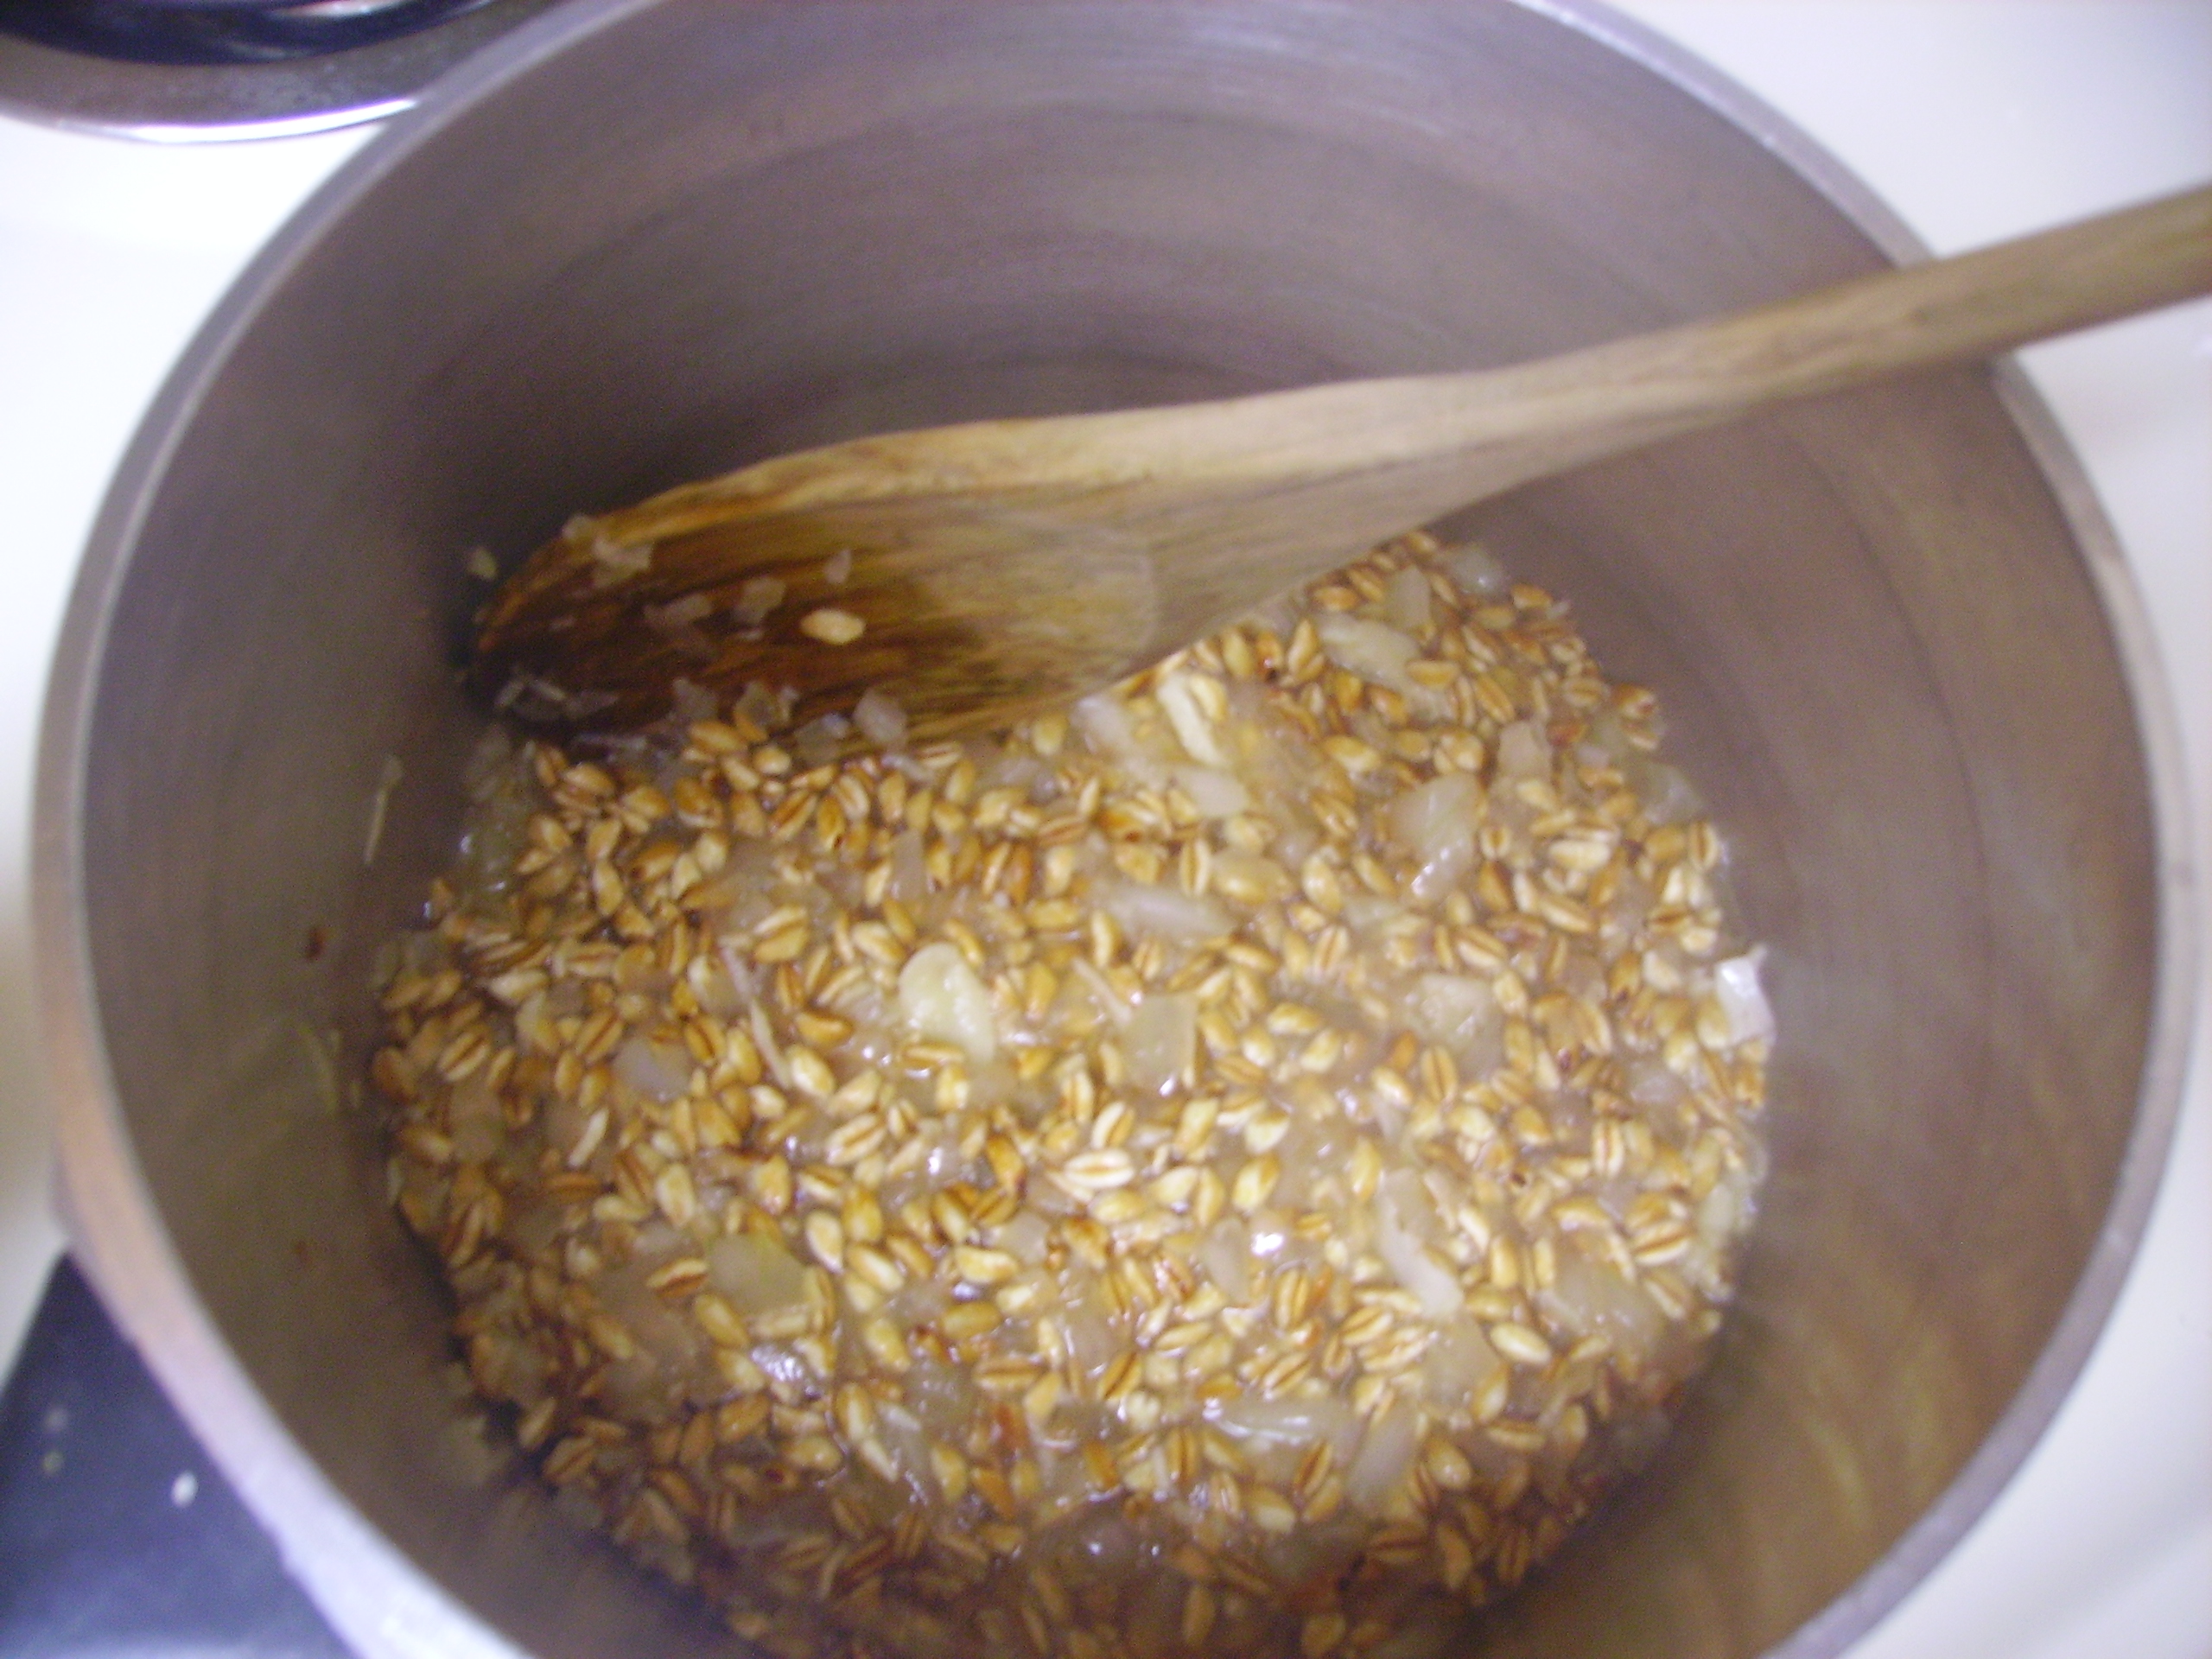
Farro has been cooking up in my kitchen a lot lately. I followed the same steps that I did for the Farro Risotto, cooking onion as well as garlic along with the uncooked  farro in some olive oil. I added some chicken stock and let it cook for a good 20 minutes.Towards the end I added my herbaceous quartet. These four herbs get along really well together with a sweet harmony much like Simon & Grafunkel. The best part was they all came from our garden.

Click on the link to the farro risotto recipe above. Once you’re there, do a few substitutions. Leave out the spinach and roasted peppers (though I think they could stay in if you like) and add a good 1/3 – 1/2 cup of chopped fresh herbs near the end of the cooking. My personal preference was to let the thyme and parsley take the lead vocal while the rosemary and sage provided the harmony. Make a blend that will sing your own song. 

Now to that Artichoke  and Tomato Salad:

DIGITAL CAMERA

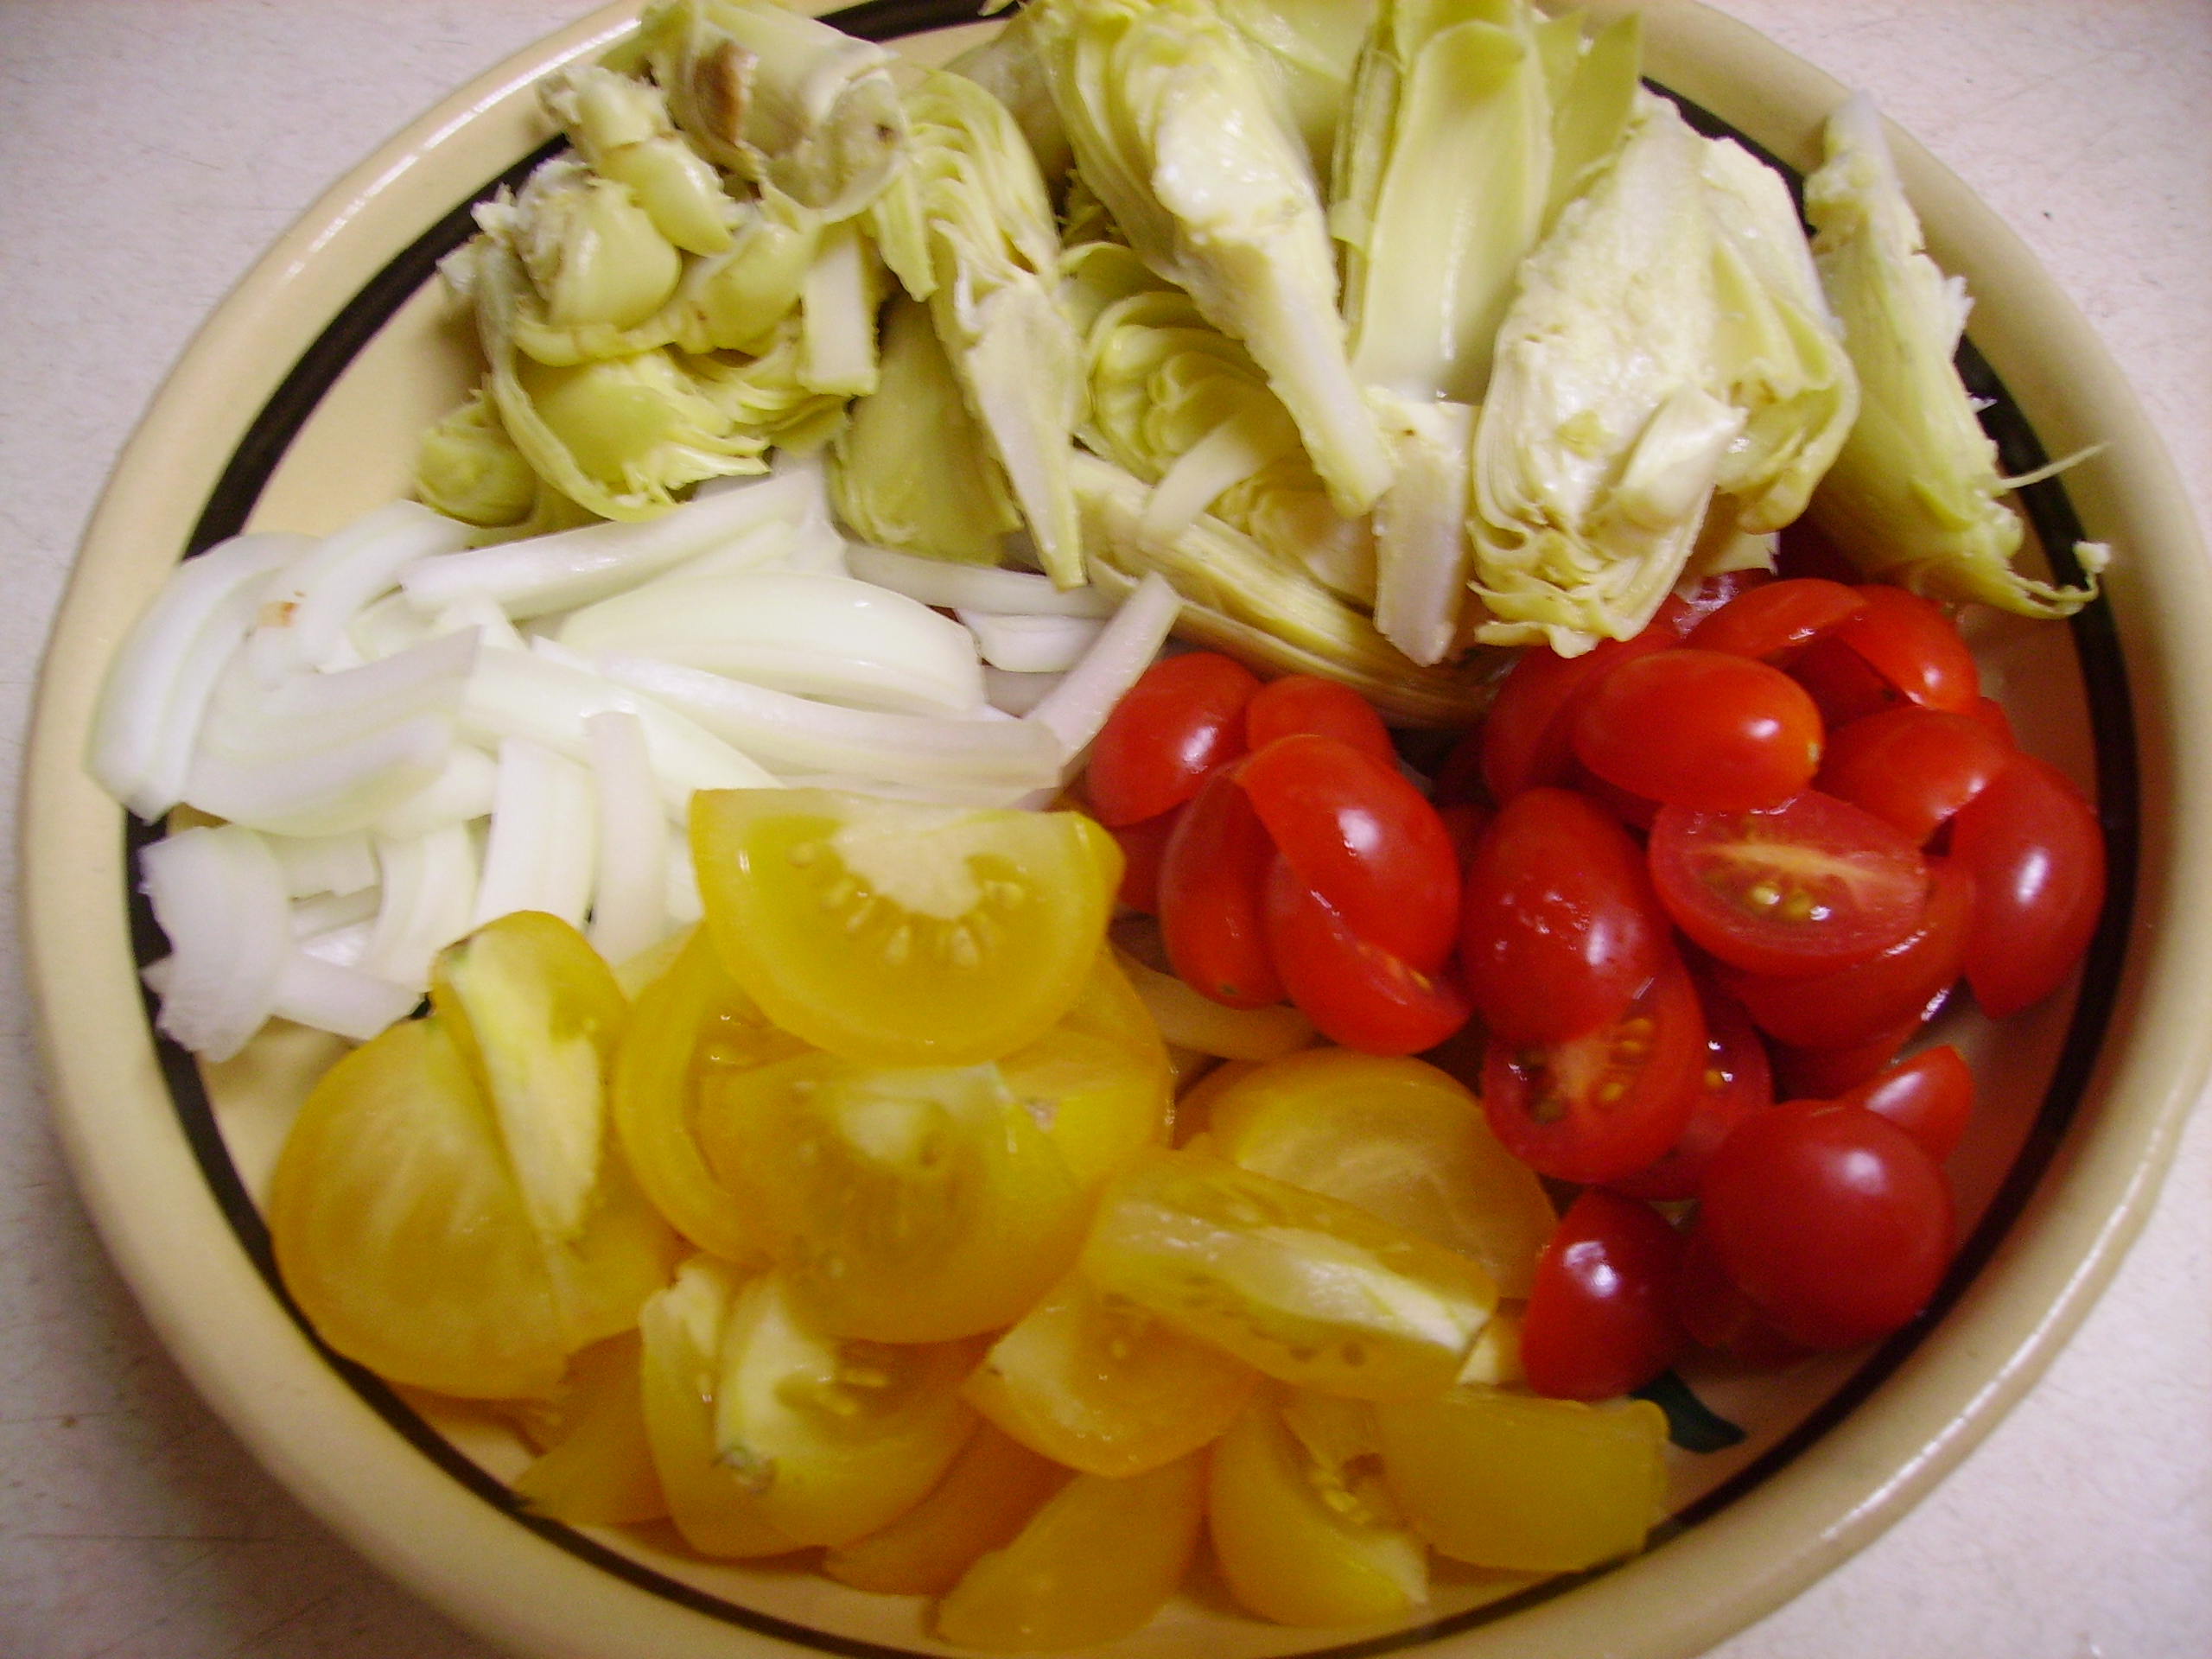
I used a can of whole artichoke hearts, I find that I get better pieces when I cut them myself. If you can find fresh baby artichokes, by all means go for it. They are hard to find in this part of the country, but if you do find them it will make this salad even more amazing. I used a combination of red grape and yellow cherry tomatoes, mainly because it’s what I had on hand. Sweet onion was the final component.

DIGITAL CAMERA

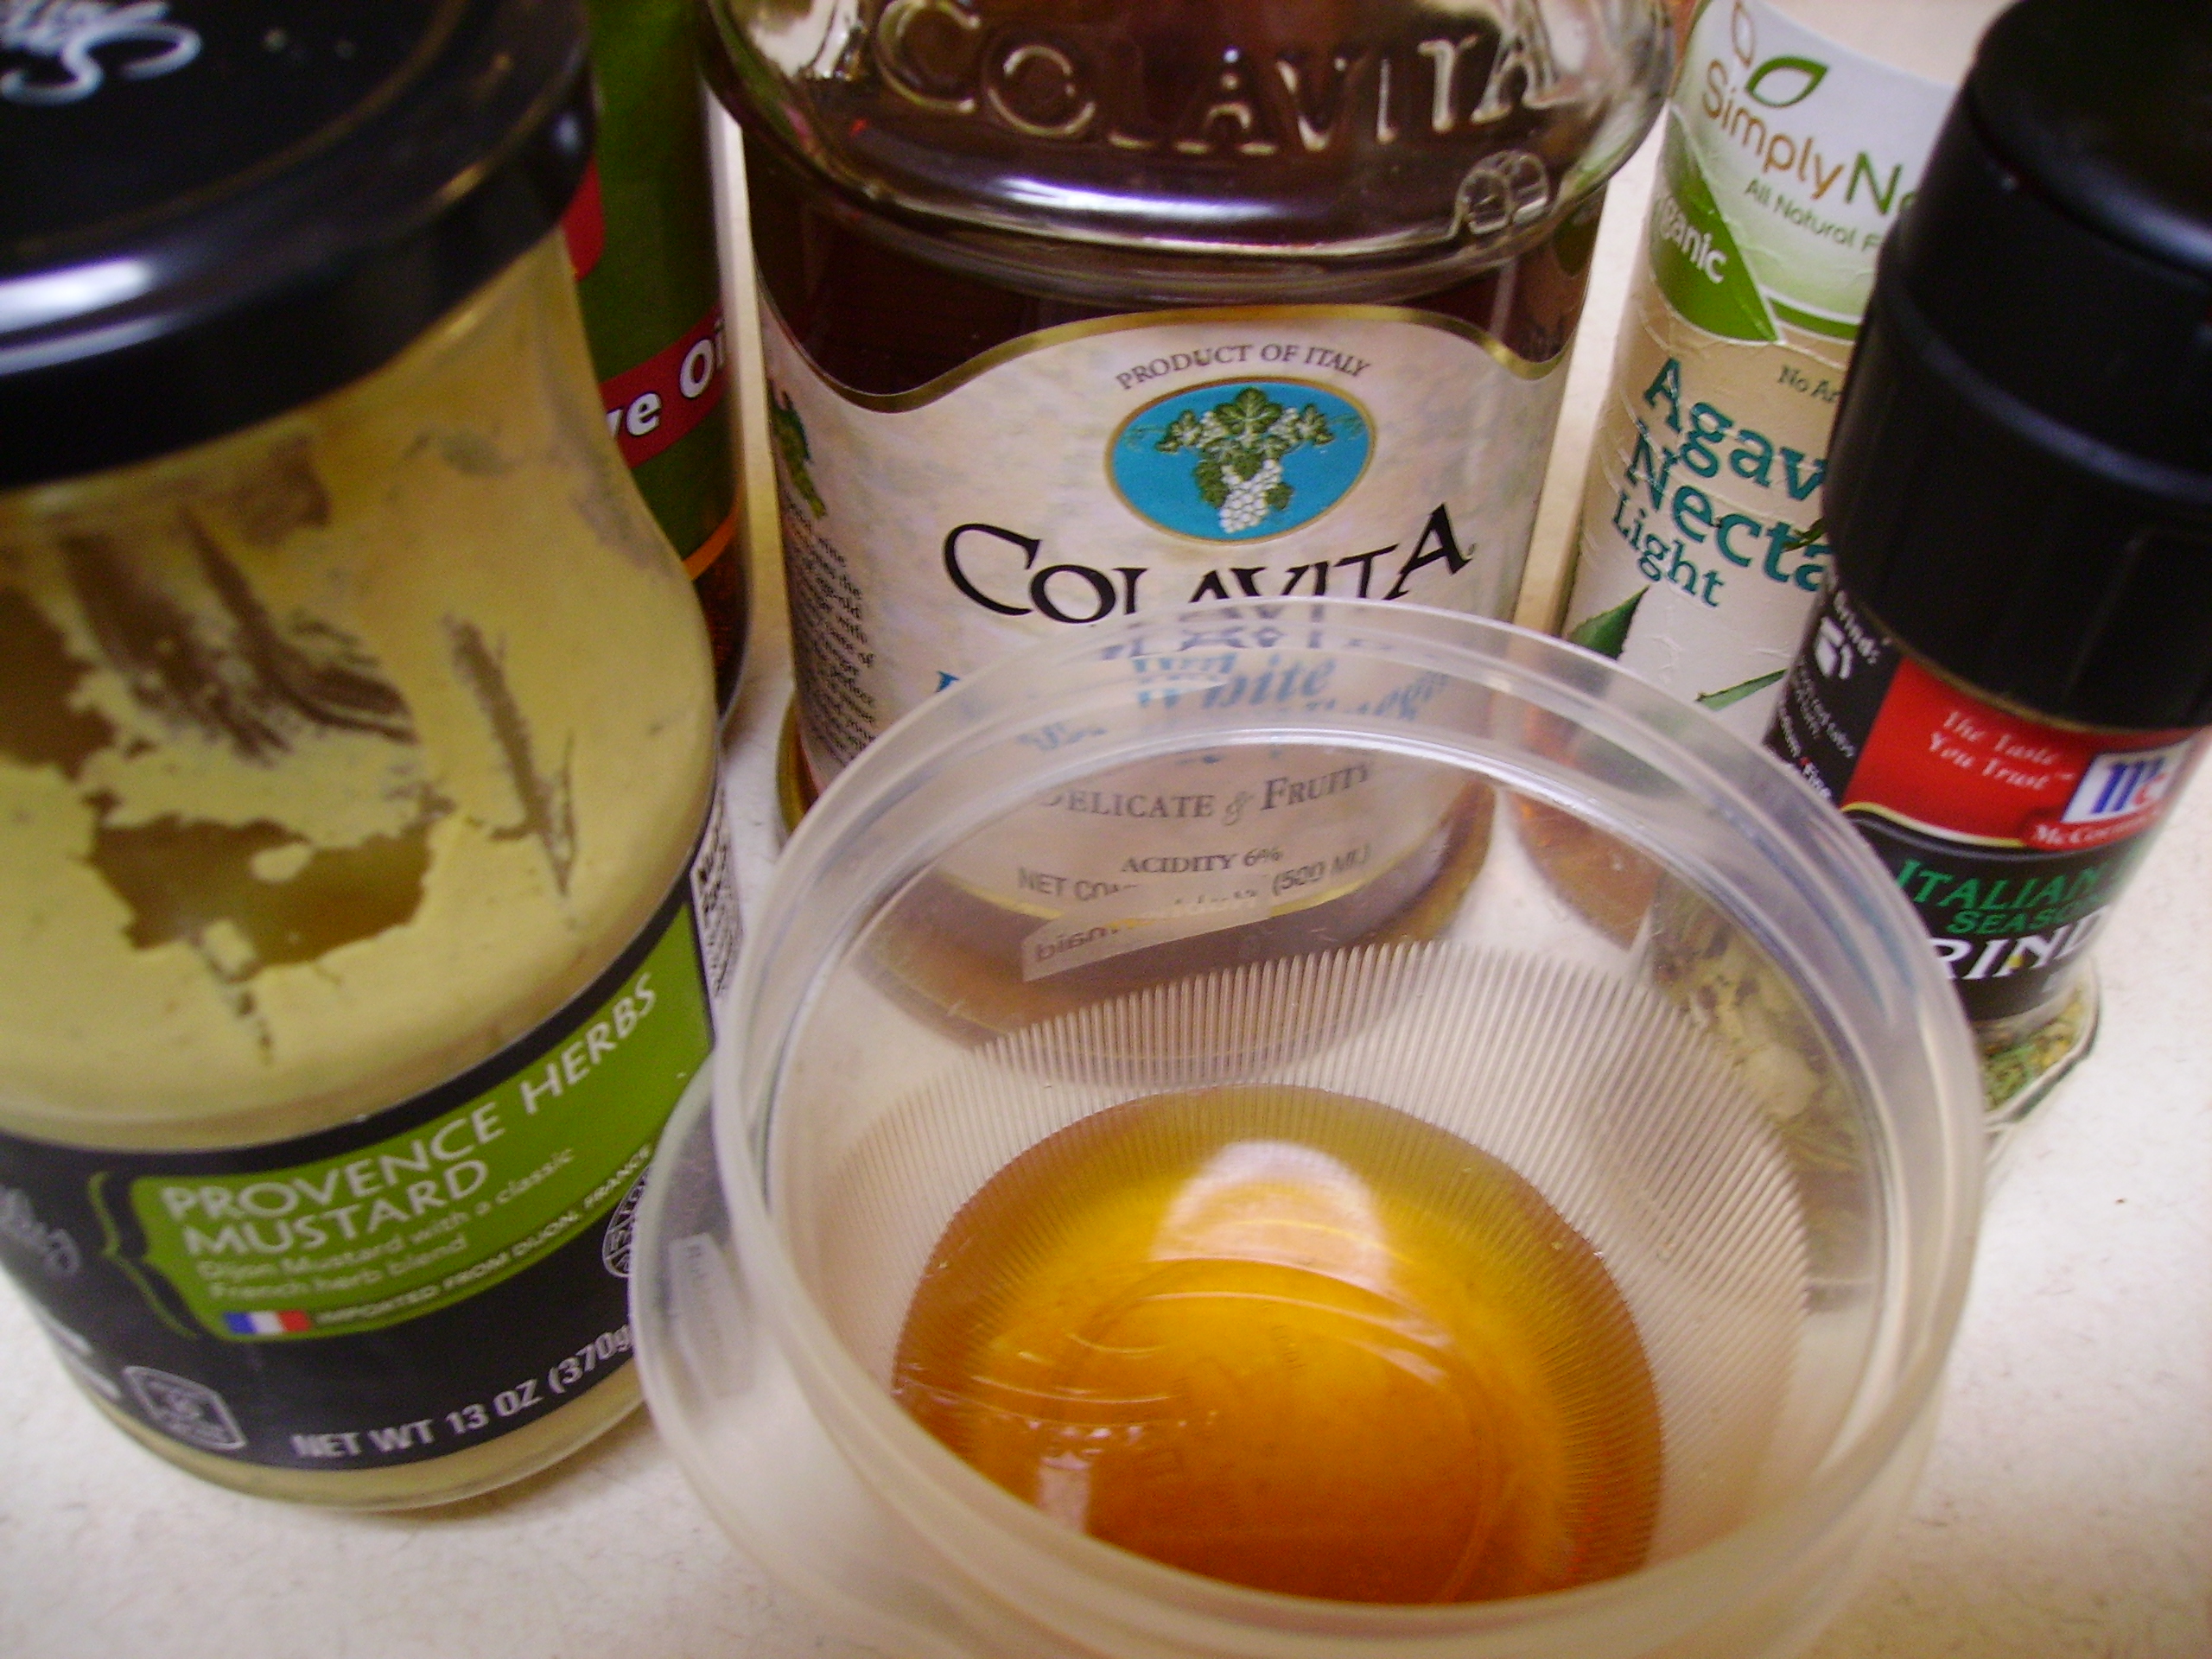
I made a straight forward vinaigrette. I added just a touch of Agave Syrup. Since my dressings tend to be light on the oil, this bit of sweetness balances the acidity and creates a better texture. Everything went together early in the day so that when it was time for dinner everyone was well acquainted.

Artichoke and Tomato Salad
Print Recipe
Servings
3
Servings
3
Artichoke and Tomato Salad
Print Recipe
Servings
3
Servings
3
Ingredients
Servings:
Instructions
  1. Combine the artichokes, tomatoes, and onion in a bowl. Toss gently to mix.
  2. Combine the remaining ingredients in a jar with a tight fitting lid. Close tightly and shake until all of the ingredients are thoroughly blended.
  3. Pour the dressing over the vegetable and toss to coat. Cover and refrigerate for at least 2 hours (more is better).
  4. Serve with your favorite grilled meat, fish, or poultry.
Share this Recipe
Powered byWP Ultimate Recipe

Summer is here and the Kitchen of Love is bursting with inspiration. I have lots of adventures to share with you and a memory or two as well, so keep tuning in.             Love, Mama D


Heading Into Summer with a Slew of Slaws

Do you remember when every sandwich you got in a restaurant came with cole slaw? Casual burger joints served a paper souffle cup of creamy slaw. Fancier places put that dollop of tangy goodness in a little metal cup. Then there were the places that gave you an ice cream scoop of slaw. It was actually enough to call a serving of vegetables. There are still places that serve a side of slaw, but often it’s as a substitute for fries. It seems that a complimentary cup of cole slaw has all but gone the way of car hops and table side juke boxes. I, for one, would love to see this tradition return. The cole slaw, not necessarily the car hops, but a little music that I could choose while I eat instead of management’s idea of dinner music would be great. In the meantime I’ll create slaws in my kitchen and this is the perfect time to start.

As summer officially gets rolling, Cole Slaw will be making appearances at parties and cook outs. The days of cole slaw only being cabbage and carrots swimming in a creamy dressing are all but gone. Now slaws come in lots of variations but, they usually hold to the original meaning of being a cabbage salad (from the Dutch “koolsla”). The main ingredient can be cabbage or any of its cruciferous cousins. In a broader definition I’ve heard that any shredded vegetable salad can be a slaw. With all the veggies, fruits and dressings out there,the only limitation is a cook’s imagination. 

I like making slaws. It’s one of the only salads that you can make ahead that actually gets better. While lettuce gets soggy the longer it sits, cabbage salads get sweeter and mellower with a little time. I’ve shared a few recipes and before I give you my latest take on the cabbage salad, I thought I’d stroll down memory lane and give some links to previous adventures. Just click on the red links to see where I’ve been.

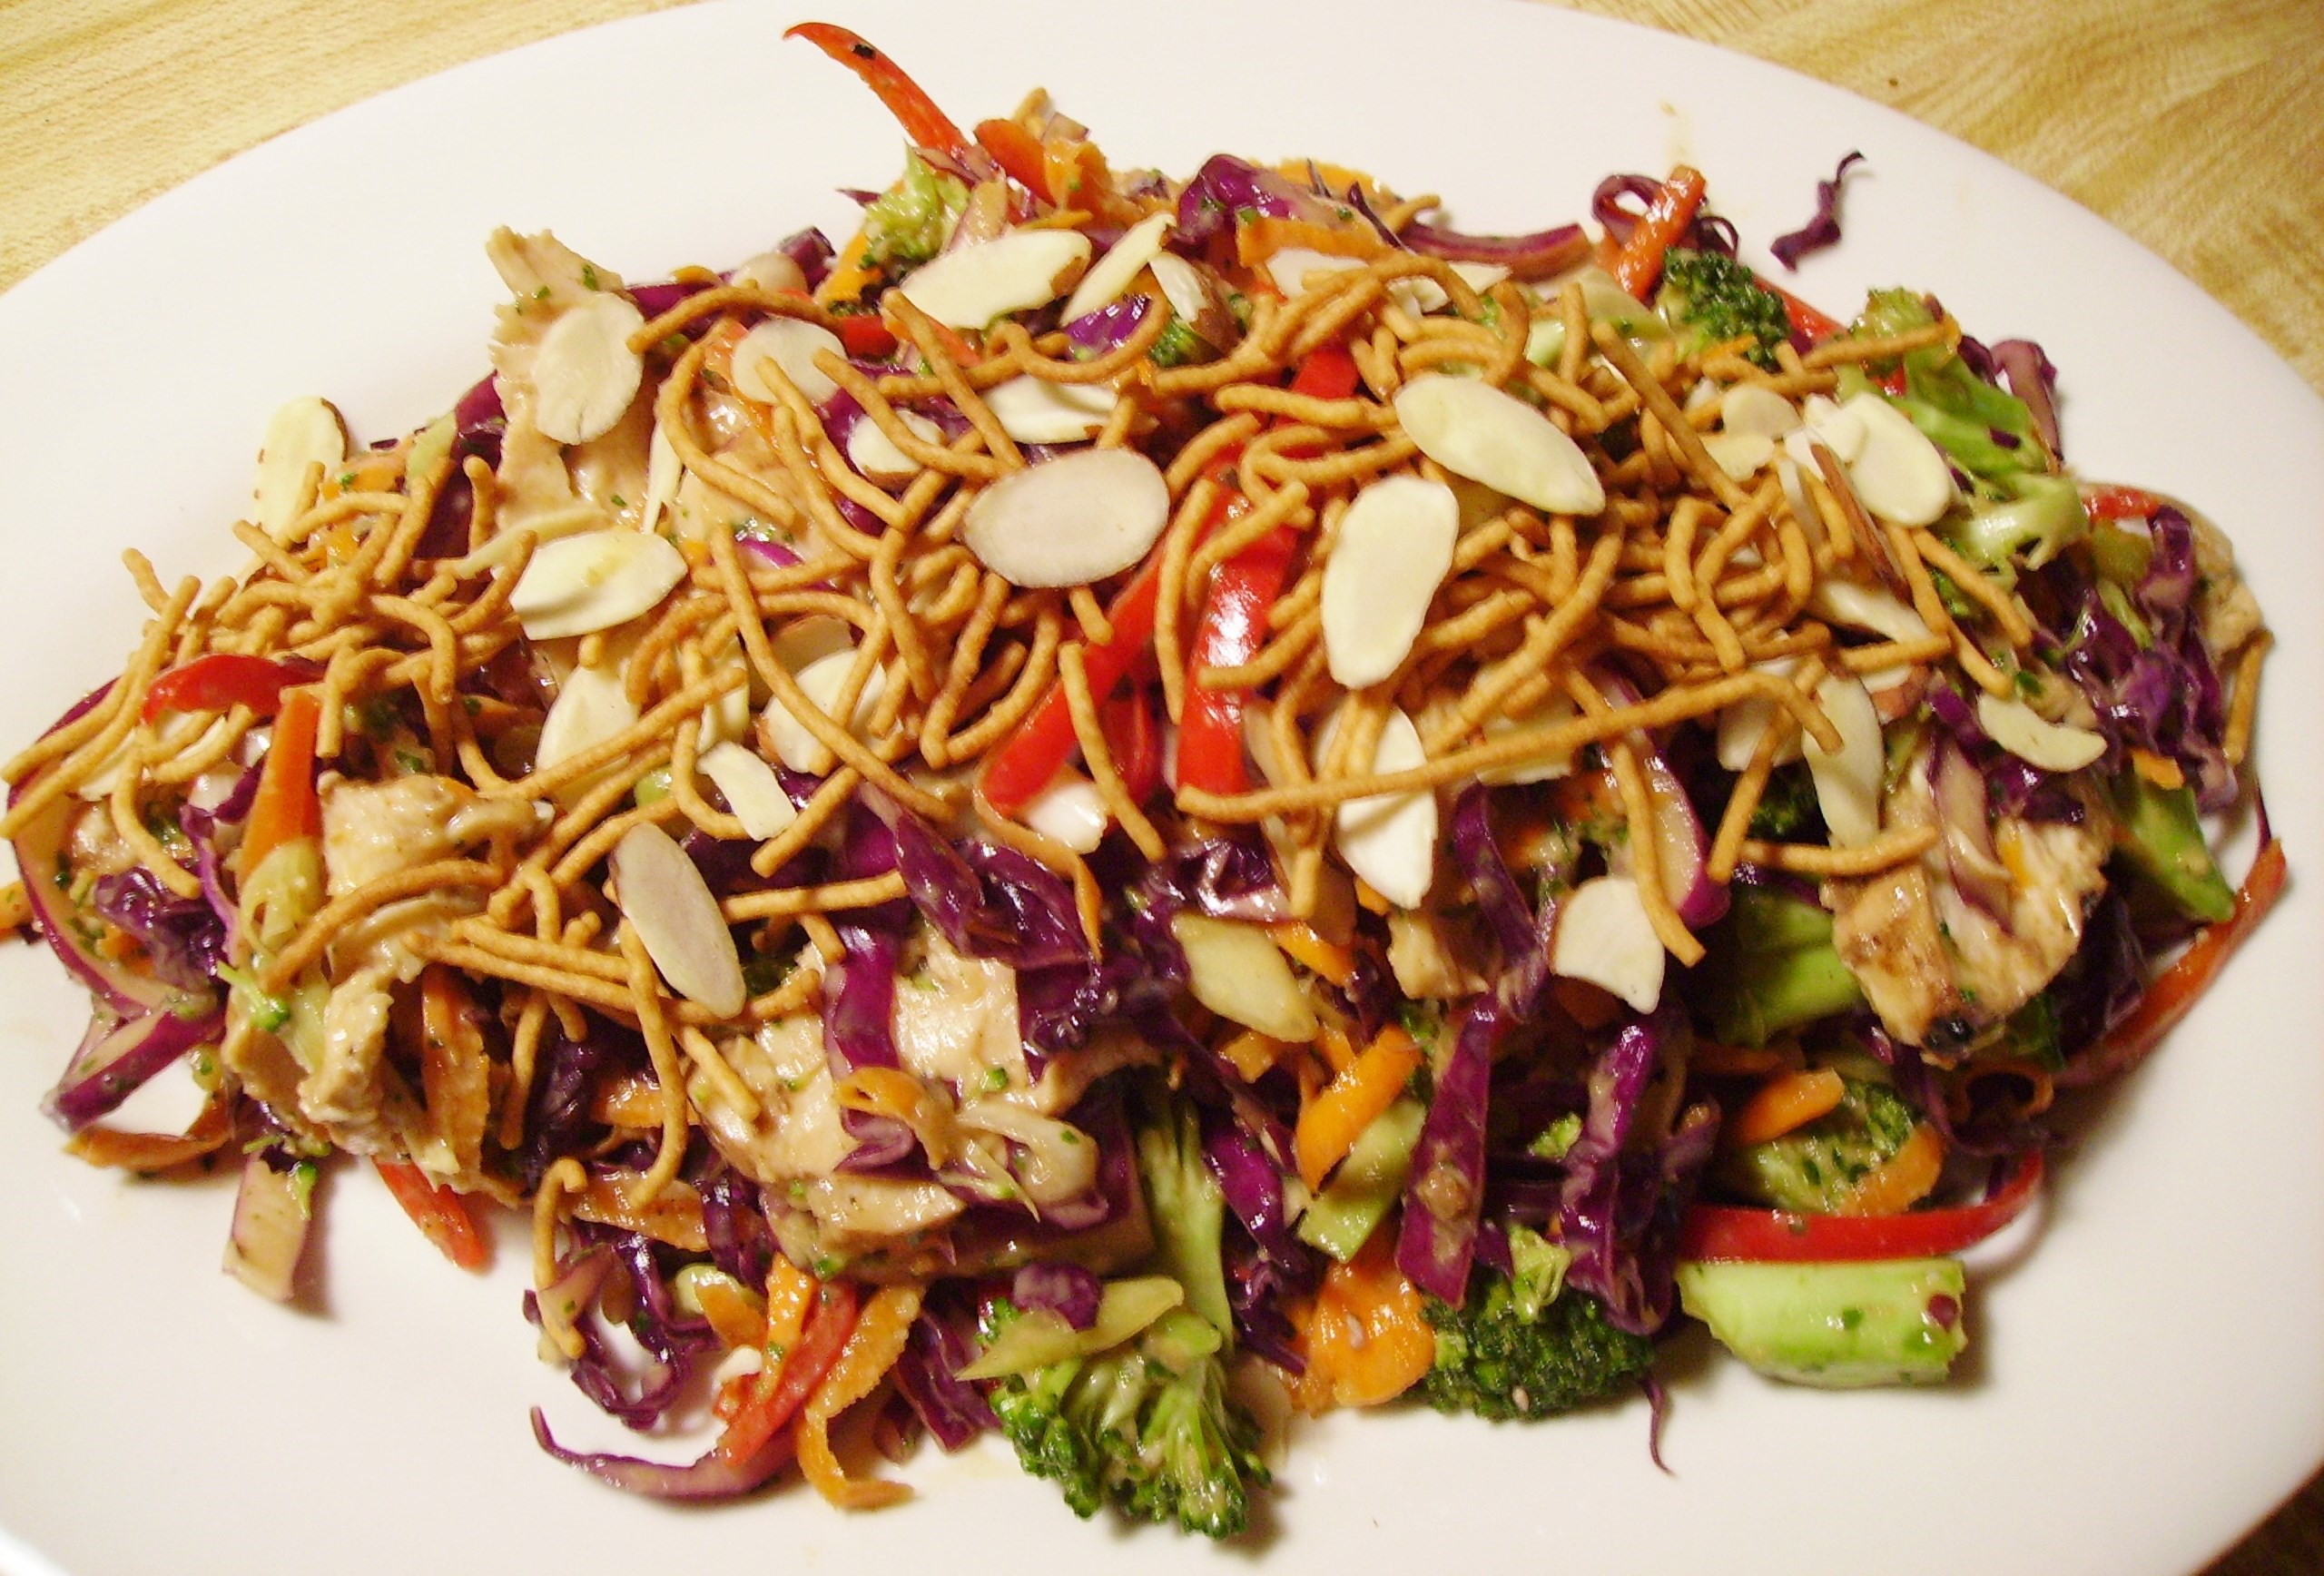
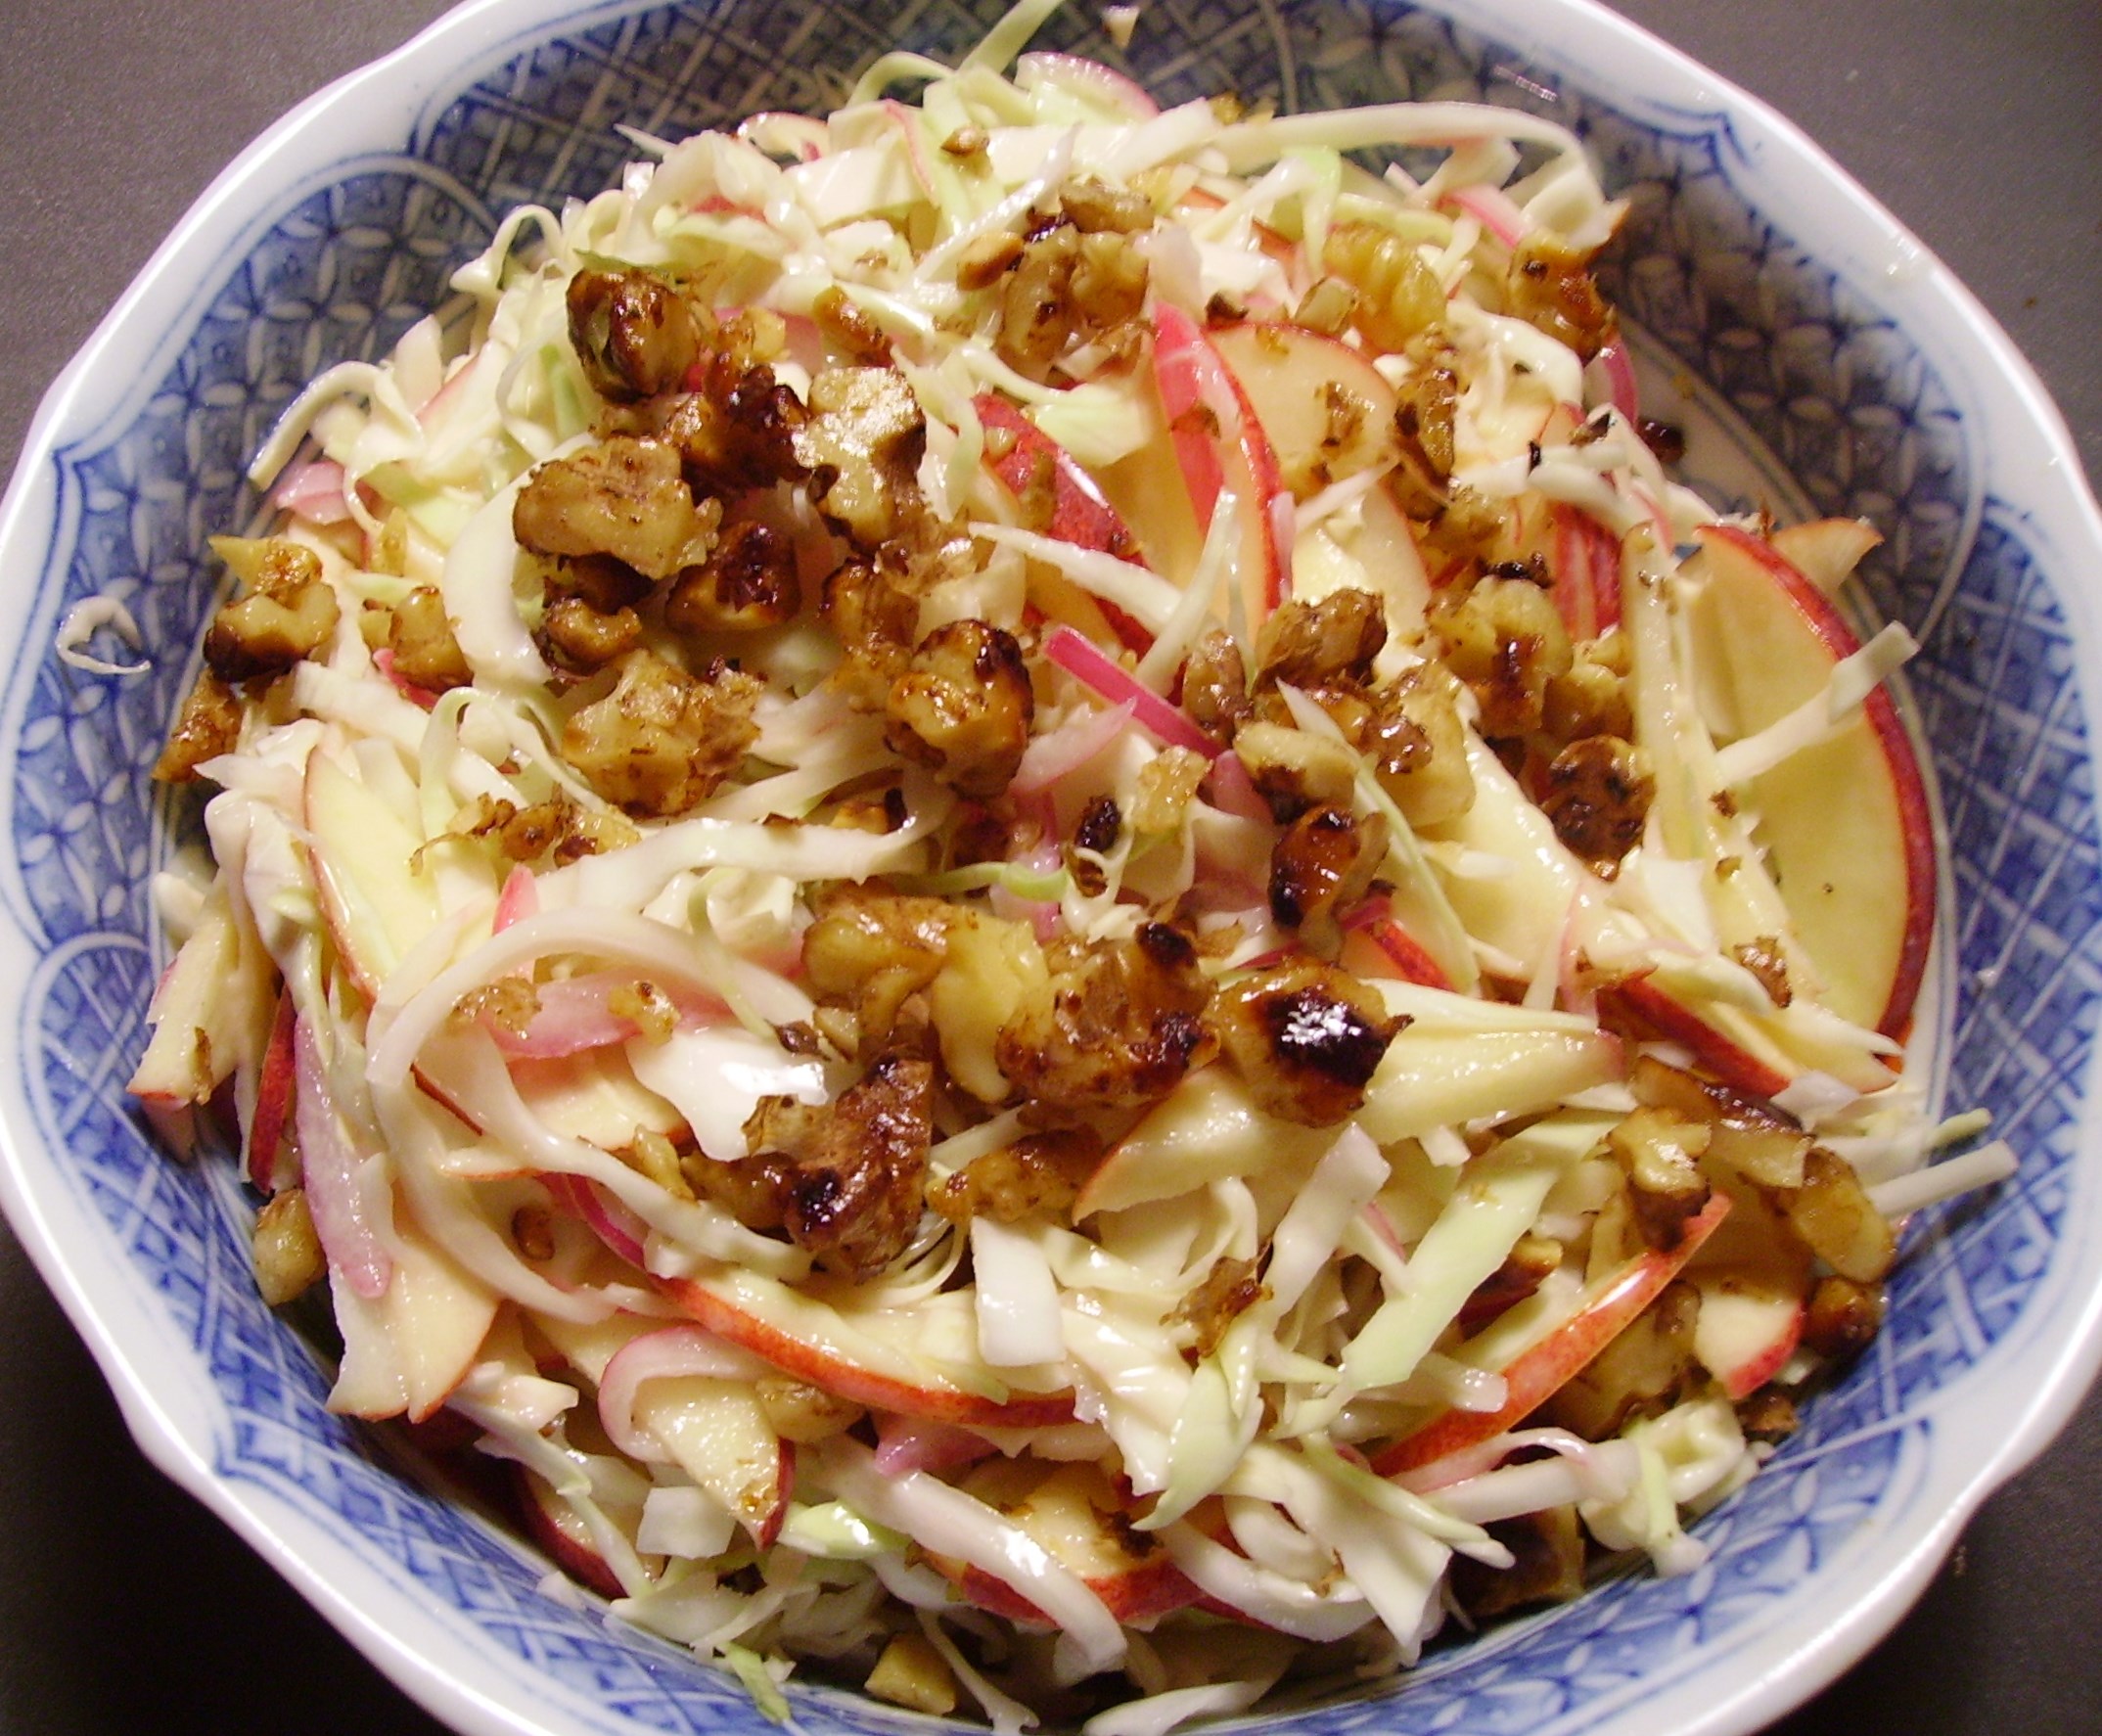
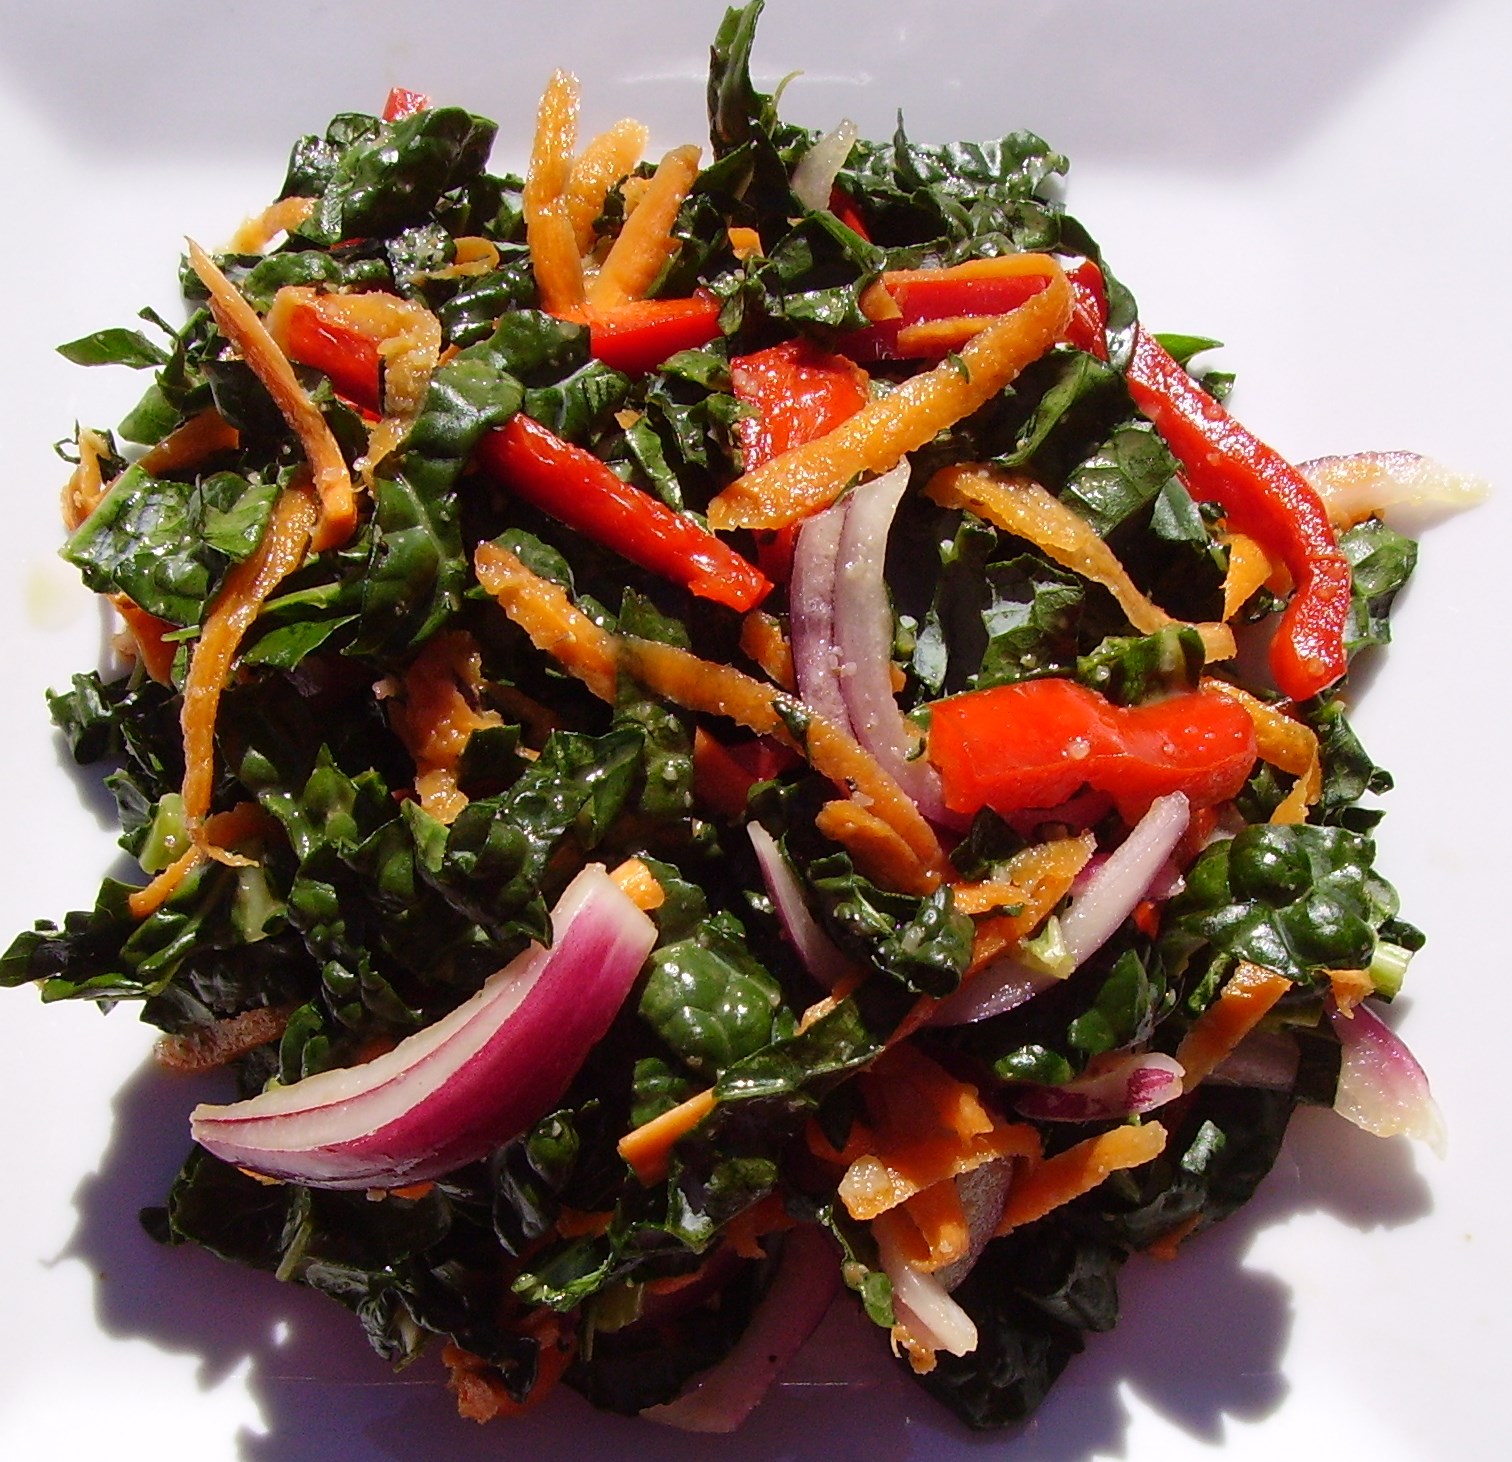
Cabbage slaws can complement most any cuisine and can even become a main dish with the addition of a protein. My Asian Chicken Salad comes to mind. Red cabbage, broccoli and carrots join grilled chicken in a spicy oriental inspired dressing. Crispy rice noodles and sliced almonds gilt this Asian lily.DIGITAL CAMERACole Slaw can even become a seasonal dish with the addition of fruits and flavors of a particular season. Apple Cabbage Slaw with Honey Mustard Dressing and Walnuts tasted like fall when it was paired with roasted pork tenderloin and sweet potatoes.DIGITAL CAMERAI’ve even borrowed an idea from another blogger for “Kaleslaw”. After I read the Proud Italian Cook’s post about this salad whose time had come, I had to make one of my own. This was a direct to Facebook post of a “non-recipe” recipe. I didn’t go to the kale-o-naise route, but my garlicy dressing hit all the right notes.

DIGITAL CAMERA

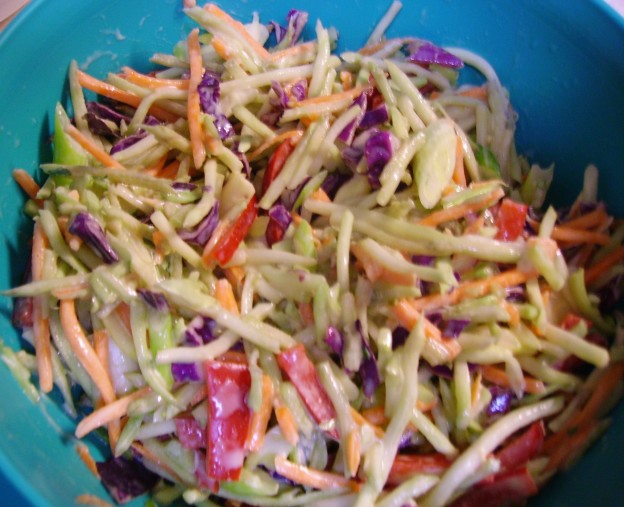
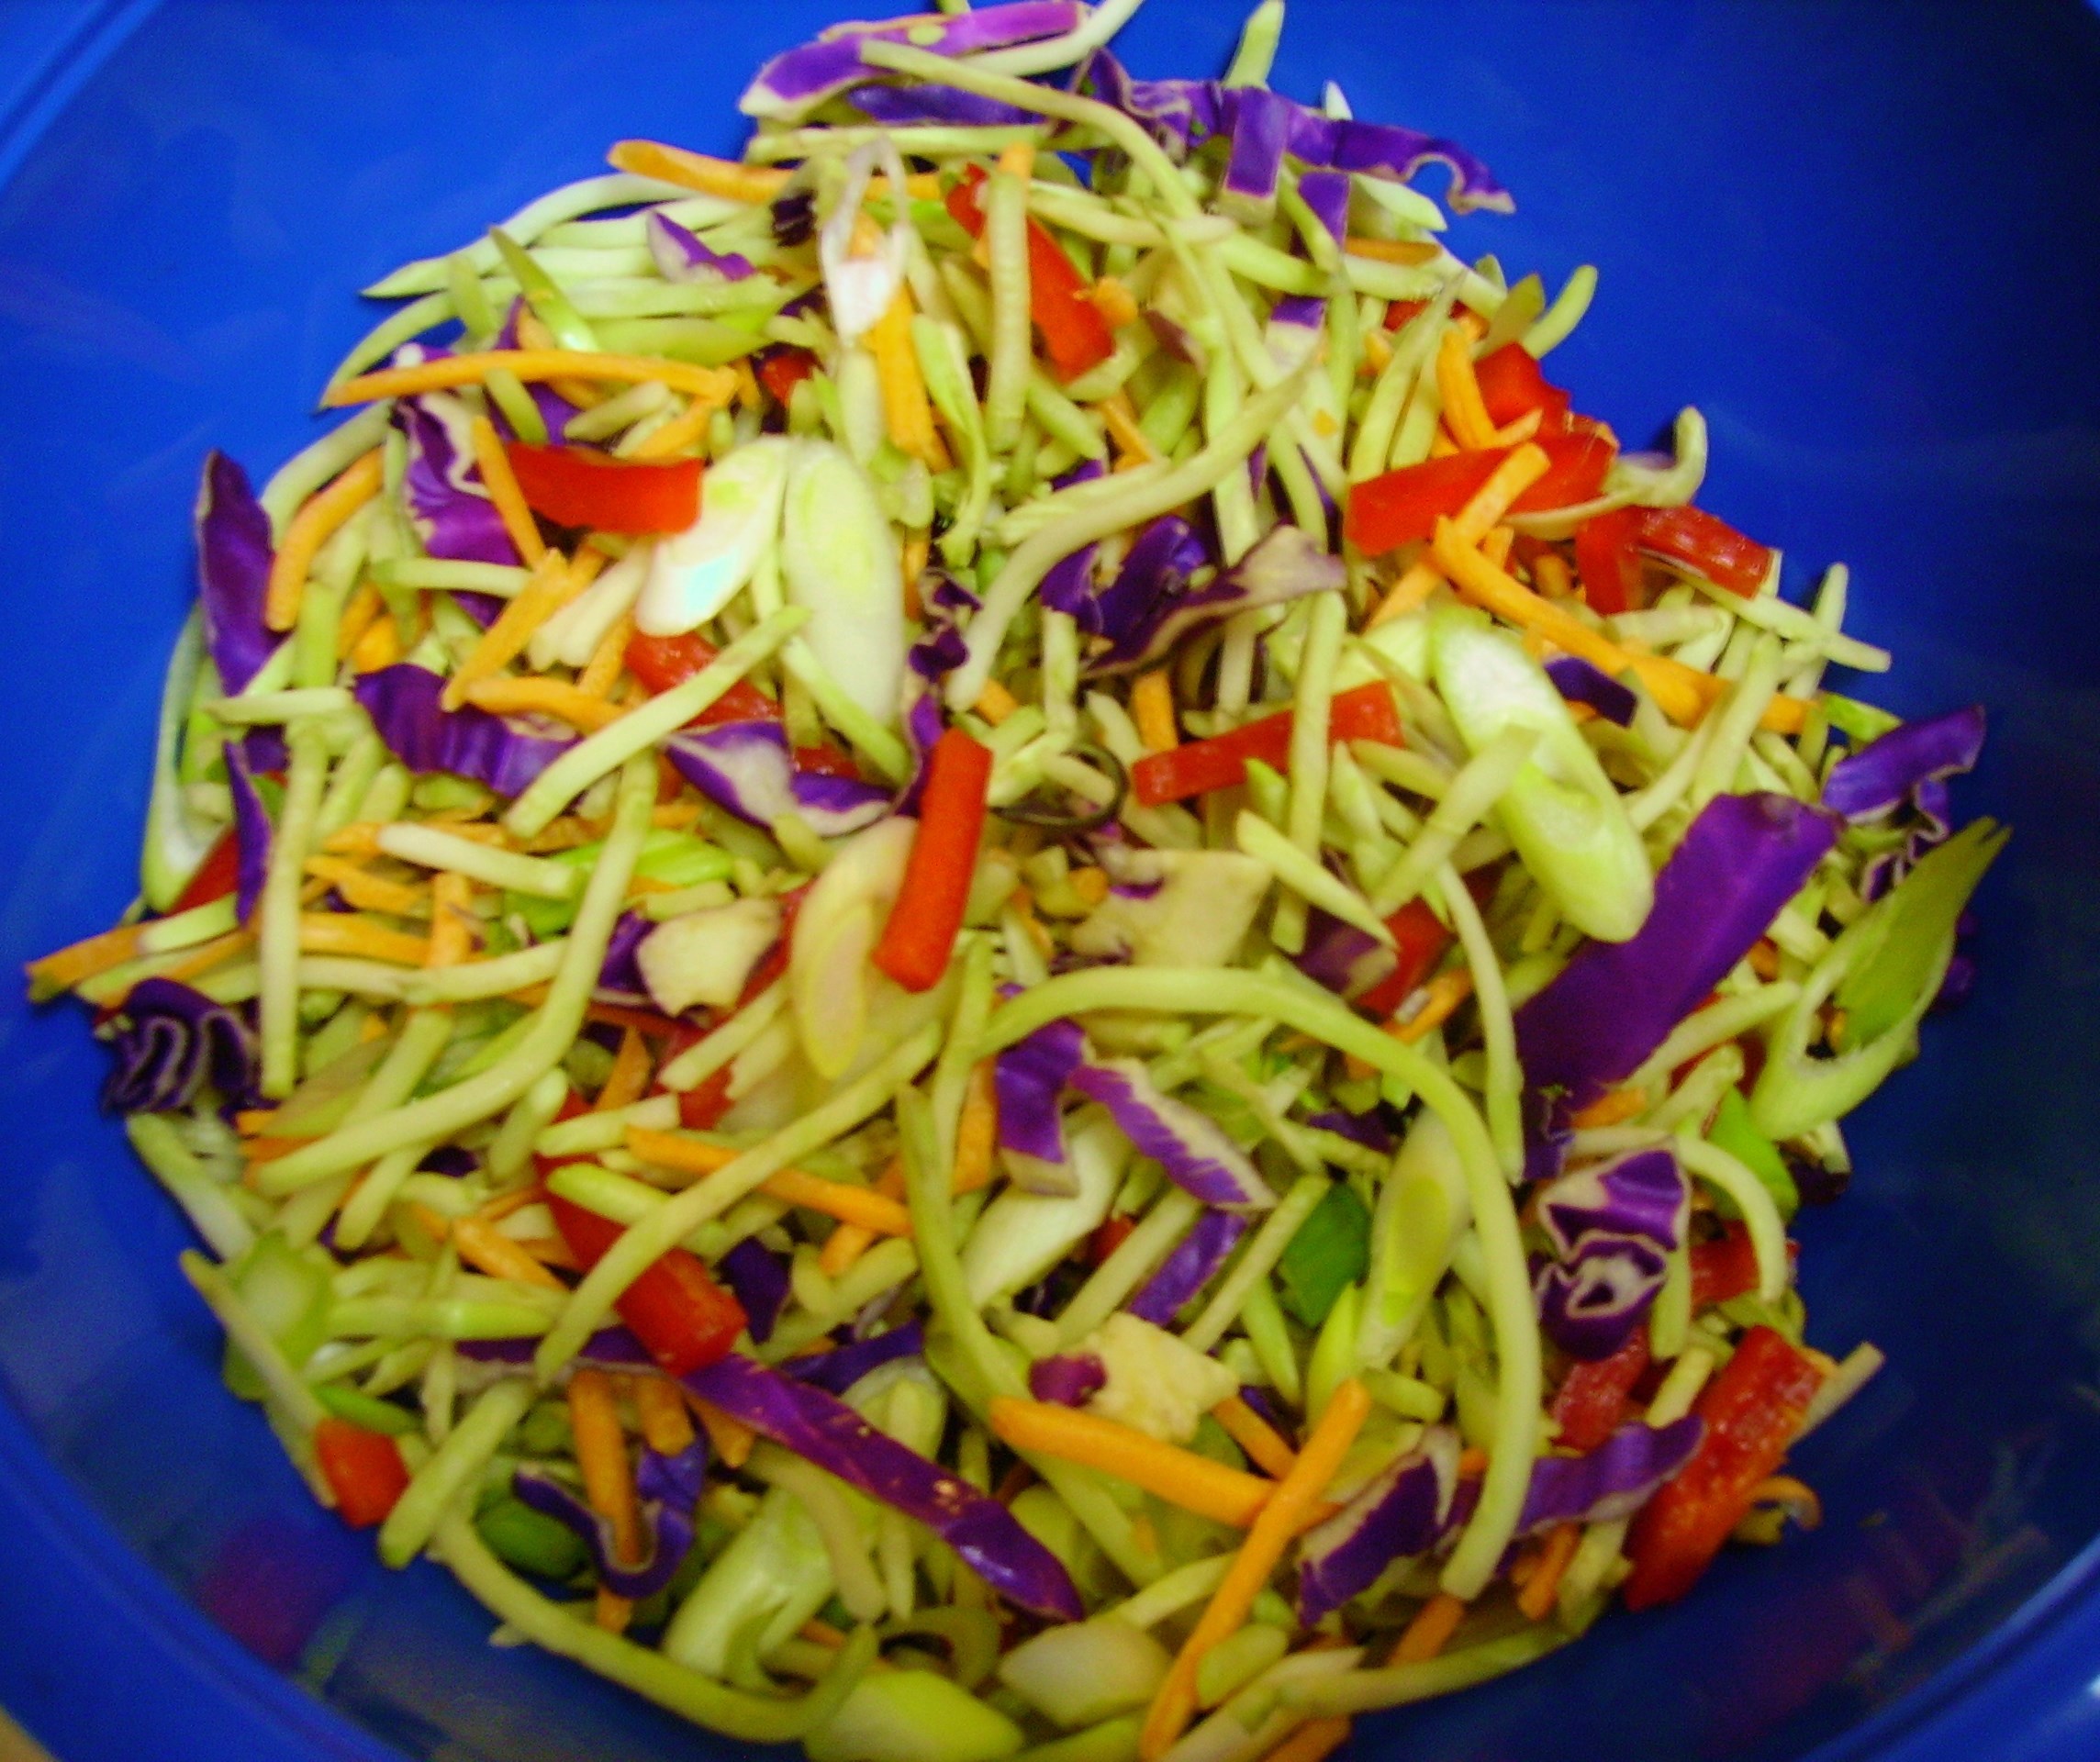
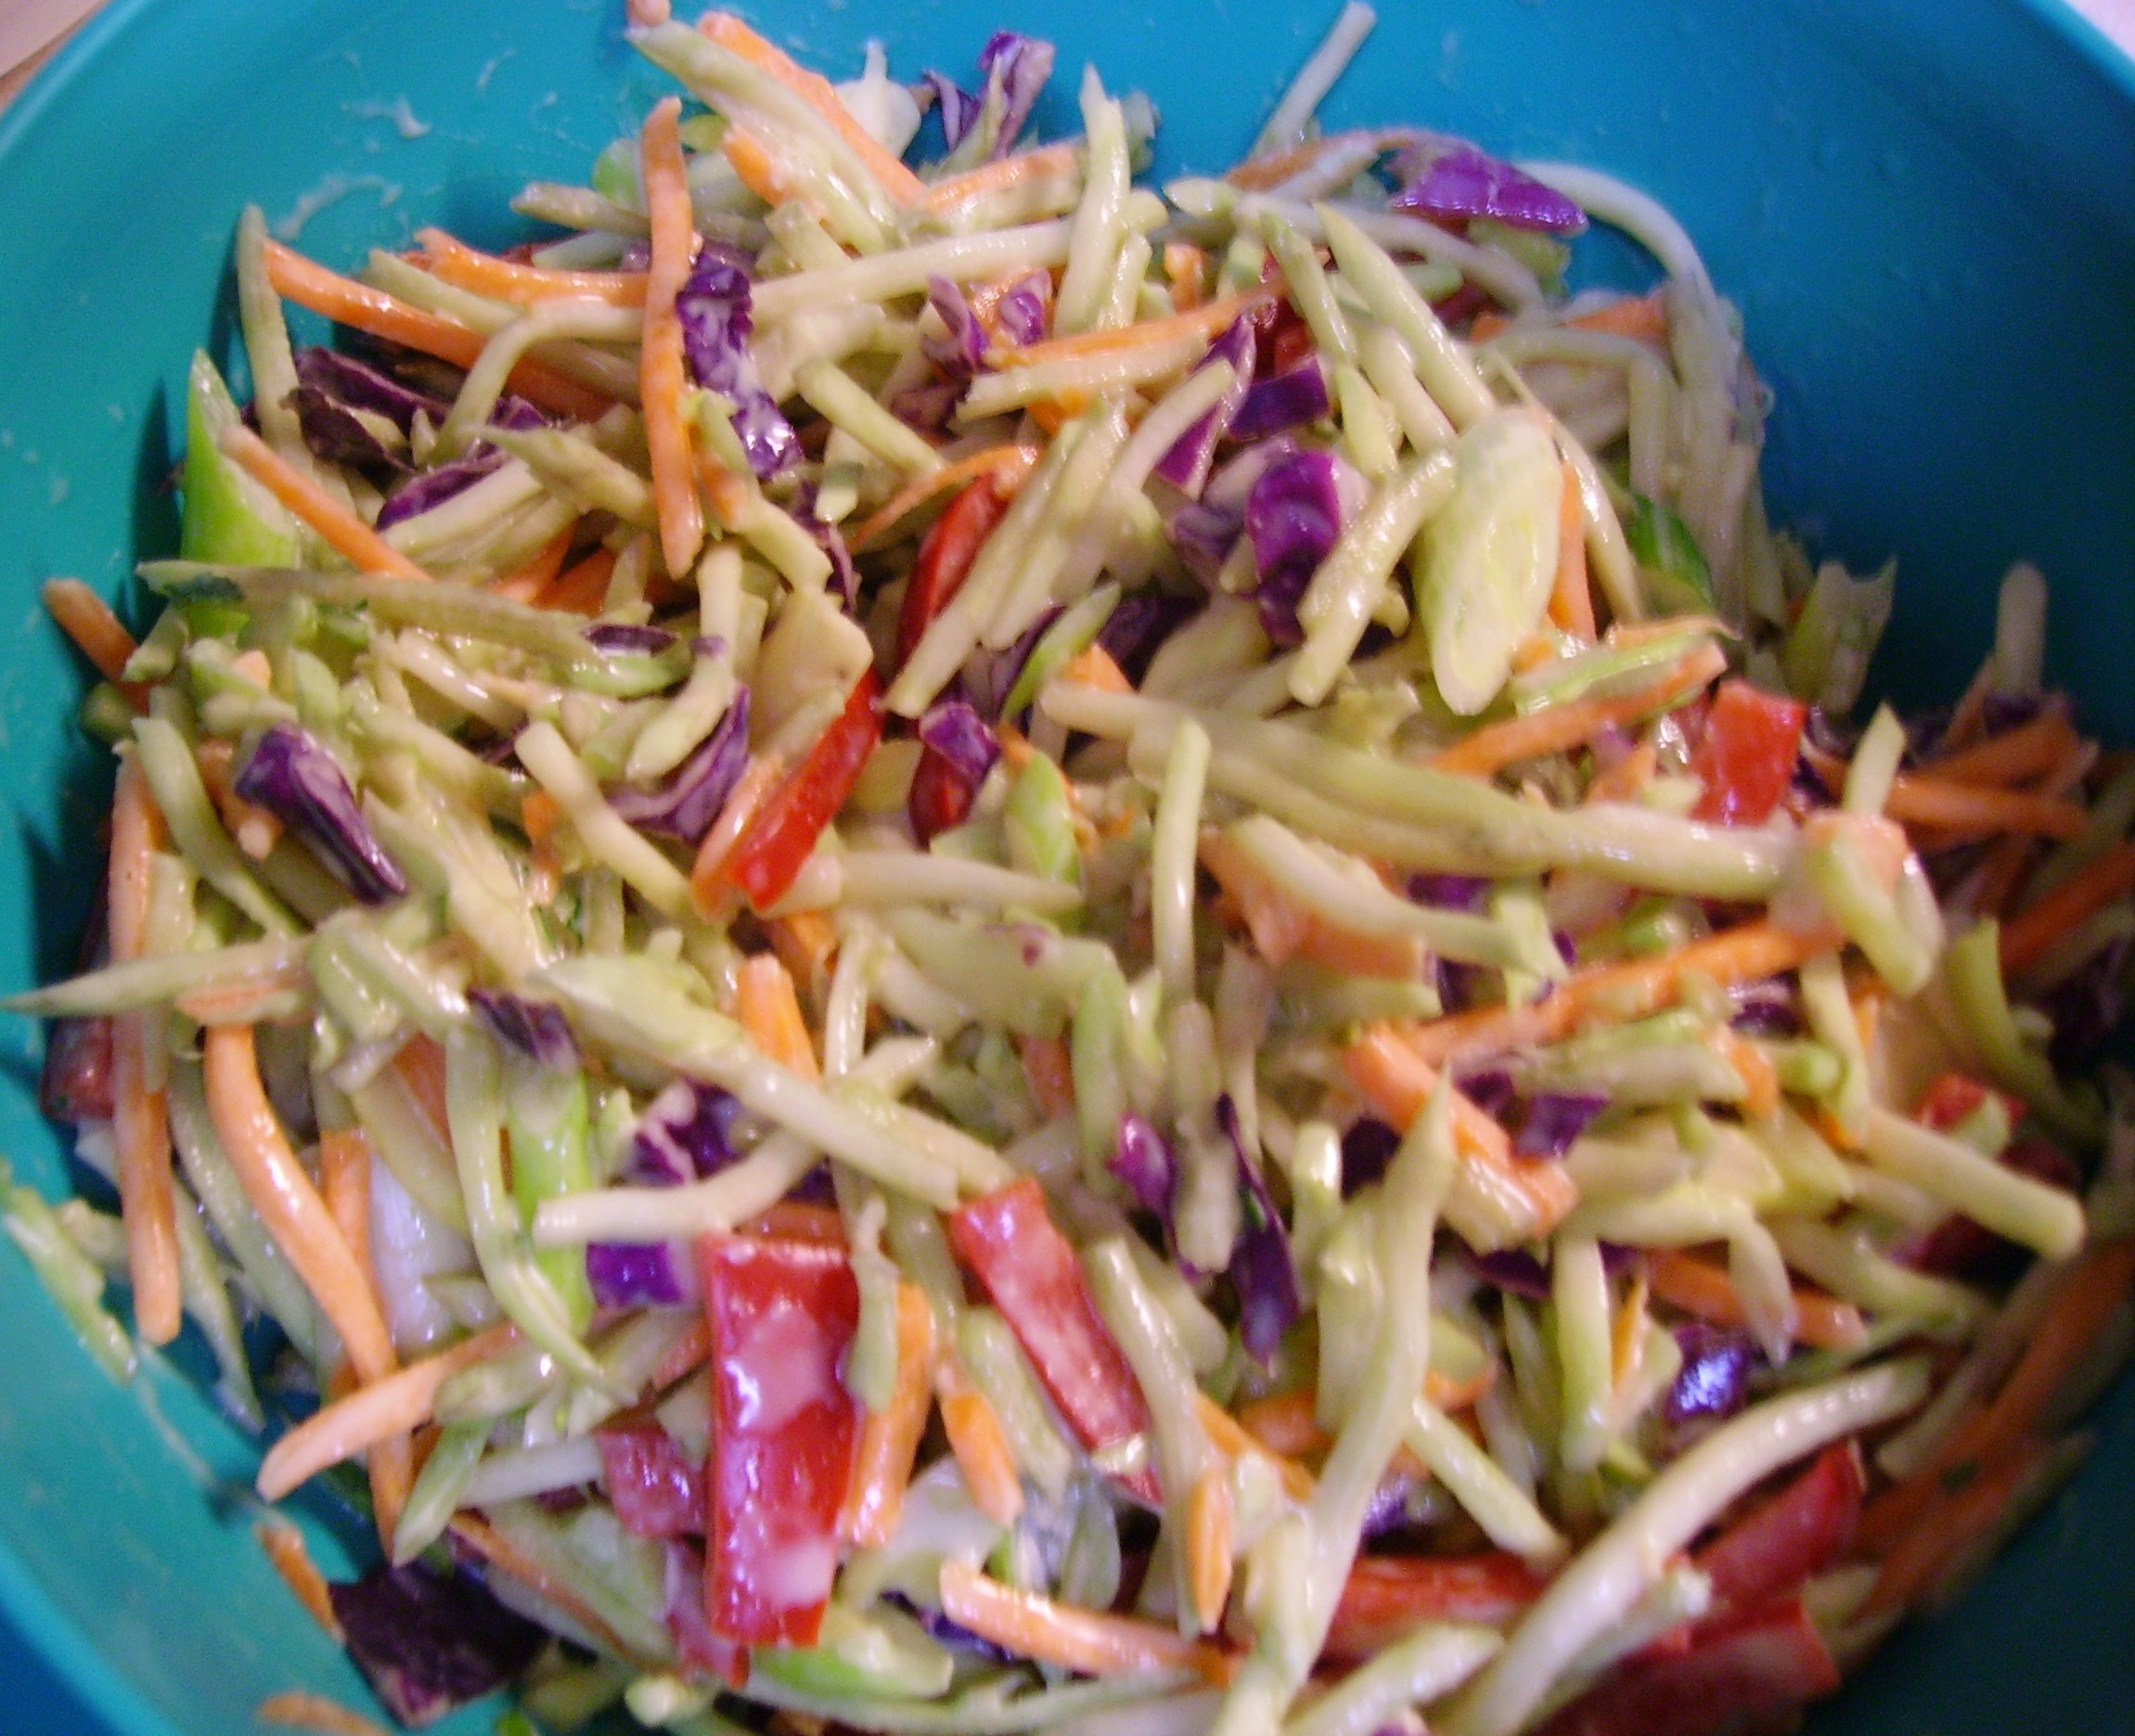
The other thing that I like about Cabbage salads is that a few ingredients can come together to create a salad that is as tasty as it is colorful. Add the fact that it can be made ahead and this is a cook’s dream come true. That is definitely the case with this Orange Honey Mustard Slaw. Broccoli slaw blend, red bell peppers and green onions provided the vegetable action and created a symphony of color, too.

DIGITAL CAMERA

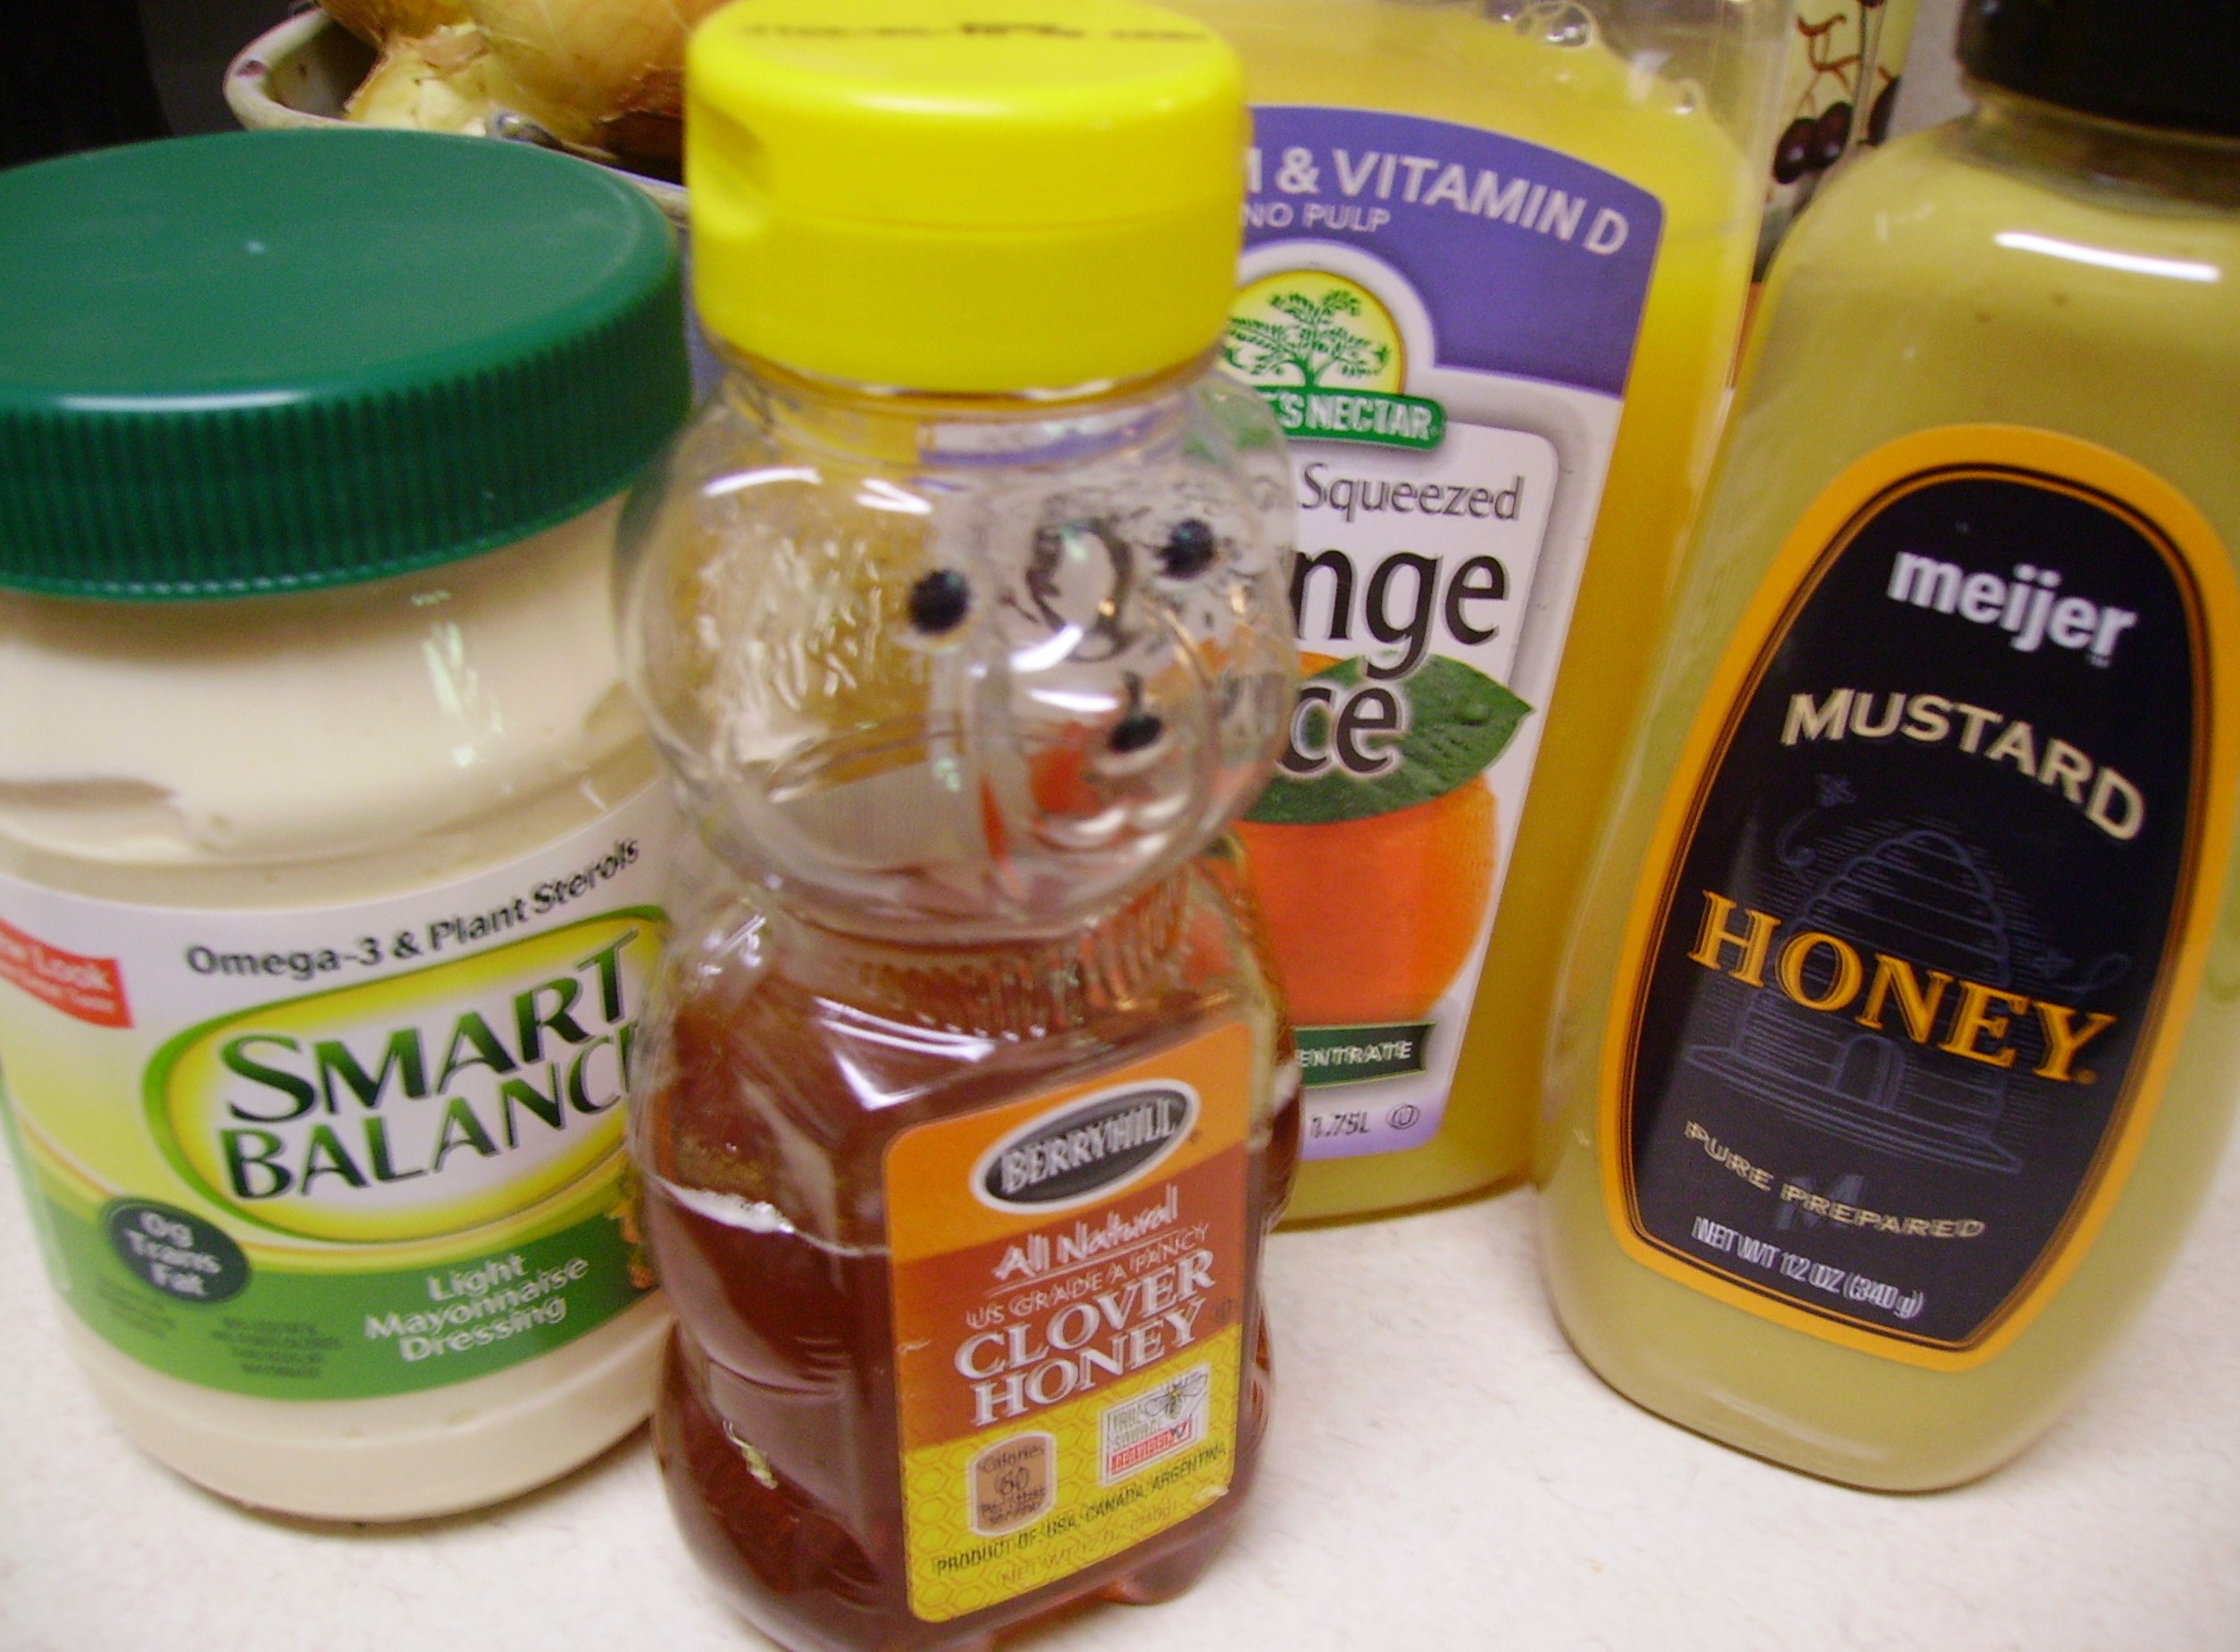
The dressing was only four ingredients, but they came together to create a delicious tangy sweet coating that had that extra zing of citrus.

DIGITAL CAMERA

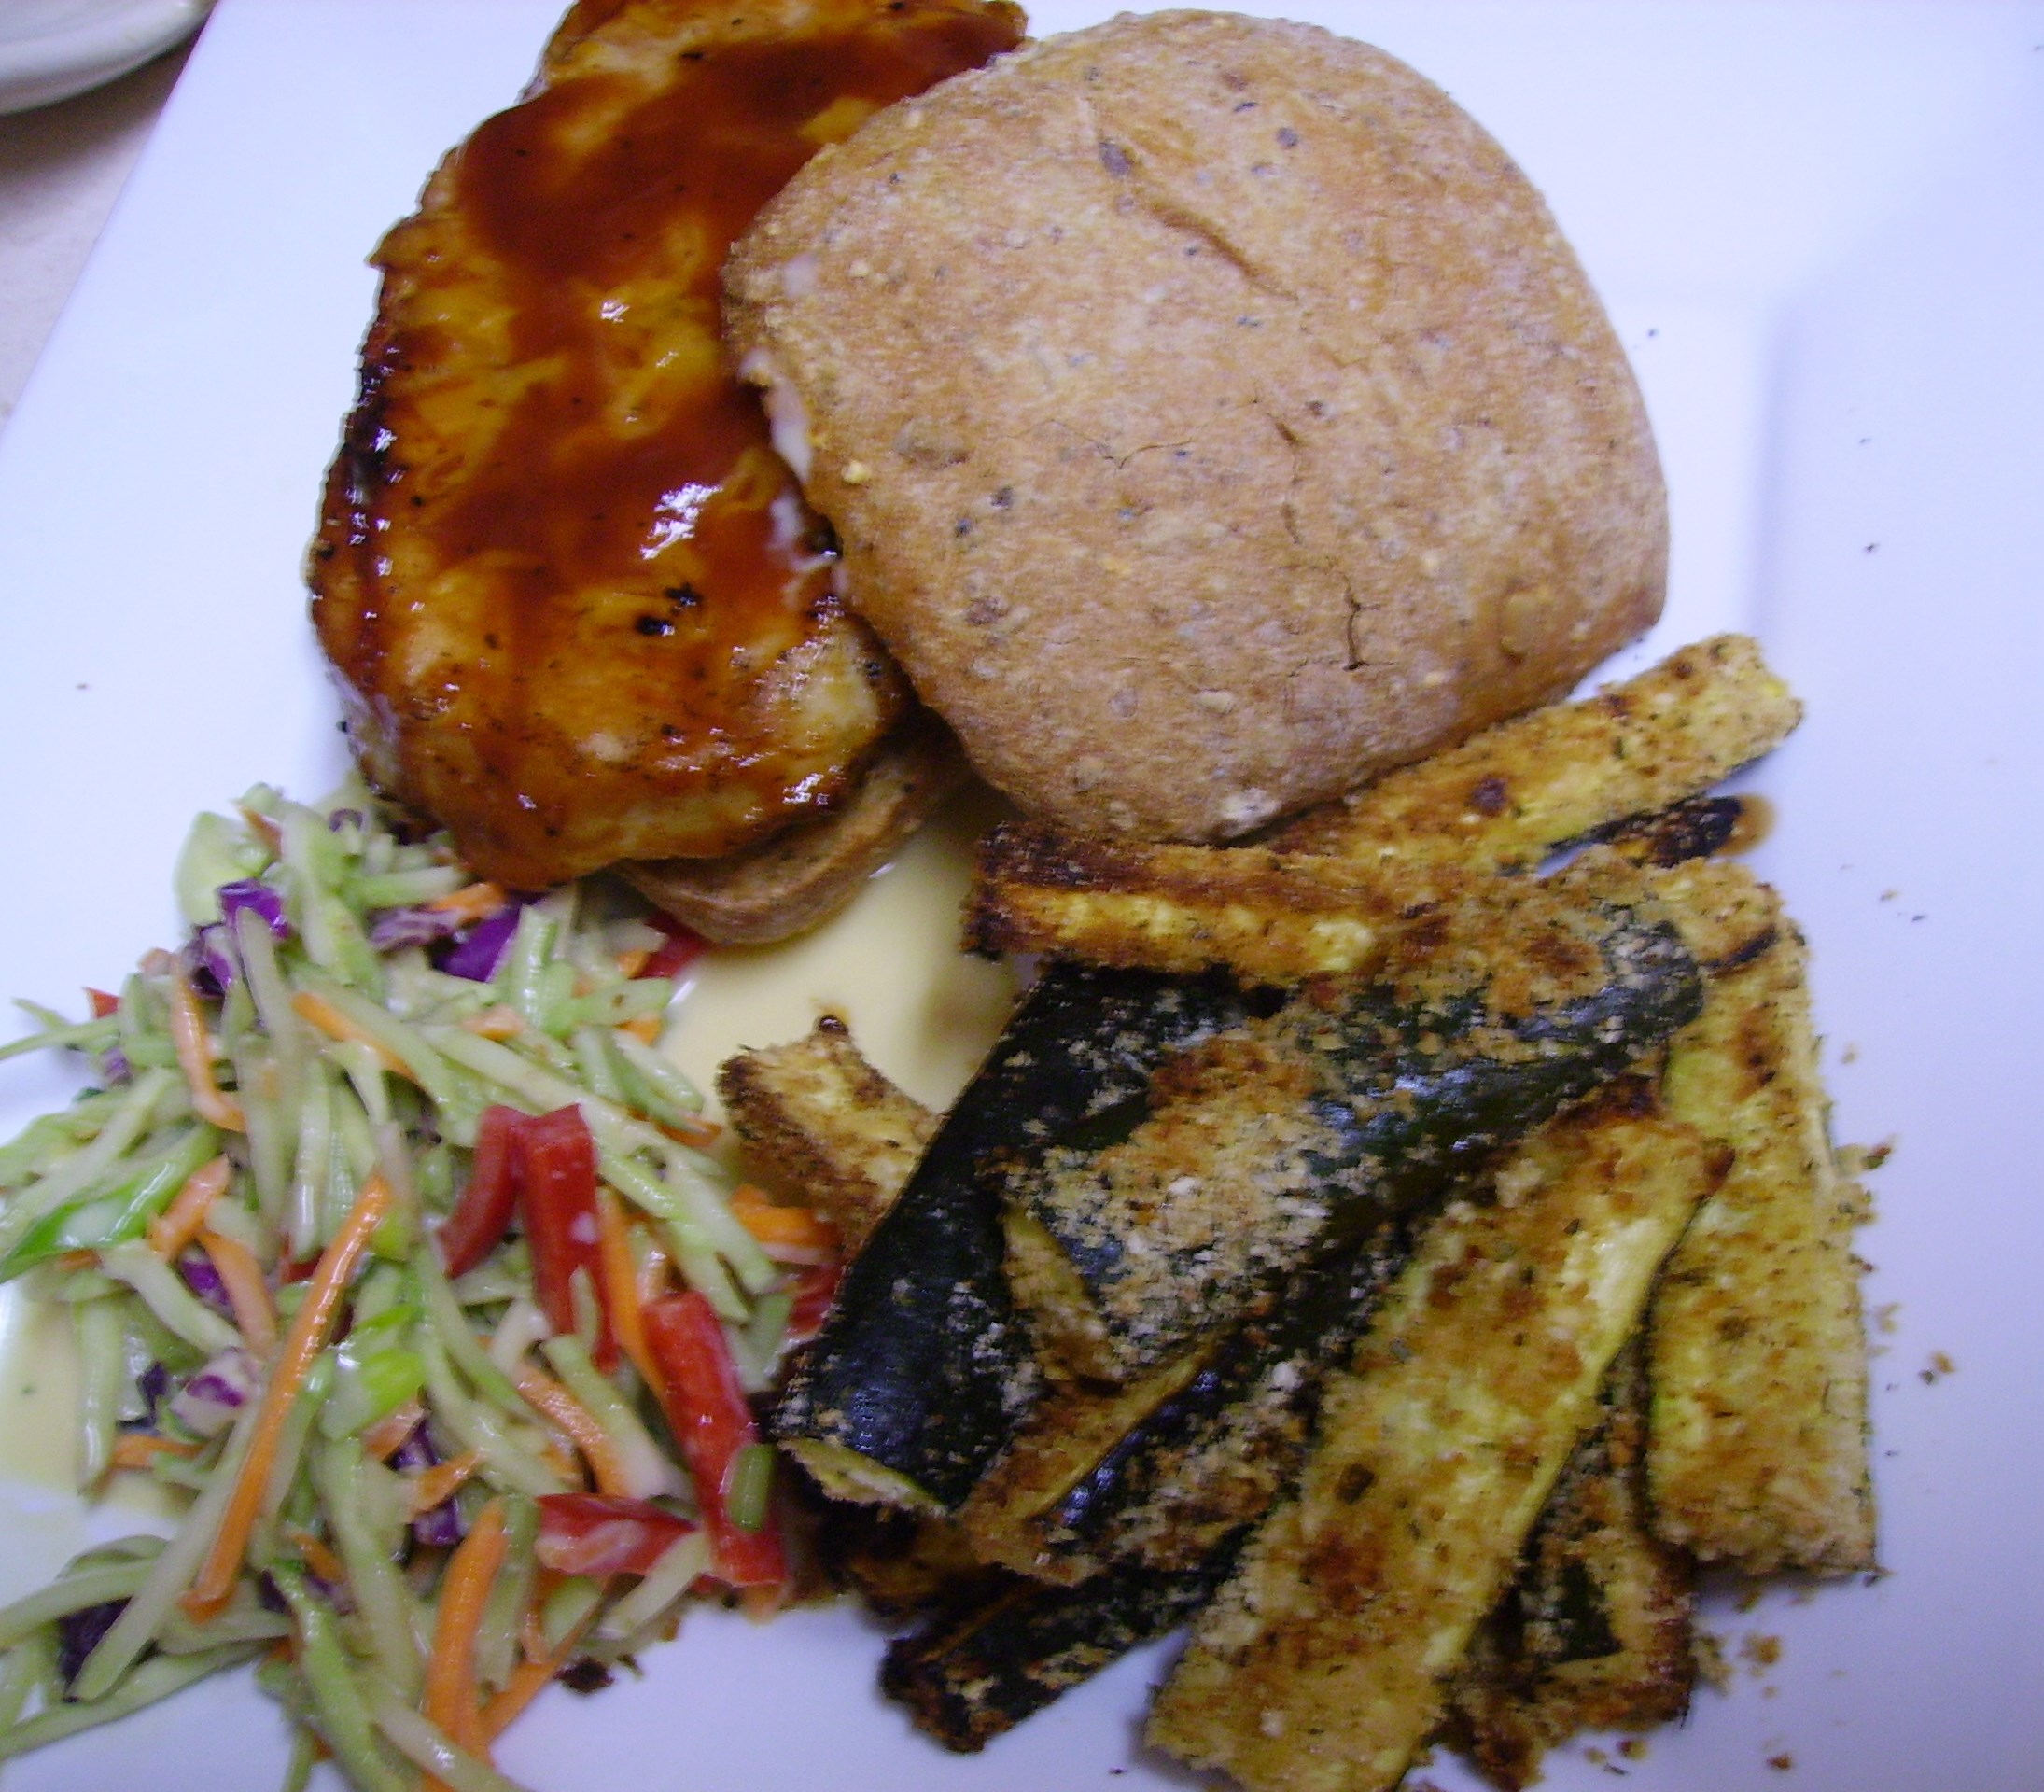
If you want to really put that orange flavor up front, add a little grated orange zest. In fact, that’s where I’ll head next time. So with minimal chopping and mixing and a brief respite in the fridge, I had a side dish that was wonderful with grilled pork chop sandwiches. However, this salad would be great next to any sandwich, metal cup or ice cream scoop optional.

Orange Honey Mustard Slaw
Print Recipe
Servings
4
Servings
4
Orange Honey Mustard Slaw
Print Recipe
Servings
4
Servings
4
Ingredients
Servings:
Instructions
  1. Place the broccoli slaw in a large bowl. Add the onions and peppers.
  2. Combine the mayonnaise, orange juice, honey, and mustard in a jar with a tight fitting lid. Shake until the ingredients are completely blended.
  3. Pour the dressing over the vegetables. Toss to coat well. cover and refrigerate for at least 2 hours or as long as 24 hours.
  4. Serve with your favorite sandwich or grilled meat.
Share this Recipe
Powered byWP Ultimate Recipe

So, shred that veg, blend that dressing and come up with your own “Koolsla”


Cleaning Out the Fridge Quiche

The refrigerator is a wonderful invention. It allows us to keep a supply of fresh food at the ready. It provides a safe haven for the treasures we find at the store, keeping them safe until we are ready to turn them into something wonderful. I confess that sometimes I buy a little more than I can chew and open the refrigerator to find an array of food that has begun to lose its luster.

What’s Mama D to do? I don’t have the heart or the budget to throw it all away, and it is still quite usable. The time has come to combine things into a delicious meal and quiche is a perfect solution. Flaky pie crust and creamy custard are the blank canvas that will hold the vegetables and meats that the fridge has to offer.

This adventure included some crimini mushrooms and asparagus along with some thyme and onion. They were a bit past their prime, but perfect for this quiche.

DIGITAL CAMERAMy protein of choice was peppered bacon.  I found three lonely slices that I chopped up and browned on the stove.

The veggies were chopped and cooked in the same pan (minus the drippings, but with the yummy brown bits) to give them a little extra love before they jumped into my “not home-made” crust. Yes, the crust came out of the fridge, too. Would homemade pastry make this dish better? Maybe, but I had a box of the pre-made variety and it needed to be used,too.

Whatever pastry crust you use always “blind bake” it before you add the fillings. Once the dough has been fit into your vessel of choice, line it with some parchment paper and fill it with dried beans. Bake it in the oven until it is nice and golden. A clear glass pan allows you to check the bottom as well. Remove the beans and paper and add your fillings. No soggy bottom crust here.I topped the sautéed goodies with some grated Swiss cheese. Any cheese will work here. Use what you love or what you have on hand. Only use about a cup. The custard is rich enough and you want the veggies to be the star here.

DIGITAL CAMERAEggs, cream, and milk create a luscious custard that only requires a little salt and coarse ground pepper. I’m not a fan of nutmeg, a traditional ingredient here, but add some if it floats your boat. In fact you can add any herb, spice, etc. It’s your quiche after all.

When you are ready to add the custard to the quiche, put it on a rimmed baking sheet. This too, is a required step. The pie will be very full and eggs being eggs, it will grow before it sets. A baking sheet is much easier to clean than an oven. I speak from experience.

DIGITAL CAMERAThe quiche needs to bake for 30 – 40 minutes then it needs to set for at least 20 minutes more. Add the blind baking step and you are approaching the 2 hour mark on prep time. If you like a late supper (and this is the perfect dish for that) make it part of your weeknight wonderland. I think it’s a delightful Sunday night supper that puts a delicious topper on the weekend.

DIGITAL CAMERA

Cleaning Out the Fridge Quiche
Print Recipe
This is my version of quiche. Feel free to use whatever fillings you want.
Servings
6
Servings
6
Cleaning Out the Fridge Quiche
Print Recipe
This is my version of quiche. Feel free to use whatever fillings you want.
Servings
6
Servings
6
Ingredients
Servings:
Instructions
Blind Bake the Crust
  1. Fit the pie crust into a pie or quiche pan. Use a fork to poke small holes all over the crust. Place a sheet of parchment paper into the crust (crumple it a bit to allow it to fit better). Pour dried beans onto the parchment paper. A pound of dried beans will fill a 9 inch pie plate nicely.
  1. Bake the crust in a preheated 350 degree oven for 20 - 30 minutes. The crust should be light golden all over. Do not rush this step; the non-sogginess of the crust depends on it. Remove the crust from the oven. Carefully remove the parchment paper and beans (these will become your official "blind baking" beans). Set the crust aside.
Filling
  1. Chop the bacon into thin pieces and cook in a medium fry pan over medium high heat. The bacon should be crisp. Transfer the bacon to paper towels to drain. Remove the drippings from the pan but leave the brown bits of deliciousness.
  2. Add the onions to the fry pan and cook for 4 minutes or so until they begin to soften.
  3. Add the mushrooms and continue to cook another 5 minutes until the mushrooms begin to brown. Add the asparagus and cook for a few more minutes until the asparagus is tender crisp.
  4. Add the reserved bacon bits back to the pan along with the thyme leaves and cook for 2 - 3 minutes more.
  5. Pour the vegetable/bacon filling into the pie crust. Sprinkle the grated cheese on top.
  6. Beat the eggs until the are very thick. Add the cream and milk and beat with a whisk until the mixture is light and fluffy. Add salt and pepper and any other spices or herbs you like.
  7. Place the filled pie crust on a rimmed baking sheet. Carefully pour the custard into the crust stopping when it is filled to the top. You may have a little custard left, but not much.
  8. Place in a 350 degree oven and bake for 30 - 40 minutes. The filling should be puffed and golden and a knife should come out clean when poked in the center.
  9. Remove the quiche from the oven and allow to cool for at least 20 minutes before cutting.
Share this Recipe
Powered byWP Ultimate Recipe

This is far from the traditional preparation for a quiche. It doesn’t however, make it any less delicious. This is a versatile recipe that can be adapted any number of ways. Have some fun with it and come up with your own fridge cleaning masterpiece.