When I began my “next chapter” nine months ago, I wasn’t sure where it would lead. I knew I wanted it to involve food and writing, my two passions. I also knew that at some point I was going to need to start earning money. My ultimate goal was/is to use my passions to make my living.
Woman can’t live by passion alone, so I’ve been seriously looking for a job, and I’m here to tell you, the market is tough. Hundreds of applications, a few interviews and finally a job that gives me the flexibility to cook, write and make a little money. I’m now a School Bus Monitor. I won’t bore you with the intricacies of the job because there aren’t any.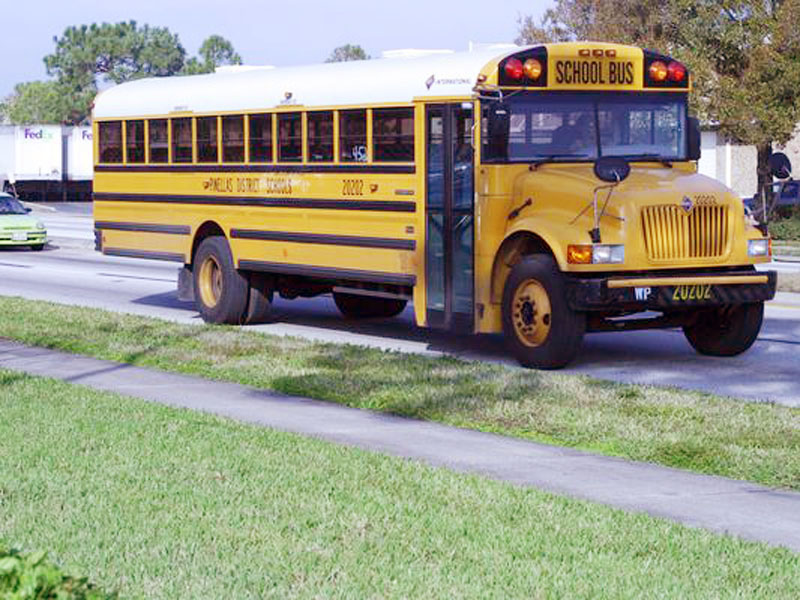
Even though I have a lot of free time in between my routes, I’ve had to change my time management strategy. To create wonderful food, take great pictures and write about it takes time and now that all has to fit into a narrower window.
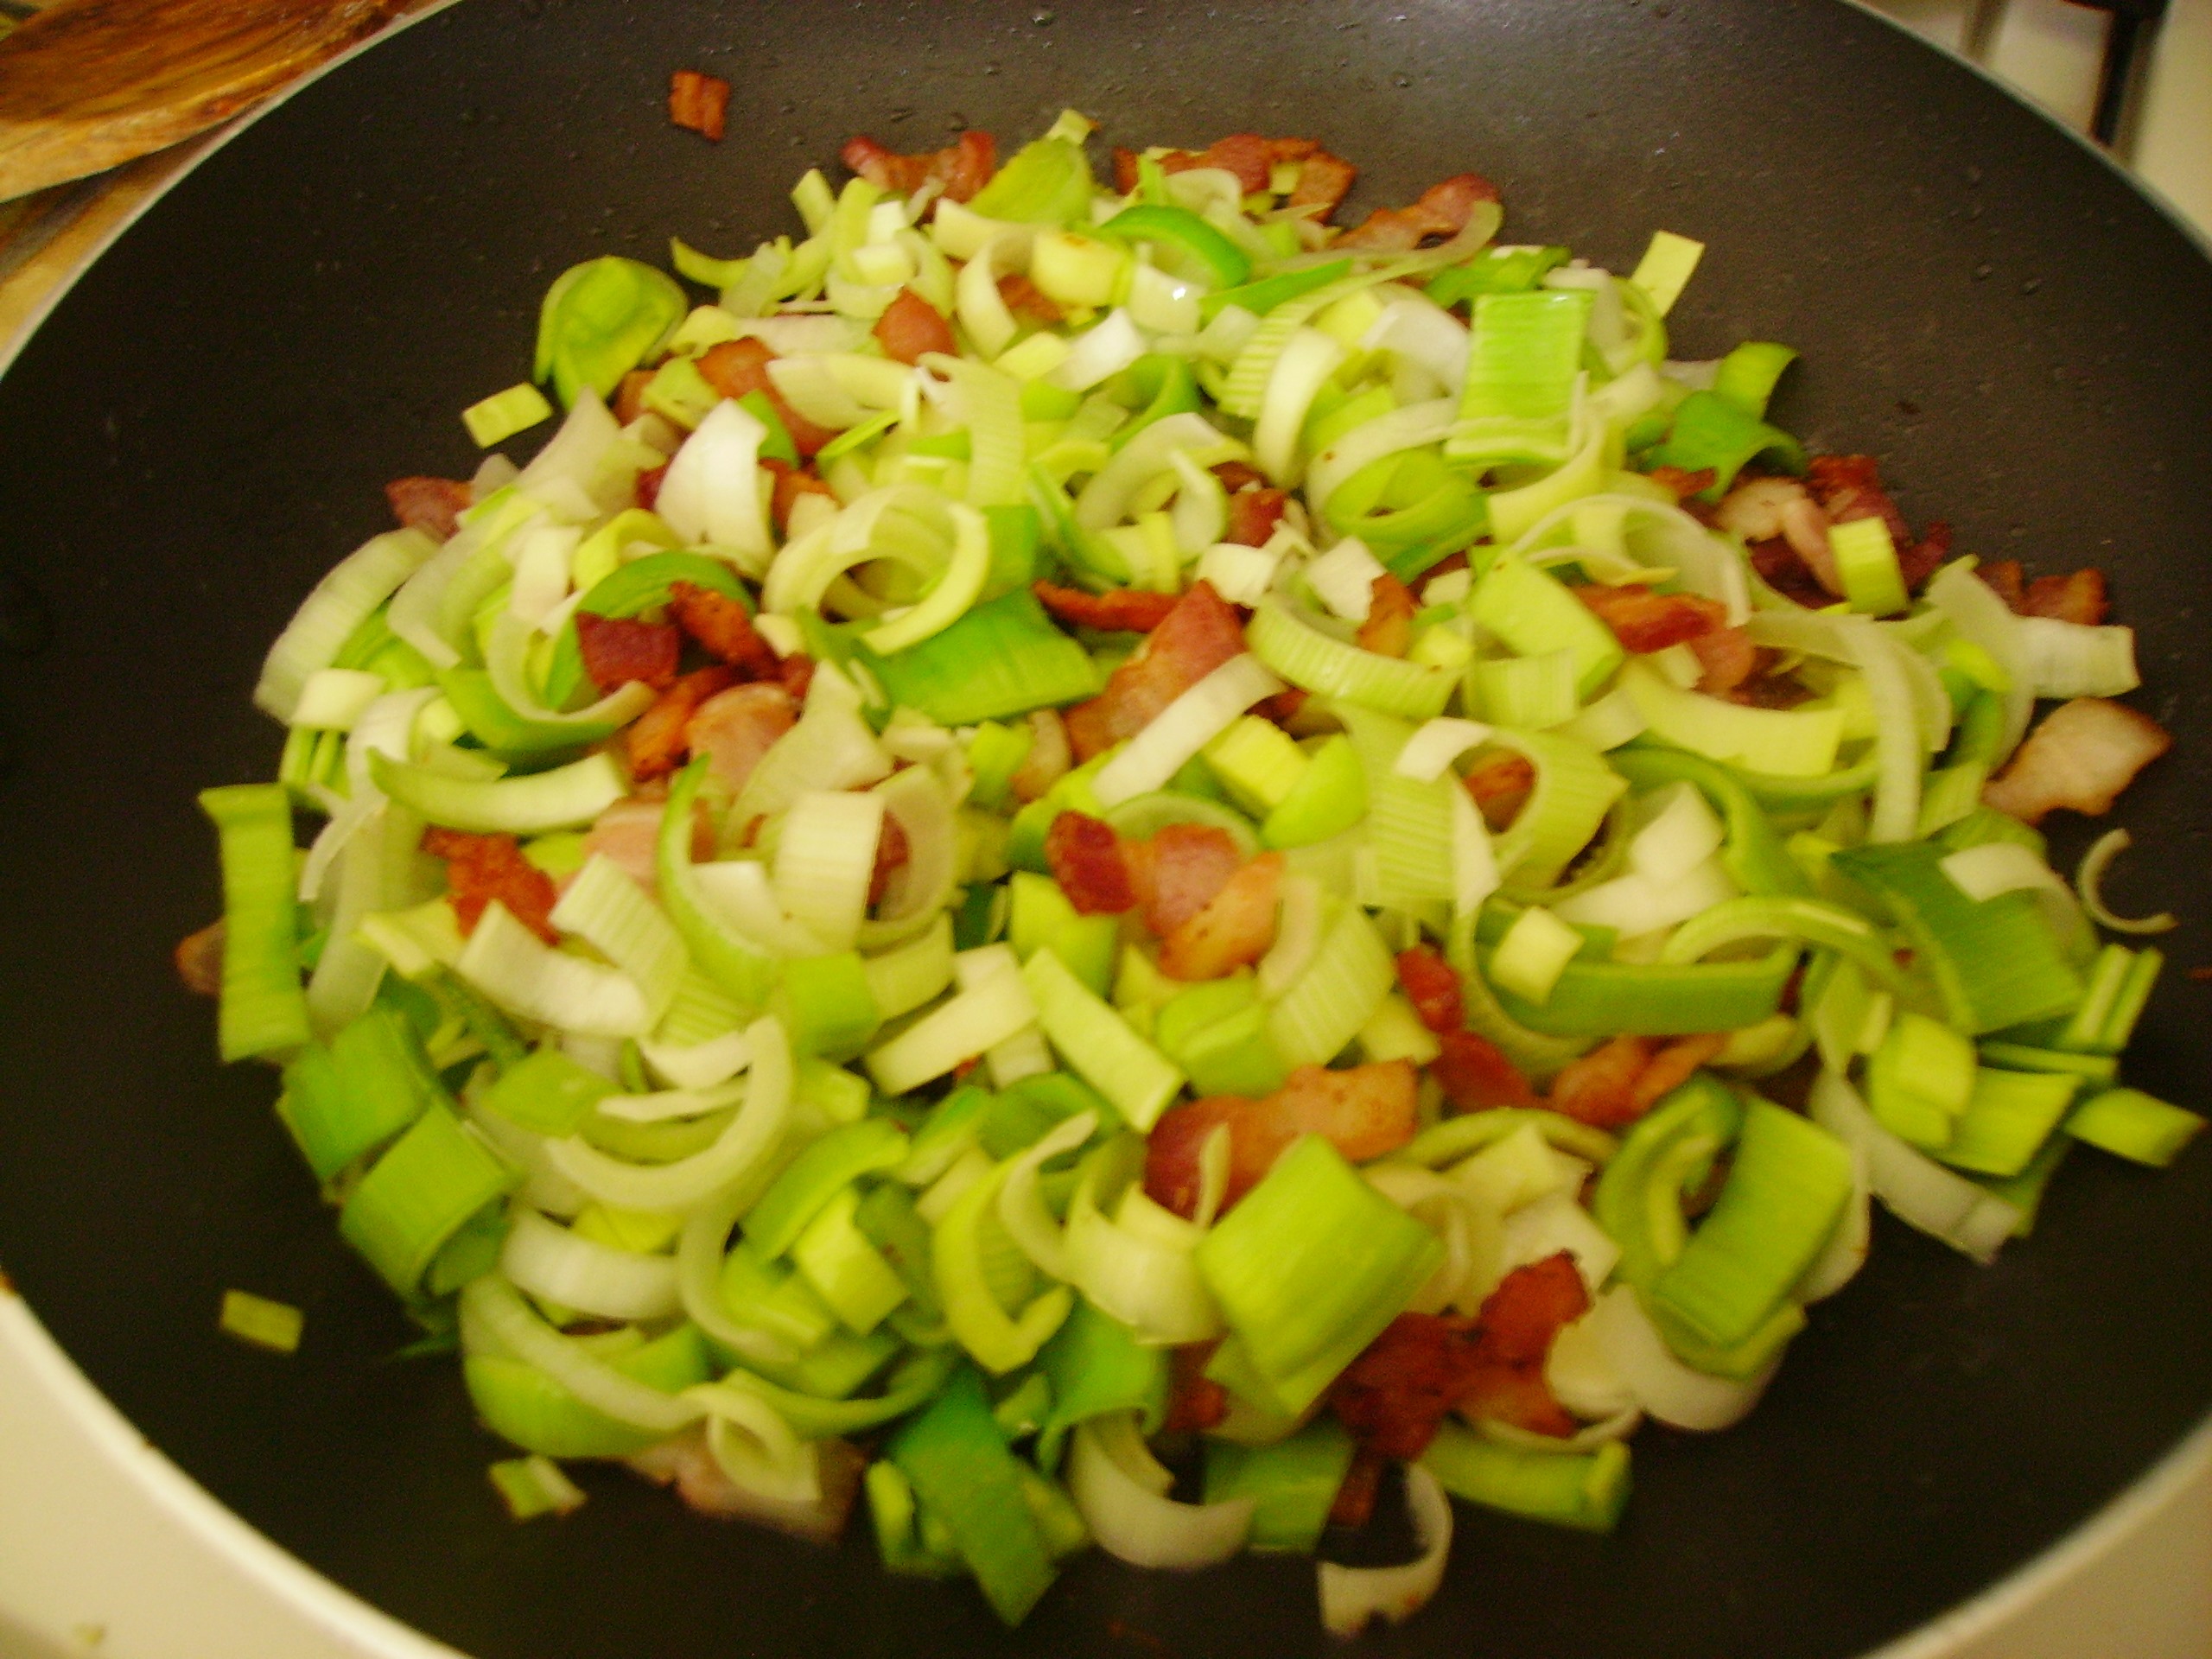
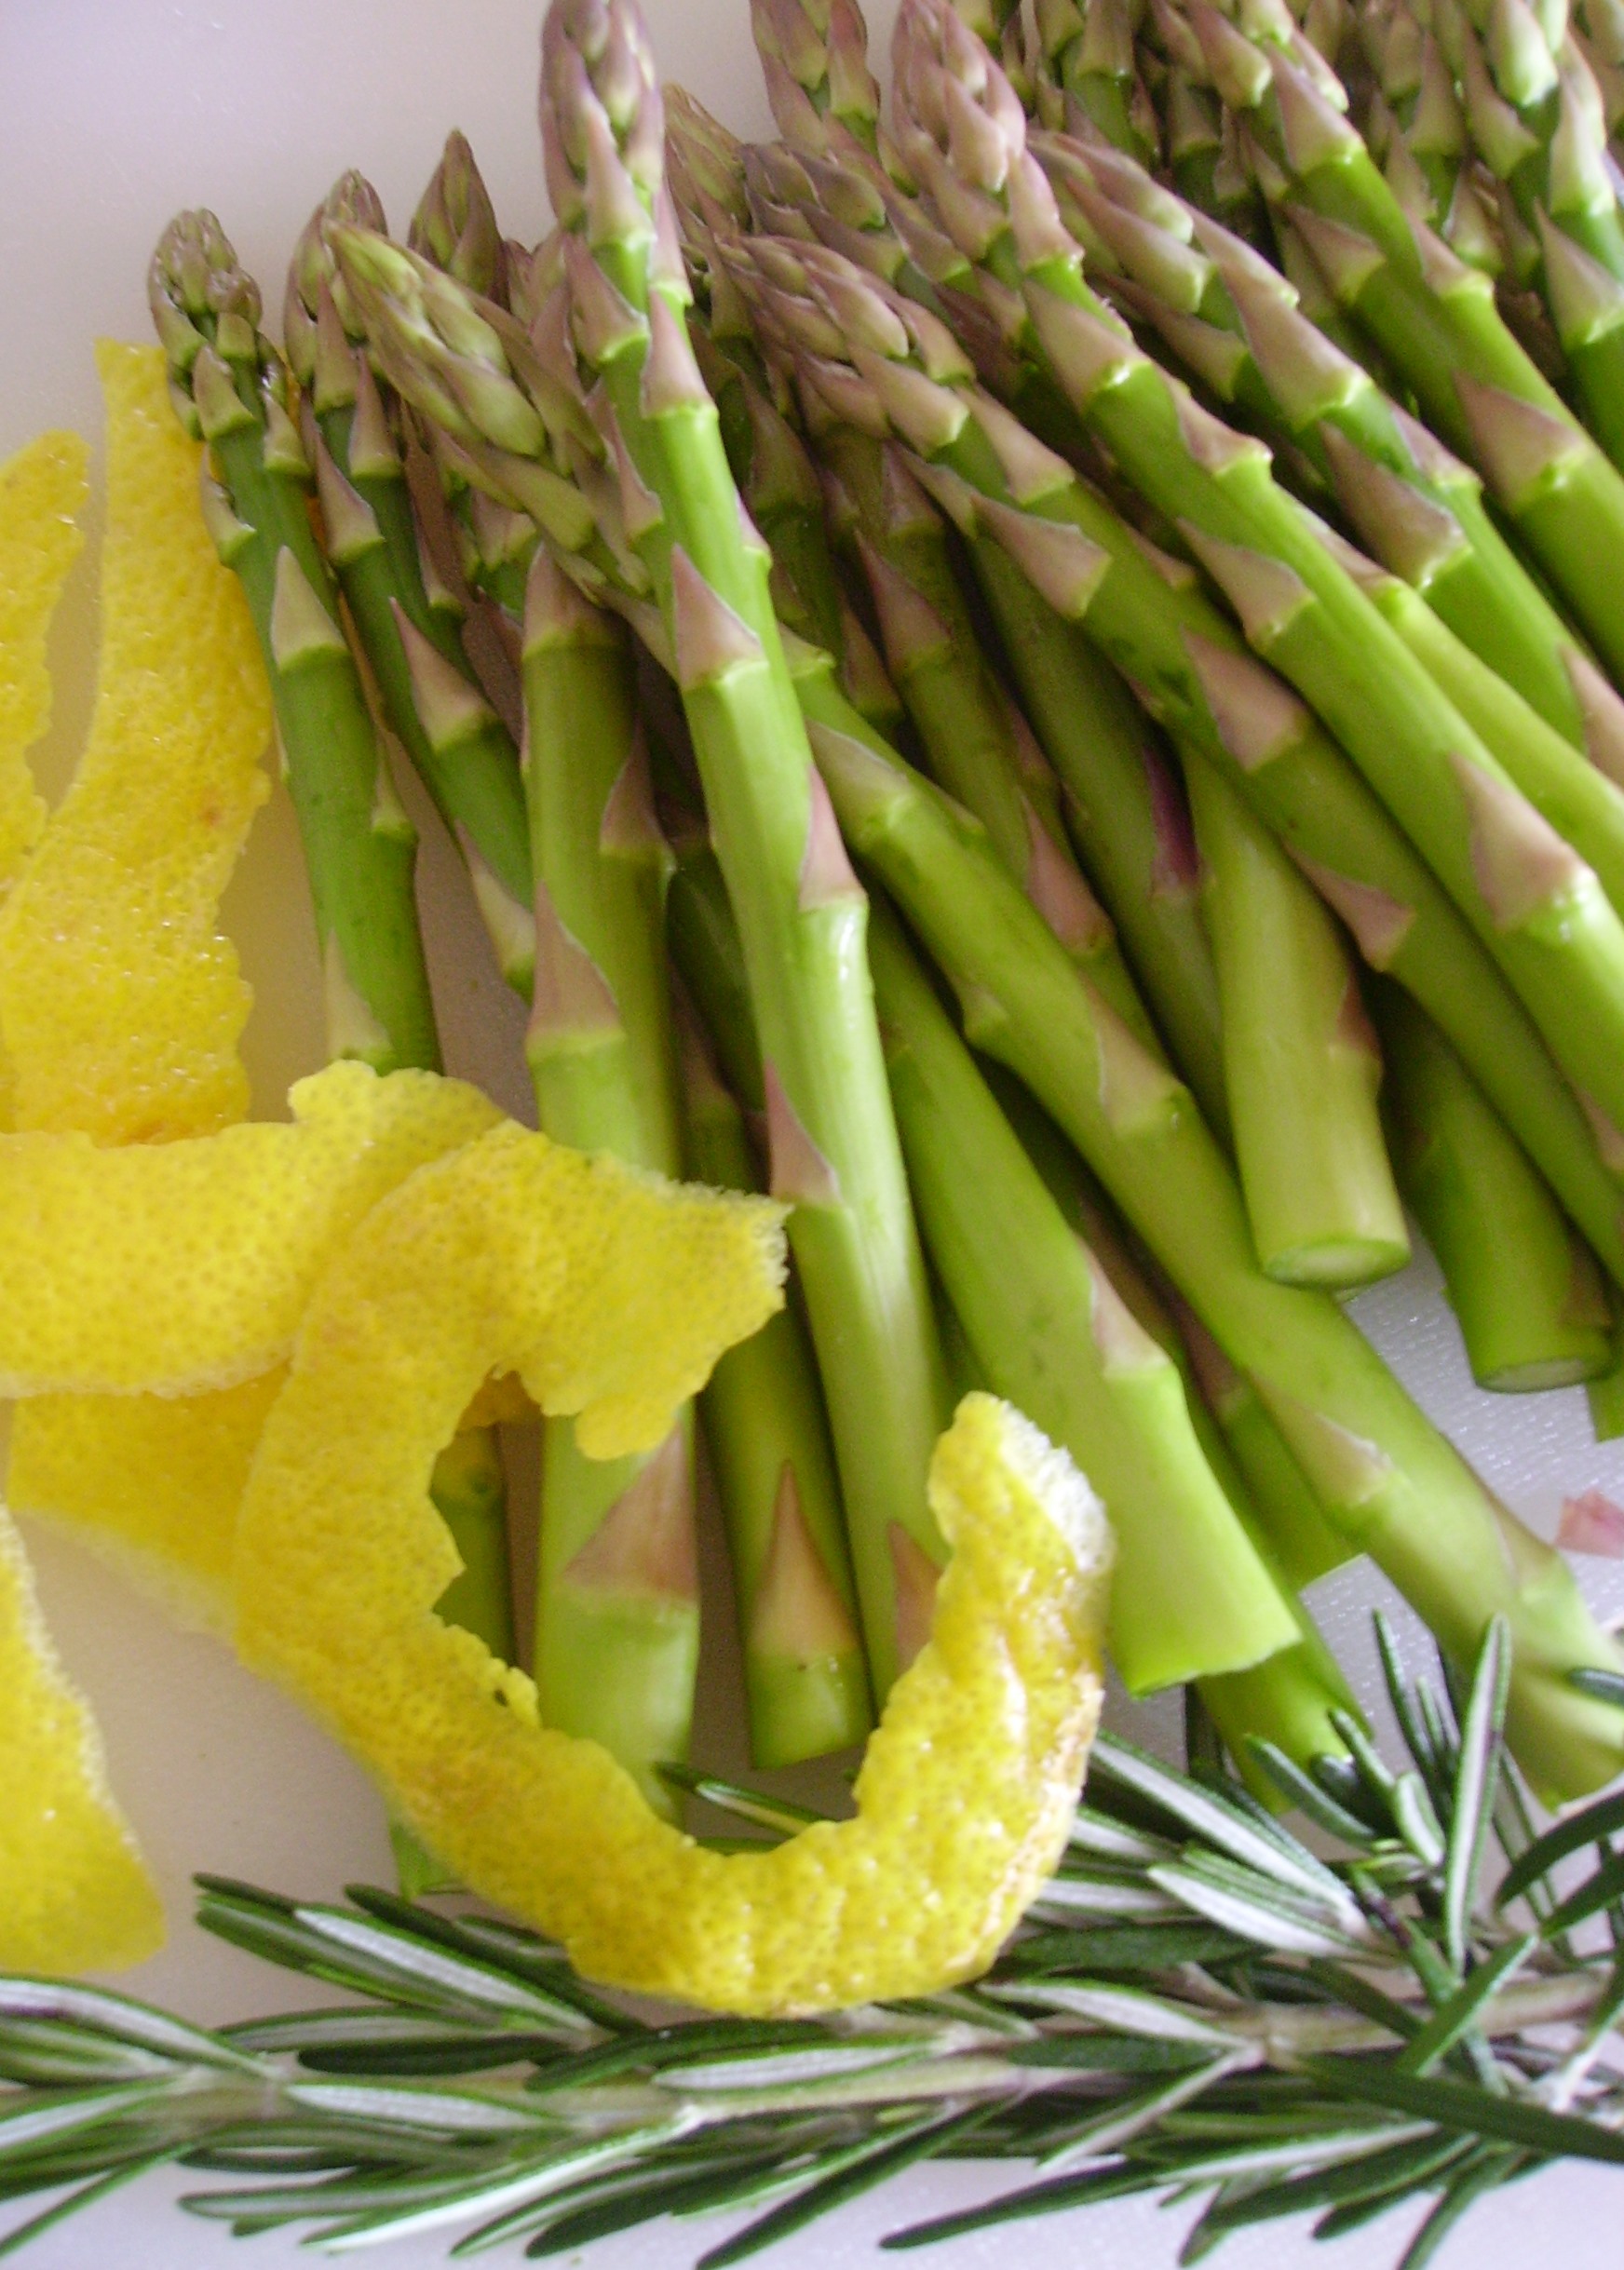
Meal planning and planning ahead are my new mantras. It also helps in making healthy choices. I did this all the time when I was working full-time. Now that my “cooking time” is a little broken up, a game plan is a necessity , This week, dinners were on the drawing board by Sunday and I started prepping ingredients right away. 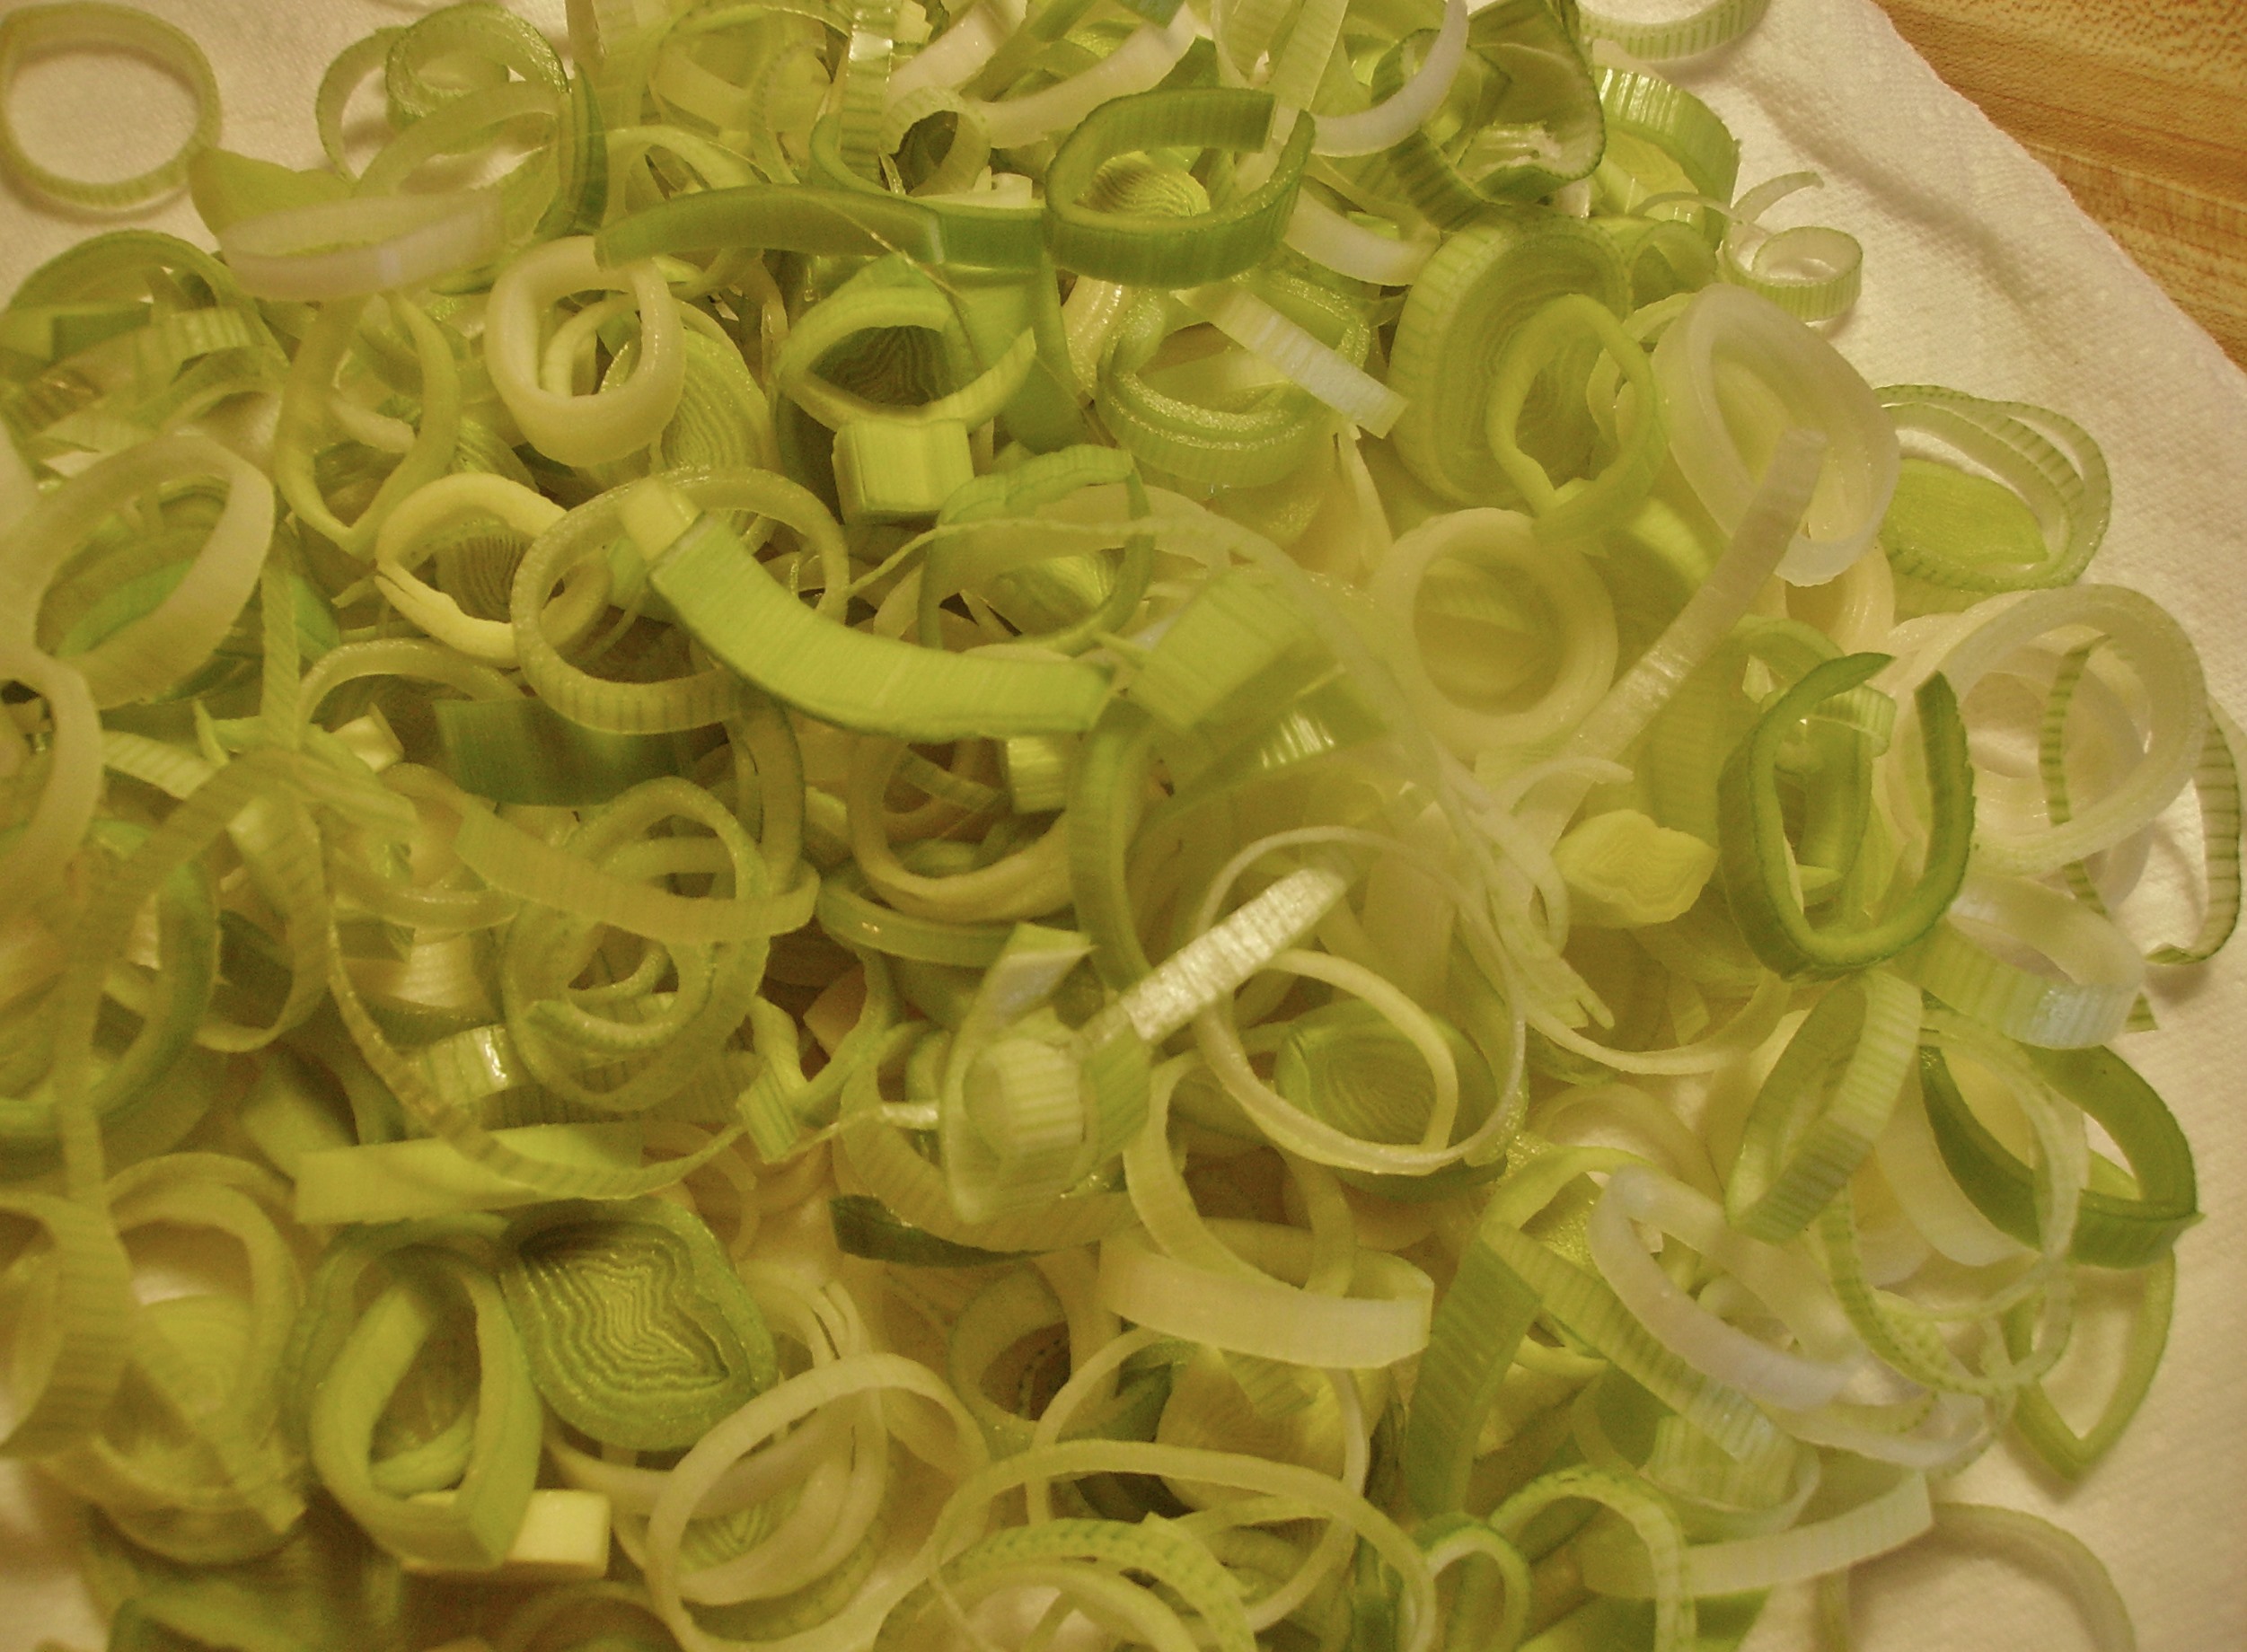 Leeks went into Sunday’s sweet potatoes, but I sliced enough to use for soup later in the week. Sautéed asparagus went into a pasta dish, but I made extra to use in salads for lunch. Even something as simple as slicing the prosciutto and trimming and packaging chicken breasts saves a lot of time and keeps me on track.
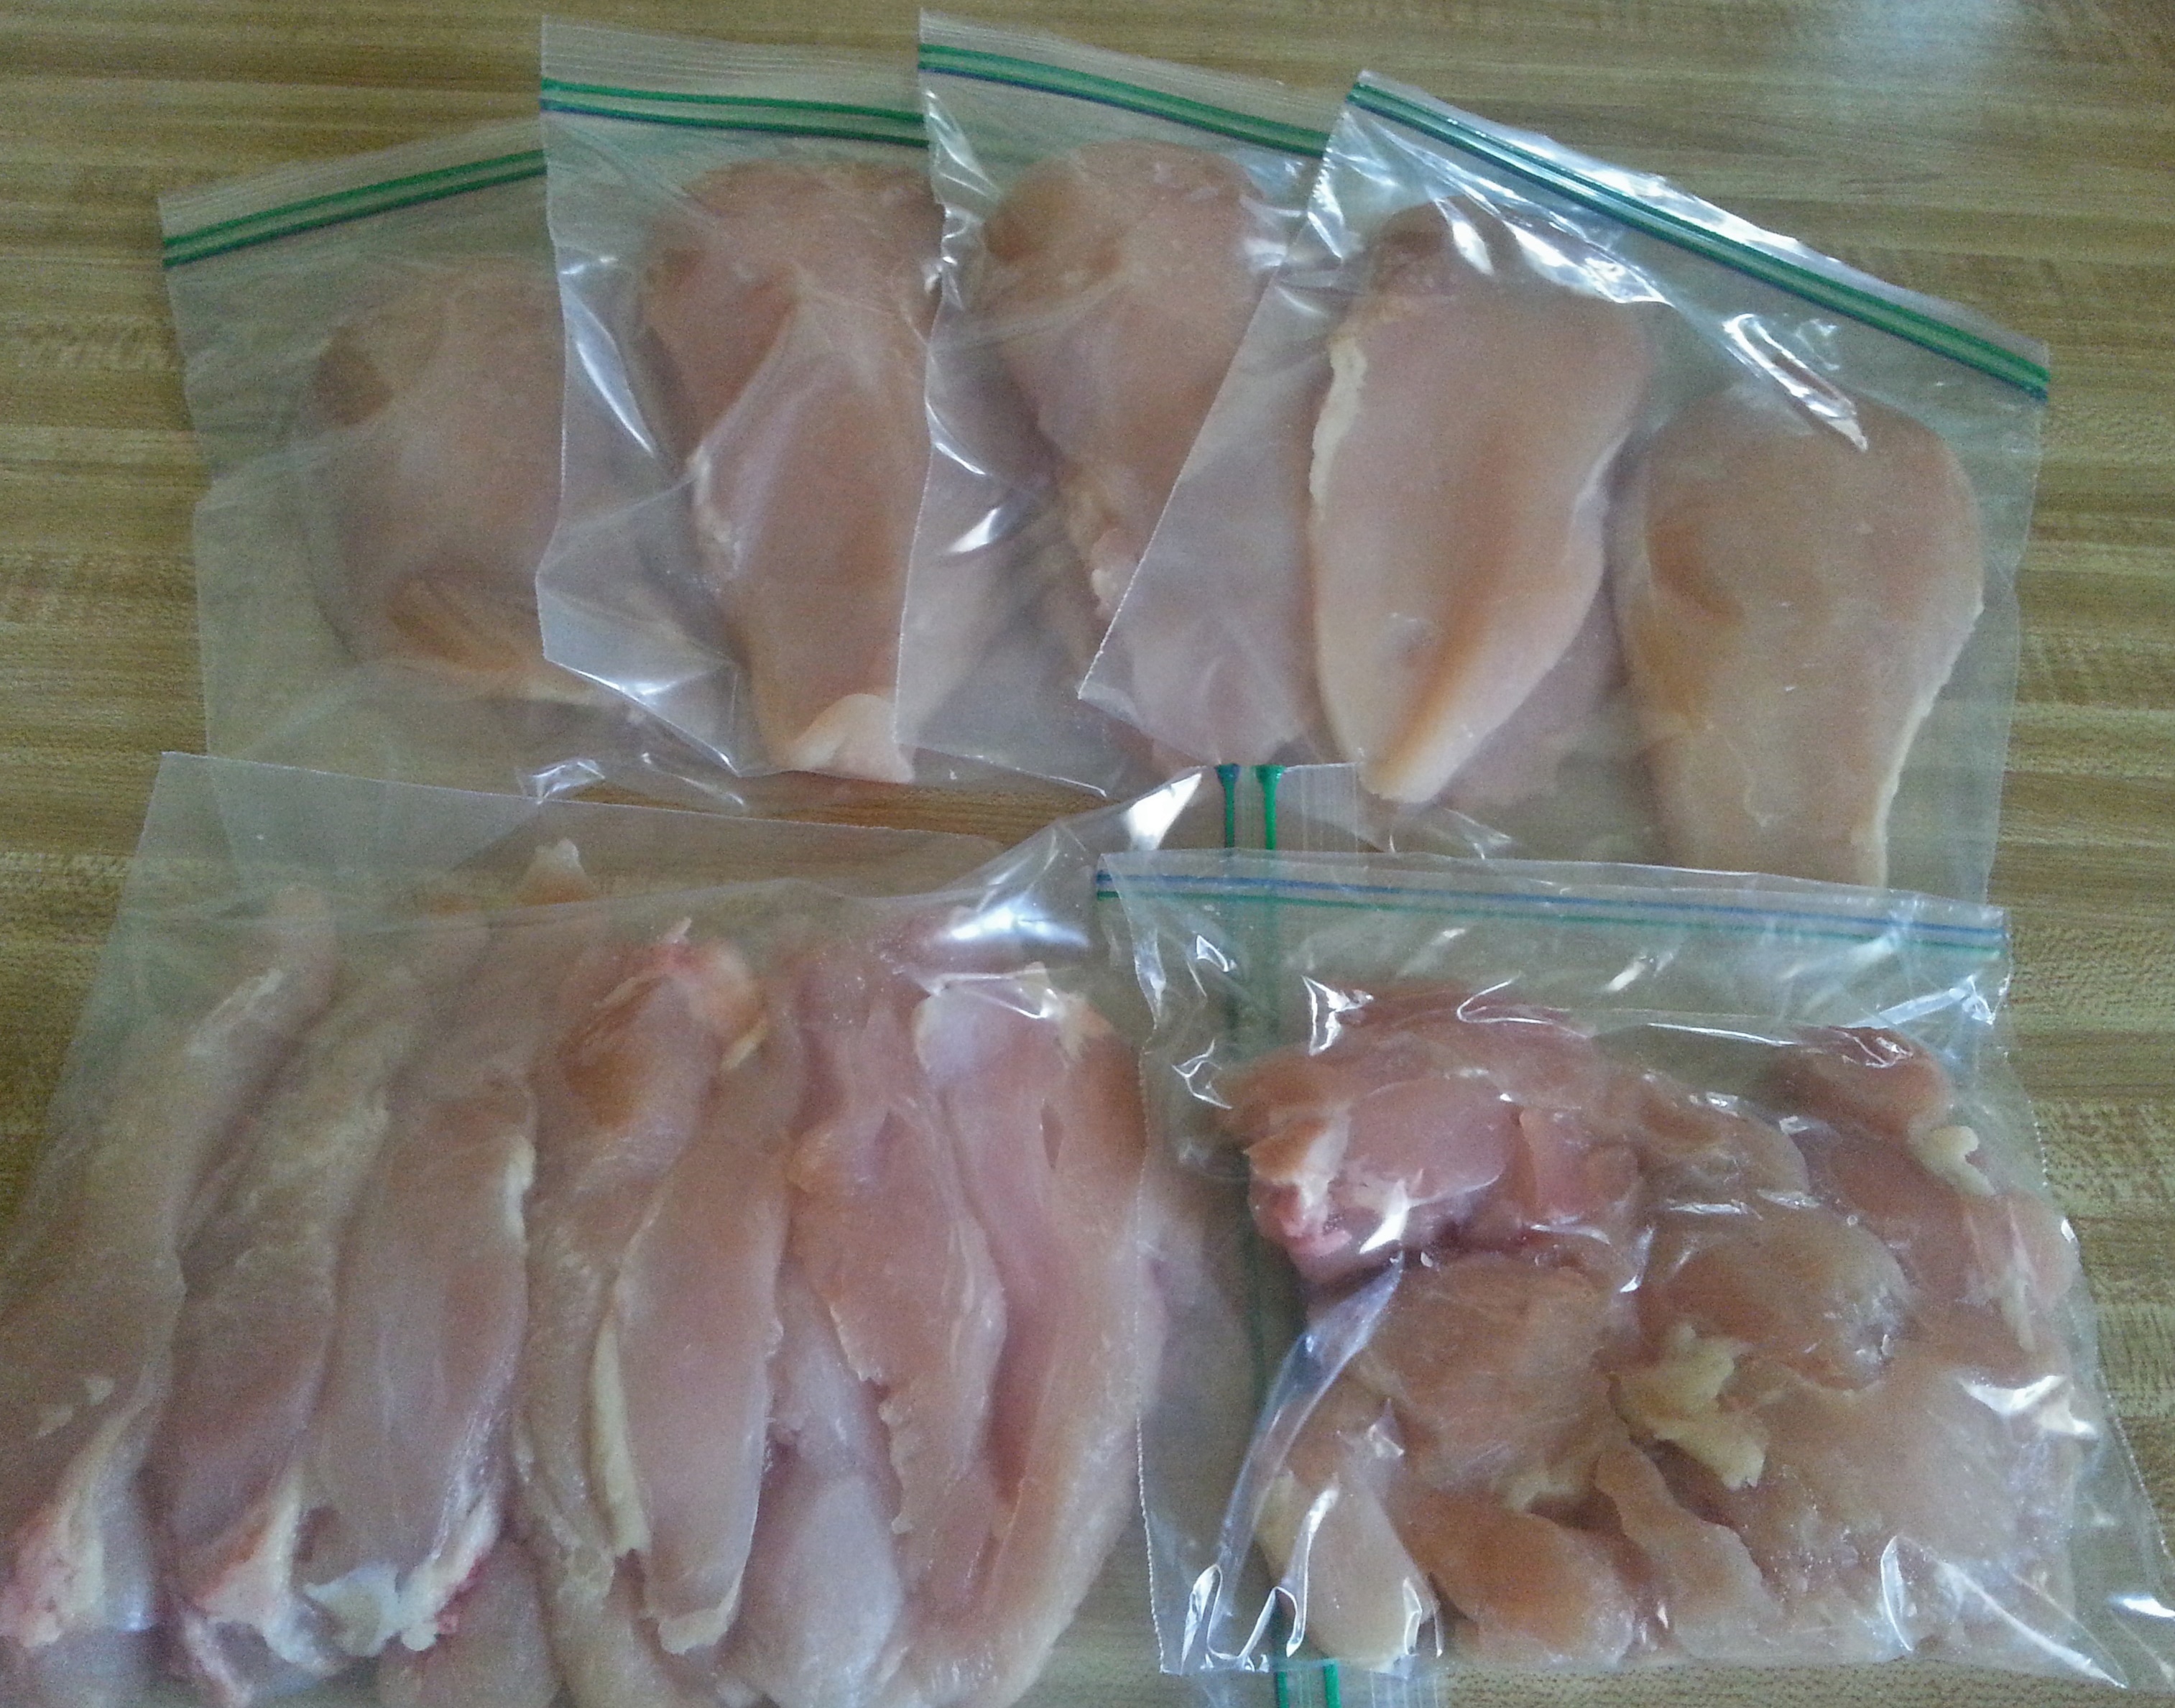
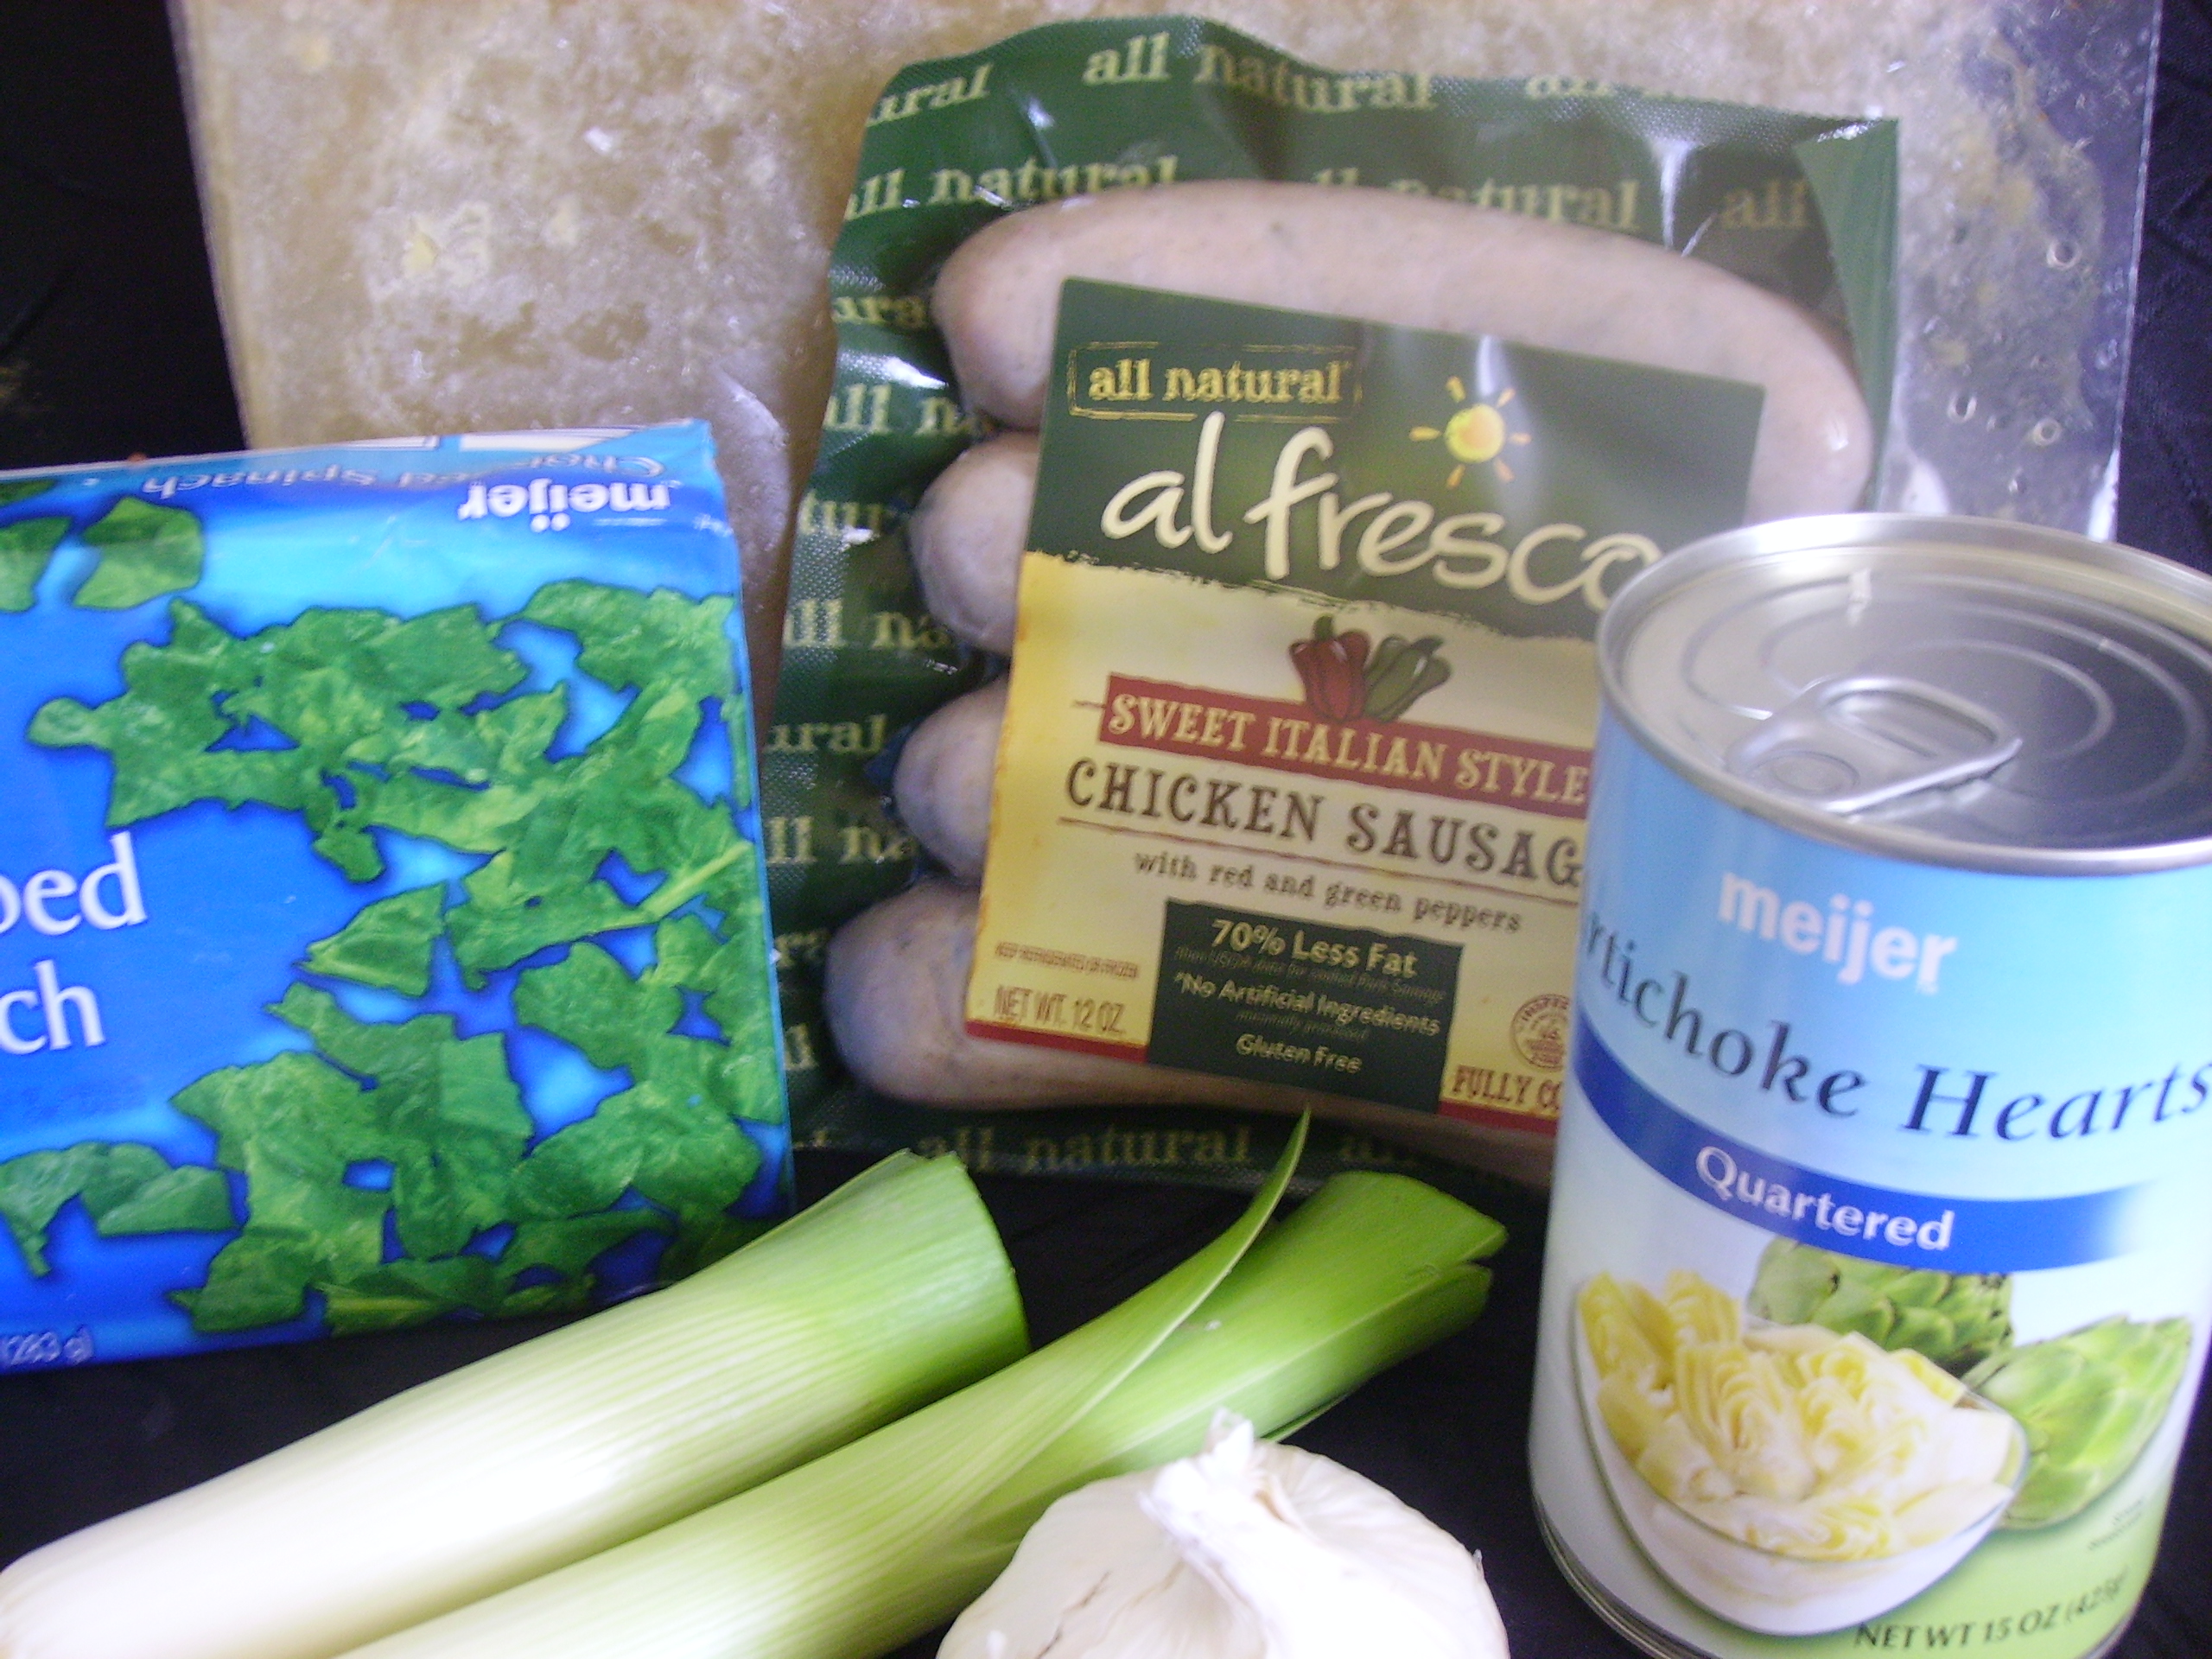
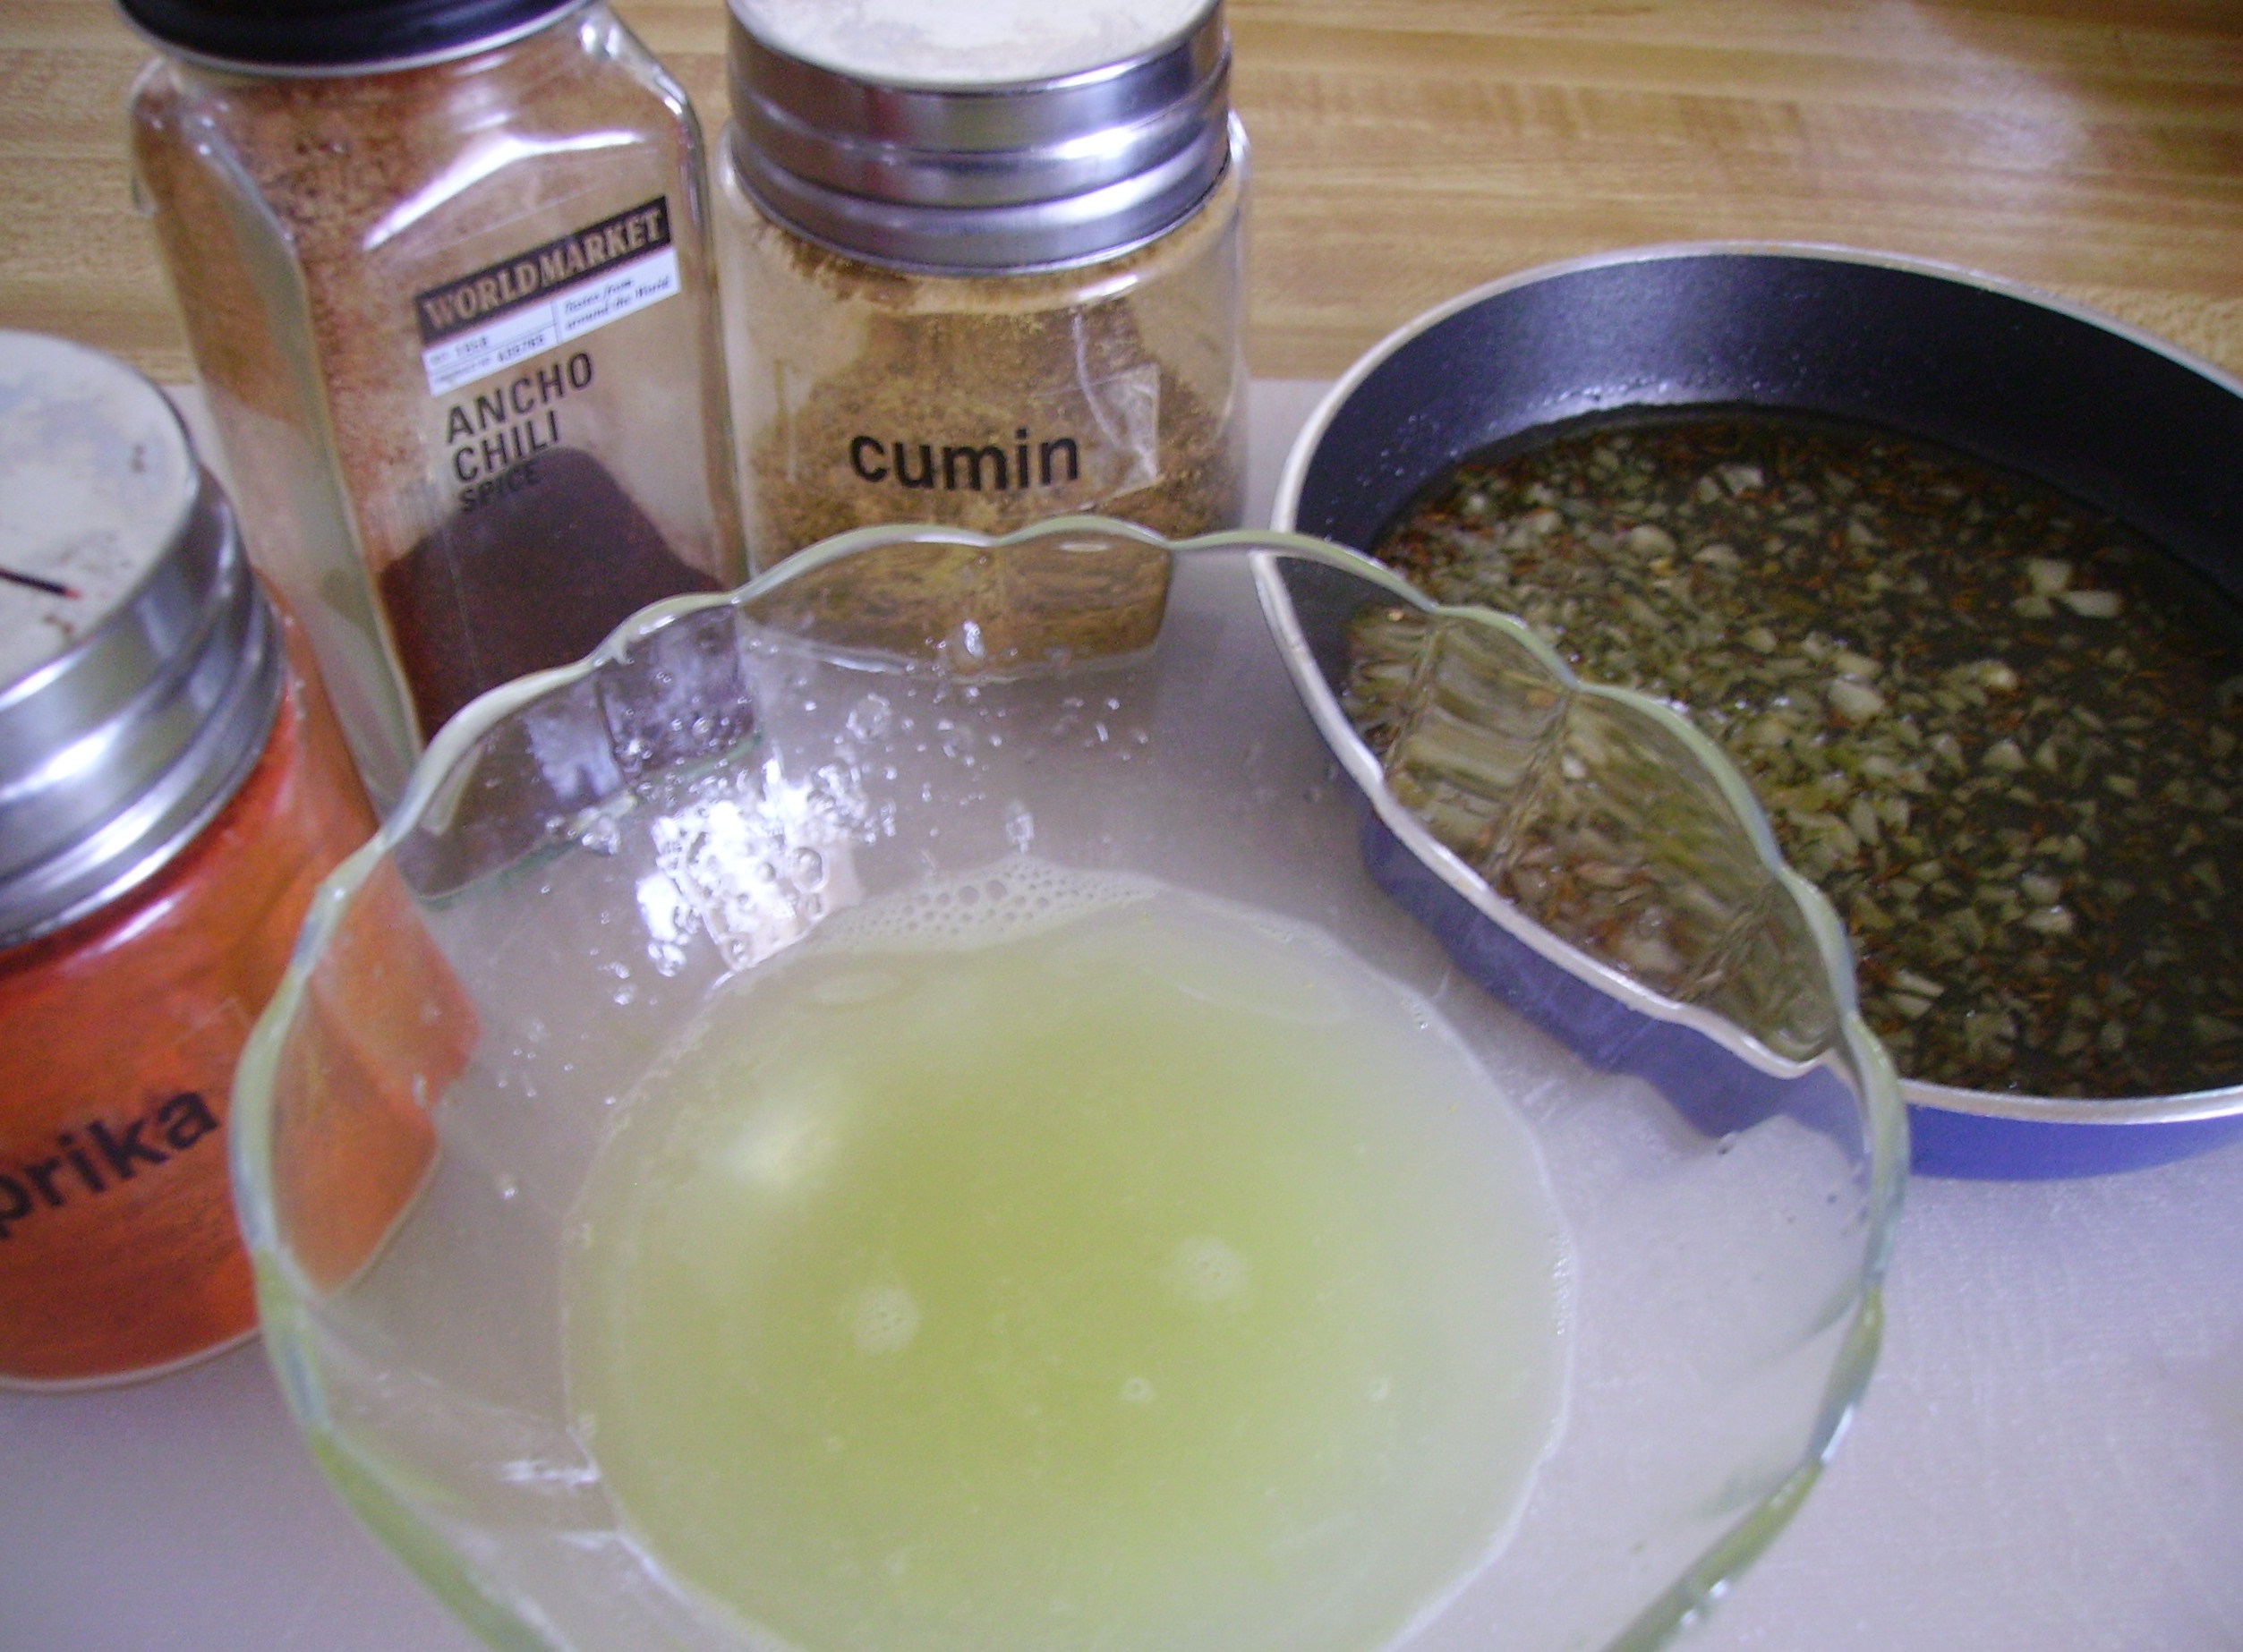
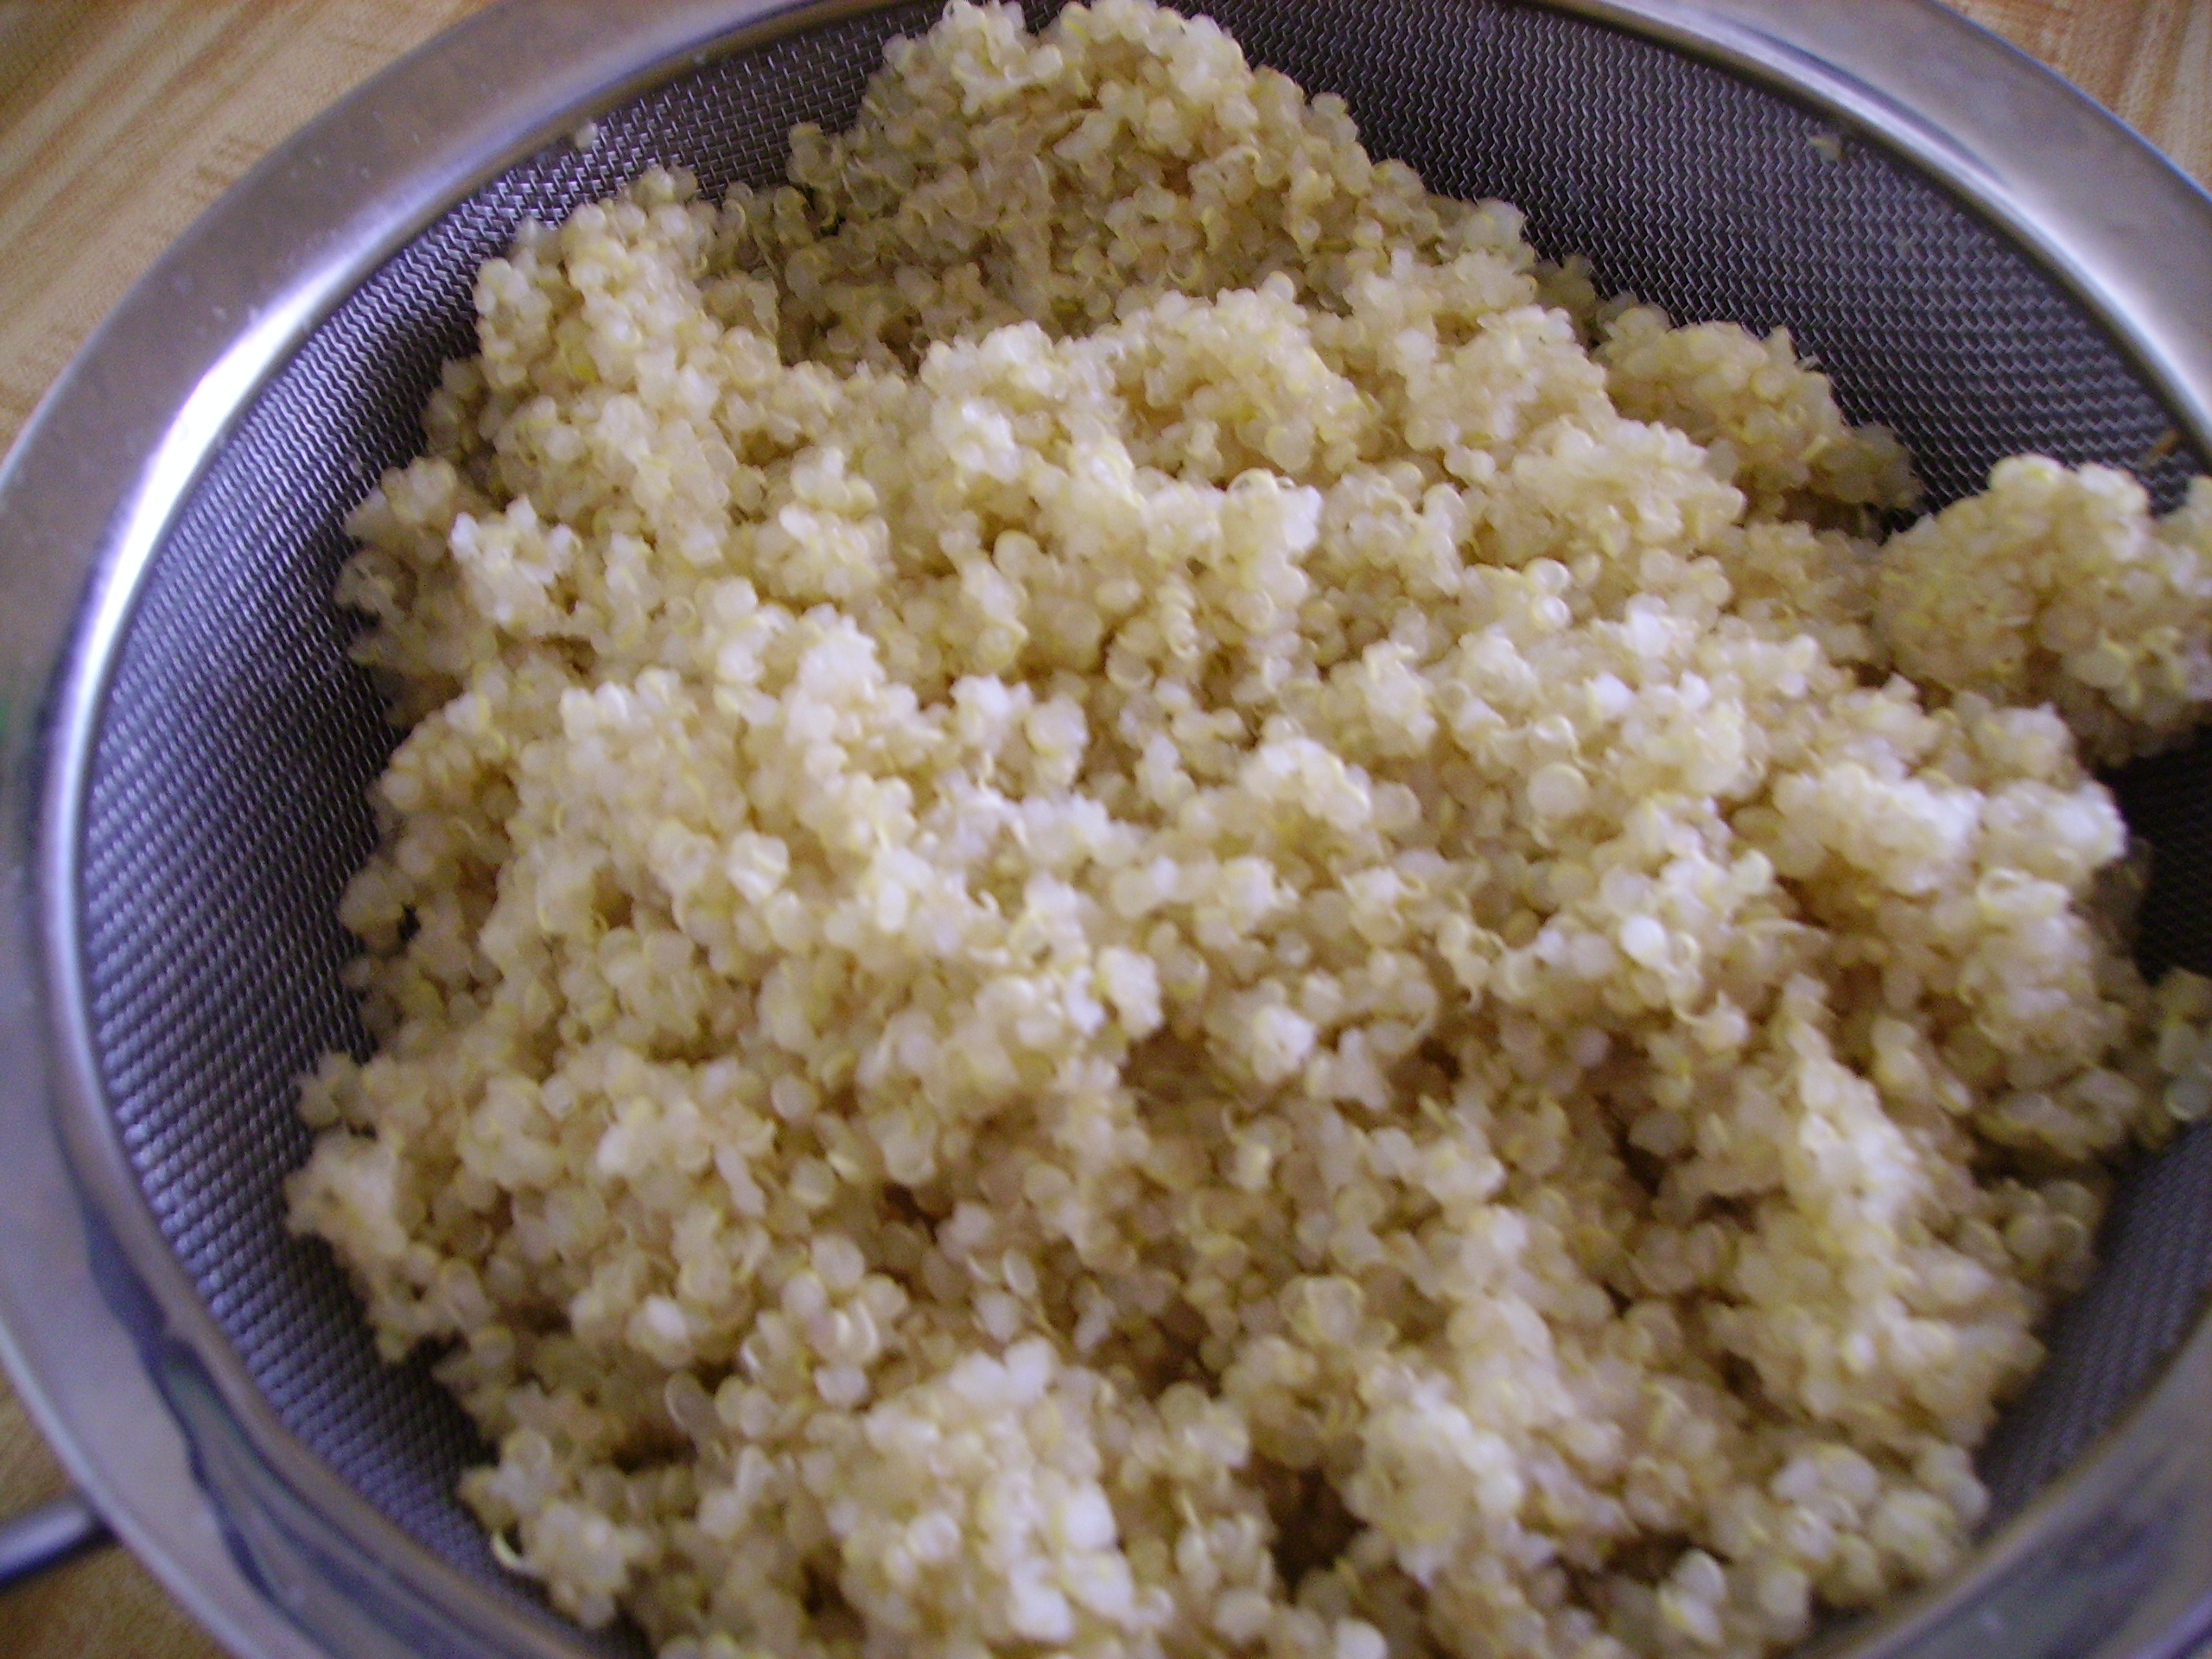
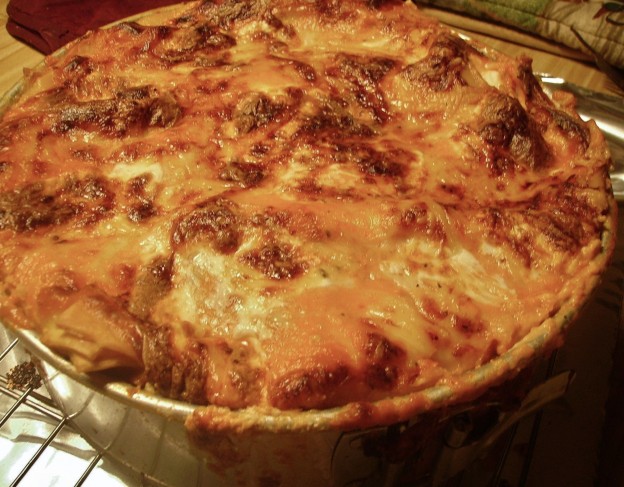
Planned creativity is different from standing in front of the open refrigerator or pantry waiting for inspiration, and I have to say, I rather like it. I planned a pasta dish that included asparagus, gorgonzola and prosciutto. Using whole wheat penne pasta gave the dish a bolder texture and chewiness. I always pick up Prosciutto Ends when I see them at the deli counter. Ends are exactly what the name implies, the last bit of the ham that won’t become a pretty slice…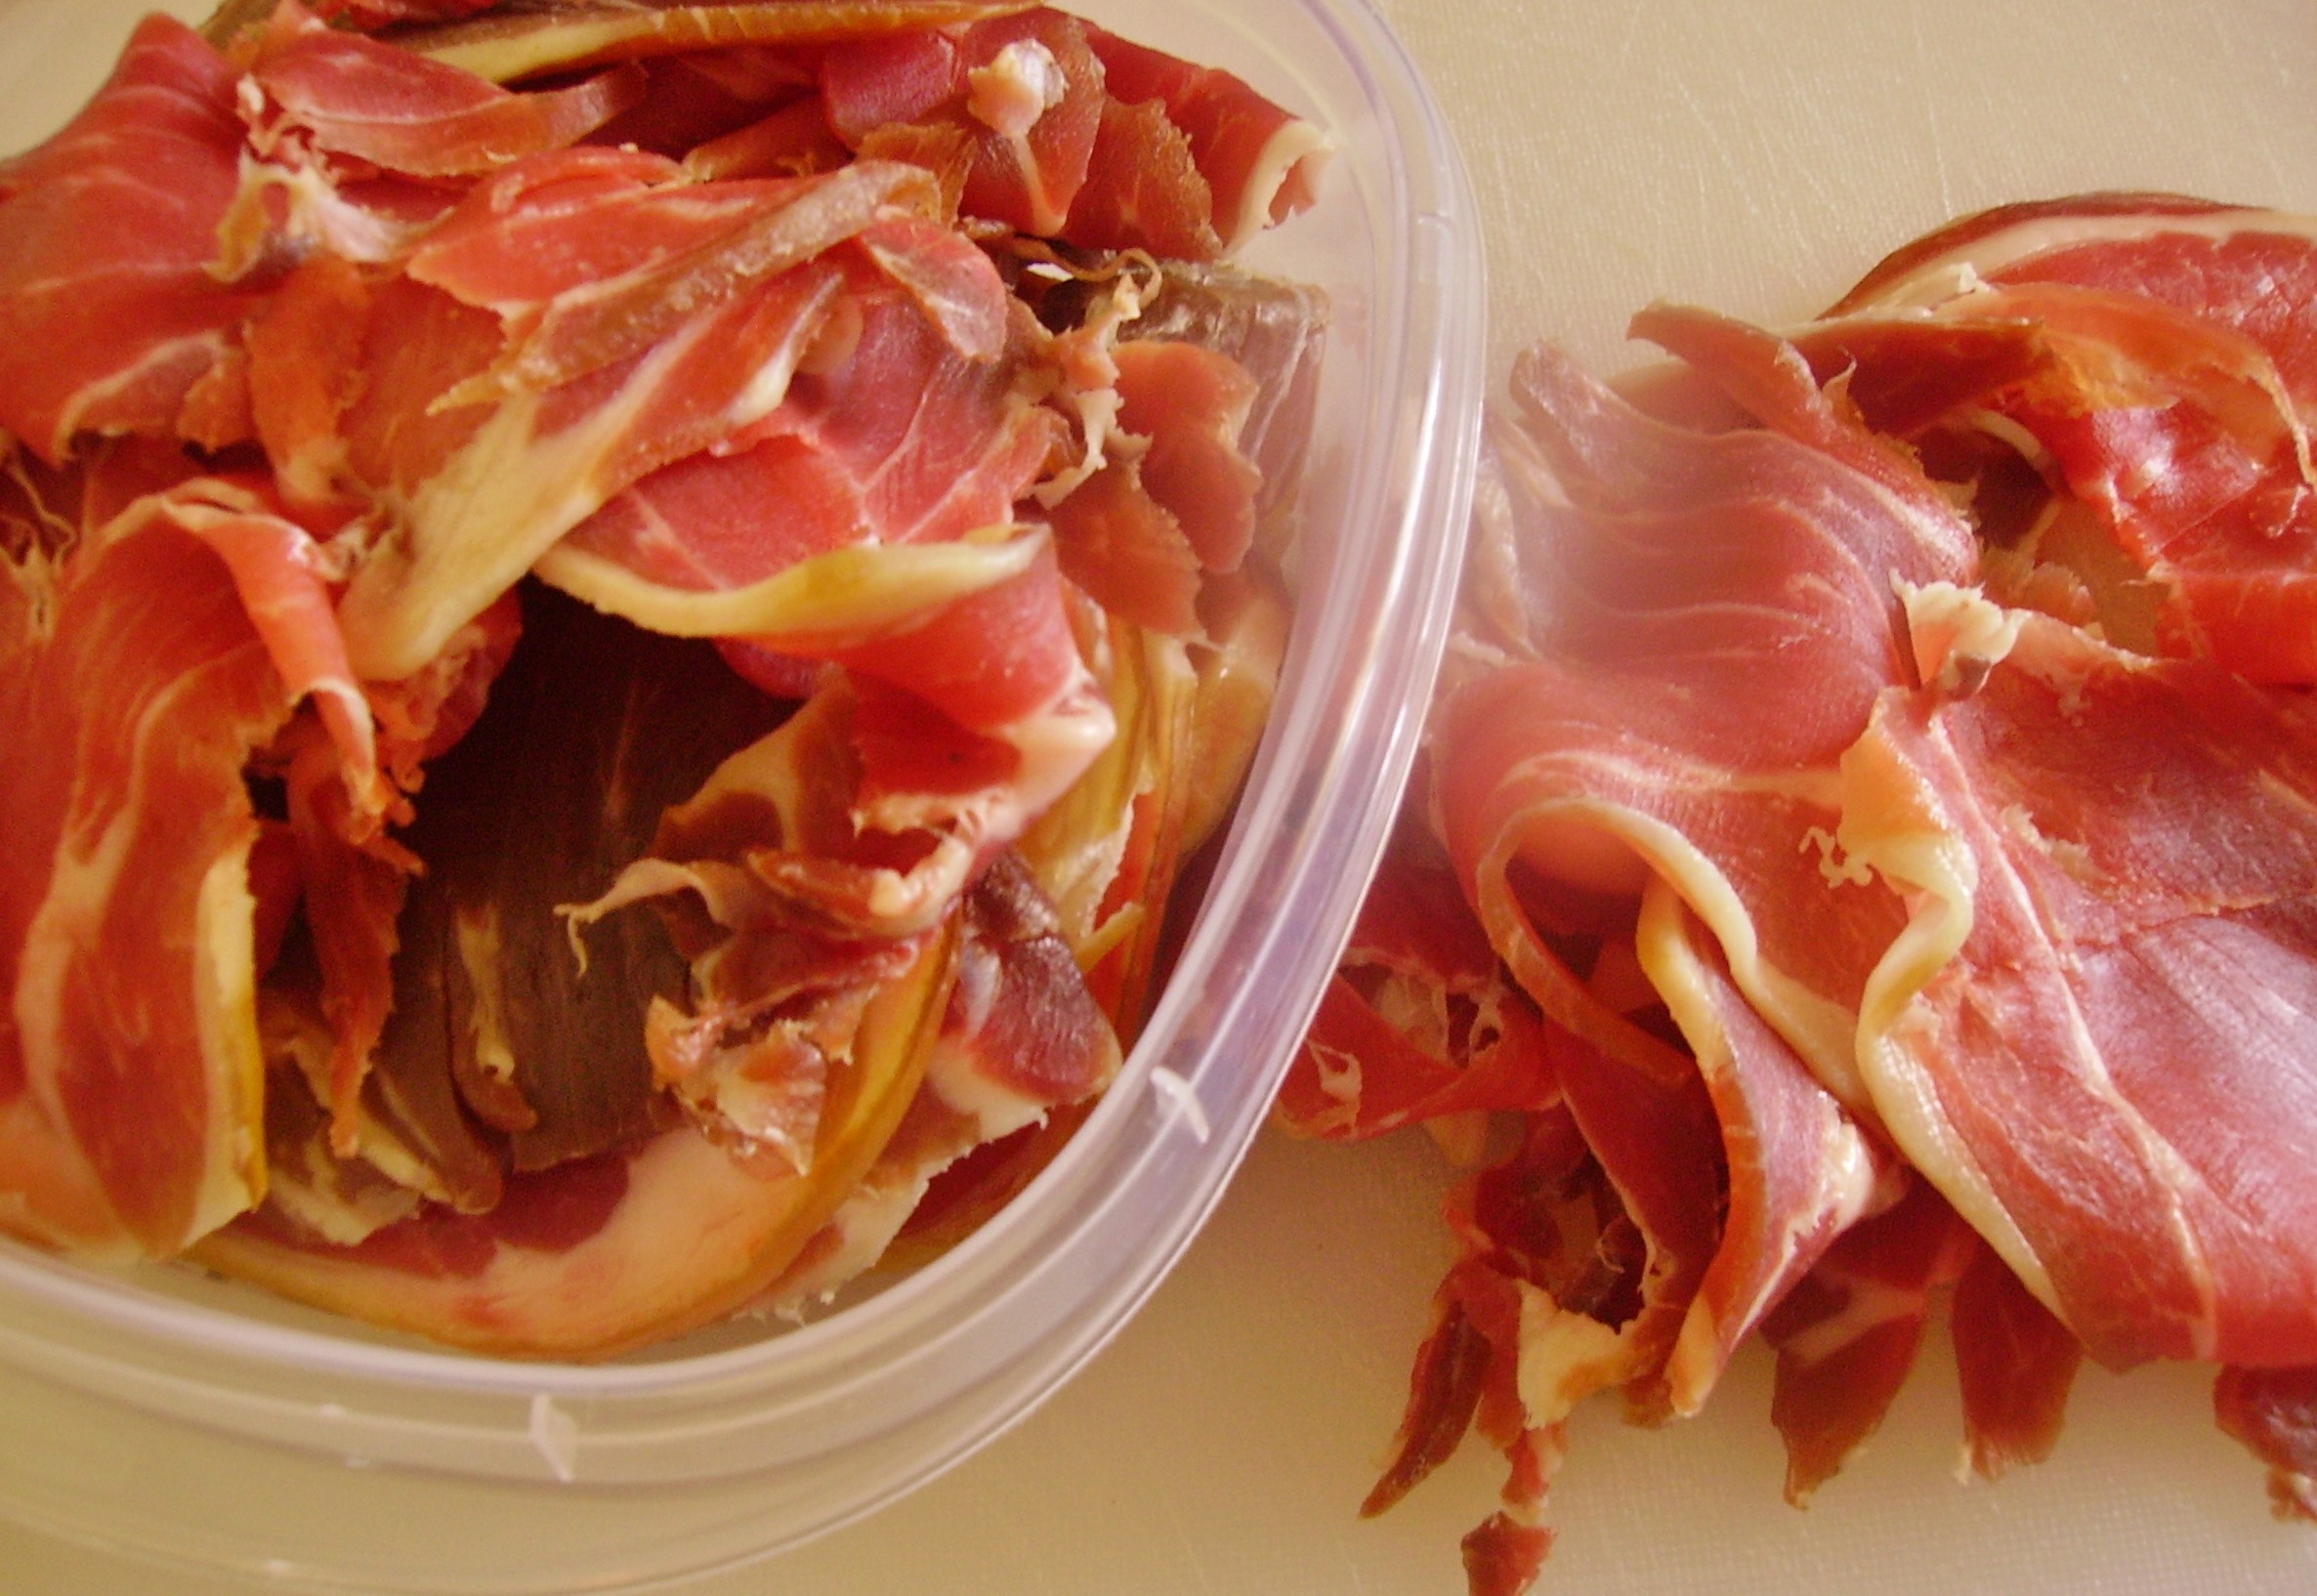 The slices are smaller than regular prosciutto, but they are perfect for recipes. The other bonus is that it is about half the price of the meat from higher up on the ham. My trusty food slicer came to the rescue once again and allowed me to have classically thin slices that worked perfectly in the pasta.
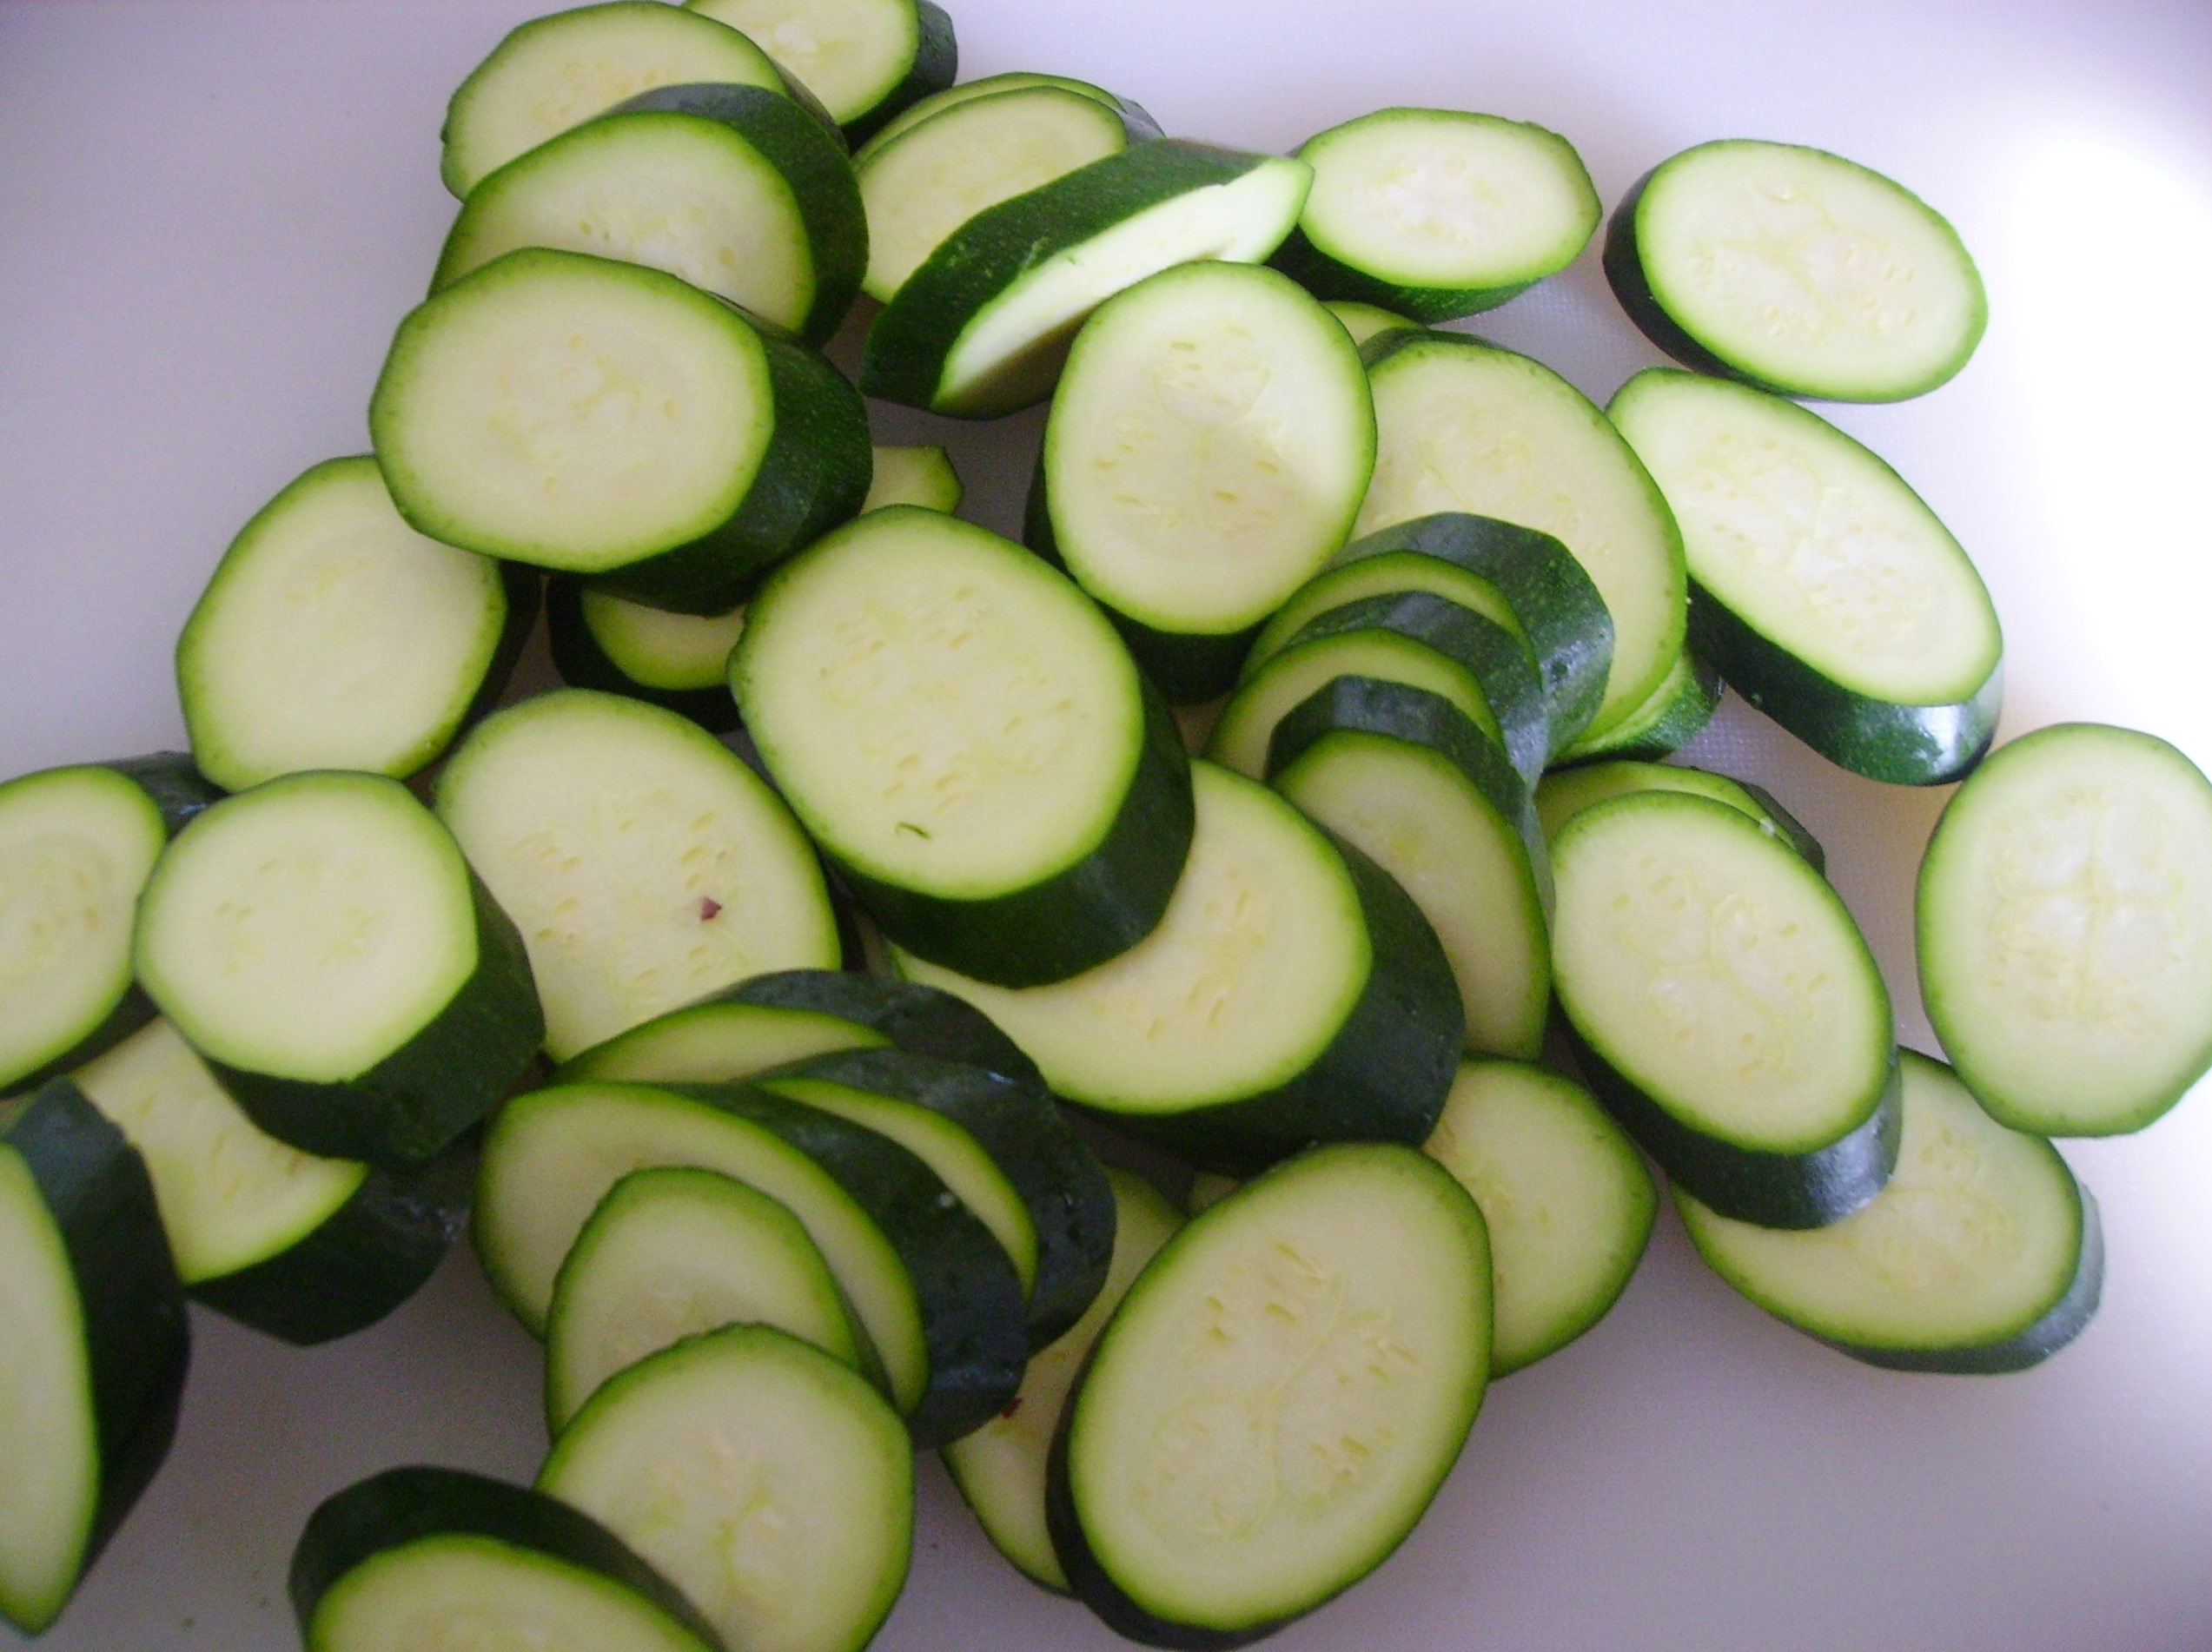
Pencil asparagus was the only type available when I shopped, While it’s not the best for steaming or grilling, it was perfect for the pasta dish. Onions and garlic joined in as well.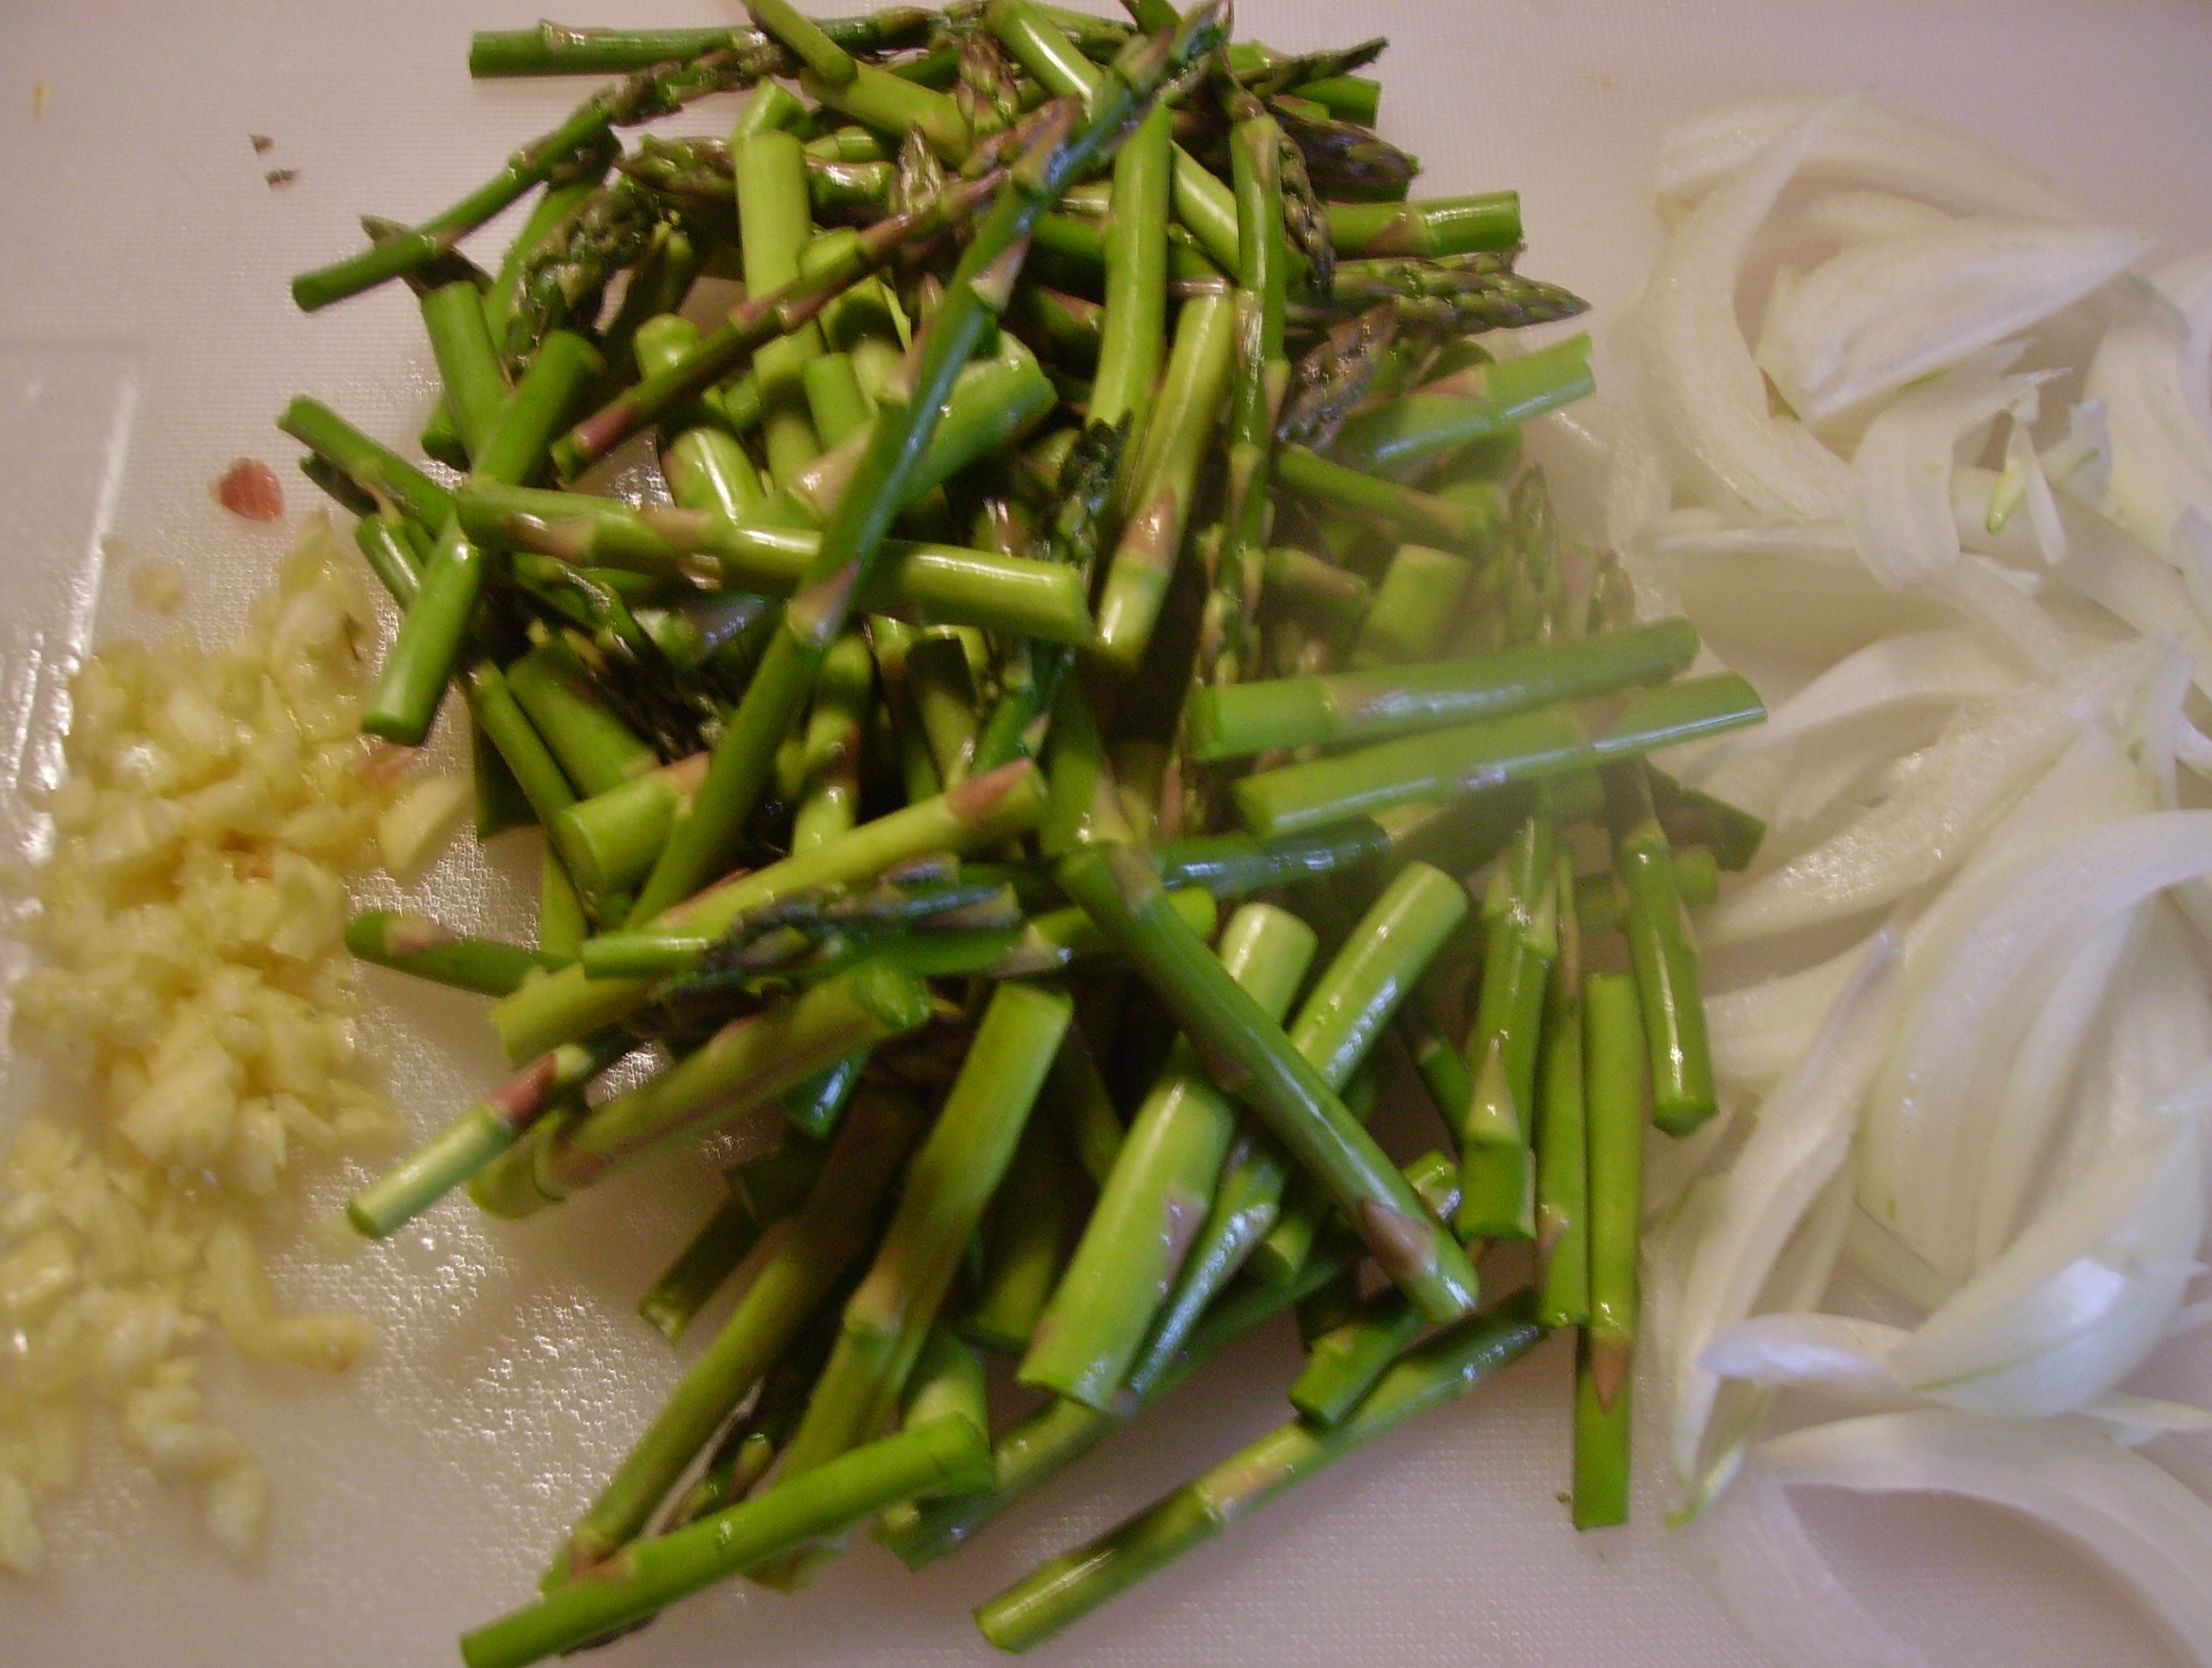
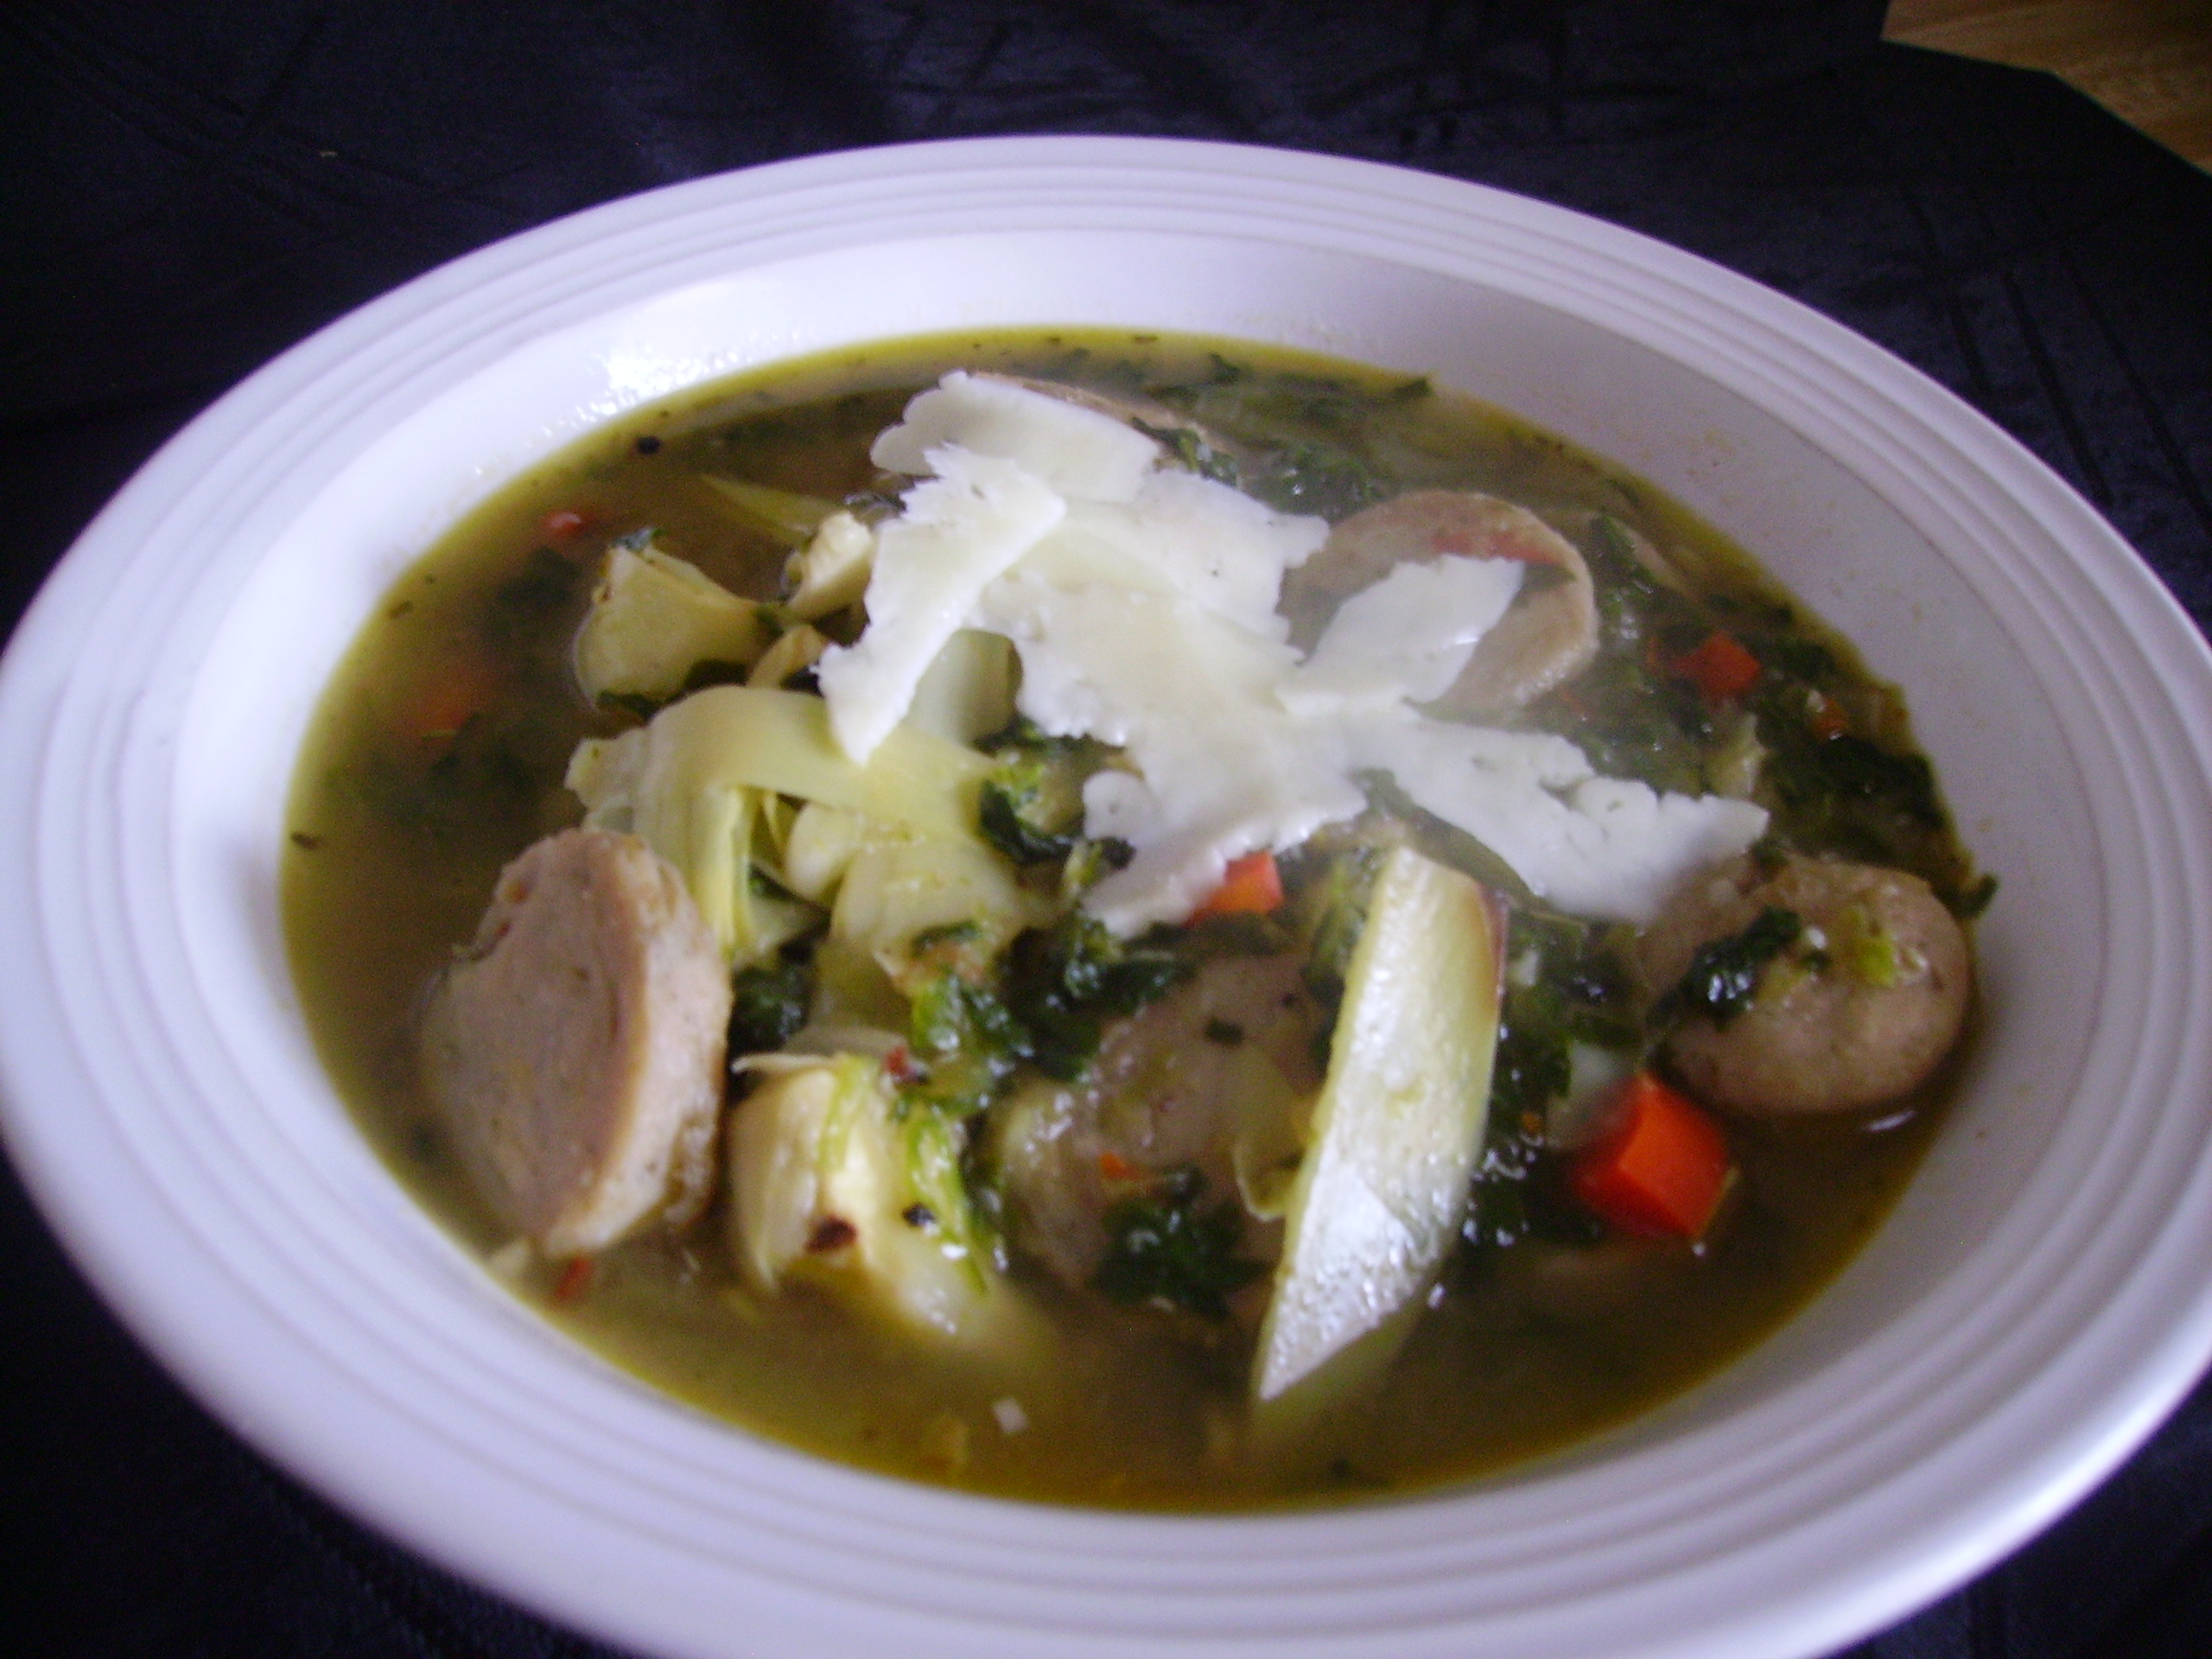
My new best friend, Lower Sodium Chicken Broth aided in the sauteing as well as helping to create the sauce. Big flavors like Prosciutto and Gorgonzola Cheese need only be used in small amounts to create awesome taste. All in all, this was a tasty and healthy dinner.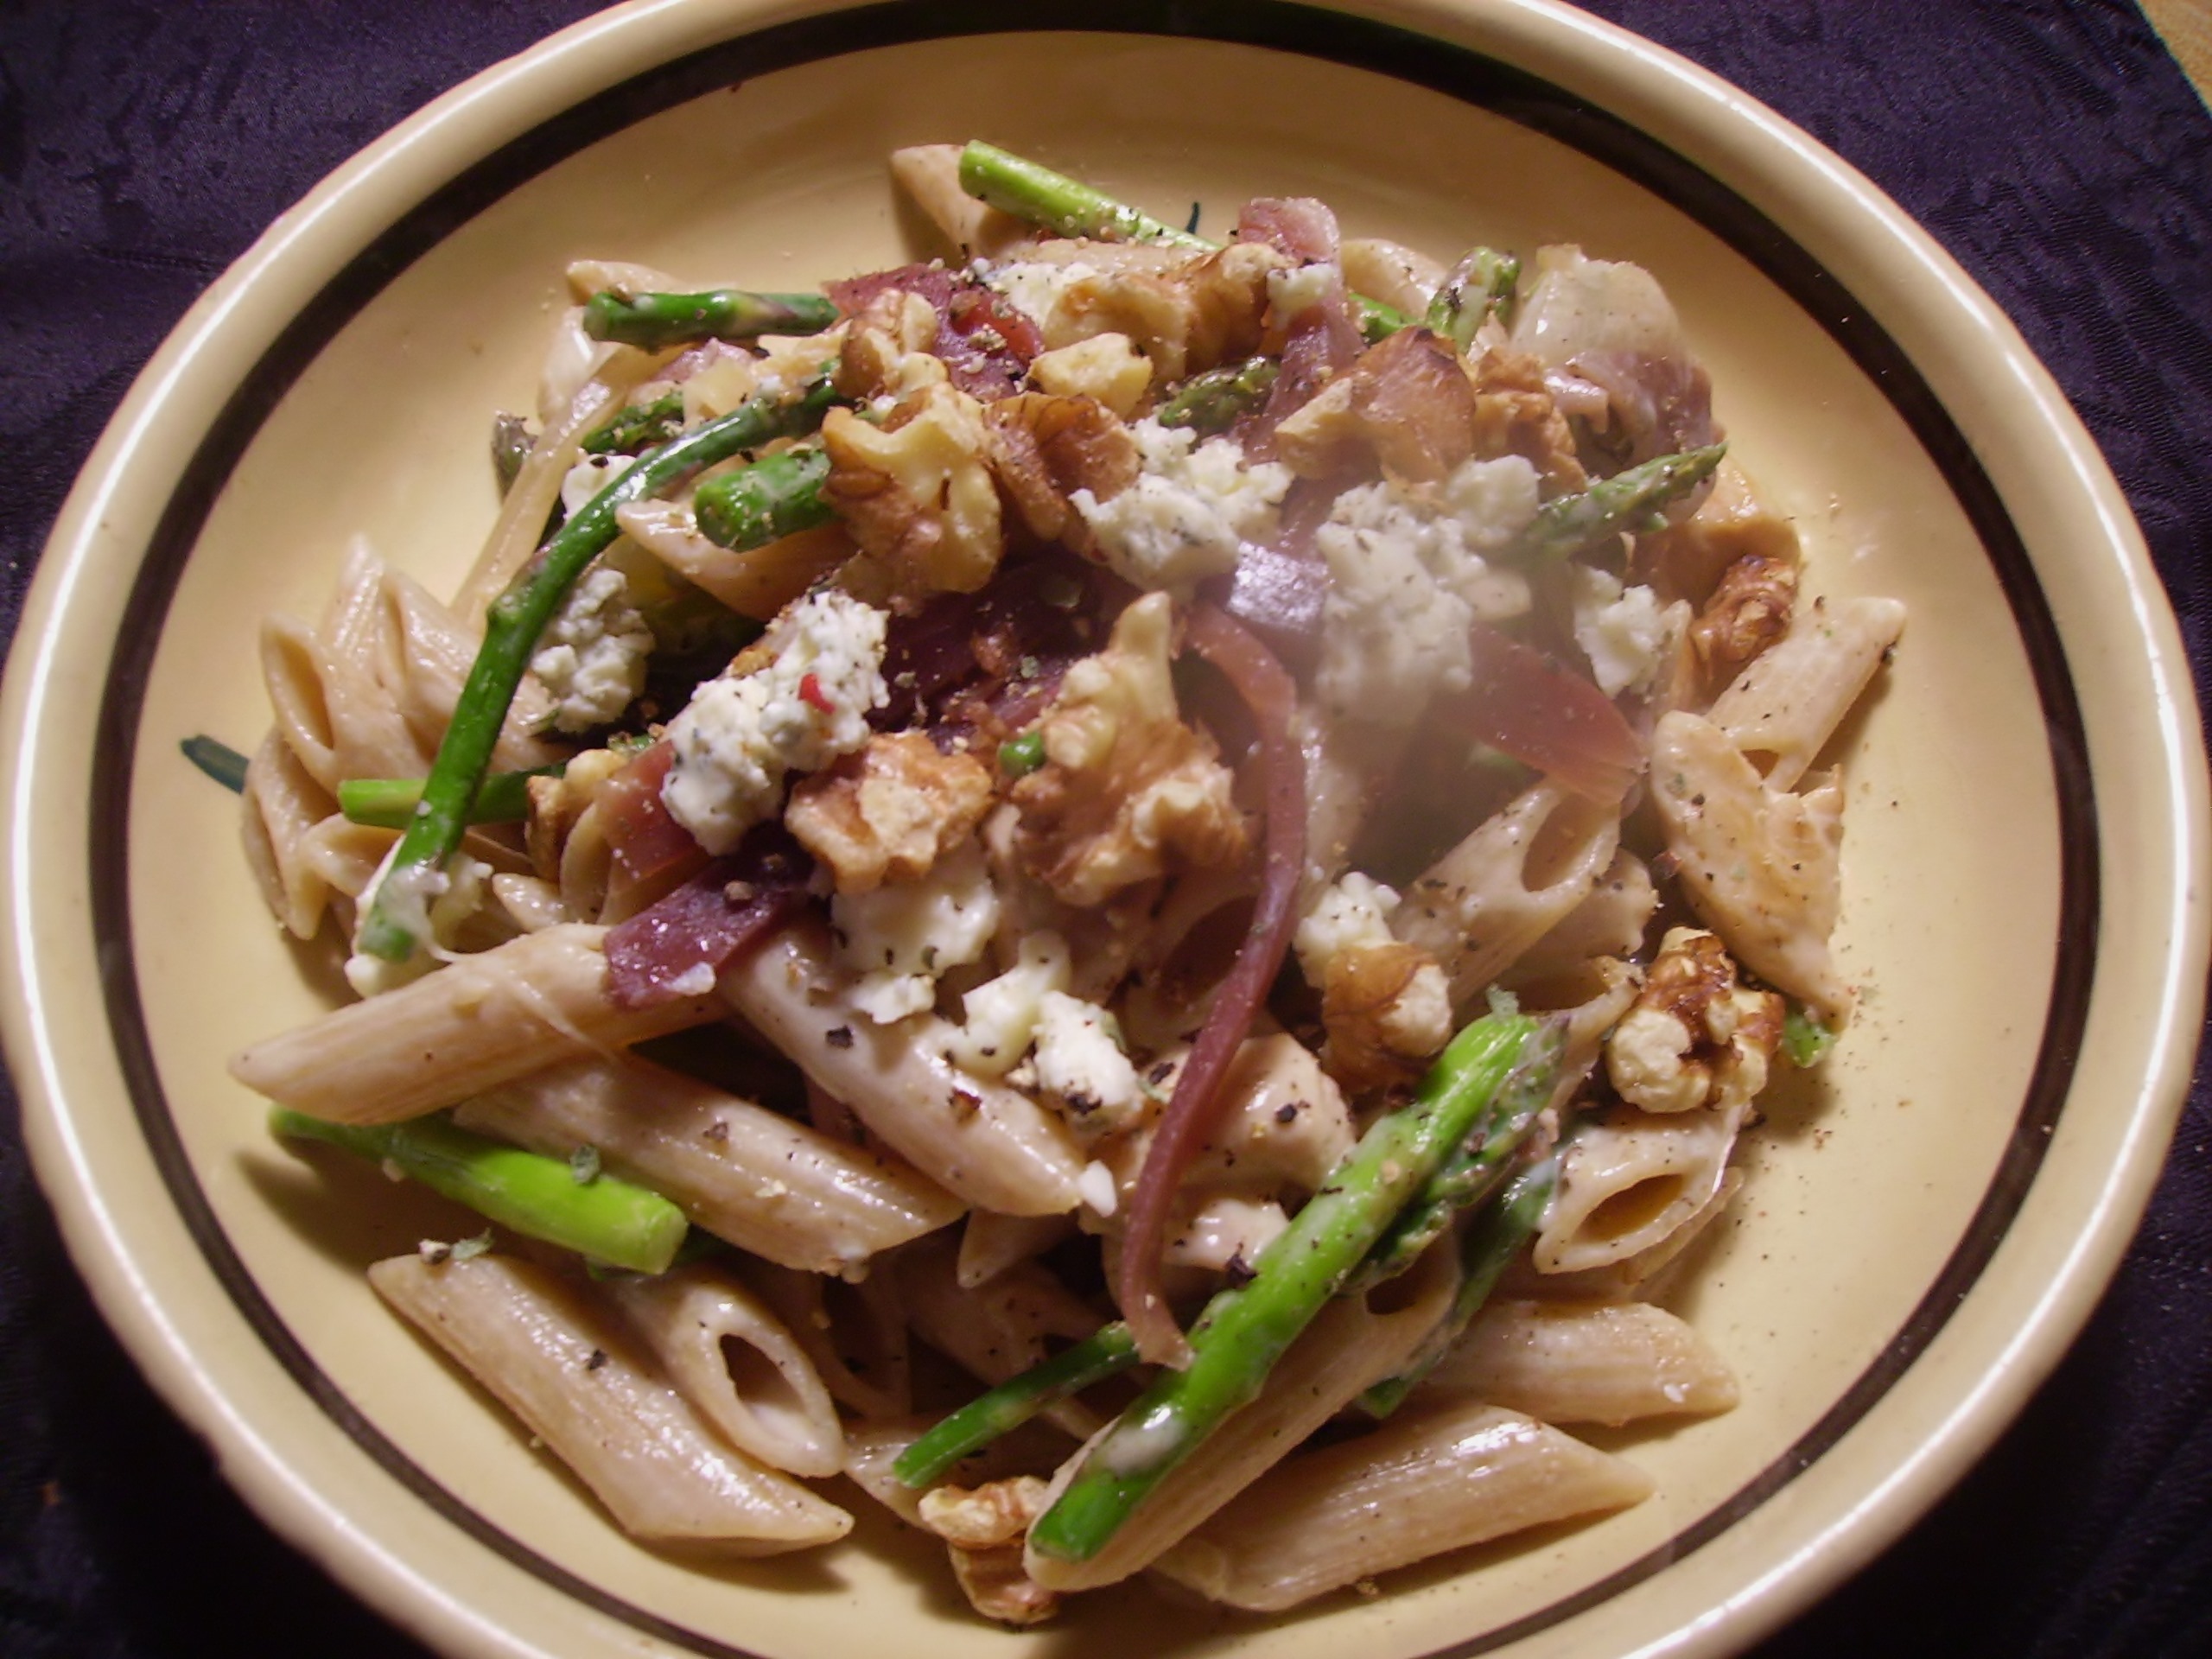
Another time and money-saving aspect of pre-planning is that many ingredients do double duty. I bought 6 small sweet potatoes. i used three for a sweet potato and leek gratin on Sunday.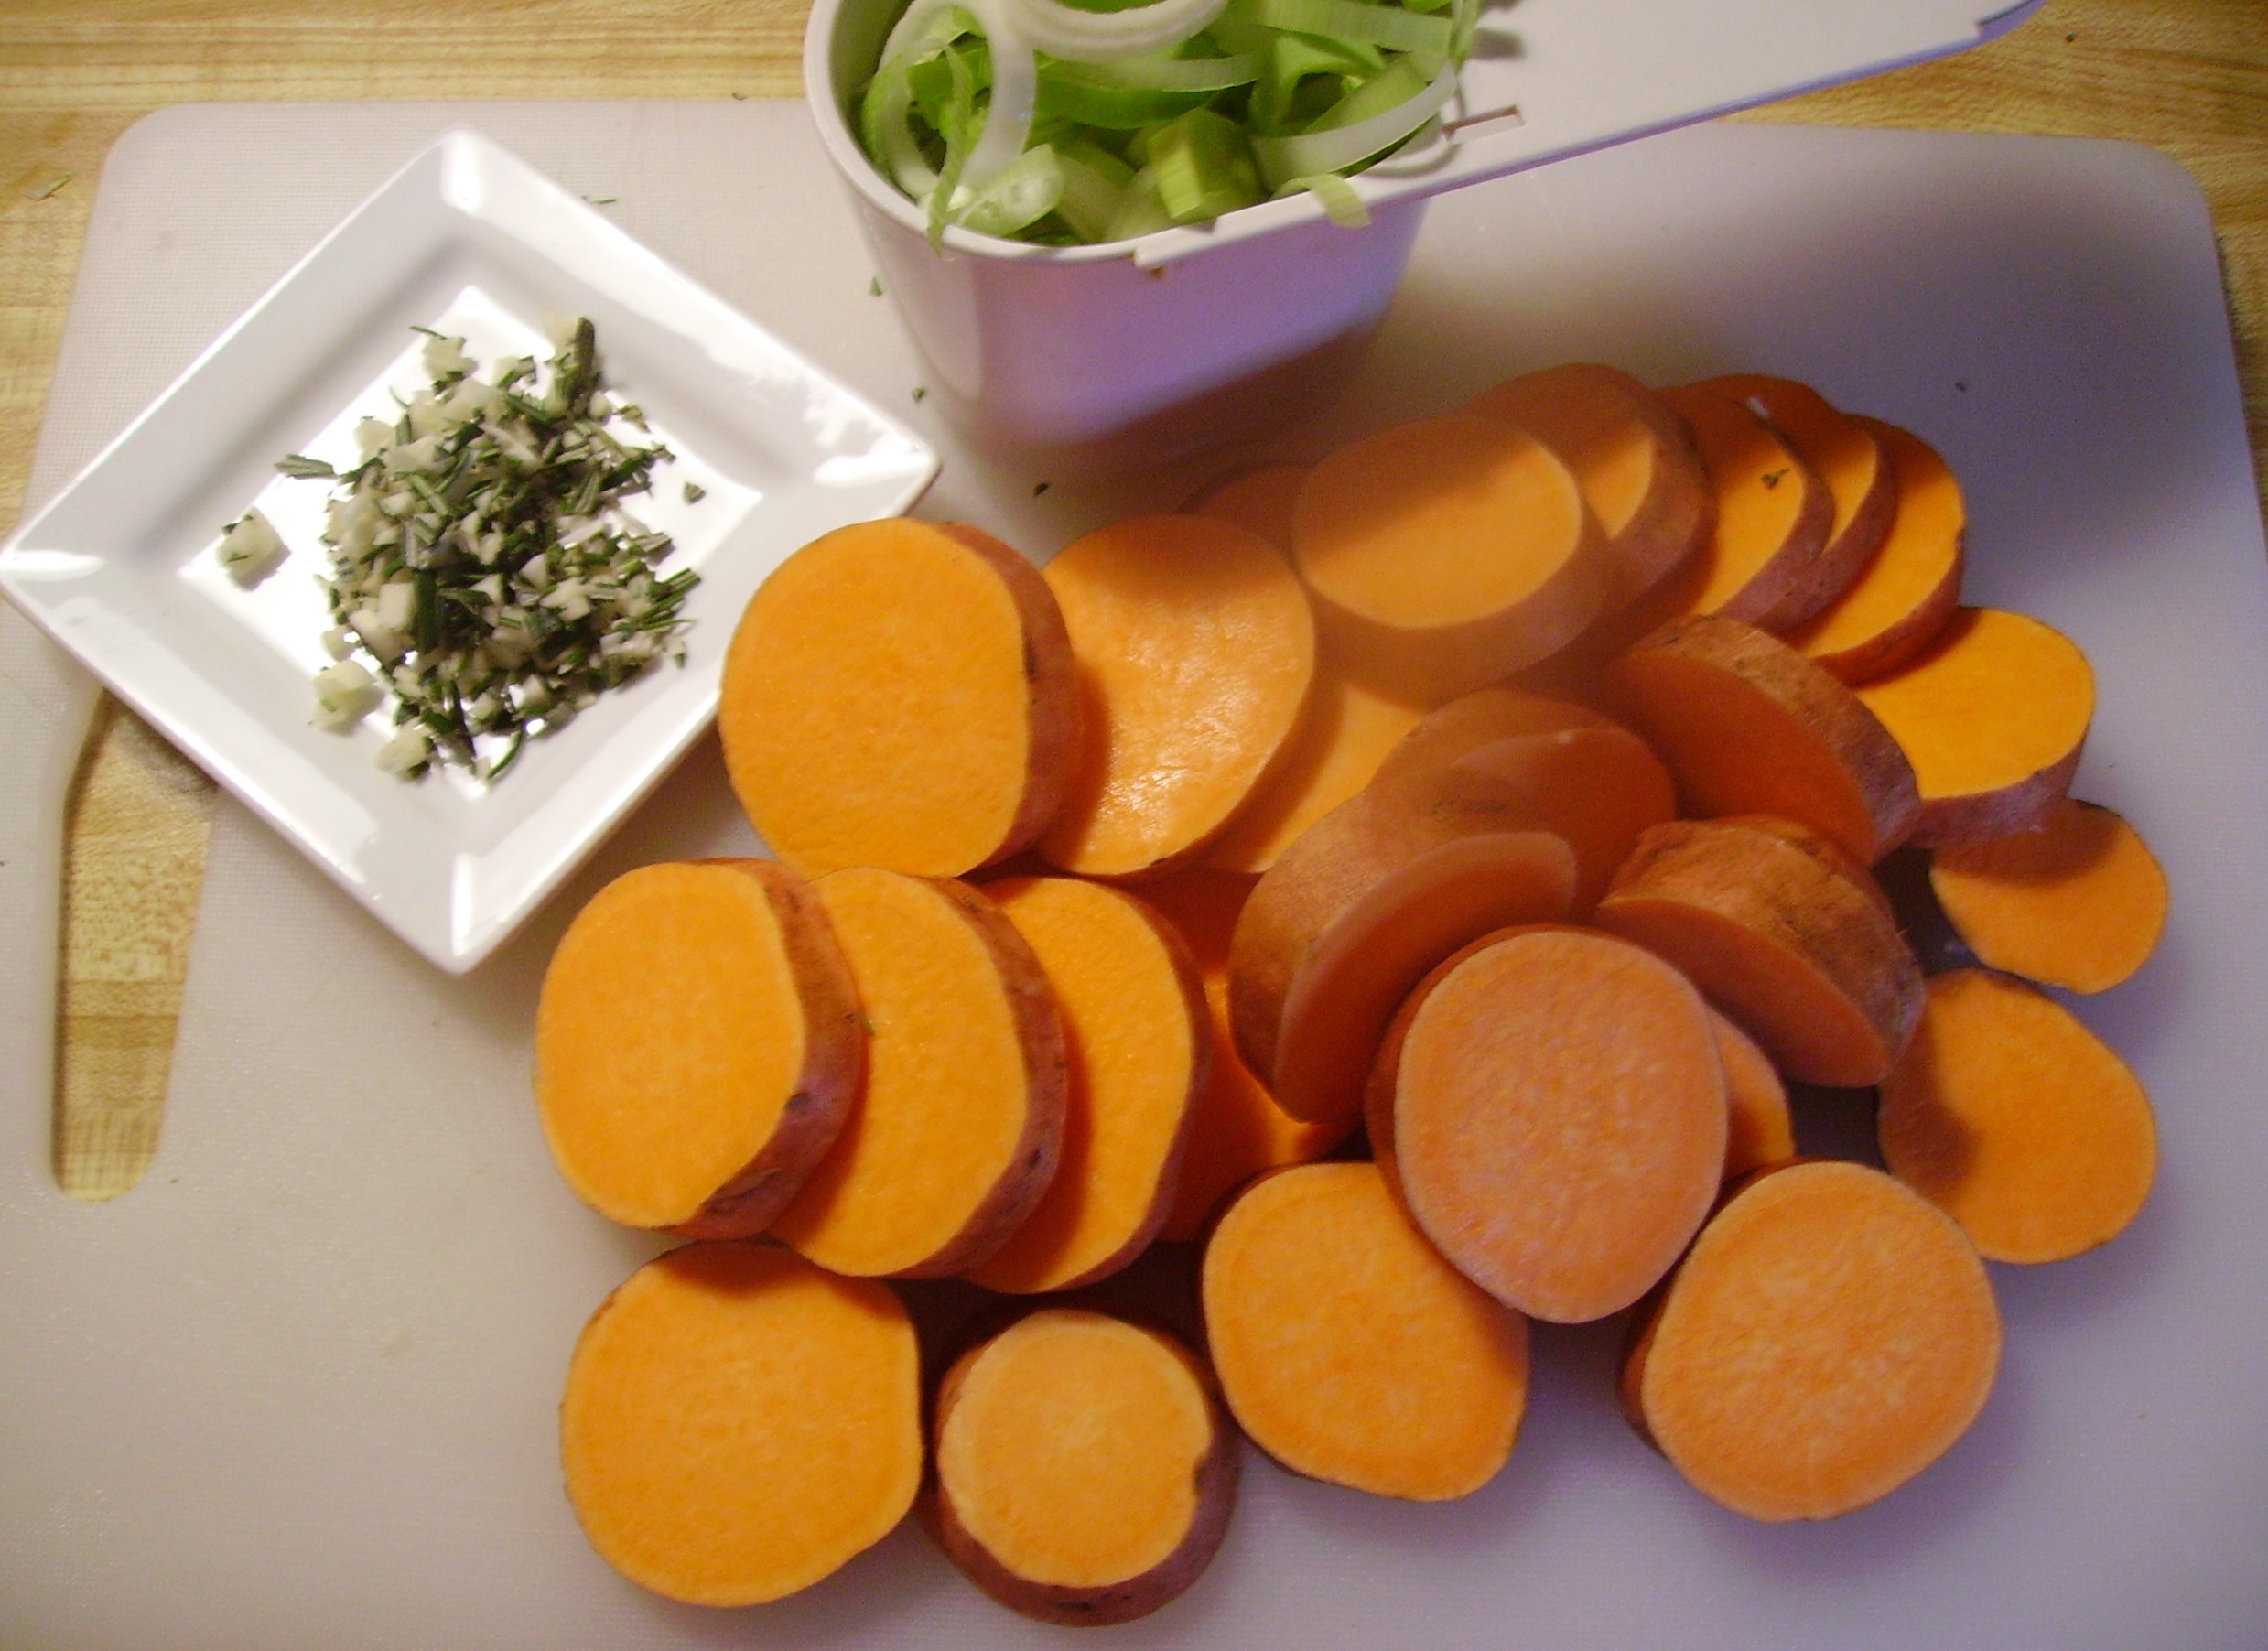
I tossed the sweets and leeks with garlic, rosemary and a little olive oil. It baked it at 375 degrees for 40 minutes and was an easy and tasty side dish.
The rest of the sweet potatoes became part of a Broccoli and Sweet Potato Hash. This is another non-recipe recipe. I peeled the sweet potatoes and coarsely grated them. I tossed them with a bag of Broccoli Cole Slaw, one cup of thinly sliced red onion and a little olive oil. 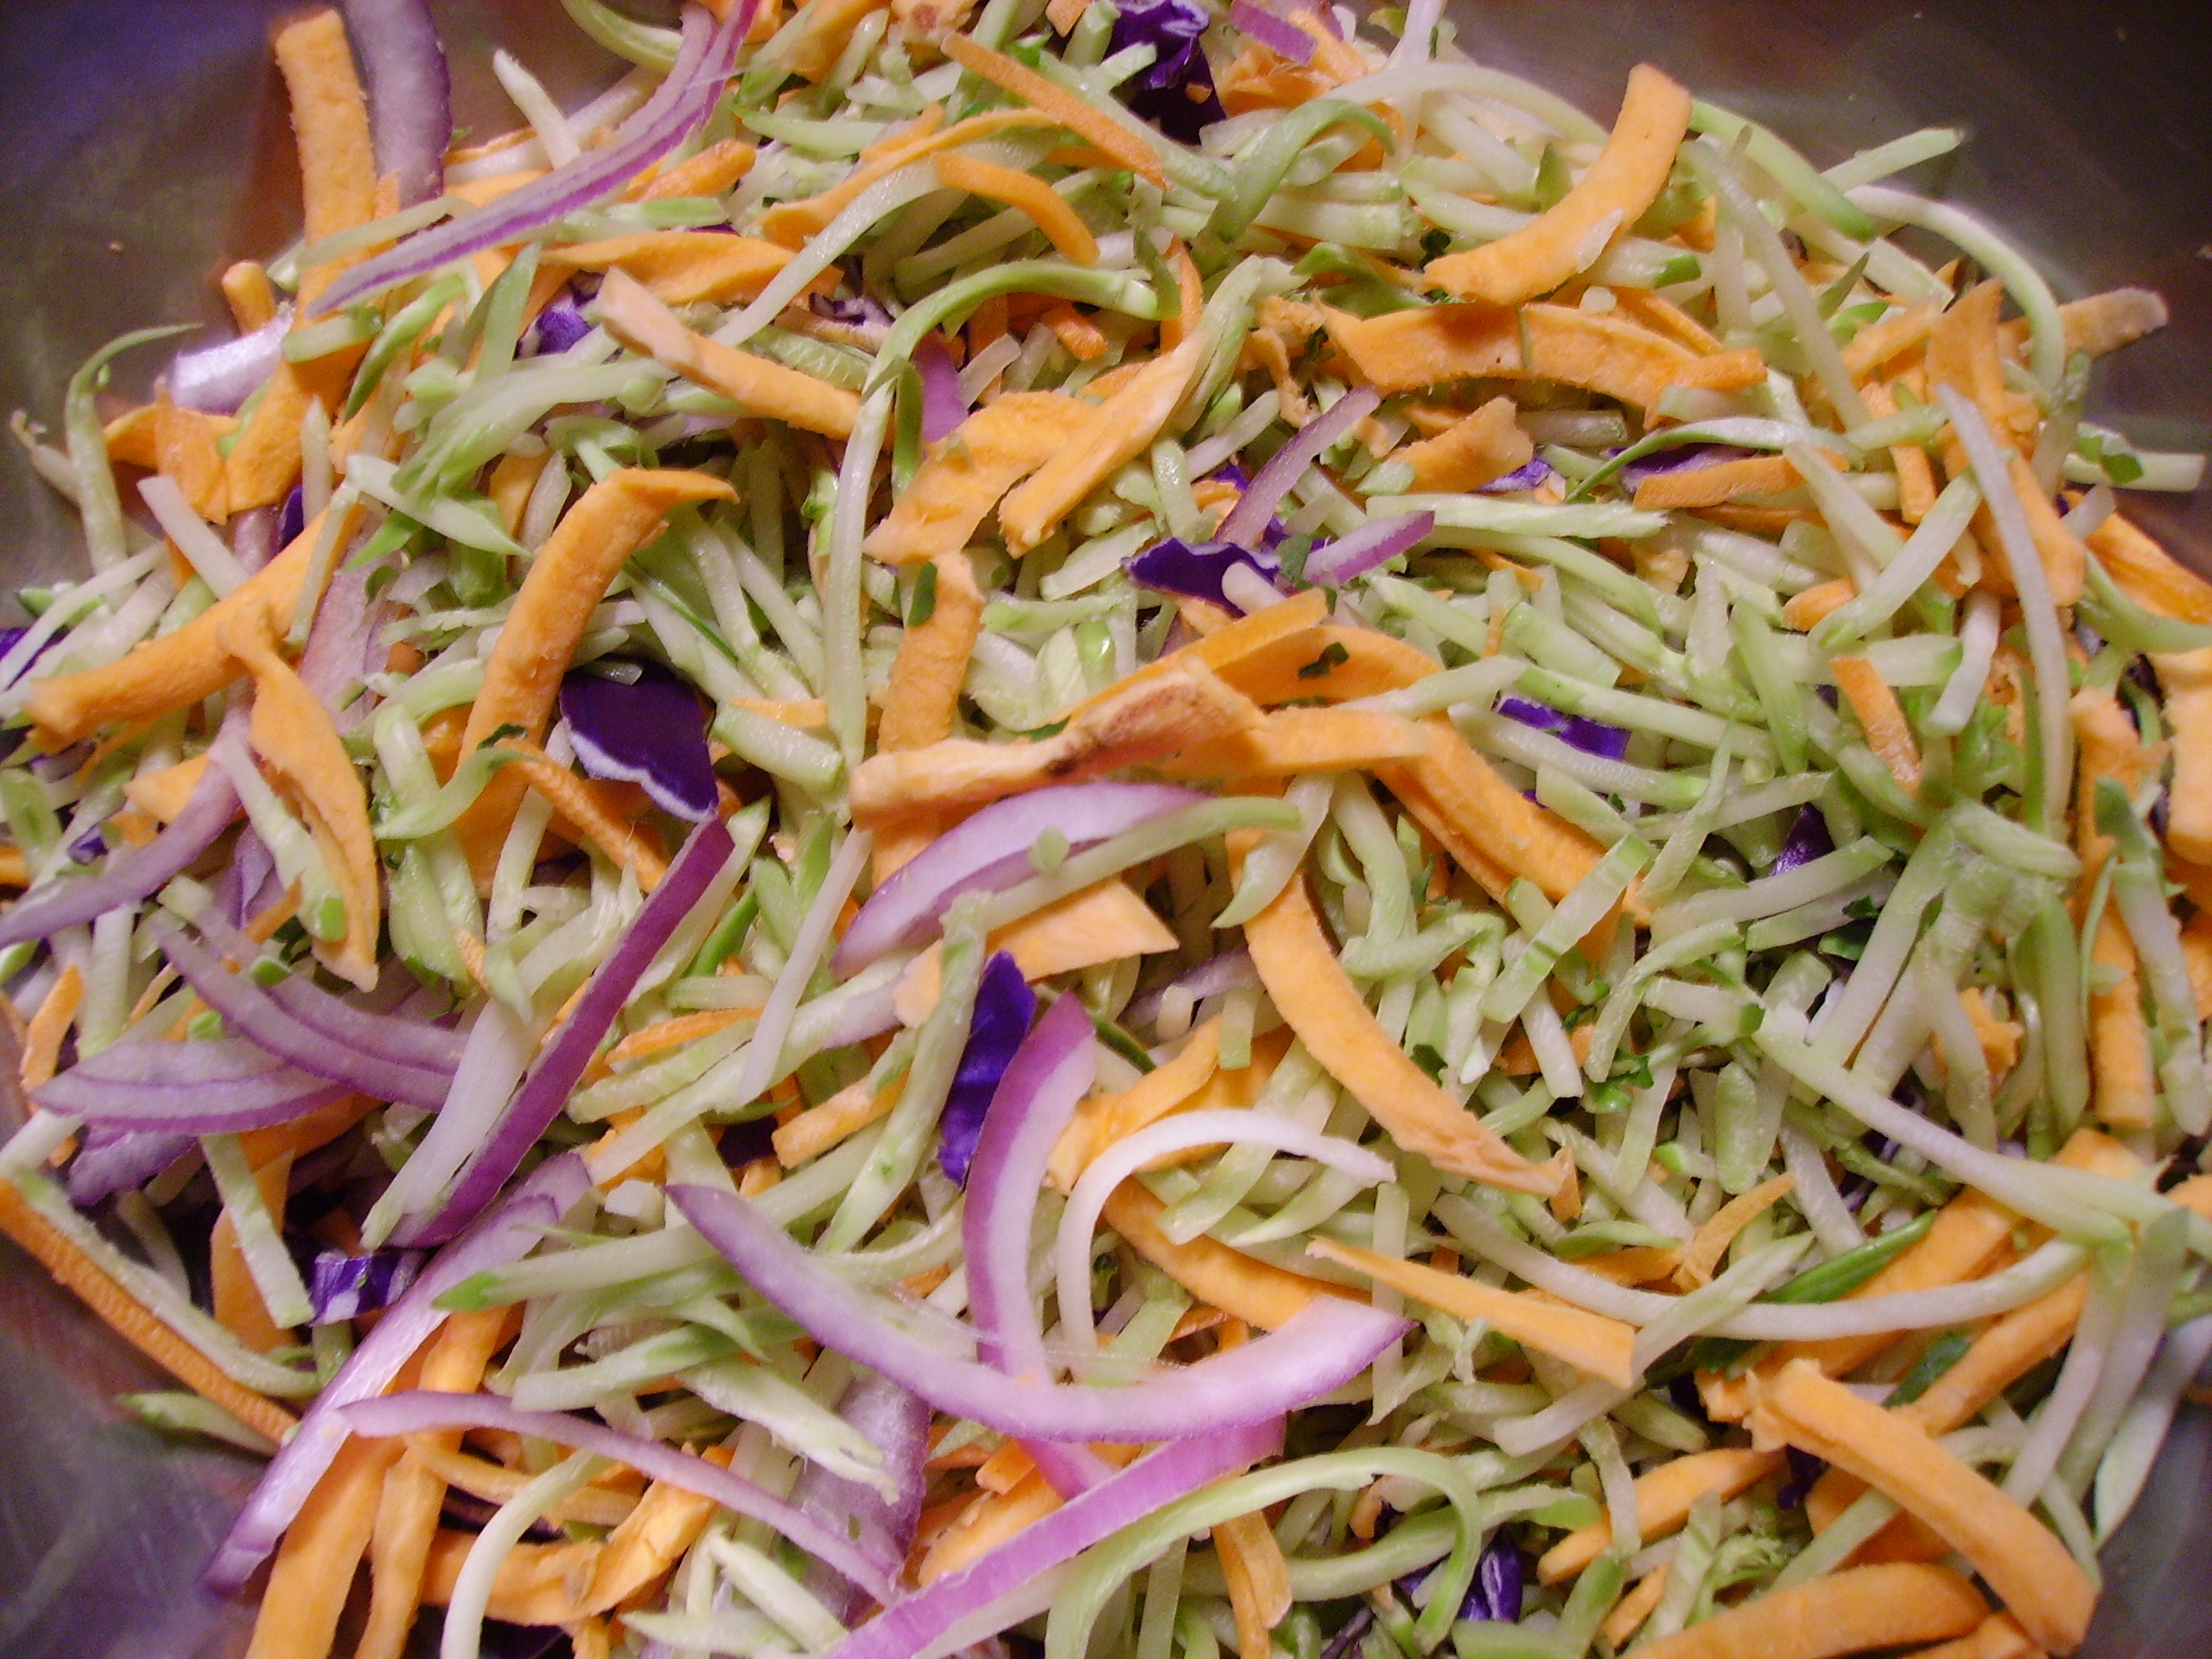 I cooked it over high heat in a non-stick fry pan using a little lower sodium chicken broth to keep things moving and browning nicely. It took 15 minutes to become tender and golden brown and was a perfect accompaniment to Roasted Pork Tenderloin.
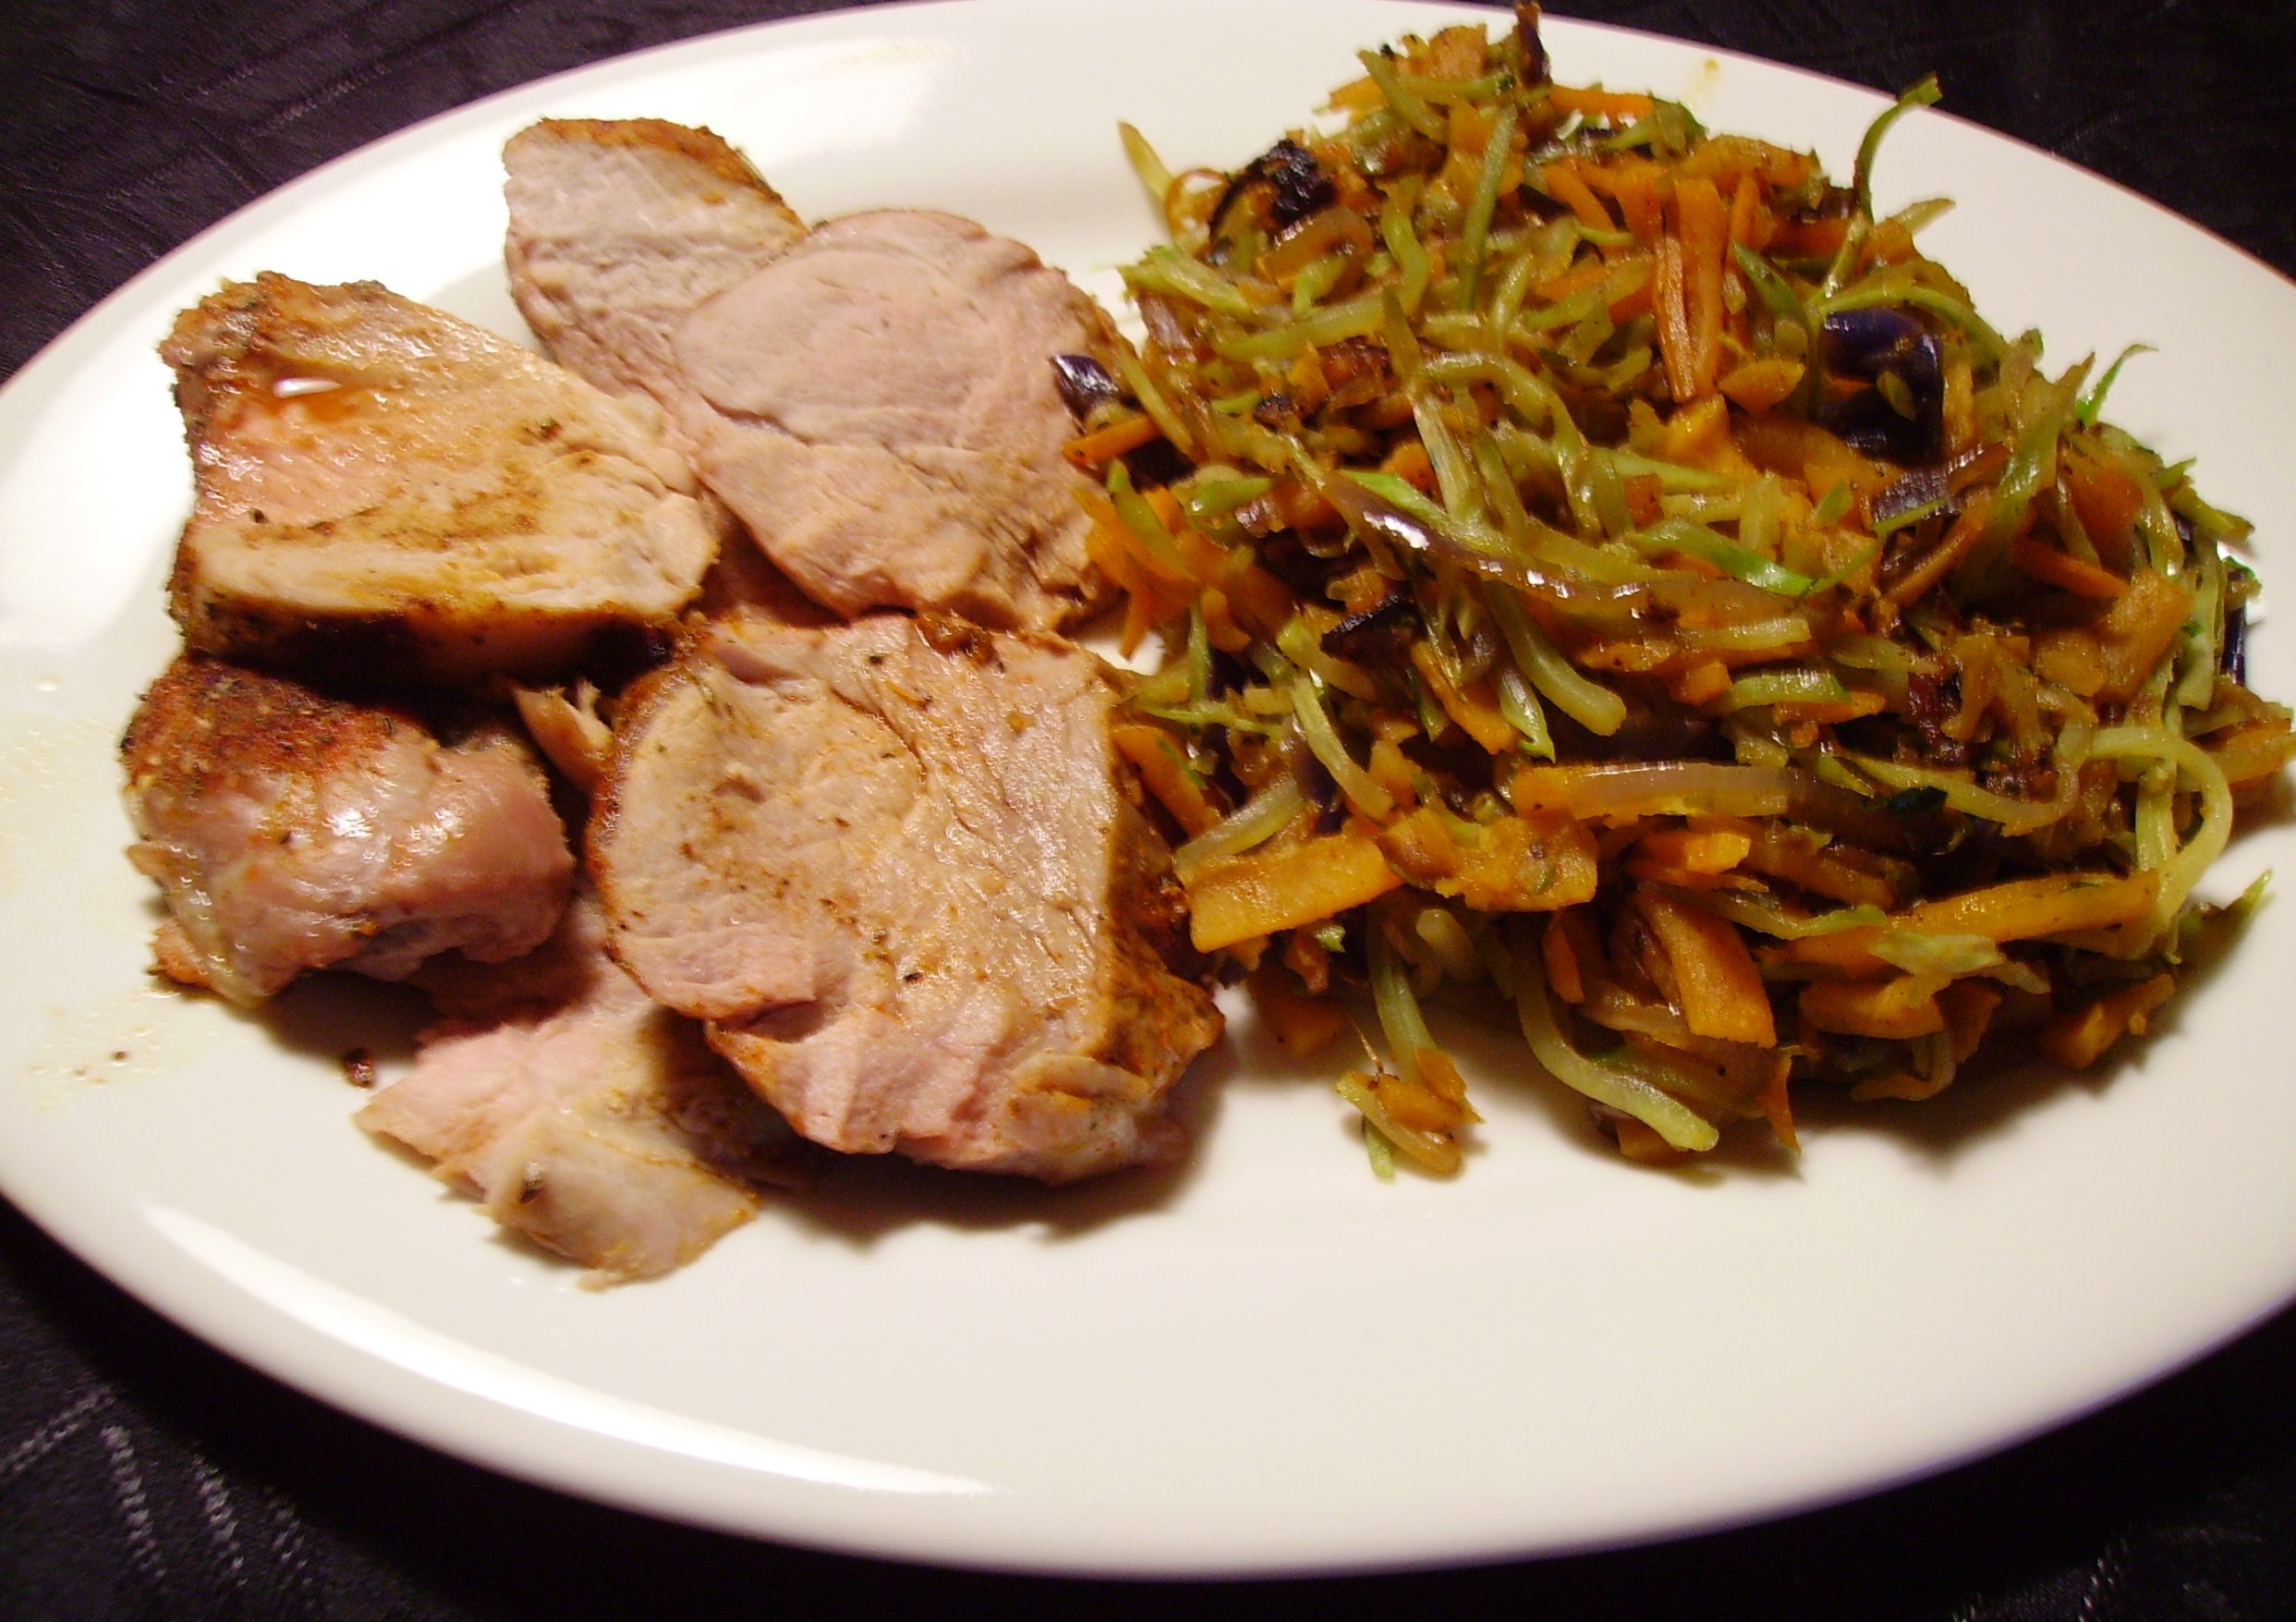
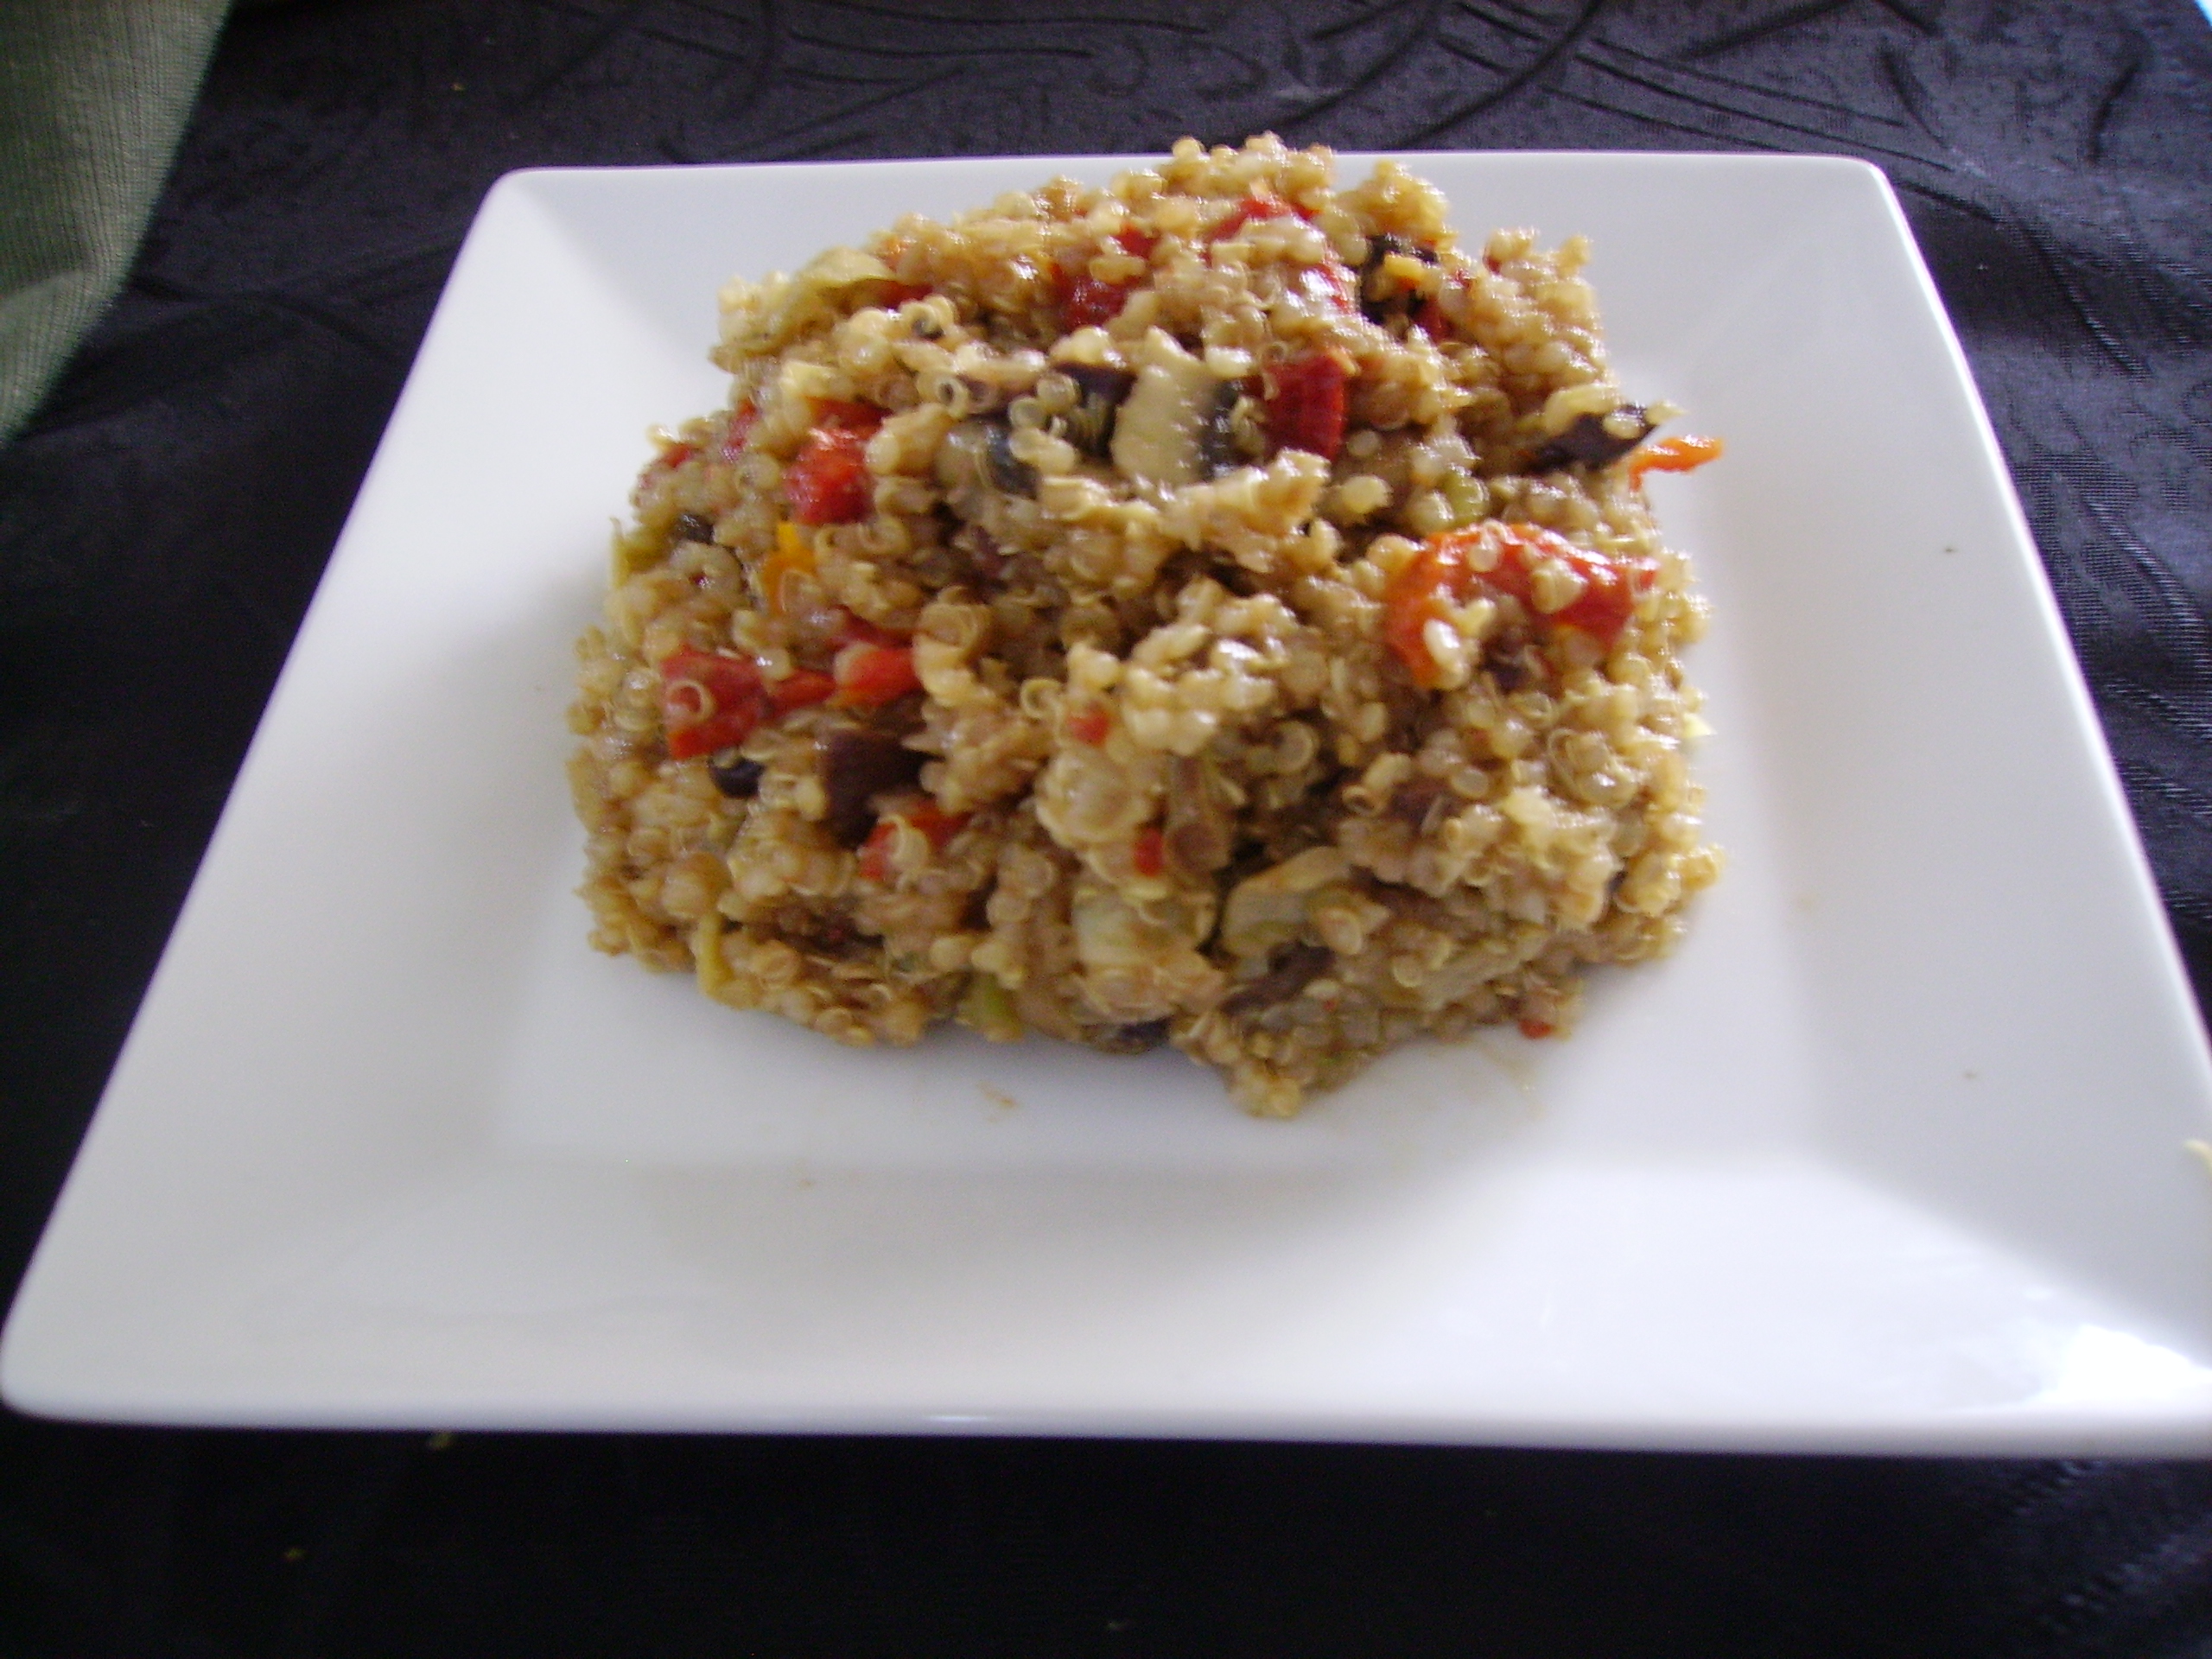
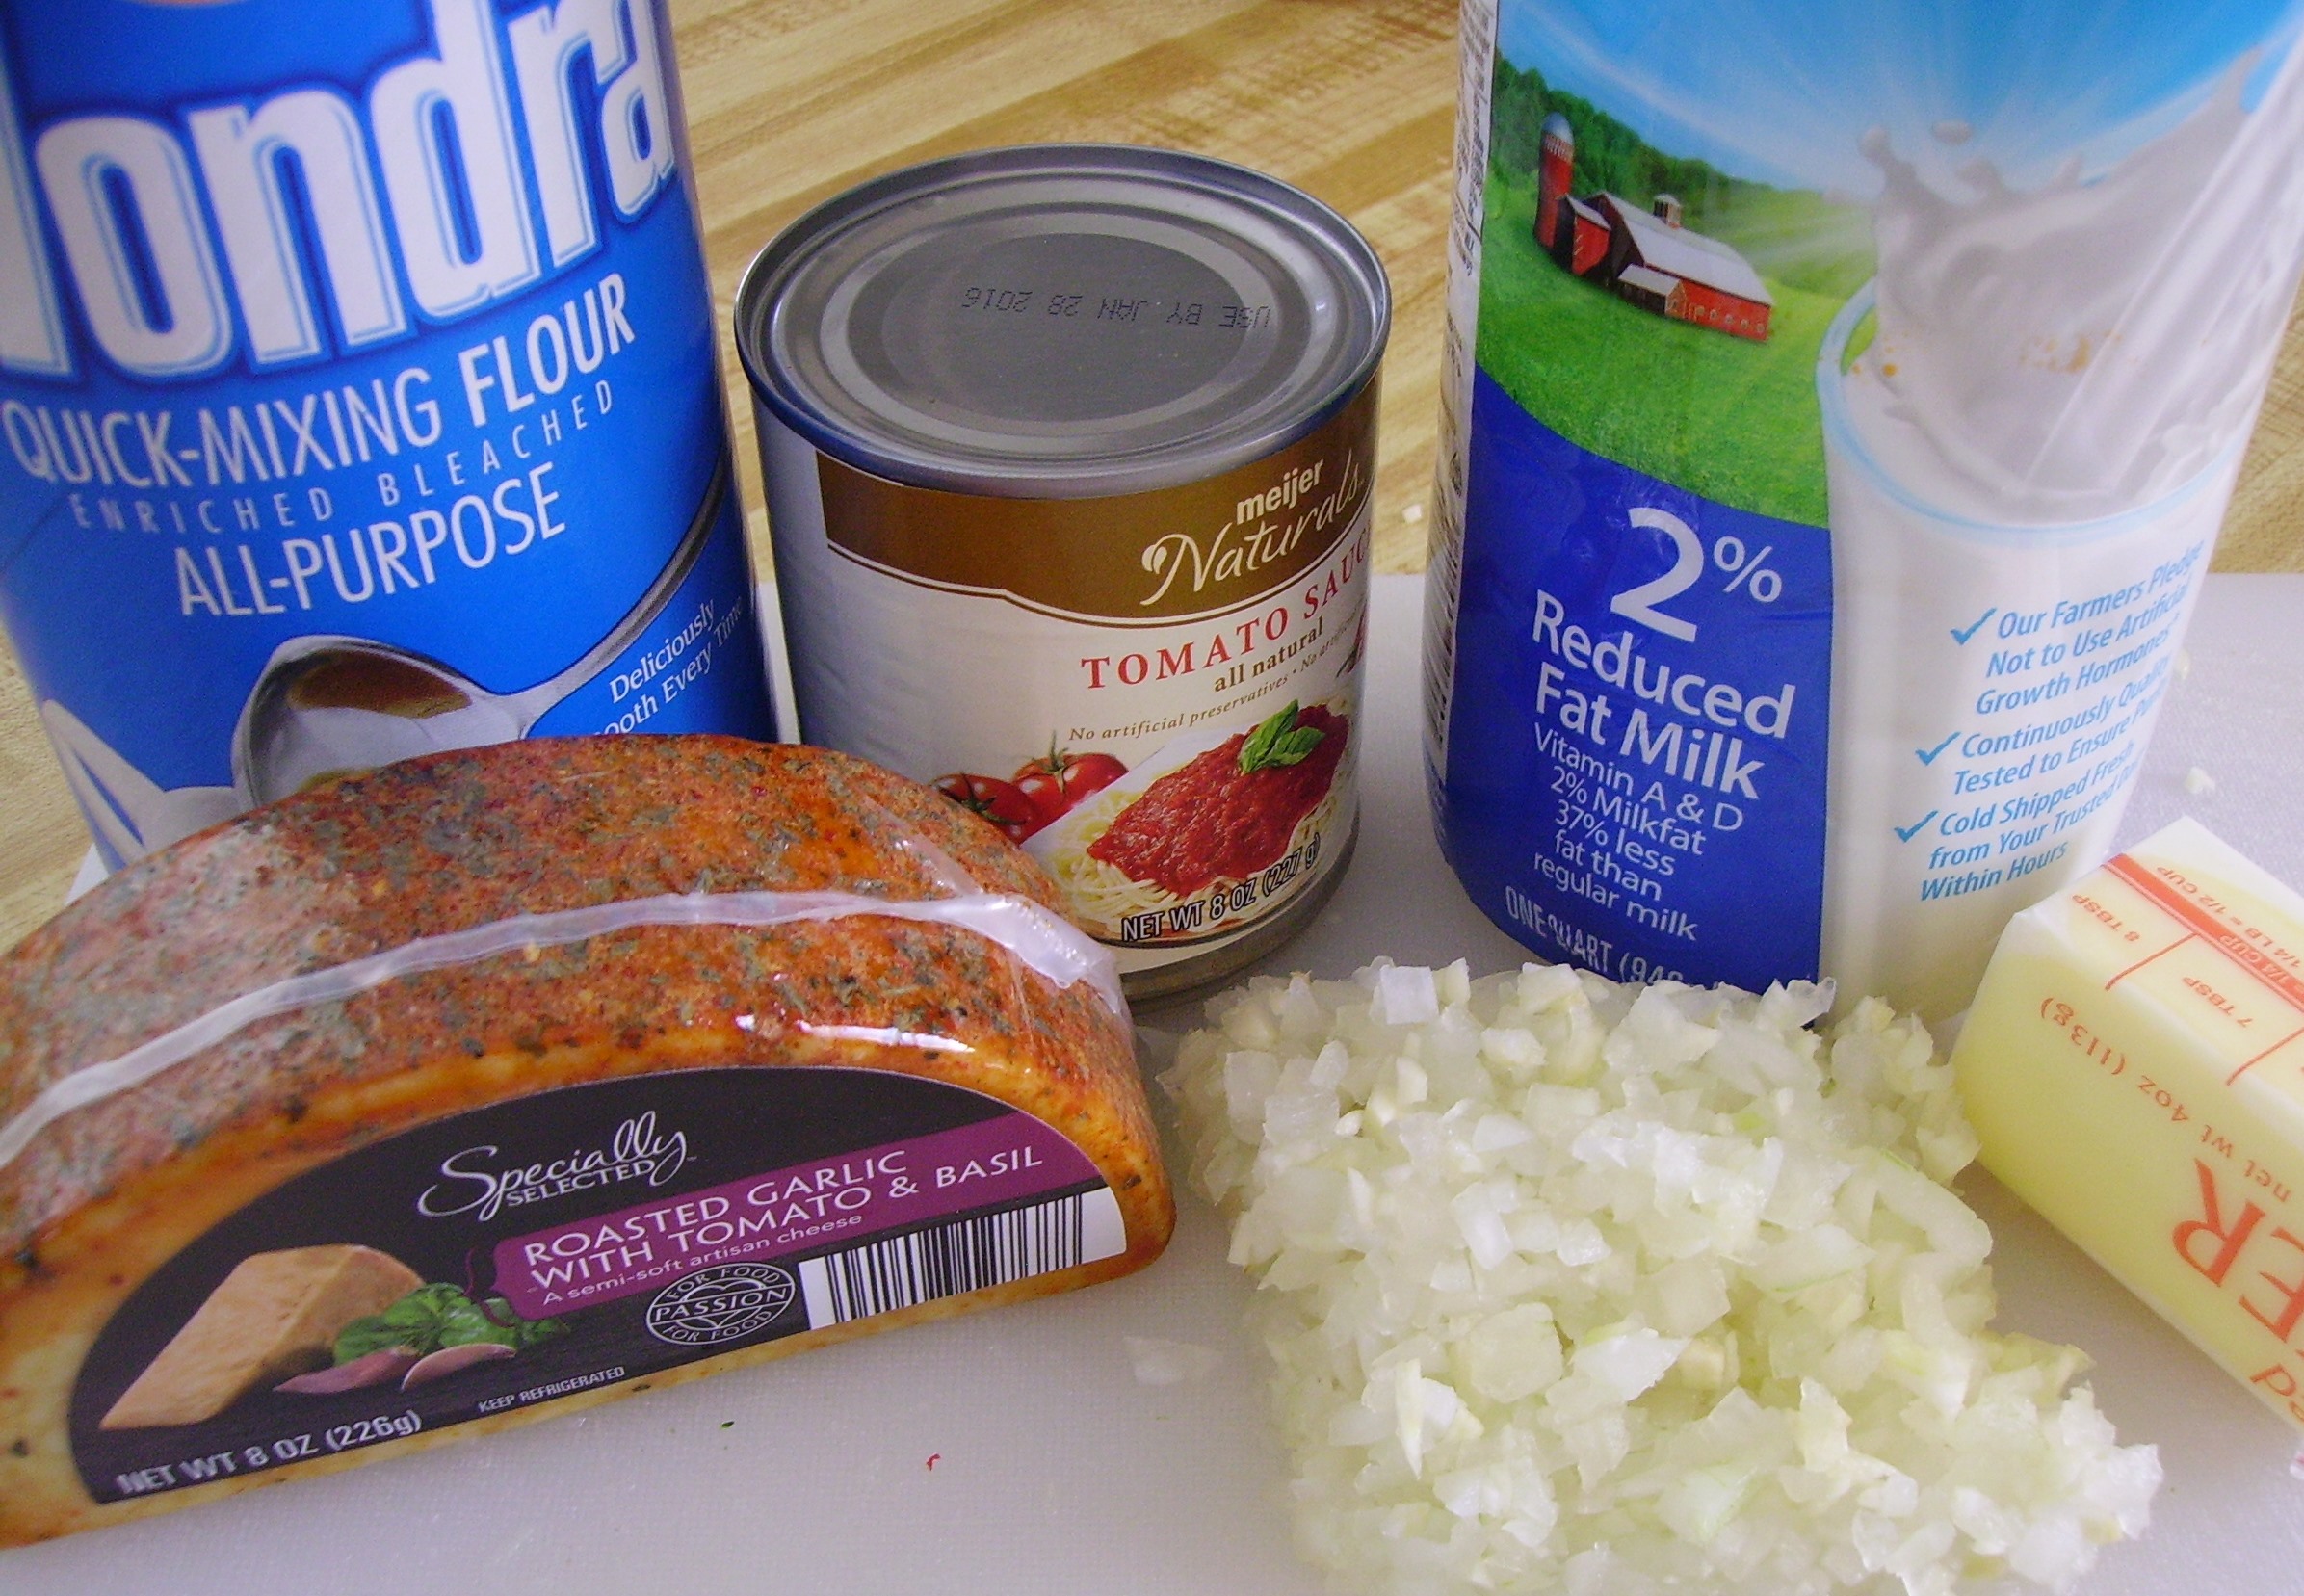
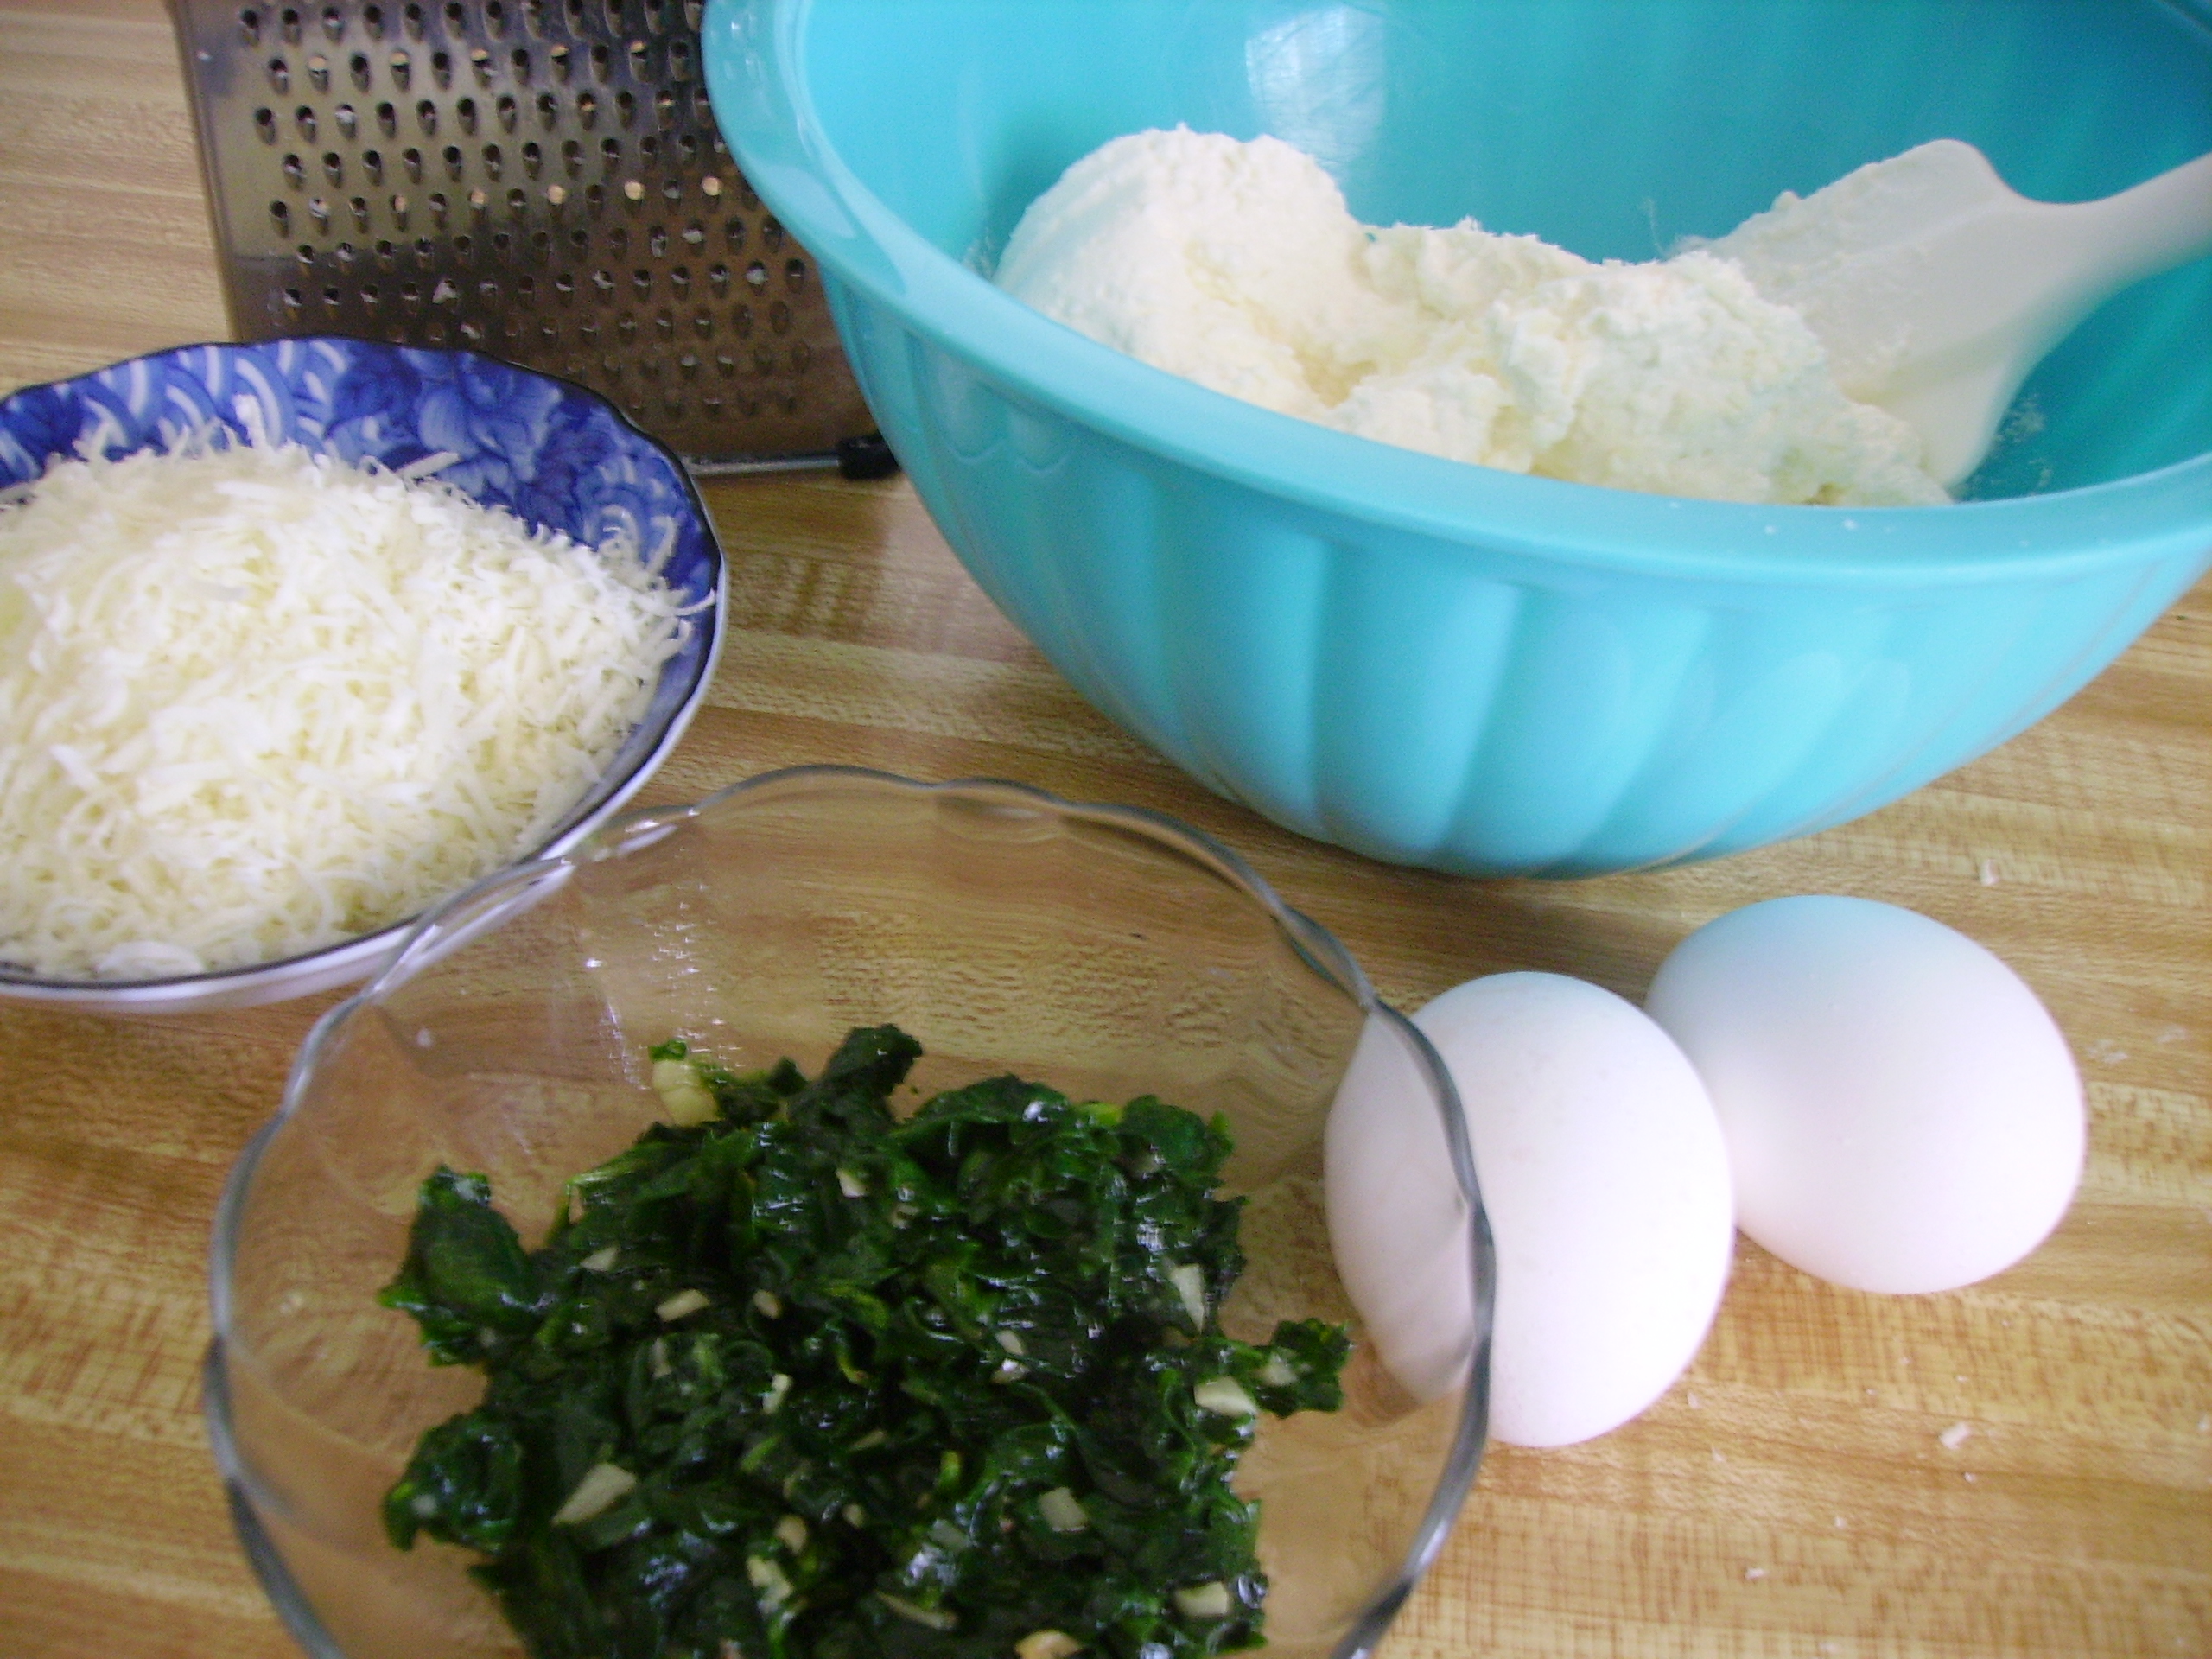
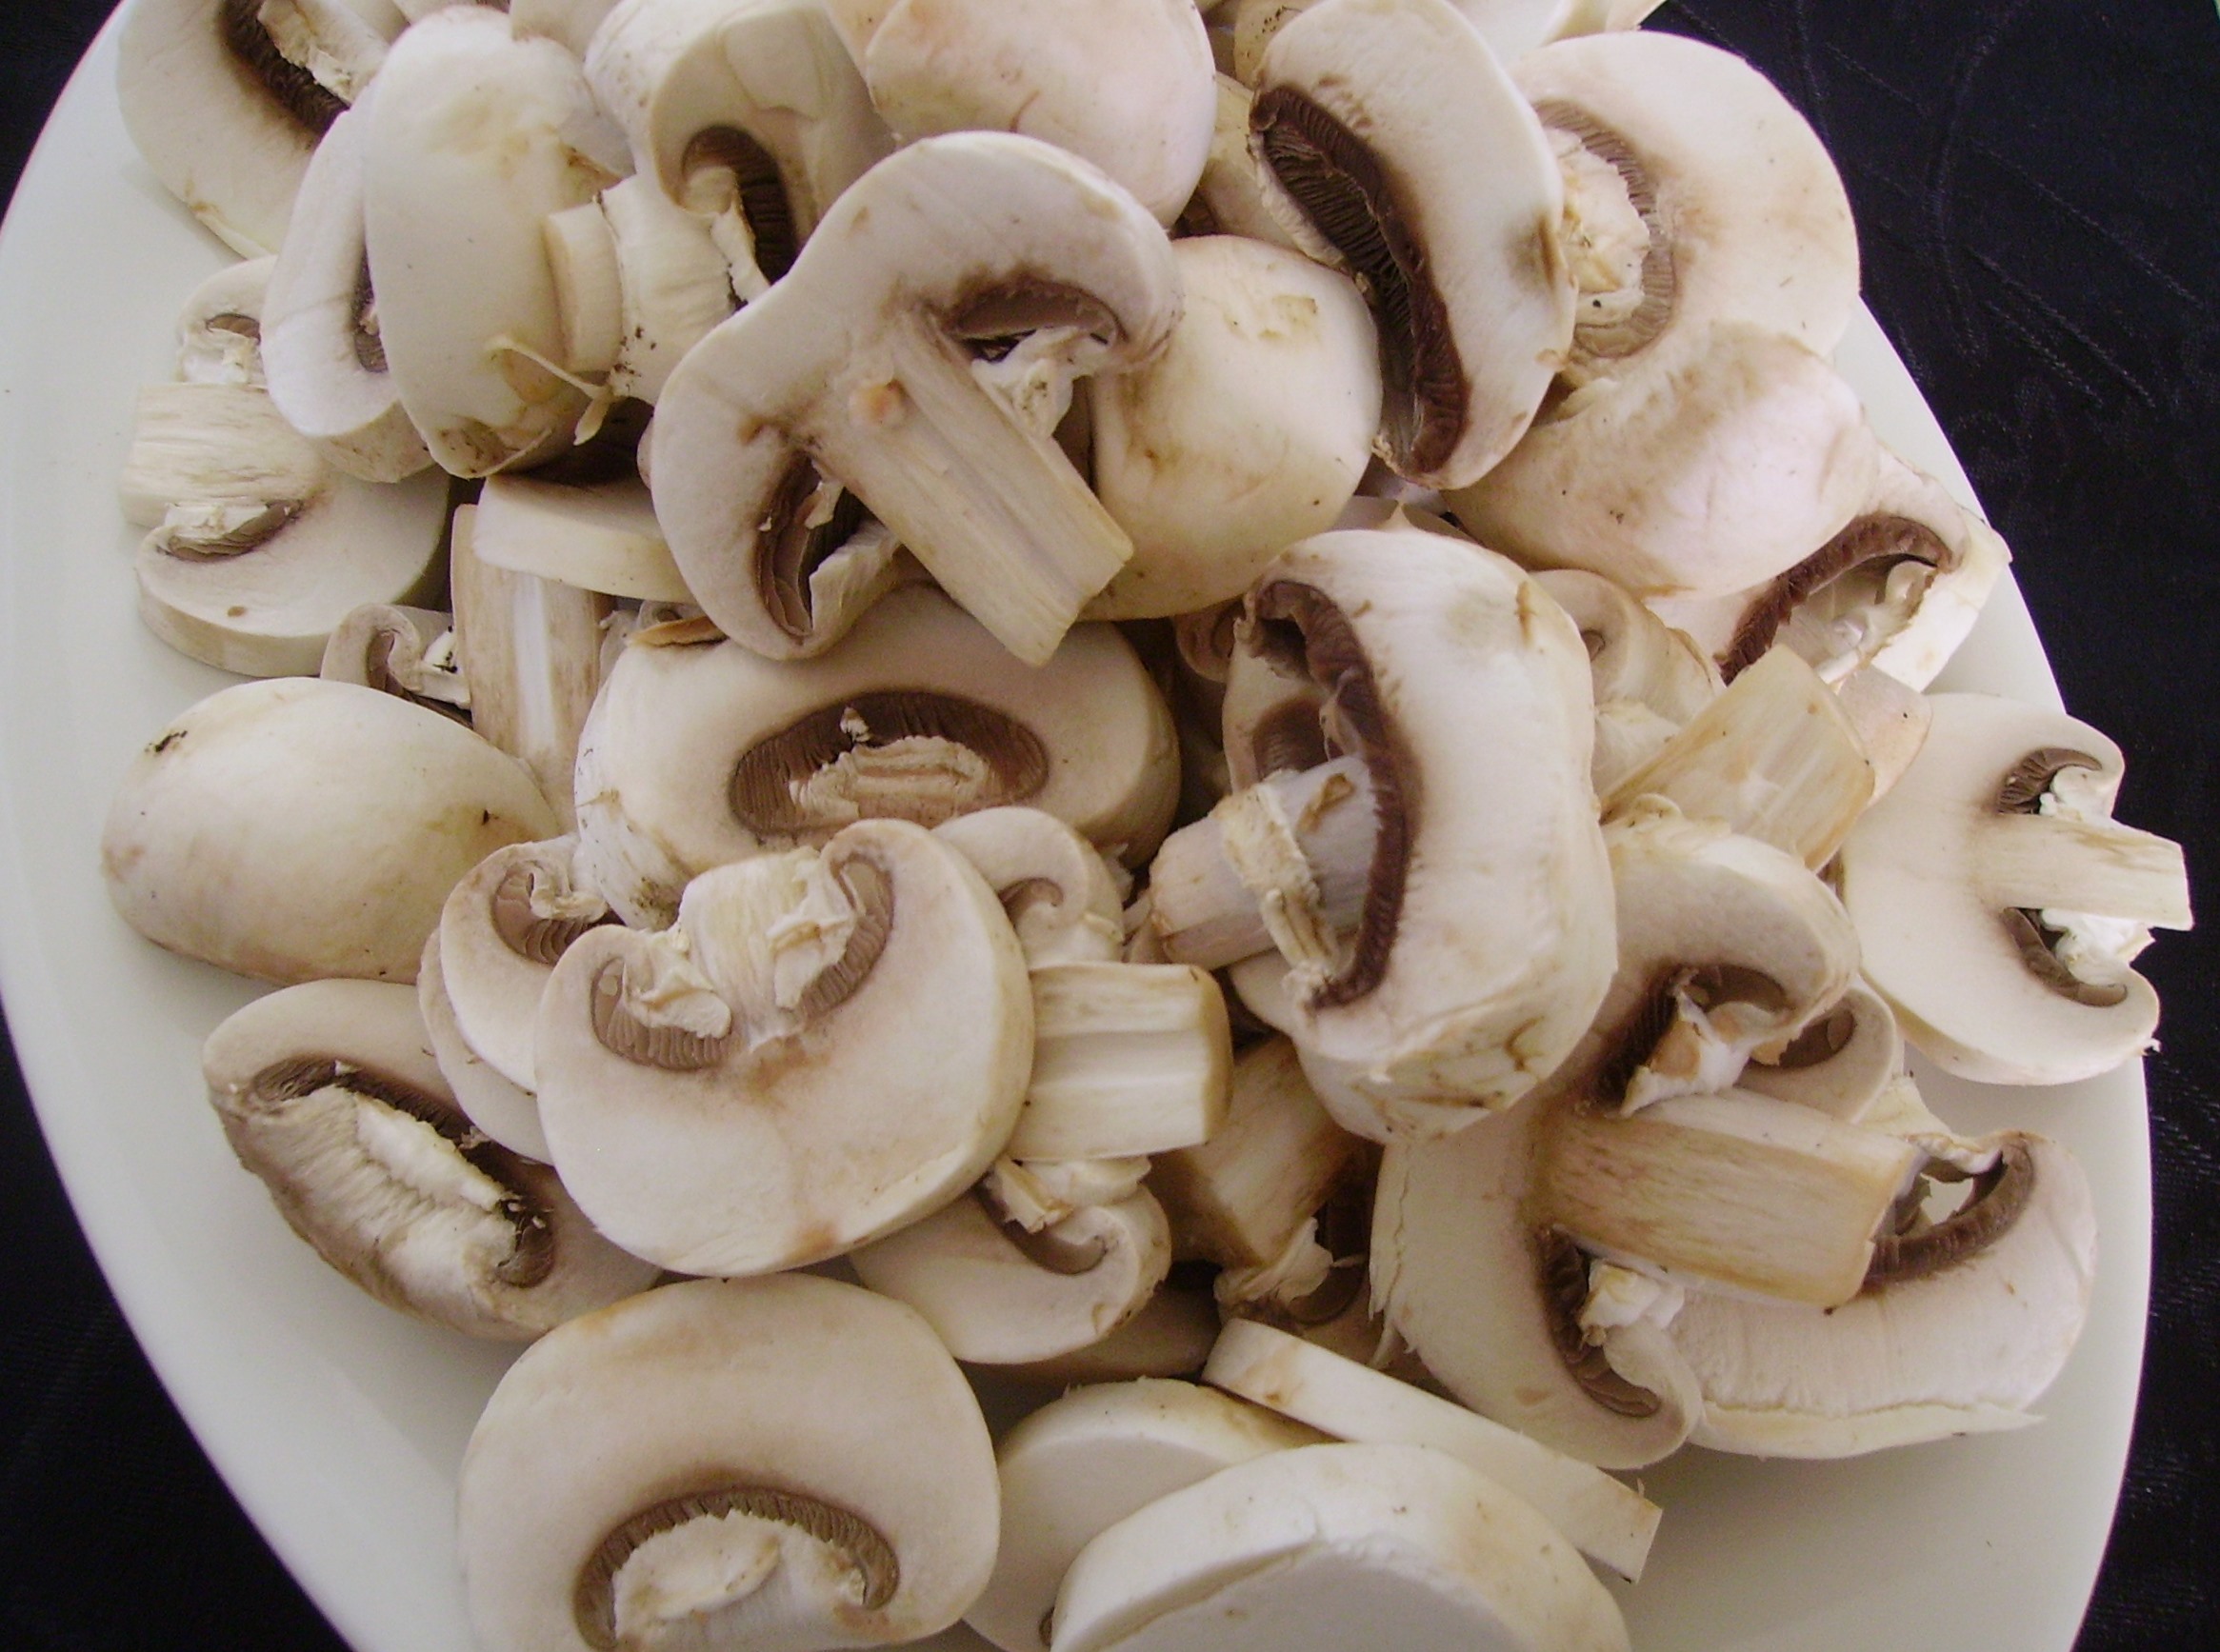
There were a few other dishes that came out of the kitchen this week. Broccoli and Cauliflower Soup and Cauliflower Mash (there’s that “two-fer” again) to name two. Look for these recipes in future posts here and on Face Book.
I’ve got my first week of work under my belt. Next week is Spring Break so I already have a vacation coming (and I’m actually going to California!). I don’t know how long I will continue being the enforcer on a large yellow bus, but it will make an interesting footnote in my next chapter.
Love, Mama D
Share this: